Page 46 of 248

Replacing high-mount brake lamp and cargo lamp bulbs
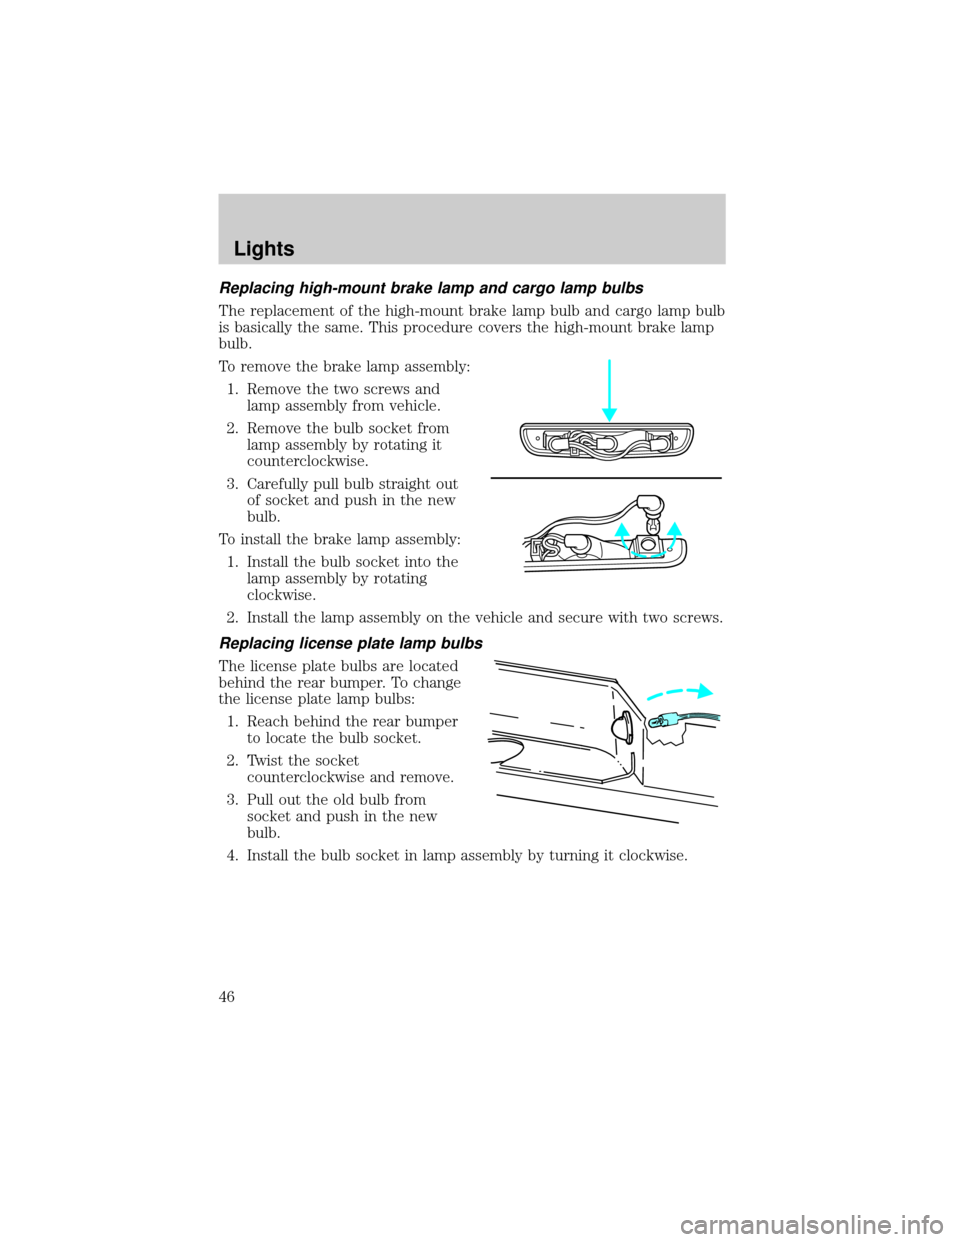
The replacement of the high-mount brake lamp bulb and cargo lamp bulb
is basically the same. This procedure covers the high-mount brake lamp
bulb.
To remove the brake lamp assembly:
1. Remove the two screws and
lamp assembly from vehicle.
2. Remove the bulb socket from
lamp assembly by rotating it
counterclockwise.
3. Carefully pull bulb straight out
of socket and push in the new
bulb.
To install the brake lamp assembly:
1. Install the bulb socket into the
lamp assembly by rotating
clockwise.
2. Install the lamp assembly on the vehicle and secure with two screws.
Replacing license plate lamp bulbs
The license plate bulbs are located
behind the rear bumper. To change
the license plate lamp bulbs:
1. Reach behind the rear bumper
to locate the bulb socket.
2. Twist the socket
counterclockwise and remove.
3. Pull out the old bulb from
socket and push in the new
bulb.
4. Install the bulb socket in lamp assembly by turning it clockwise.
Lights
46
Page 57 of 248
CENTER CONSOLE (IF EQUIPPED)
Your vehicle may be equipped with a
variety of console features. These
include:
²Utility compartment with
cassette/compact disc storage
²Cupholders
²Coin holder slots
²Flip up armrest
WARNING: Use only soft cups in the cupholder. Hard objects
can injure you in a collision.
BED EXTENDER (IF EQUIPPED)
Your vehicle may be equipped with a bed extender designed to extend
the pickup box for longer loads.
To extend the bed extender:
1. Lower tailgate.
2. Pull the round knobs on each
side of the extender to release
it from the pickup box.
3. Pivot extender on to the
tailgate.
4. Evenly push down on the
extender and push the round
knobs in on each side locking it
in place.
Green markings on the shaft
indicate the locked position. The
locking clip screws below the middle
bar can be tightened
counterclockwise for extra security.
Driver Controls
57
Page 68 of 248
Pull lever up to adjust seatback.
Using the manual lumbar support (if equipped)
Turn the lumbar support control
clockwise to increase firmness.
Turn the lumbar support control
counterclockwise to increase
softness.
Passenger side rear access
Pull up on the recliner handle. The
seat will lean forward and unlock
the track. Slide the seat forward to
access the rear area of the cab.
To return seat to original position, slide the seat bottom back, then push
the seatback up to lock it in place. If the seatback is pushed first, the
seat will lock, and you will have to use the seat adjust handle to move
the seat back to the original position.
Seating and Safety Restraints
68
Page 154 of 248
2. If equipped, unlock and remove
the spare tire carrier lock from
the rear access hole located just
above the rear bumper and
below the tailgate.
3. Insert the straight end of the
jack handle into the rear access
hole located just above the rear
bumper and below the tailgate.
Forward motion will stop and
resistance to turning will be felt
when properly engaged.
4. Turn the handle
counterclockwise until tire is
lowered to the ground and the cable is slightly slack.
5. Remove the retainer from the spare tire.
Stowing the spare tire
1. Lay the tire on the ground with the valve stem facing up.
2. Install the retainer through the
wheel center and slide the
wheel under the vehicle.
3. Turn the spare handle clockwise
until the tire is raised to its
original position underneath the
vehicle. The spare handle
ratchets when the tire is raised
to the stowed position. It will
not allow you to overtighten.
Roadside Emergencies
154
Page 156 of 248
3. Block the diagonally opposite
wheel.
4. Insert tapered end of the lug
wrench behind hub caps and
twist them off.
5. Loosen each wheel lug nut
one-half turn counterclockwise
but do not remove them until
the wheel is raised off the
ground.
6. Position the jack according to
the following guides and turn
the jack handle clockwise until the tire is a maximum of 25 mm
(1 inch) off the ground.
WARNING: To lessen the risk
of personal injury, do not put
any part of your body under
the vehicle while changing a
tire. Do not start the engine
when your vehicle is on the
jack. The jack is only meant
for changing the tire.
²Front
Roadside Emergencies
156
Page 157 of 248
²Rear
Never use the differential as a
jacking point. It is too easy for
the vehicle to tilt or fall and you
can be injured.
7. Remove the wheel lug nuts with
the lug wrench.
8. Replace the flat tire with the
spare tire, making sure the valve
stem is facing outward. Reinstall
the lug nuts until the wheel is
snug against the hub. Do not
fully tighten the lug nuts until the wheel has been lowered.
9. Lower the wheel by turning the jack handle counterclockwise.
10. Remove the jack and fully
tighten the lug nuts, in the
order shown, to 135 Nm
(100 lb-ft). Note that these
tightening specifications are for
nut and bolt threads that are
free of dirt and rust. Use only
Mazda recommended (1/2±20)
replacement fasteners.
11. Stow the flat tire. Refer to
Stowing the spare tire.
12. Stow the jack and lug wrench. Make sure the jack is fastened so it
does not rattle when you drive.
13. Unblock the wheels.
1
4 3
2 5
Roadside Emergencies
157
Page 158 of 248

Stowing the flat/spare tire
1. Lay the tire on the ground with the valve stem facing up.
2. Slide the wheel partially under the vehicle and install the wire and
retainer through the center of the wheel.
3. Turn the jack handle clockwise until the tire is raised to its original
position underneath the vehicle. The effort to turn the jack handle
increases significantly as the tire contacts the frame. The spare tire
carrier will ratchet when the tire is in the fully stowed position. The
spare tire carrier has a built-in ratchet feature that will not allow you
to overtighten. If the spare tire carrier ratchets with very little effort,
take the vehicle to your dealer for assistance at your earliest
convenience.
4. Check that the tire lies flat against the frame assembly. Push against
the tire to make sure it is tightly sealed under the vehicle. Loosen
and retighten, if necessary. Failure to properly stow the spare tire
may result in failure of the winch cable and loss of the spare tire.
5. Repeat this tightness check procedure when servicing the spare tire
pressure (every six months, per service maintenance section), or at
any time that the spare tire is disturbed through service of other
components.
6. Install the spare tire lock (if equipped) into the access hole above
the rear bumper with the spare tire lock key (if equipped) and jack
handle.
JUMP STARTING YOUR VEHICLE
WARNING: The gases around the battery can explode if
exposed to flames, sparks, or lit cigarettes. An explosion could
result in injury or vehicle damage.
WARNING: Batteries contain sulfuric acid which can burn skin,
eyes and clothing, if contacted.
Do not attempt to push-start your vehicle. Automatic
transmissions do not have push-start capability; also, the
catalytic converter may become damaged.
Roadside Emergencies
158
Page 199 of 248

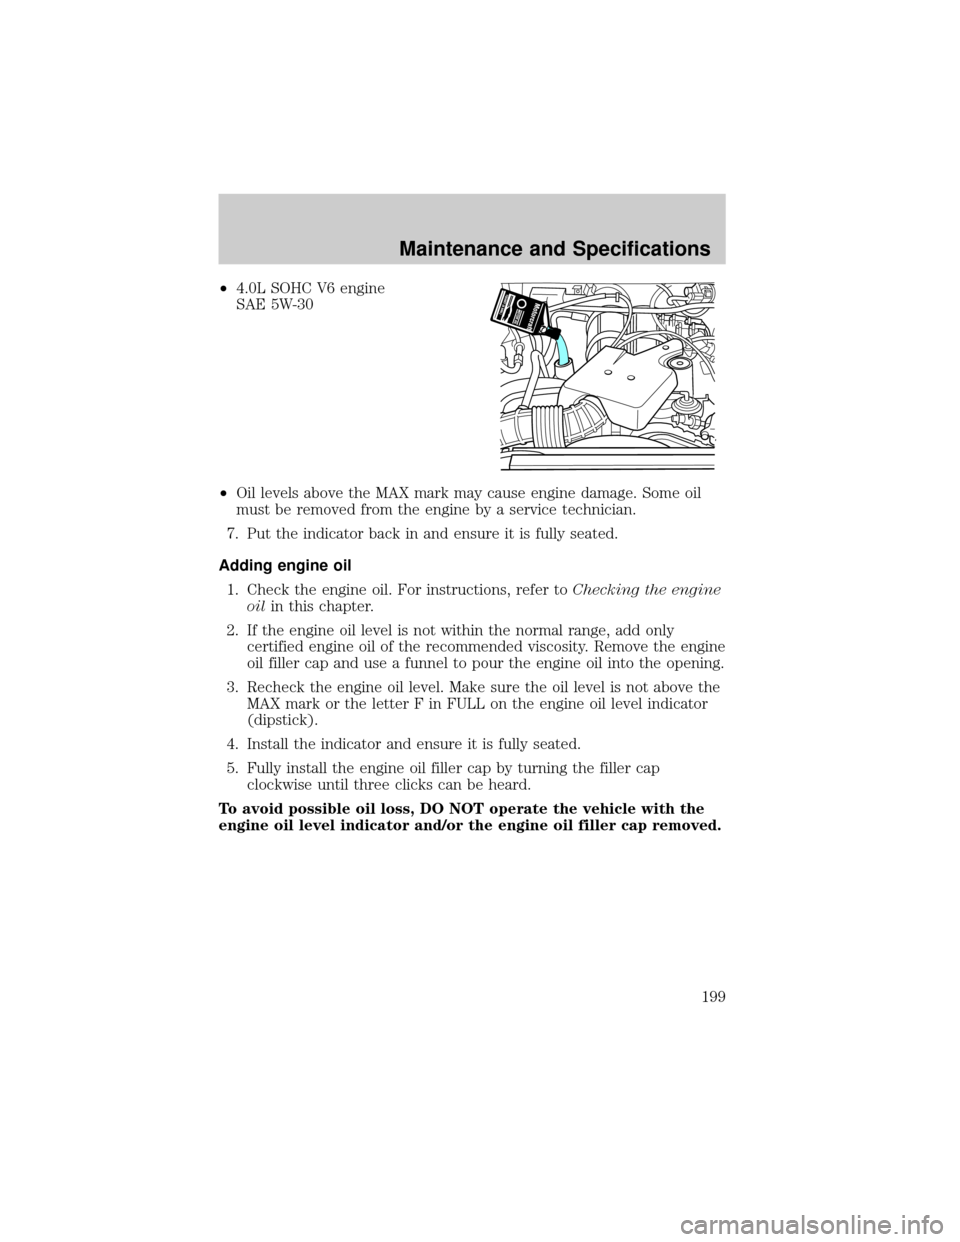
²4.0L SOHC V6 engine
SAE 5W-30
²Oil levels above the MAX mark may cause engine damage. Some oil
must be removed from the engine by a service technician.
7. Put the indicator back in and ensure it is fully seated.
Adding engine oil
1. Check the engine oil. For instructions, refer toChecking the engine
oilin this chapter.
2. If the engine oil level is not within the normal range, add only
certified engine oil of the recommended viscosity. Remove the engine
oil filler cap and use a funnel to pour the engine oil into the opening.
3. Recheck the engine oil level. Make sure the oil level is not above the
MAX mark or the letter F in FULL on the engine oil level indicator
(dipstick).
4. Install the indicator and ensure it is fully seated.
5. Fully install the engine oil filler cap by turning the filler cap
clockwise until three clicks can be heard.
To avoid possible oil loss, DO NOT operate the vehicle with the
engine oil level indicator and/or the engine oil filler cap removed.
Maintenance and Specifications
199