2003 MAZDA MODEL B-SERIES instrument cluster
[x] Cancel search: instrument clusterPage 87 of 245

WARNING: Several air bag system components get hot after
inflation. Do not touch them after inflation or you may be
burned.
WARNING: If the air bag has deployed, the air bag will not
function again and must be replaced immediately. If the air bag
is not replaced, the unrepaired area will increase the risk of
injury in a collision.
The SRS consists of:
²driver and passenger air bag modules (which include the inflators and
air bags),
²passenger air bag deactivation switch and restraint control module
(RCM)
²a readiness light and tone,
²and the electrical wiring which connects the components.
The RCM (restraints control module) monitors its own internal circuits
and the supplemental air bag electrical system warning (including the
passenger air bag deactivation switch, the system wiring, the air bag
system readiness light, the air bag back up power and the air bag
ignitors).
Determining if the system is operational
The SRS uses readiness lights in the instrument cluster and the
passenger air bag deactivate switch or a tone to indicate the condition of
the system. Refer to theAir bag readinesssection in the
Instrumentationchapter orPassenger air bag deactivate switch
section in this chapter. Routine maintenance of the air bag is not
required.
A difficulty with the system is indicated by one or more of the following:
²The readiness lights will either
flash or stay lit.
²The readiness lights will not
illuminate immediately after
ignition is turned on.
²A series of five beeps will be heard. The tone pattern will repeat
periodically until the problem and/or light are repaired.
Seating and Safety Restraints
87
Page 113 of 245

²steering wheel is turned when getting in or out of the vehicle
Make sure the corresponding lights illuminate or illuminate briefly. If a
light fails to illuminate, have the vehicle serviced.
²If the driver's safety belt is fastened, the
light may not illuminate.
Refer to theInstrument Clusterchapter for more information.
Starting the engine
Note:Whenever you start your vehicle, release the key as soon as the
engine starts. Excessive cranking could damage the starter.
1. Turn the key to 4 (ON) without
turning the key to 5 (START). If
there is difficulty in turning the
key, rotate the steering wheel
until the key turns freely. This
condition may occur when:
²the front wheels are turned
²a front wheel is against the curb
Turn the key to 5 (START), then
release the key as soon as the
engine starts. Excessive cranking could damage the starter.
Note:If the engine does not start within five seconds on the first try,
turn the key to 3 (OFF), wait 10 seconds and try again.
Cold weather starting (flexible fuel vehicles only)
In cold weather, ethanol fuel distributors should supply winter grade
(E
d85) ethanol. If summer grade (Ed85) ethanol is used in cold weather,
you may experience increased cranking times, rough idle or hesitation
C
012345
6
RPMx1000
ABS!
BRAKE
CHECK
ENGINE
CHECK
FUEL
CAP
EFH
H
H
PRN D 2 1THEFT
SPEED
CONT
4WD
HIGH
4WD
LOW
O/D
OFFL
L
10MPH 205060
70
304080
90
km/h
0 0 0
10 100
1
20
1
0 0 0 0 0 0406080100
120
140
160
180
20
DOOR
AJAR
CHECK
GAGE
3
2
1
5
4
Driving
113
Page 116 of 245

WARNING: The Anti-Lock system does not decrease the time
necessary to apply the brakes or always reduce stopping
distance. Always leave enough room between your vehicle and
the vehicle in front of you to stop.
Using ABS
When hard braking is required, apply continuous force on the brake
pedal; do not pump the brake pedal since this will reduce the
effectiveness of the ABS and will increase your vehicle's stopping
distance. The ABS will be activated immediately, allowing you to retain
full steering control during hard braking and on slippery surfaces.
However, the ABS does not decrease stopping distance.
ABS warning lamp
ABS
TheABSlamp in the instrument cluster momentarily illuminates when
the ignition is turned to ON. If the light does not illuminate during start
up, remains on or flashes, the ABS may be disabled and the ABS may
need to be serviced.
Even when the ABS is disabled,
normal braking is still effective. (If
your BRAKE warning lamp
illuminates with the parking brake
released, have your brake system
serviced immediately.)
Parking brake
Apply the parking brake whenever
the vehicle is parked. To set the
parking brake, press the parking
brake pedal down until the pedal
stops.
!
BRAKE
BRAKE
RELEASE
Driving
116
Page 117 of 245

The BRAKE warning lamp in the
instrument cluster illuminates and
remains illuminated (when the
ignition is turned ON) until the
parking brake is released.
WARNING: Always set the parking brake fully and make sure
that the gearshift is securely latched in P (Park) (automatic
transmission) or in 1 (First) (manual transmission).
NOTE:The parking brake is not recommended to stop a moving vehicle.
However, if the normal brakes fail, the parking brake can be used to stop
your vehicle in an emergency. Since the parking brake applies only the
rear brakes, the vehicle's stopping distance will increase greatly and the
handling of your vehicle will be adversely affected.
Pull the release lever to release the
brake.
Driving with the parking brake
on will cause the brakes to wear
out quickly and reduce fuel
economy.
STEERING
Your vehicle is equipped with power steering. Power steering uses energy
from the engine to decrease the driver's effort in steering the vehicle.
To prevent damage to the power steering pump:
²Never hold the steering wheel to the extreme right or the extreme left
for more than a few seconds when the engine is running.
²Do not operate the vehicle with the power steering pump fluid level
below the MIN mark on the reservoir.
If the power steering system breaks down (or if the engine is turned
off), you can steer the vehicle manually, but it takes more effort.
If the steering wanders or pulls, check for:
²Underinflated tire(s) on any wheel(s)
!
BRAKE
BRAKE
RELEASE
Driving
117
Page 126 of 245

Shifting to/from 4X4 LOW (4WD Low)
1. Bring the vehicle to a complete stop
2. Depress the brake
3. On vehicles equipped with an automatic transmission, place the
transmission in N (Neutral); on vehicles equipped with a manual
transmission, depress the clutch.
4. Move the 4WD control to the desired position.
²If shifting into 4X4 LOW (4WD Low), wait for the LOW RANGE light
in the instrument cluster to turnonindicating the shift is complete.
²If shifting out of 4X4 LOW (4WD Low), wait for the LOW RANGE light
in the instrument cluster to turnoffindicating the shift is complete.
Driving off-road with 4WD
Your vehicle is specially equipped for driving on sand, snow, mud and
rough terrain and has operating characteristics that are somewhat
different from conventional vehicles, both on and off the road.
Maintain steering wheel control at all times, especially in rough terrain.
Since sudden changes in terrain can result in abrupt steering wheel
motion, make sure you grip the steering wheel from the outside. Do not
grip the spokes.
Drive cautiously to avoid vehicle damage from concealed objects such as
rocks and stumps.
You should either know the terrain or examine maps of the area before
driving. Map out your route before driving in the area. For more
information on driving off-road, read the ªFour Wheelingº supplement in
your owner's portfolio.
If your vehicle gets stuck
If the vehicle is stuck it may be rocked out by shifting from forward and
reverse gears, stopping between shifts, in a steady pattern. Press lightly
on the accelerator in each gear.
Do not rock the vehicle if the engine is not at normal operating
temperature or damage to the transmission may occur.
Do not rock the vehicle for more than a few minutes or damage
to the transmission and tires may occur or the engine may
overheat.
Driving
126
Page 144 of 245

Fuse/Relay
LocationFuse Amp
RatingPassenger Compartment Fuse Panel
Description
10 7.5A Speed control servo/amplifier assembly,
Generic Electronic Module (GEM), Shift
lock actuator, Turn signals, 4x4
11 7.5A Instrument cluster, 4x4, Main light switch,
Central Security Module (CSM), Generic
Electronic Module (GEM)
12 Ð Not used
13 20A Brake pedal position switch
14 10A Anti-lock Brake System (ABS) control
module
15 Ð Not used
16 30A Windshield wiper motor, Wiper HI/LO
relay, Wiper run/park relay
17 20A Cigar lighter, Data Link Connector (DLC)
18 Ð Not used
19 25A Powertrain Control Module (PCM) power
diode, Ignition, PATS (Passive Anti-Theft
System)
20 7.5A Generic Electronic Module (GEM), Radio
21 15A Hazard flasher
22 20A Auxiliary power socket
23 Ð Not used
24 7.5A Clutch Pedal Position (CPP) switch,
Starter interrupt relay
25 Ð Not used
26 10A Battery saver relay, Auxiliary relay box,
Restraint Central Module (RCM), Generic
Electronic Module (GEM), Instrument
cluster
27 Ð Not used
28 7.5A Generic Electronic Module (GEM), Radio
29 20A Radio
Roadside Emergencies
144
Page 145 of 245

Fuse/Relay
LocationFuse Amp
RatingPassenger Compartment Fuse Panel
Description
30 Ð Not used
31 Ð Not used
32 Ð Not used
33 15A Headlamps, Daytime Running Lamps
(DRL) module, Instrument cluster
34 Ð Not used
35 15A Horn relay (if not equipped with a Central
Security Module)
36 Ð Not used
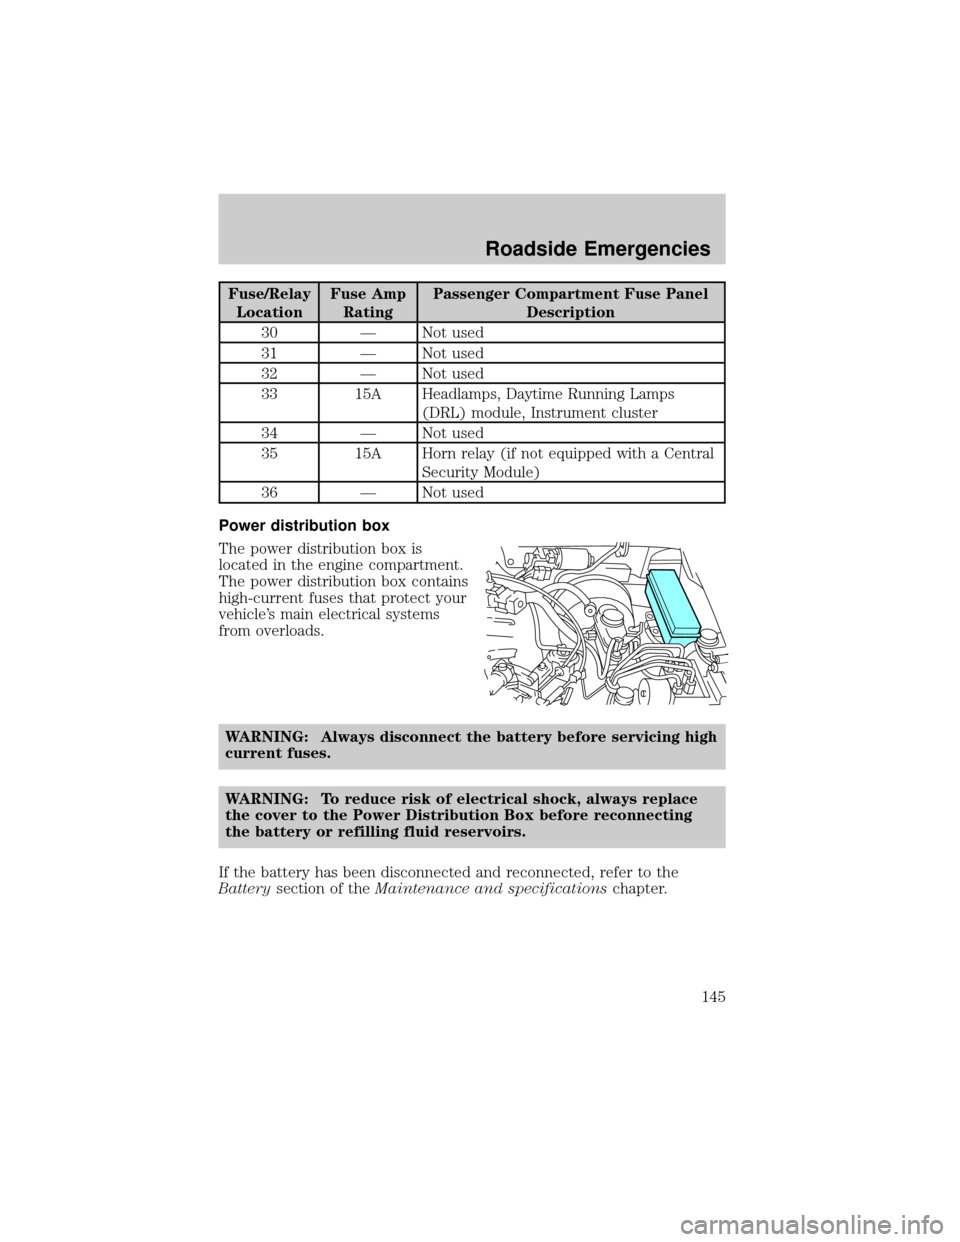
Power distribution box
The power distribution box is
located in the engine compartment.
The power distribution box contains
high-current fuses that protect your
vehicle's main electrical systems
from overloads.
WARNING: Always disconnect the battery before servicing high
current fuses.
WARNING: To reduce risk of electrical shock, always replace
the cover to the Power Distribution Box before reconnecting
the battery or refilling fluid reservoirs.
If the battery has been disconnected and reconnected, refer to the
Batterysection of theMaintenance and specificationschapter.
Roadside Emergencies
145
Page 180 of 245

If the wiper still does not wipe properly, this could be caused by
substances on the windshield or rear window such as tree sap and some
hot wax treatments used by commercial car washes. Clean the outside of
the windshield or rear window with a non-abrasive cleaner.Do notuse
abrasive cleansers on glass as they may cause scratches. The windshield
or rear window is clean if beads do not form when you rinse it with
water. The windshield, rear window and wiper blades should be cleaned
on a regular basis, and blades or rubber elements replaced when worn.
CLEANING THE INSTRUMENT PANEL
Clean the instrument panel with a damp cloth, then dry with a dry cloth.
Avoid cleaners or polish that increase the gloss of the upper portion of
the instrument panel. The dull finish in this area helps protect the driver
from undesirable windshield reflection.
Your vehicle is designed with painted controls and features which
are particularly sensitive to certain products such as insect
repellent and suntan lotion. When operating the various features
on your vehicle, be certain to wash or wipe your hands clean if
you have been in contact with any of these types of products in
order to avoid possible damage to the painted surfaces.
WARNING: Do not use chemical solvents or strong detergents
when cleaning the steering wheel or instrument panel to avoid
contamination of the air bag system.
CLEANING THE INSTRUMENT CLUSTER LENS
Clean with a damp cloth, then dry with a dry cloth.
Do not use household or glass cleaners as these may damage the lens.
INTERIOR
For fabric, carpets, cloth seats, and safety belts:
²Remove dust and loose dirt with a vacuum cleaner.
²Remove light stains and soil with Extra Strength Upholstery Cleaner,
available at your authorized Mazda dealer.
²If grease or tar is present on the material, spot-clean the area first
with Spot and Stain Remover, available at your authorized Mazda
dealer.
²Never saturate the seat covers with cleaning solution.
Cleaning
180