Page 2 of 288
Seating and Safety Restraints 135
Seating 135
Safety restraints 142
Air bags 157
Child restraints 169
Driving 181
Starting 181
Brakes 184
Traction control/AdvanceTrac 186
Transmission operation 190
Trailer towing 198
Roadside Emergencies 200
Getting roadside assistance 200
Hazard flasher switch 201
Fuel pump shut-off switch 201
Fuses and relays 202
Changing tires 211
Jump starting 216
Wrecker towing 222
Customer Assistance 223
Reporting safety defects (U.S. only) 232
Cleaning 233
Maintenance and Specifications 239
Engine compartment 241
Engine oil 243
Battery 246
Fuel information 254
Air filter(s) 265
Part numbers 271
Refill capacities 272
Lubricant specifications 274
Table of Contents
2
Page 5 of 288

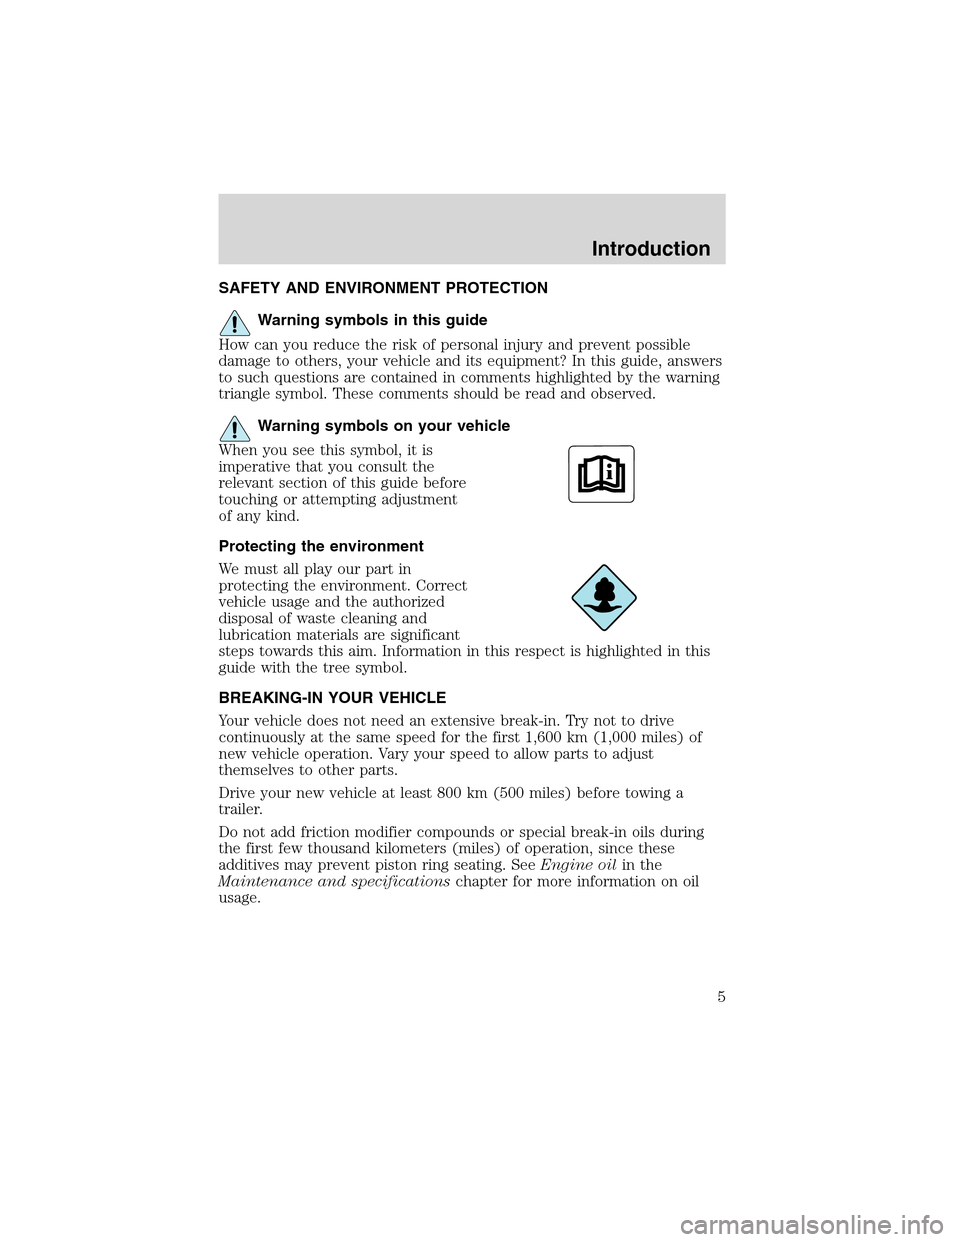
SAFETY AND ENVIRONMENT PROTECTION
Warning symbols in this guide
How can you reduce the risk of personal injury and prevent possible
damage to others, your vehicle and its equipment? In this guide, answers
to such questions are contained in comments highlighted by the warning
triangle symbol. These comments should be read and observed.
Warning symbols on your vehicle
When you see this symbol, it is
imperative that you consult the
relevant section of this guide before
touching or attempting adjustment
of any kind.
Protecting the environment
We must all play our part in
protecting the environment. Correct
vehicle usage and the authorized
disposal of waste cleaning and
lubrication materials are significant
steps towards this aim. Information in this respect is highlighted in this
guide with the tree symbol.
BREAKING-IN YOUR VEHICLE
Your vehicle does not need an extensive break-in. Try not to drive
continuously at the same speed for the first 1,600 km (1,000 miles) of
new vehicle operation. Vary your speed to allow parts to adjust
themselves to other parts.
Drive your new vehicle at least 800 km (500 miles) before towing a
trailer.
Do not add friction modifier compounds or special break-in oils during
the first few thousand kilometers (miles) of operation, since these
additives may prevent piston ring seating. SeeEngine oilin the
Maintenance and specificationschapter for more information on oil
usage.
Introduction
5
Page 9 of 288
Vehicle Symbol Glossary
Power Windows
Front/Rear
Power Window Lockout
Child Safety Door
Lock/UnlockInterior Luggage
Compartment Release
Symbol
Panic AlarmEngine Oil
Engine CoolantEngine Coolant
Temperature
Do Not Open When HotBattery
Avoid Smoking, Flames,
or SparksBattery Acid
Explosive GasFan Warning
Power Steering FluidMaintain Correct Fluid
LevelMAX
MIN
Emission SystemEngine Air Filter
Passenger Compartment
Air FilterJack
Check fuel capLow tire warning
Introduction
9
Page 12 of 288

Engine oil pressure:Illuminates
when the oil pressure falls below the
normal range, refer toEngine oilin
theMaintenance and
specificationschapter.
Engine coolant temperature:
Illuminates when the engine coolant
temperature is high. Stop the
vehicle as soon as possible, switch off the engine and let cool. Refer to
Engine coolantin theMaintenance and specificationschapter.
Never remove the coolant recovery cap while the engine is
running or hot.
Transmission PRNDL indicator:
Displays the gearshift positions. If
an“E”character is displayed or
flashing, this indicates a
transmission malfunction and may cause damage to your transmission.
Contact your dealer immediately.
AdvanceTrac�(if equipped):
Illuminates when the AdvanceTrac�
system is active. If the light remains
on, have the system serviced
immediately, refer to theDriving
chapter for more information.
Traction Control�active:
Illuminates when the Traction
Control�is active. If the light
remains on, have the system
serviced immediately, refer to theDrivingchapter for more information.
Steering column lock (if
equipped):Illuminates when the
steering column is locked. If the
light stays on the vehicle will not
start, make sure the key is the
correct key, refer toSecurilock�in theLocks and Securitychapter.
Instrument Cluster
12
Page 83 of 288

Replacing headlamp bulbs - lowbeam
1. Remove the headlamp assembly
as described under theReplacing
exterior bulbheader.
2. Remove the four T20 torx head
screws holding the bulb retaining
cover on.
3. Turn the bulb counterclockwise
and remove it by pulling the bulb
straight out.
4. Disconnect the electrical
connector.
Handle a halogen headlamp bulb carefully and keep out of
children’s reach. Grasp the bulb only by its plastic base and do
not touch the glass. The oil from your hand could cause the bulb to
break the next time the headlamps are operated.
Install the new bulb in reverse order, while also replacing the seal on the
bulb retaining cover. The kits for replacement seals are avaliable at
Lincoln or Ford dealers.
Replacing HID headlamp bulb (if equipped)
The low beam headlamps on your vehicle use a“high intensity discharge”
source. These lamps operate at a high voltage. The bulb is NOT
replaceable. When the bulb is burned out, the lamp assembly must be
replaced by your dealer or a qualified technician.
Replacing headlamp bulbs - highbeam
1. Remove the headlamp assembly
as described under theReplacing
exterior bulbheader.
2. Remove the four T20 torx head
screws holding the bulb retaining
cover on.
3. Turn the bulb counterclockwise
and remove it by pulling the bulb
straight out.
4. Disconnect the electrical
connector.
Lights
83
Page 107 of 288

RESET
Press this control to select and reset functions shown in the FUEL,
SETUP and STATUS controls.
SETUP
Press this control for the following displays:
•Language
•Units (English/Metric)
•Autolocks
•Easy Entry/Exit (if equipped)
•Lock Chirp (if equipped)
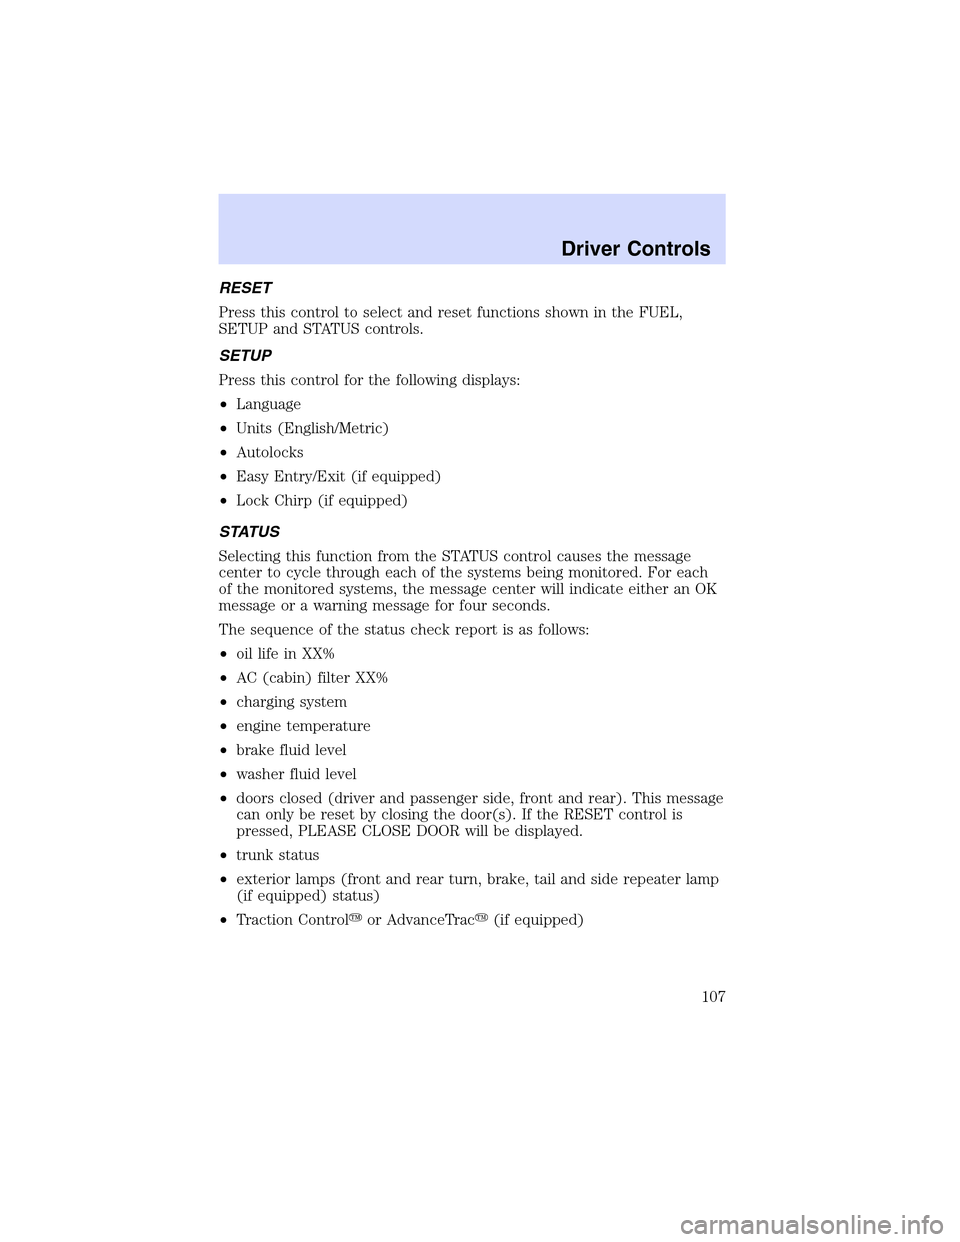
STATUS
Selecting this function from the STATUS control causes the message
center to cycle through each of the systems being monitored. For each
of the monitored systems, the message center will indicate either an OK
message or a warning message for four seconds.
The sequence of the status check report is as follows:
•oil life in XX%
•AC (cabin) filter XX%
•charging system
•engine temperature
•brake fluid level
•washer fluid level
•doors closed (driver and passenger side, front and rear). This message
can only be reset by closing the door(s). If the RESET control is
pressed, PLEASE CLOSE DOOR will be displayed.
•trunk status
•exterior lamps (front and rear turn, brake, tail and side repeater lamp
(if equipped) status)
•Traction Control�or AdvanceTrac�(if equipped)
Driver Controls
107
Page 112 of 288

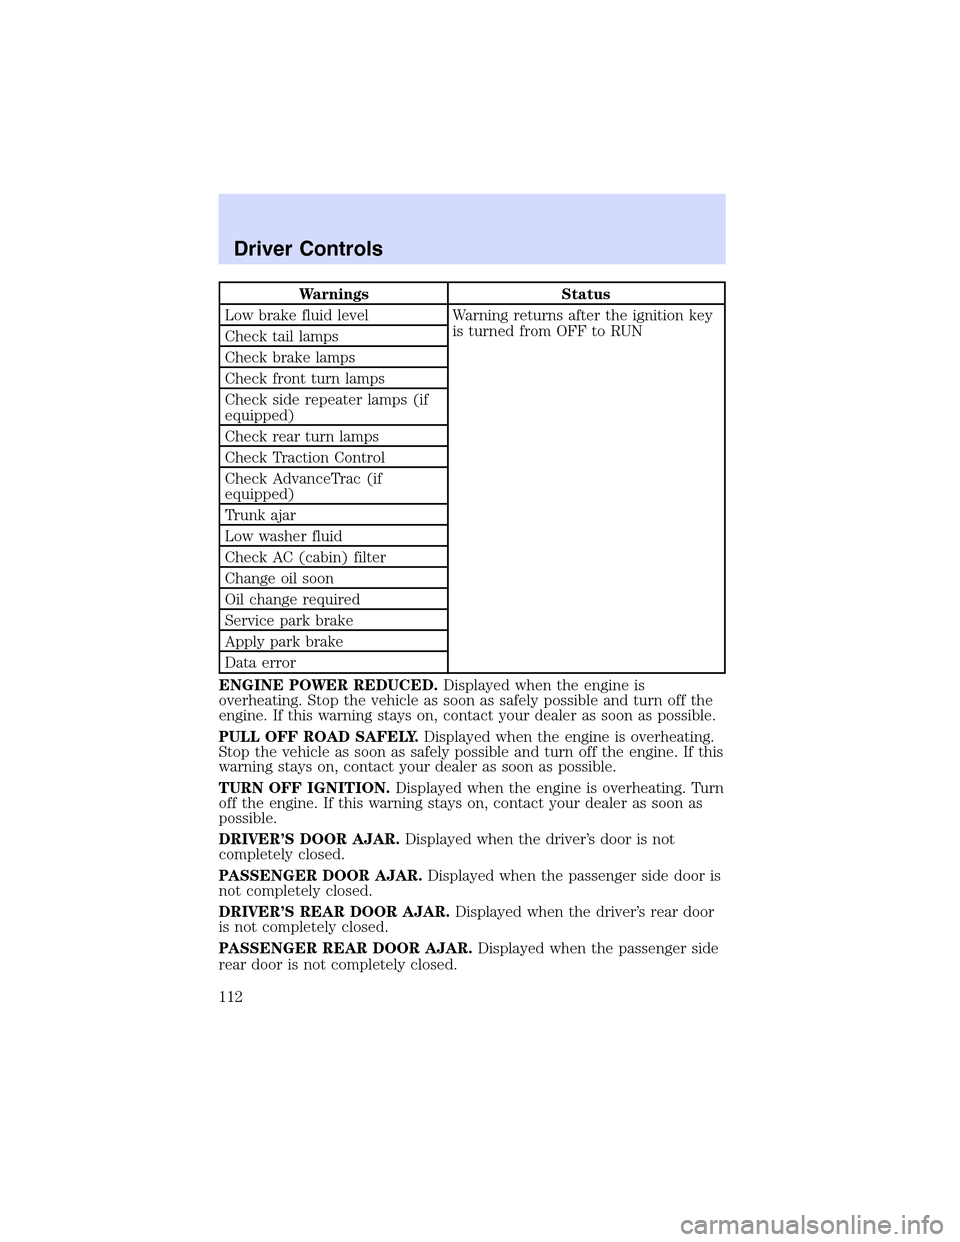
Warnings Status
Low brake fluid level Warning returns after the ignition key
is turned from OFF to RUN
Check tail lamps
Check brake lamps
Check front turn lamps
Check side repeater lamps (if
equipped)
Check rear turn lamps
Check Traction Control
Check AdvanceTrac (if
equipped)
Trunk ajar
Low washer fluid
Check AC (cabin) filter
Change oil soon
Oil change required
Service park brake
Apply park brake
Data error
ENGINE POWER REDUCED.Displayed when the engine is
overheating. Stop the vehicle as soon as safely possible and turn off the
engine. If this warning stays on, contact your dealer as soon as possible.
PULL OFF ROAD SAFELY.Displayed when the engine is overheating.
Stop the vehicle as soon as safely possible and turn off the engine. If this
warning stays on, contact your dealer as soon as possible.
TURN OFF IGNITION.Displayed when the engine is overheating. Turn
off the engine. If this warning stays on, contact your dealer as soon as
possible.
DRIVER’S DOOR AJAR.Displayed when the driver’s door is not
completely closed.
PASSENGER DOOR AJAR.Displayed when the passenger side door is
not completely closed.
DRIVER’S REAR DOOR AJAR.Displayed when the driver’s rear door
is not completely closed.
PASSENGER REAR DOOR AJAR.Displayed when the passenger side
rear door is not completely closed.
Driver Controls
112
Page 115 of 288

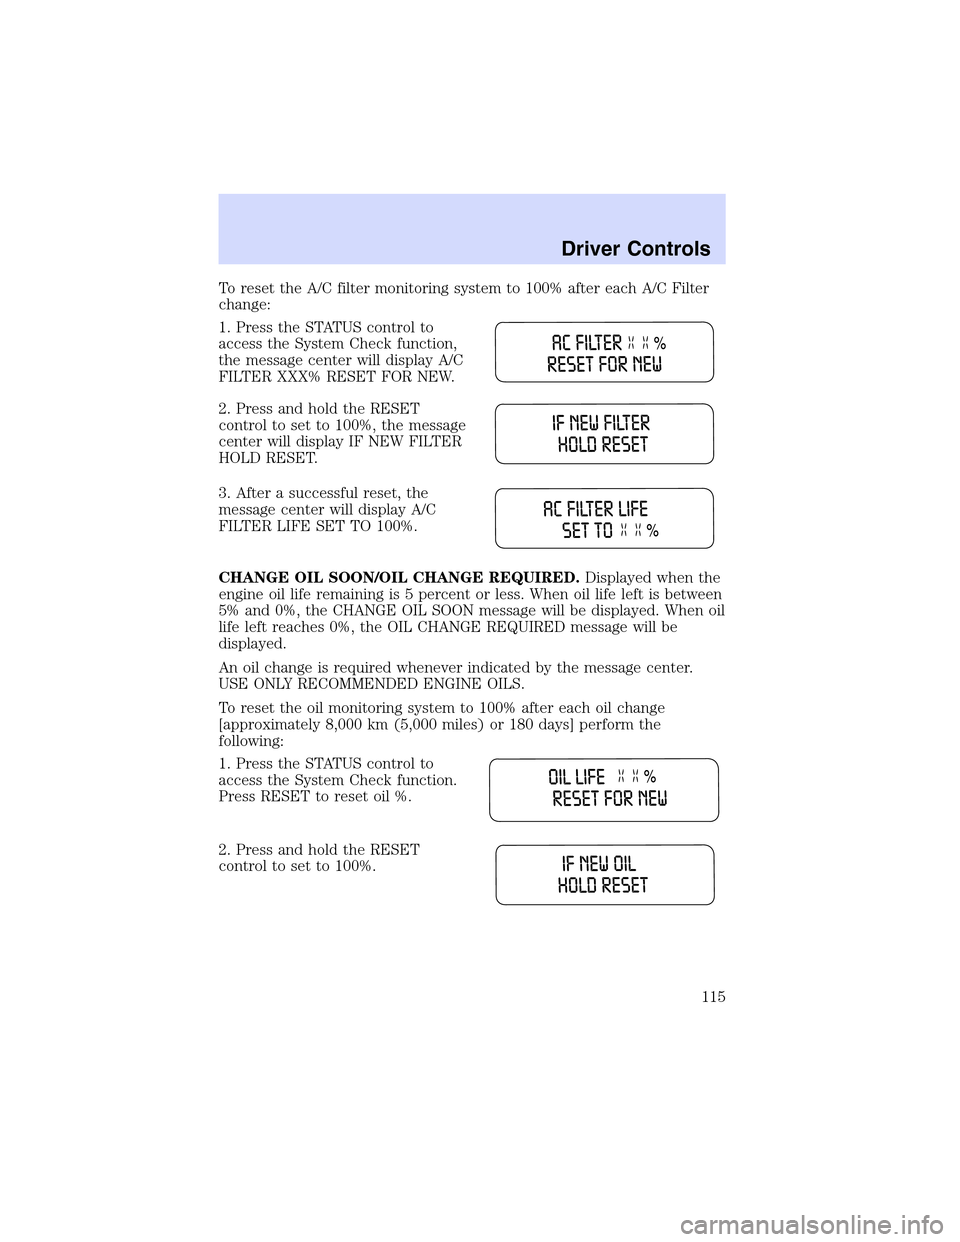
ToresettheA/C filter monitoring system to 100% after each A/C Filter
change:
1. Press the STATUS control to
access the System Check function,
the message center will display A/C
FILTER XXX% RESET FOR NEW.
2. Press and hold the RESET
control to set to 100%, the message
center will display IF NEW FILTER
HOLD RESET.
3. After a successful reset, the
message center will display A/C
FILTER LIFE SET TO 100%.
CHANGE OIL SOON/OIL CHANGE REQUIRED.Displayed when the
engine oil life remaining is 5 percent or less. When oil life left is between
5% and 0%, the CHANGE OIL SOON message will be displayed. When oil
life left reaches 0%, the OIL CHANGE REQUIRED message will be
displayed.
An oil change is required whenever indicated by the message center.
USE ONLY RECOMMENDED ENGINE OILS.
To reset the oil monitoring system to 100% after each oil change
[approximately 8,000 km (5,000 miles) or 180 days] perform the
following:
1. Press the STATUS control to
access the System Check function.
Press RESET to reset oil %.
2. Press and hold the RESET
control to set to 100%.
Driver Controls
115