Page 76 of 288

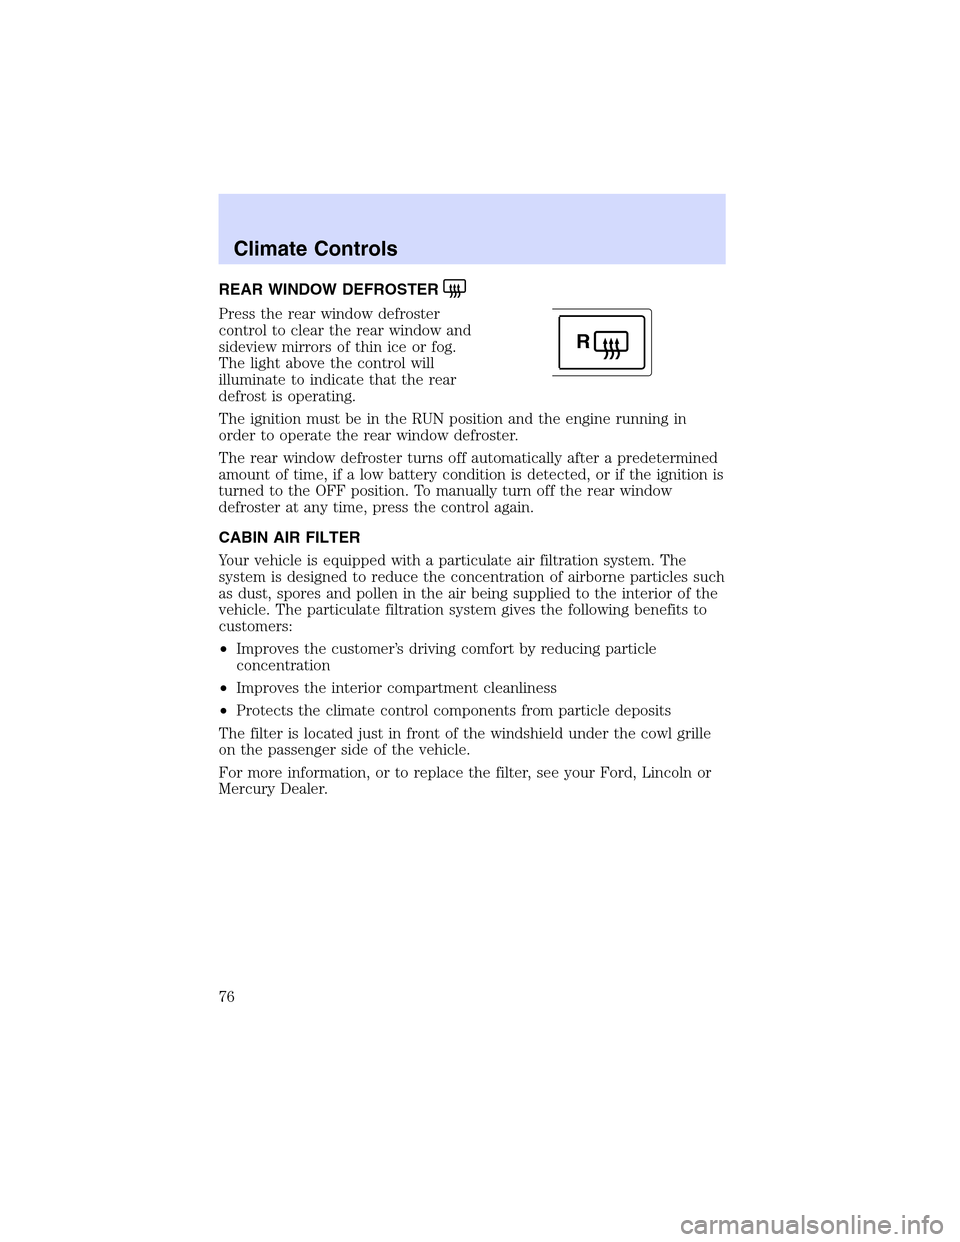
REARWINDOW DEFROSTER
Press the rear window defroster
control to clear the rear window and
sideview mirrors of thin ice or fog.
The light above the control will
illuminate to indicate that the rear
defrost is operating.
The ignition must be in the RUN position and the engine running in
order to operate the rear window defroster.
The rear window defroster turns off automatically after a predetermined
amount of time, if a low battery condition is detected, or if the ignition is
turned to the OFF position. To manually turn off the rear window
defroster at any time, press the control again.
CABIN AIR FILTER
Your vehicle is equipped with a particulate air filtration system. The
system is designed to reduce the concentration of airborne particles such
as dust, spores and pollen in the air being supplied to the interior of the
vehicle. The particulate filtration system gives the following benefits to
customers:
•Improves the customer’s driving comfort by reducing particle
concentration
•Improves the interior compartment cleanliness
•Protects the climate control components from particle deposits
The filter is located just in front of the windshield under the cowl grille
on the passenger side of the vehicle.
For more information, or to replace the filter, see your Ford, Lincoln or
Mercury Dealer.
R
Climate Controls
76
Page 77 of 288

HEADLAMP CONTROL
Turns the lamps off.
Turns on the parking
lamps, instrument panel lamps,
license plate lamps and tail lamps.
Turns the headlamps on.
Note:If the headlamp switch is in the park lamp or lowbeam position,
and it is daytime, the instrument panel lighting will not be activated and
the instrument cluster, radio and climate control displays will not be
dimmed.
Autolamp control
The autolamp system provides light
sensitive automatic on-off control of
the exterior lights normally
controlled by the headlamp control.
•To turn autolamps on, rotate the
control counterclockwise to the
auto position.
•To turn autolamps off, rotate the
control clockwise to the off
position (O).
The autolamp system also keeps the lights on for a period of time after
the ignition switch is turned to OFF. The period of time that the lights
remain on is set at the factory but the time may be adjusted using the
sequence below.
Exit delay programming sequence
1. Start with the ignition in the RUN position and autolamps selected on
the headlight switch.
2. Turn the ignition to the OFF position. (This will start a 10 second
timer during which steps 3 through 6must be completed.)
3. Turn the autolamps OFF.
4. Turn the ignition to the RUN position.
Lights
77
Page 138 of 288

Deactivating/activatingtheeasy-access/easy-out feature
The easy-access/easy-out feature can be turned off or on through the
vehicle message center (if equipped). If your vehicle does not have a
message center, the feature can be turned off or on by your dealer.
Memory seats/steering column/mirrors/adjustable pedals
(if equipped)
This system allows automatic
positioning of the driver seat,
adjustable pedals, outside rearview
mirrors, and power adjusted
tilt/telescope steering column to two
programmable positions.
The memory seat control is located
on the driver door.
•To program position one, move
the driver seat, steering column,
exterior mirrors, and adjustable pedals to the desired position using
the seat controls. Press the SET control. The SET control indicator
light will briefly illuminate. While the light is illuminated, press control
1.
•To program position two, repeat the previous procedure using control
2.
A position can only recalled when the transmission gearshift is in Park
(automatic transmission). A memory seat position may be programmed
at any time.
The memory seat positions are also recalled when you press your remote
entry transmitter UNLOCK control and the transmitter is programmed to
a memory seat position or when you enter a valid customer code 1 or 2
on the keypad.
To program the memory seat to remote entry transmitter, refer to
Remote entry systemin theLocks and security chapter..
Note: The seat will not travel to its final position if the key is not
in the ignition and the easy entry feature is enabled.
Climate controlled seats air filter replacement (if equipped)
The controls for the climate controlled seats are located on the dual
electronic automatic temperature control (DEATC) system. Refer to
Climate controlsfor more information.
Seating and Safety Restraints
138
Page 139 of 288
Theclimatecontrolled seat system includes an air filter that has to be
replaced periodically. Refer to theScheduled Maintenance Guidefor
more information.
•There is a filter located under
both front seats.
•It can be accessed from the
second row seat. Move the front
seat all the way forward and up
to ease access.
To remove climate controlled seat
air filter:
•Remove key from ignition.
•Push on the outside rigid edge of
the air filter at the center and
rotate toward the front of the
vehicle once tabs are released.
•Remove filter.
Seating and Safety Restraints
139
Page 140 of 288
Toinstallclimate controlled seat air filter:
•First, position the filter in it’s
housing making sure that the far
forward end is all the way up in
the housing. Then push in on the
center of the outside edge of the
filter and rotate up into the
housing until it clips into position.
REAR SEATS
Adjustable rear head restraints (if equipped)
Head restraints help to limit head motion in the event of a rear collision.
Adjust your head restraint so that it is located directly or as close as
possible behind your head.
The head restraints can be moved
up and down.
Push control to lower head restraint.
Seating and Safety Restraints
140
Page 205 of 288
Fuse/Relay
LocationFuse Amp
RatingPassenger Compartment Fuse
Panel Description
7 5A DDM, DSM, Anti-theft LED,
Power mirror switch, Electric
Park Brake (EPB) switch
8 5A Right front turn, Right front
repeater, Right front sidemarker,
Right front park lamps
9 15A Right front low beam/HID
10 5A Left front turn, Left front
repeater, Left front sidemarker,
Left front park lamps
11 10A Left front high beam
12 5A Rain sensor, Electrochromic
mirror
13 5A Cluster
14 5A DATC
15 5A O/D cancel, ABS/Traction-Assist
switch
16 5A Heated seat controls, Climate
control seat module
17 5A RCM, Alternator warning lamp
18 20A Radio, CIA, Navigation unit
19 15A Tilt/Tele motors
20 10A FEM, DATC, Cluster, REM
21 7.5A Not used (spare)
22 10A DDM, Driver door mirror
23 10A Right front high beam
24 5A PATS
25 15A Left front low beam/HID
26 5A Wiper module
27 10A Radio, Navigation unit
28 5A Not Used (spare)
29 5A FEM, Reverse park assist
Roadside Emergencies
205
Page 211 of 288
Fuse/Relay
LocationFuse Amp
RatingPower Distribution Box
Description
16 20A* Moonroof
17 15A* Fuel pump motor
18 20A* Navigation amp, Subwoofer
19 20A** REM - Left rear window
20 30A** Front window motors
21 20A** Driver lumbar, Power seats
22 20A** Ignition switch
23 30A** SSP4
24 30A** SSP3
25 40A** P-J/B
26 30A** Climate control seat module
27 30A** SSP1
28 20A** Passenger lumbar, Power seats
29 40A** Rear defroster
30 20A** REM - Right rear window
31 30A** Powertrain main power
32 30A** SSP2
Relay 001—SSP1
Relay 002—SSP4
Relay 003—Rear defroster
Relay 004—SSP3
Relay 005—SSP2
Relay 006—Not used
Relay 007—Fuel pump motor
Diode 01—Not used
Diode 02—Fuel pump motor
*Mini fuses **Maxi fuses
CHANGING THE TIRES
If you get a flat tire while driving, do not apply the brake heavily.
Instead, gradually decrease your speed. Hold the steering wheel firmly
and slowly move to a safe place on the side of the road.
Roadside Emergencies
211
Page 267 of 288

•Treadwear 200 Traction AA Temperature A
These Tire Quality Grades are determined by standards that the United
States Department of Transportation has set.
Tire Quality Grades apply to new pneumatic tires for use on passenger
cars. They do not apply to deep tread, winter-type snow tires,
space-saver or temporary use spare tires, tires with nominal rim
diameters of 10 to 12 inches or limited production tires as defined in
Title 49 Code of Federal Regulations Part 575.104(c)(2).
U.S. Department of Transportation-Tire quality grades:The U.S.
Department of Transportation requires Ford to give you the following
information about tire grades exactly as the government has written it.
Treadwear
The treadwear grade is a comparative rating based on the wear rate of
the tire when tested under controlled conditions on a specified
government test course. For example, a tire graded 150 would wear one
and one-half (1 1/2) times as well on the government course as a tire
graded 100. The relative performance of tires depends upon the actual
conditions of their use, however, and may depart significantly from the
norm due to variations in driving habits, service practices, and
differences in road characteristics and climate.
Traction AA A B C
The traction grades, from highest to lowest are AA, A, B, and C. The
grades represent the tire’s ability to stop on wet pavement as measured
under controlled conditions on specified government test surfaces of
asphalt and concrete. A tire marked C may have poor traction
performance.
The traction grade assigned to this tire is based on
straight-ahead braking traction tests, and does not include
acceleration, cornering, hydroplaning or peak traction characteristics.
Temperature A B C
The temperature grades are A (the highest), B and C, representing the
tire’s resistance to the generation of heat and its ability to dissipate heat
when tested under controlled conditions on a specified indoor laboratory
test wheel. Sustained high temperature can cause the material of the tire
to degenerate and reduce tire life, and excessive temperature can lead to
sudden tire failure. The grade C corresponds to a level of performance
Maintenance and Specifications
267