Page 160 of 280

Tires can be damaged during off-road use. For your safety, tires that are
damaged should not be used for highway driving because they are more
likely to blow out or fail.
You should carefully observe the recommended tire inflation pressure
found on the safety compliance certification label attached to the left
front door lock facing or door latch post pillar. Failure to follow tire
pressure recommendations can adversely affect the way your vehicle
handles. Do not exceed the Ford Motor Company recommended pressure
even if it is less than the maximum pressure allowed for the tire.
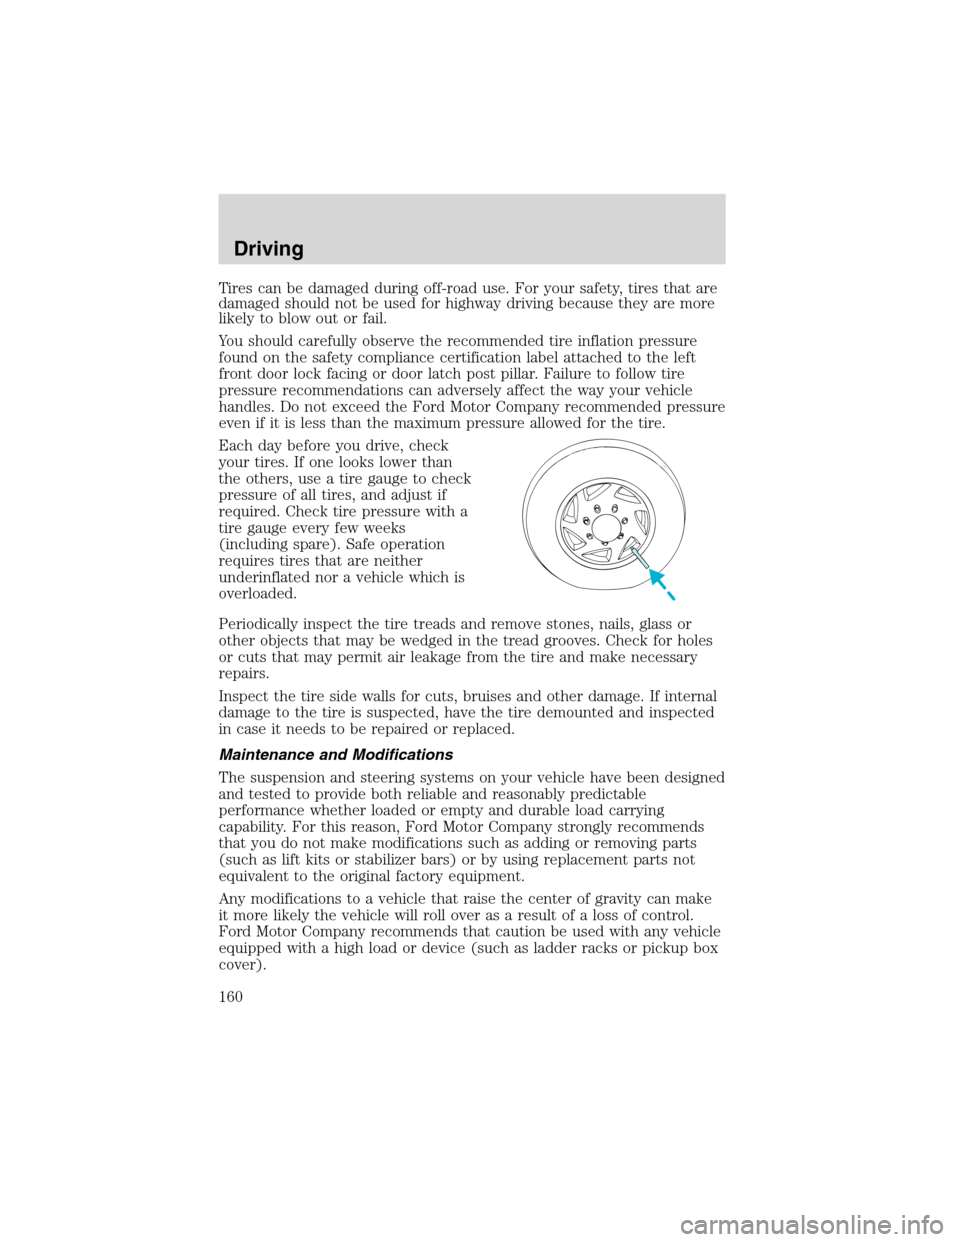
Each day before you drive, check
your tires. If one looks lower than
the others, use a tire gauge to check
pressure of all tires, and adjust if
required. Check tire pressure with a
tire gauge every few weeks
(including spare). Safe operation
requires tires that are neither
underinflated nor a vehicle which is
overloaded.
Periodically inspect the tire treads and remove stones, nails, glass or
other objects that may be wedged in the tread grooves. Check for holes
or cuts that may permit air leakage from the tire and make necessary
repairs.
Inspect the tire side walls for cuts, bruises and other damage. If internal
damage to the tire is suspected, have the tire demounted and inspected
in case it needs to be repaired or replaced.
Maintenance and Modifications
The suspension and steering systems on your vehicle have been designed
and tested to provide both reliable and reasonably predictable
performance whether loaded or empty and durable load carrying
capability. For this reason, Ford Motor Company strongly recommends
that you do not make modifications such as adding or removing parts
(such as lift kits or stabilizer bars) or by using replacement parts not
equivalent to the original factory equipment.
Any modifications to a vehicle that raise the center of gravity can make
it more likely the vehicle will roll over as a result of a loss of control.
Ford Motor Company recommends that caution be used with any vehicle
equipped with a high load or device (such as ladder racks or pickup box
cover).
Driving
160
Page 171 of 280

Installing the snowplow
Read the following instructions before installing a snowplow:
•Front GAWR must not exceed 63% of the GVW. Add ballast weight to
the back of the vehicle, if necessary. Refer to the Safety Compliance
Certification Label to find your vehicle’s front GAWR.
•The Front Axle Accessory Reserve Capacity and the TARC listed on
the bottom right of the Safety Compliance Certification Label will
determine whether or not the addition of a snowplow will overload
your vehicle.
•The weight of the snowplow and supporting components distributed to
the front axle must not exceed the Front Axle Accessory Reserve
Capacity.
•The total weight of the snowplow and aftermarket equipment must
not exceed the TARC.
•The weight of the installed snowplow and aftermarket equipment must
not load the vehicle beyond the GAWR (front/rear) and GVWR listed
on the Safety Compliance Certification Label.
•The total weight of the snowplow and aftermarket equipment must be
considered part of the payload and must not exceed the GCWR for
towing.
•Federal and most local regulations require additional exterior lamps
for snowplow-equipped vehicles. Consult your dealer for additional
information.
•Tires have their maximum inflation pressure and associated load rating
imprinted on the tire sidewall. This pressure may or may not be the
same as that shown as recommended on the vehicle. The vehicle
operator may have to adjust the tire inflation pressure to
accommodate the snowplow and payload. Consult your dealer or
equipment installer for help with proper inflation pressures.
•Federal and some local regulations require additional exterior lamps
for snowplow-equipped vehicles. Consult your dealer for additional
information.
•After installing a snowplow to the vehicle, ensure the vehicle’s front
toe alignment and front ride height are within specification (reset if
required). These specifications are located in the vehicle’s Workshop
Manual.
Note:Do not exceed the GVWR or the GAWR specified on the
certification label.
Driving
171
Page 252 of 280

The traction grade assigned to this tire is based on
straight-ahead braking traction tests, and does not include
acceleration, cornering, hydroplaning or peak traction characteristics.
Temperature A B C
The temperature grades are A (the highest), B and C, representing the
tire’s resistance to the generation of heat and its ability to dissipate heat
when tested under controlled conditions on a specified indoor laboratory
test wheel. Sustained high temperature can cause the material of the tire
to degenerate and reduce tire life, and excessive temperature can lead to
sudden tire failure. The grade C corresponds to a level of performance
which all passenger car tires must meet under the Federal Motor Vehicle
Safety Standard No. 109. Grades B and A represent higher levels of
performance on the laboratory test wheel than the minimum required by
law.
The temperature grade for this tire is established for a tire that
is properly inflated and not overloaded. Excessive speed,
underinflation, or excessive loading, either separately or in
combination, can cause heat buildup and possible tire failure.
SERVICING YOUR TIRES
Checking the tire pressure
•Use an accurate tire pressure gauge.
•Check the tire pressure when tires are cold, after the vehicle has been
parked for at least one hour or has been driven less than 5 km
(3 miles).
•Adjust tire pressure to recommended specifications found on the
Certification Label inside of driver’s door. Tire pressure information
can also be found on the Tire Information label located on the inside
of the fuel filler door.
Improperly inflated tires can affect vehicle handling and can fail
suddenly, possibly resulting in loss of vehicle control, vehicle
rollover and/or personal injury.
Maintenance and Specifications
252