Page 53 of 288

PANEL DIMMER CONTROL
Use to adjust the brightness of the
instrument panel and all applicable
switches in the vehicle during
headlampand parklampoperation.
Move the control to the full upright
position, past detent, to turn on the
interior lamps.
Move the control to the full down
position, past detent, to prevent the
interior lights from illuminating
when the doors are opened.
VERTICAL AIM ADJUSTMENT
Your vehicle is fitted with eitherVOR(conventional halogen) orVOL
(High Intensity Discharge - HID) headlamps. The adjustment procedure
depends on the type of headlamps that are equipped on your vehicle.
VORorVOLis marked on the bottom of the headlampin the center of
the lamp. Please check the lens markings prior to adjusting the vehicle
aim.
1. Park the vehicle on a level surface approximately 7.6 meters (25 feet)
from a vertical wall or screen directly in front of it.
•(1) Eight feet
•(2)VOR– Measurement of the center height of lampto ground
VOL– Subtract 50 mm’s (2 inches) from the measurement of the
center height of the lampto ground
•(3) Twenty-five feet
•(4) Horizontal reference line
Lights
53
Page 54 of 288

2.VOR:Measure the height from
the center of your headlampto the
ground and mark a 2.4 meter (8
foot) horizontal reference line on
the vertical wall or screen at this
height (a piece of masking tape
works well). The center of the lamp
is marked by a 3.0 mm circle on the
headlamplens.
VOL:Measure the height from the
center of your headlampto the
ground, subtract 50 mm’s, (2.1 inches), and mark a 2.4 meter (8 foot)
horizontal reference line on the vertical wall or screen at this height (a
piece of masking tape works well). The center of the lamp is marked by
a 3.0 mm circle on the headlamplens.
3. Turn on the low beam headlamps to illuminate the wall or screen and
open the hood.
4. On the wall or screen you will
observe a light pattern with a
distinct horizontal edge of high
intensity with a slight angle towards
the right. If this is not at the
horizontal reference line, the beam
will need to be adjusted.
5. Locate the vertical adjuster in
each headlamp, then use a 4 mm
socket/wrench to turn the adjuster
either counterclockwise (to adjust
down) or clockwise (to adjust up)
aligning the upper edge of the light
pattern up to the horizontal line.
6. HORIZONTAL AIM IS NOT
REQUIRED FOR THIS VEHICLE
AND IS NON-ADJUSTABLE.
7. Close the hood and turn off the lamps.
Lights
54
Page 137 of 288

BELT AND RETRACTOR ASSEMBLY MUST BE REPLACED if
the safety belt assembly “automatic locking retractor” feature or
any other safety belt function is not operating properly. In addition, all
safety belts should be checked for proper function. Failure to replace
the belt and retractor assembly could increase the risk of injury in
collisions.
Safety belt pretensioner
Your vehicle is equipped with safety belt pretensioners at the driver and
right front passenger seating positions.
The safety belt pretensioner removes some slack from the safety belt
system at the start of a crash. The safety belt pretensioner uses the
same crash sensor system as the front airbags and Safety Canopy�
system. When the safety belt pretensioner deploys, the lap and shoulder
belt are tightened.
When the Safety Canopy�system and/or the front airbags are activated,
the safety belt pretensioners for the driver and right front passenger
seating positions will be activated when the respective seatbelt is
properly buckled.
The driver and the right front passenger seat belt system
(including retractors, buckles and height adjusters) must be
replaced if the vehicle is involved in a collision that results in
deployment of front air bags or Safety Canopy�and safety belt
pretensioners.
Refer to theSafety belt maintenancesection in this chapter.
Seating and Safety Restraints
137
Page 138 of 288

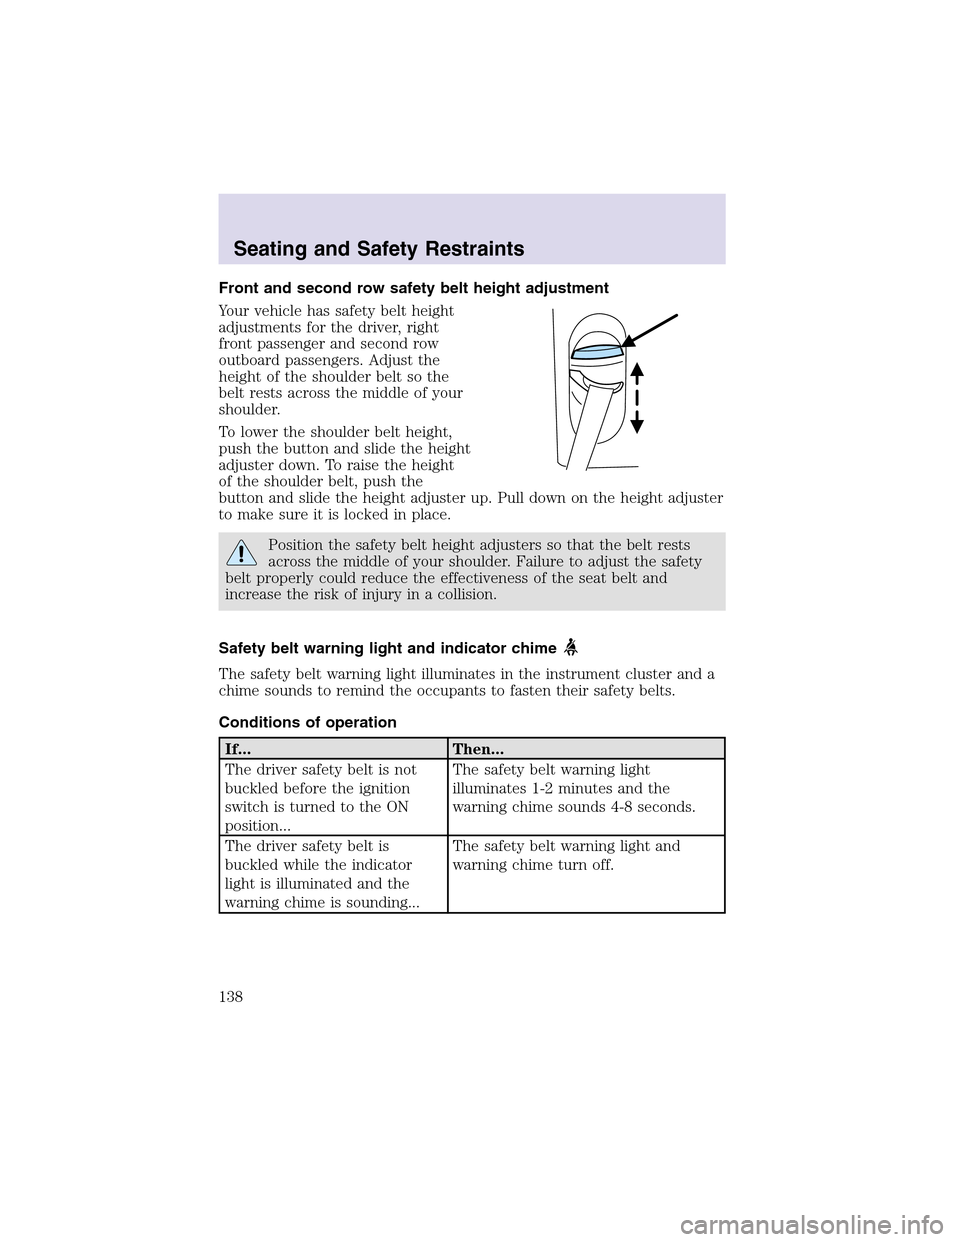
Front and second row safety belt height adjustment
Your vehicle has safety belt height
adjustments for the driver, right
front passenger and second row
outboard passengers. Adjust the
height of the shoulder belt so the
belt rests across the middle of your
shoulder.
To lower the shoulder belt height,
push the button and slide the height
adjuster down. To raise the height
of the shoulder belt, push the
button and slide the height adjuster up. Pull down on the height adjuster
to make sure it is locked in place.
Position the safety belt height adjusters so that the belt rests
across the middle of your shoulder. Failure to adjust the safety
belt properly could reduce the effectiveness of the seat belt and
increase the risk of injury in a collision.
Safety belt warning light and indicator chime
The safety belt warning light illuminates in the instrument cluster and a
chime sounds to remind the occupants to fasten their safety belts.
Conditions of operation
If... Then...
The driver safety belt is not
buckled before the ignition
switch is turned to the ON
position...The safety belt warning light
illuminates 1-2 minutes and the
warning chime sounds 4-8 seconds.
The driver safety belt is
buckled while the indicator
light is illuminated and the
warning chime is sounding...The safety belt warning light and
warning chime turn off.
Seating and Safety Restraints
138
Page 143 of 288

Do not use extensions to change the fit of the shoulder belt
across the torso.
Safety belt maintenance
Inspect the safety belt systems periodically to make sure they work
properly and are not damaged. Inspect the safety belts to make sure
there are no nicks, tears or cuts. Replace if necessary. All safety belt
assemblies, including retractors, buckles, front seat belt buckle
assemblies, buckle support assemblies (slide bar-if equipped), shoulder
belt height adjusters (if equipped), shoulder belt guide on seatback (if
equipped), child safety seat LATCH and tether anchors, and attaching
hardware, should be inspected after a collision. Ford Motor Company
recommends that all safety belt assemblies used in vehicles involved in a
collision be replaced. However, if the collision was minor and a qualified
technician finds that the belts do not show damage and continue to
operate properly, they do not need to be replaced. Safety belt assemblies
not in use during a collision should also be inspected and replaced if
either damage or improper operation is noted.
Failure to inspect and if necessary replace the safety belt
assembly under the above conditions could result in severe
personal injuries in the event of a collision.
Refer toInteriorin theCleaningchapter.
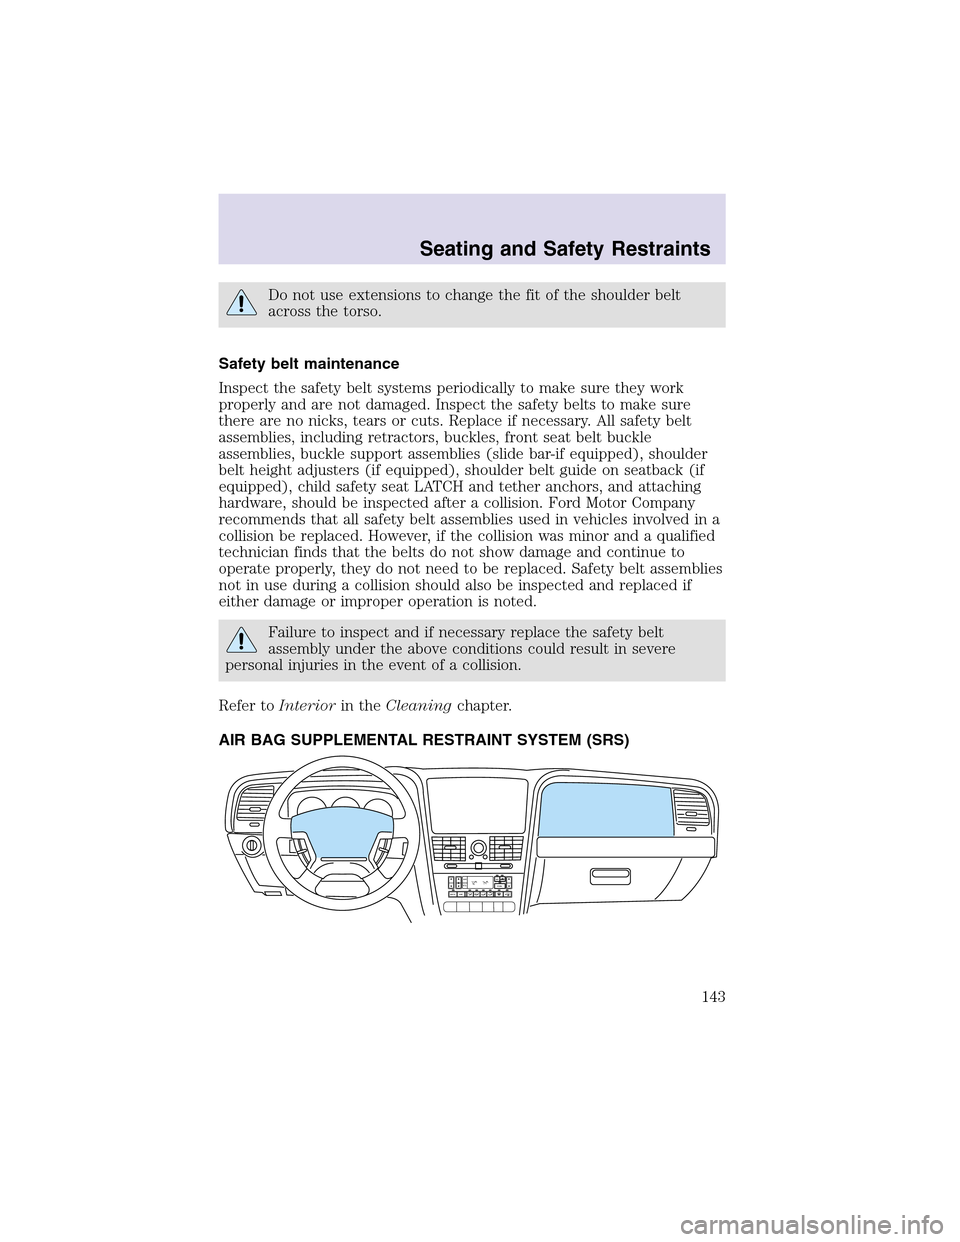
AIR BAG SUPPLEMENTAL RESTRAINT SYSTEM (SRS)
AUTO DUALA/C
R EXT
F/ CFFOFF
Seating and Safety Restraints
143
Page 275 of 288
ENGINE DATA
VEHICLE DIMENSIONS
Vehicle dimensions mm (in)
(1) Overall length 4909 (193.3)
(2) Vehicle width (body) 1877 (73.9)
(3) Vehicle width (including
mirrors)2132 (83.9)
(4) Maximum height* 1813.5 (71.4)
(5) Wheelbase 2889 (113.7)
(6) Track width, front 1547 (60.9)
(6) Track width, rear 1554 (61.2)
* P245 tire with roof rack
5
1
Maintenance and Specifications
275