Page 9 of 288
Vehicle Symbol Glossary
Power Windows
Front/Rear
Power Window Lockout
Child Safety Door
Lock/UnlockInterior Luggage
Compartment Release
Symbol
Panic AlarmEngine Oil
Engine CoolantEngine Coolant
Temperature
Do Not Open When HotBattery
Avoid Smoking, Flames,
or SparksBattery Acid
Explosive GasFan Warning
Power Steering FluidMaintain Correct Fluid
LevelMAX
MIN
Emission SystemEngine Air Filter
Passenger Compartment
Air FilterJack
Check fuel capLow tire warning
Introduction
9
Page 14 of 288

High beams
Illuminates when the high beam
headlamps are turned on.
O/D off
Illuminates when the overdrive
function has been cancelled by
using the Transmission Control
Switch (TCS) on the side of the
gear shift, refer toAutomatic transmissionin theDrivingchapter. This
lampwill flash if a transmission concern is detected. To prevent
additional transmission damage have your vehicle serviced as soon as
possible.
AWD locked (if equipped)
Illuminates when all wheel drive
(AWD) is locked. If the light
continues to flash have the system
serviced.
Safety belt warning chime
Sounds to remind you to fasten your safety belts.
BeltMinder�chime
Sounds intermittently to remind you to fasten your safety belts.
Supplemental restraint system (SRS) warning chime
Sounds when a malfunction in the supplemental restraint system (front
or side airbags) has been detected. Have the supplemental restraint
system inspected immediately.
Headlamps on warning chime
Sounds when the headlamps or parking lamps are on, the key is removed
from the ignition and the driver’s door is opened.
Key-in-ignition warning chime
Sounds when the key is left in the ignition and the driver’s door is opened.
Door ajar warning chime
Sounds when any door or liftgate is opened (or not fully closed).
AWD
LOCKED
Instrument Cluster
14
Page 38 of 288

Soft mute
When the vehicle is in reverse, and an obstacle is detected by Rear Park
Assist, the radio volume is reduced to a level that allows the warning to
be heard. After the obstacle warning is gone, the radio will return to the
previously set volume level.
Setting the clock
Your vehicle is equipped with a separate instrument panel mounted
clock. Please refer toClockin theDriver controls chapterfor
instructions on setting the clock.
Digital signal processing
The digital signal processing (DSP) feature allows you to change the
signal mode to suit your listening tastes.
Press the DSP control to access the
DSP menu.
Use the SEL control to select the desired signal mode (the selected
mode will appear in the display). The following can be selected:
•DSP OFF—disengages the feature
•STADIUM—outdoor stadium with
a capacity of about 30 000
•CHURCH—church with a high
vault
•HALL—rectangular concert hall capacity of about 2 000
•JAZZ CLUB—jazz club with clearly reflected sounds
•NEWS “voice-only” type of sound with a limited audio band
Press the DSP control again to access the occupancy modes. Use the
SEL control to optimize the sound based upon the occupants in the
vehicle.
The following occupancy modes can be selected:
•ALL SEATS
•DRIVER SEAT
•REAR SEATS
DSP
SEL+
SEL
Entertainment Systems
38
Page 56 of 288

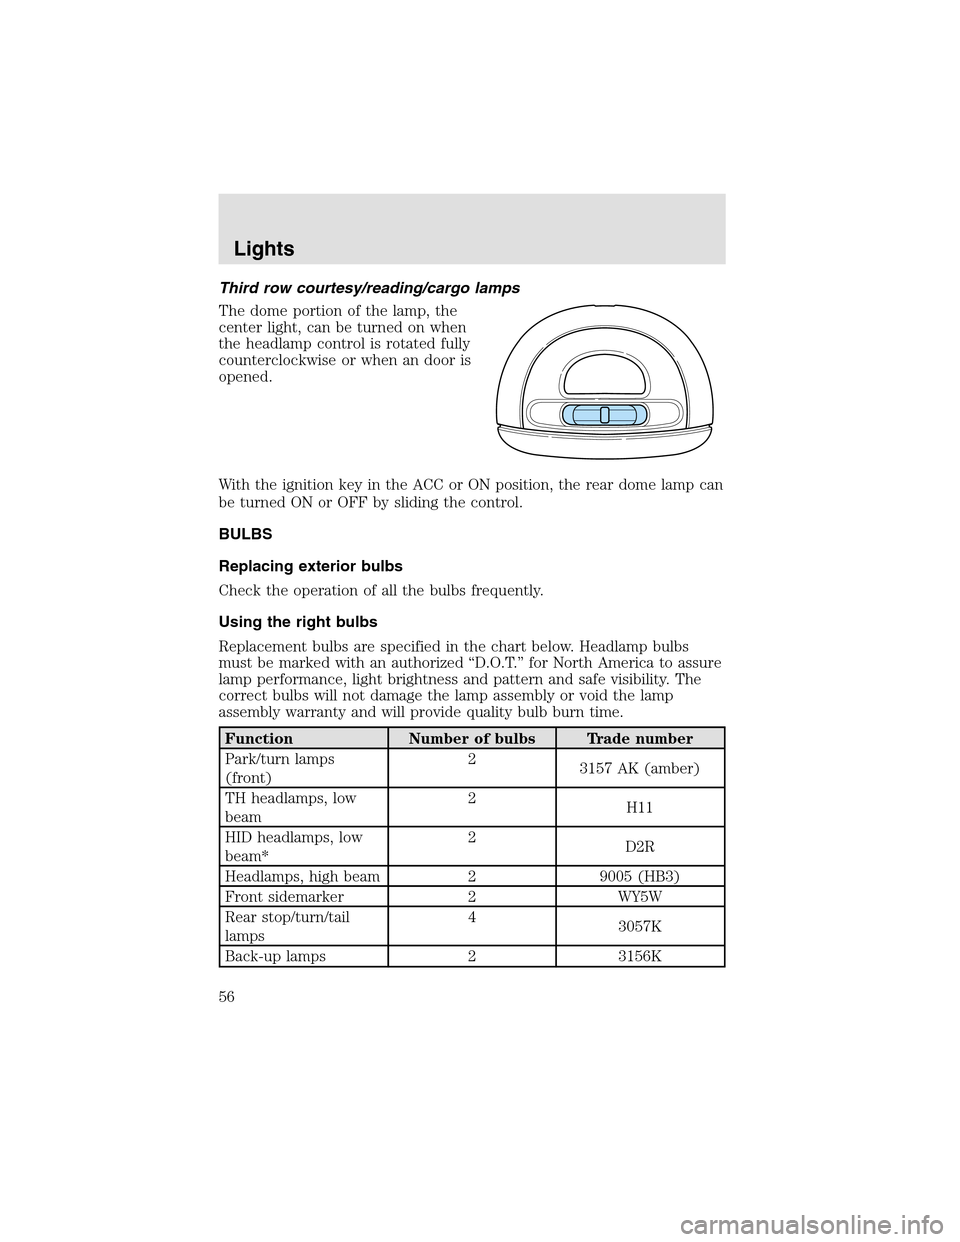
Third row courtesy/reading/cargo lamps
The dome portion of the lamp, the
center light, can be turned on when
the headlampcontrol is rotated fully
counterclockwise or when an door is
opened.
With the ignition key in the ACC or ON position, the rear dome lamp can
be turned ON or OFF by sliding the control.
BULBS
Replacing exterior bulbs
Check the operation of all the bulbs frequently.
Using the right bulbs
Replacement bulbs are specified in the chart below. Headlamp bulbs
must be marked with an authorized “D.O.T.” for North America to assure
lamp performance, light brightness and pattern and safe visibility. The
correct bulbs will not damage the lampassembly or void the lamp
assembly warranty and will provide quality bulb burn time.
Function Number of bulbs Trade number
Park/turn lamps
(front)2
3157 AK (amber)
TH headlamps, low
beam2
H11
HID headlamps, low
beam*2
D2R
Headlamps, high beam 2 9005 (HB3)
Front sidemarker 2 WY5W
Rear stop/turn/tail
lamps4
3057K
Back-uplamps 2 3156K
Lights
56
Page 73 of 288

Security Override
If during a bounce-back condition, the switch is released to the neutral
position, then held in the one touch up position within two seconds after
the window reaches the bounce-back position,the window will travel
up with no bounce-back protection.If the switch is released before
the window reaches fully closed or the ignition is turned OFF (without
accessory delay being active), the window will stop. Security override
can be used if there is ice on the window or seals, causing a restriction.
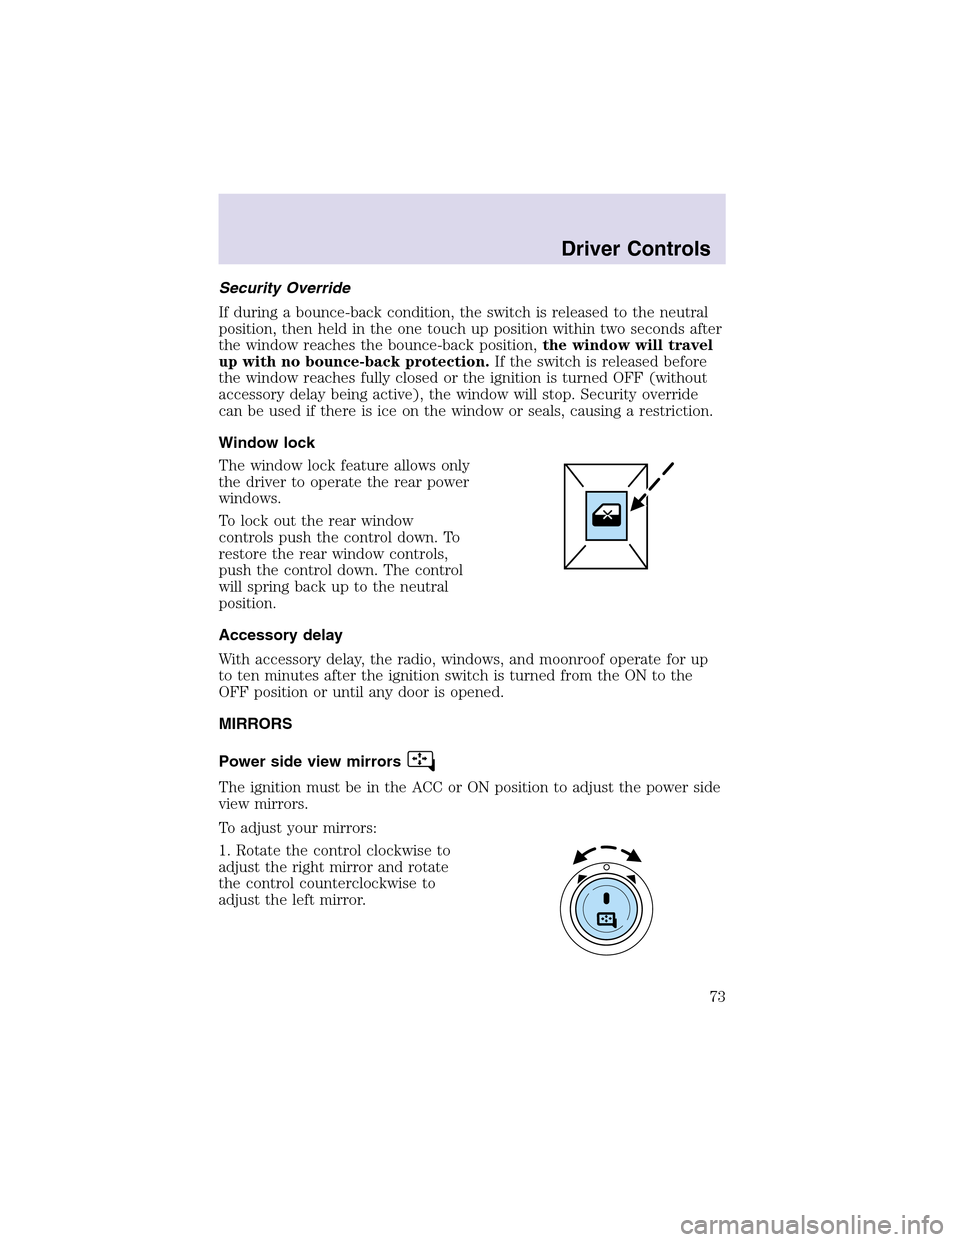
Window lock
The window lock feature allows only
the driver to operate the rear power
windows.
To lock out the rear window
controls push the control down. To
restore the rear window controls,
push the control down. The control
will spring back up to the neutral
position.
Accessory delay
With accessory delay, the radio, windows, and moonroof operate for up
to ten minutes after the ignition switch is turned from the ON to the
OFF position or until any door is opened.
MIRRORS
Power side view mirrors
The ignition must be in the ACC or ON position to adjust the power side
view mirrors.
To adjust your mirrors:
1. Rotate the control clockwise to
adjust the right mirror and rotate
the control counterclockwise to
adjust the left mirror.
Driver Controls
73
Page 82 of 288

Press FAN + or - to adjust fan
speed.
HOMELINK�UNIVERSAL TRANSCEIVER
The HomeLink�Universal Transceiver, located on the overhead console,
provides a convenient way to replace up to three hand-held transmitters
with a single built-in device. This feature will learn the radio frequency
codes of most current transmitters to operate garage doors, entry gate
operators, security systems, entry door locks, and home or office lighting.
When programming your HomeLink�Universal Transceiver to a
garage door or gate, be sure that people and objects are out of
the way to prevent potential harm or damage.
Do not use the HomeLink�Universal Transceiver with any garage door
opener that lacks safety stop and reverse features as required by U.S.
federal safety standards (this includes any garage door opener model
manufactured before April 1, 1982). A garage door which cannot detect
an object, signaling the door to stopand reverse, does not meet current
U.S. federal safety standards. For more information, contact HomeLink�
at:www.homelink.comor1–800–355–3515.
Retain the original transmitter for use in other vehicles as well as for
future programming procedures (i.e. new HomeLink�equipped vehicle
purchase). It is also suggested that upon the sale of the vehicle, the
programmed Homelink�Universal Transceiver buttons be erased for
security purposes, refer toProgrammingin this section.
Programming
Do not program the HomeLink�Universal Transceiver with the
vehicle parked in the garage.
Note:Some vehicles may require the ignition switch to be turned to the
second (or “ACC”) position for programming and/or operation of the
HomeLink�. It is also recommended that a new battery be placed in the
Driver Controls
82
Page 84 of 288

7. Press and release the “learn” or “smart” button. (The name and color
of the button may vary by manufacturer.)
Note:There are 30 seconds in which to initiate stepeight.
8. Return to the vehicle and firmly press, hold for two seconds and
release the HomeLink�button. Repeat the press/hold/release sequence
again, and, depending on the brand of the garage door opener (or other
rolling code equipped device), repeat this sequence a third time to
complete the programming.
HomeLink�should now activate your rolling code equipped device. To
program additional HomeLink�buttons begin with step2 in the
“Programming” section. For questions or comments, please contact
HomeLink atwww.homelink.comor1–800–355–3515.
Operating the HomeLink�Universal Transceiver
To operate, simply press and release
the appropriate HomeLink�button.
Activation will now occur for the
trained product (garage door, gate
operator, security system, entry
door lock, or home or office lighting
etc.). For convenience, the
hand-held transmitter of the device
may also be used at any time. In the
event that there are still
programming difficulties, contact
Homelink�atwww.homelink.comor1–800–355–3515.
Erasing HomeLink�buttons
To erase the three programmed
buttons (individual buttons cannot
be erased):
•Press and hold the two outer
HomeLink�buttons until the red
indicator light begins to
flash-after 20 seconds. Release
both buttons. Do not hold for
longer that 30 seconds.
HomeLink�is now in the train (or
learning) mode and can be programmed at any time beginning with step
2inthe“Programming”section.
Driver Controls
84
Page 93 of 288

Warning messages that have been reset are divided into three categories:
•They will reappear on the display every minute from the reset.
•They will reappear on the display ten minutes from the reset.
•They will not reappear until an ignition OFF-ON cycle has been
completed.
This acts as a reminder that these warning conditions still exist within
the vehicle.
Warning display Status
Check park assist Warning displays when R (reverse)
gear is selected.
AdvTrac ON (if equipped) Displays for 4 seconds
AdvTrac OFF (if equipped)
Change Oil Soon
Temporary AWD locked
(vehicles equipped with
AdvanceTrac�only)
AWD lock OFF AWD auto ON
(vehicles equipped with
AdvanceTrac�only)
Door ajar Liftgate ajar Warning returns after cycling through
the system sequence
Low fuel level
Check charging system
Low brake fluid level
Low oil pressure
Transmission overheated
Check transmission
Check engine temperature
Reduced engine power
Stopengine safely
AWD disabled locked (vehicles
equipped with AdvanceTrac�
only)
Driver Controls
93