2003 LINCOLN AVIATOR brake light
[x] Cancel search: brake lightPage 8 of 288

These are some of the symbols you may see on your vehicle.
Vehicle Symbol Glossary
Safety Alert
See Owner’s Guide
Fasten Safety BeltAir Bag-Front
Air Bag-SideChild Seat
Child Seat Installation
WarningChild Seat Lower
Anchor
Child Seat Tether
AnchorBrake System
Anti-Lock Brake SystemBrake Fluid -
Non-Petroleum Based
Traction ControlAdvanceTrac
Master Lighting SwitchHazard Warning Flasher
Fog Lamps-FrontFuse Compartment
Fuel PumpResetWindshield Wash/Wipe
Windshield
Defrost/DemistRear Window
Defrost/Demist
Introduction
8
Page 11 of 288

If thelight remains on, have your vehicle serviced at the first
available opportunity.
Note:The
light will illuminate if vehicle refueling is conducted
with the engine running.
Never refuel vehicle with the engine running.
Light is blinking:
Engine misfire is occurring which could damage your catalytic converter.
You should drive in a moderate fashion (avoid heavy acceleration and
deceleration) and have your vehicle serviced at the first available
opportunity.
Under engine misfire conditions, excessive exhaust temperatures
could damage the catalytic converter, the fuel system, interior
floor coverings or other vehicle components, possibly causing a fire.
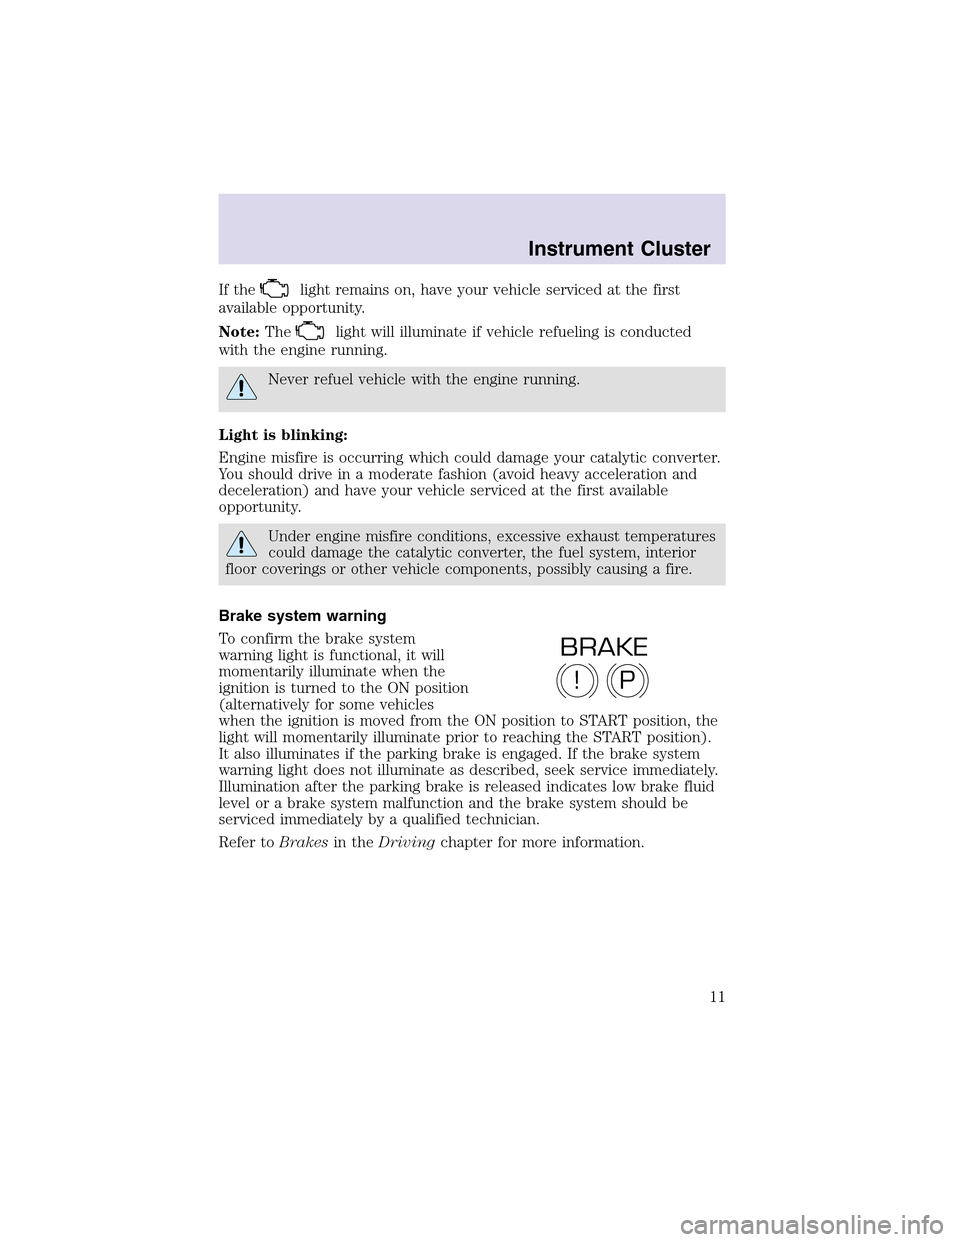
Brake system warning
To confirm the brake system
warning light is functional, it will
momentarily illuminate when the
ignition is turned to the ON position
(alternatively for some vehicles
when the ignition is moved from the ON position to START position, the
light will momentarily illuminate prior to reaching the START position).
It also illuminates if the parking brake is engaged. If the brake system
warning light does not illuminate as described, seek service immediately.
Illumination after the parking brake is released indicates low brake fluid
level or a brake system malfunction and the brake system should be
serviced immediately by a qualified technician.
Refer toBrakesin theDrivingchapter for more information.
P!
BRAKE
Instrument Cluster
11
Page 12 of 288

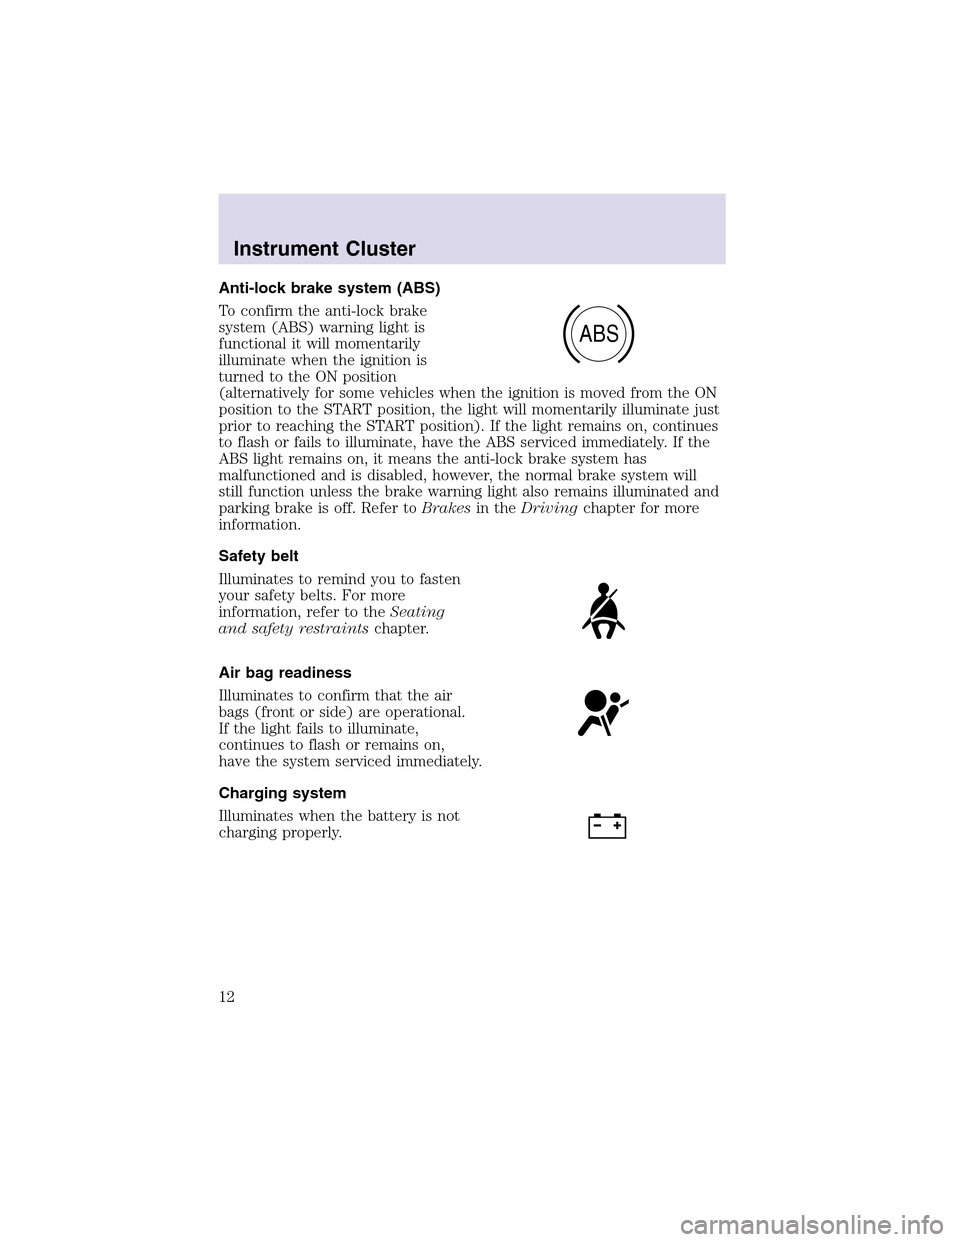
Anti-lock brake system (ABS)
To confirm the anti-lock brake
system (ABS) warning light is
functional it will momentarily
illuminate when the ignition is
turned to the ON position
(alternatively for some vehicles when the ignition is moved from the ON
position to the START position, the light will momentarily illuminate just
prior to reaching the START position). If the light remains on, continues
to flash or fails to illuminate, have the ABS serviced immediately. If the
ABS light remains on, it means the anti-lock brake system has
malfunctioned and is disabled, however, the normal brake system will
still function unless the brake warning light also remains illuminated and
parking brake is off. Refer toBrakesin theDrivingchapter for more
information.
Safety belt
Illuminates to remind you to fasten
your safety belts. For more
information, refer to theSeating
and safety restraintschapter.
Air bag readiness
Illuminates to confirm that the air
bags (front or side) are operational.
If the light fails to illuminate,
continues to flash or remains on,
have the system serviced immediately.
Charging system
Illuminates when the battery is not
charging properly.
ABS
Instrument Cluster
12
Page 52 of 288

•Press the setup button- The message center then displays the next
menu selection in its list. (6)
•Press the reset button- The message center then proceeds to the
next sequence/step(3) below.
•The message center sends/issues the “AutolampDelay Command” to
the body security module (BSM).
•The body security module responds within 100 milliseconds with next
auto lampexit delay time.
3. Next sequence/stepnumber is one (1) steps 1,2,3,4 & 5 are repeated
until exit via step2.
4. The message center displays the next menu selection.
Daytime running lamps (DRL) (if equipped)
Turns the headlamps on with a reduced output. To activate:
•the ignition must be in the ON position and
•the headlamp control is in the OFF or Parking lamps position
•the parking brake must be disengaged.
Always remember to turn on your headlamps at dusk or during
inclement weather. The Daytime Running Light (DRL) System
does not activate your tail lamps and generally may not provide
adequate lighting during these conditions. Failure to activate your
headlamps under these conditions may result in a collision.
High beams
Push the lever toward the
instrument panel to activate. Pull
the lever towards you to deactivate.
Lights
52
Page 61 of 288

2. Carefully pull the bulb straight out of the socket and push in the new
bulb.
3. Install the bulb socket in the lampassembly by turning it
counterclockwise.
To re-install the headlampon the vehicle:
1. Install the headlampon the vehicle by aligning the four plastic
projections into the four holes, pushing rearward to seat the lamp
assembly.
2. Insert the two retainers, making sure that the retainers go over both
plastic projections on each side of the lamp, pushing the retainers down
until they seat.
3. Replace the plastic radiator cover by inserting the edge of the cover
into the tongue and groove of the mating cover, and then rotating the
cover downward. Press firmly on the cover over each headlampand in
the center of the cover to re-engage the snap-in fasteners.
4. Turn the headlamps on and make sure they work properly.
Replacing tail/brake/turn/sidemarker/backup lamp bulbs
The tail/brake/turn/sidemarker/backupbulbs are located in the tail lamp
assembly, one just below the other. Follow the same steps to replace
each bulb:
1. Make sure the headlampswitch is
in the OFF position and then open
the liftgate to expose the lamp
assemblies.
2. Remove the two screws from the
lampassembly.
3. Pull the lampassembly towards
the rear and side of the vehicle at
an angle, carefully removing it from
the vehicle.
4. Rotate the bulb socket counterclockwise and remove from lamp
assembly.
5. Pull the bulb straight out of the socket and push in the new bulb.
6. To complete installation, follow the removal procedure in reverse
order.
Lights
61
Page 99 of 288

CENTER CONSOLE
Your vehicle may be equipped with a variety of console features. These
include:
•Utility compartment with power point
•Cupholders
•Cigarette lighter
Use only soft cups in the cupholder. Hard objects can injure you
in a collision.
REAR CENTER CONSOLE FEATURES (IF EQUIPPED)
The rear center console incorporates the following features:
•Utility compartment
•Cupholders
•Removable tray
•Flipforward armrest to provide a flat load floor
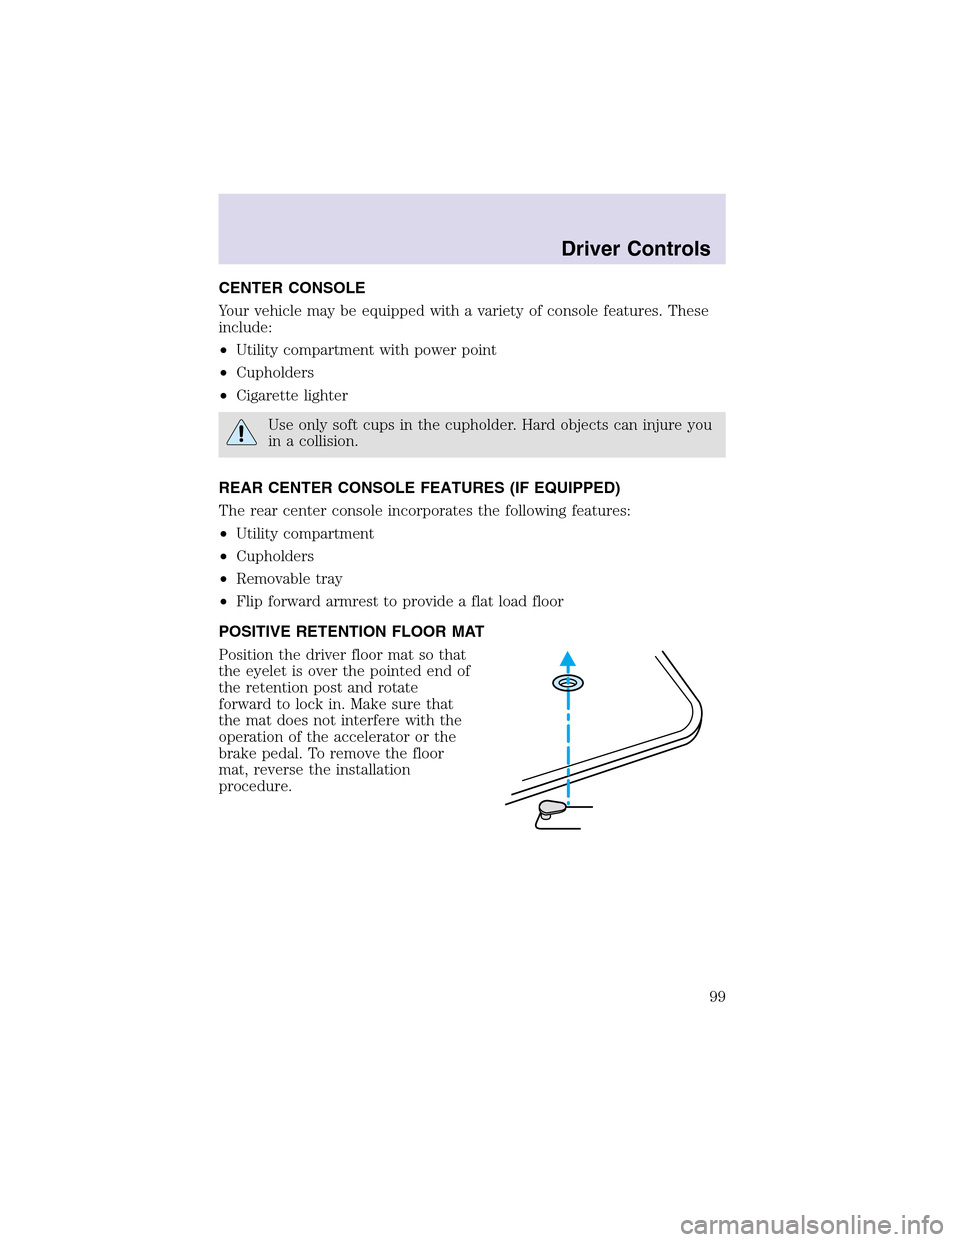
POSITIVE RETENTION FLOOR MAT
Position the driver floor mat so that
the eyelet is over the pointed end of
the retention post and rotate
forward to lock in. Make sure that
the mat does not interfere with the
operation of the accelerator or the
brake pedal. To remove the floor
mat, reverse the installation
procedure.
Driver Controls
99
Page 109 of 288

Illuminated entry
The interior lamps illuminate when the remote entry system is used to
unlock the door(s).
The system automatically turns off after 25 seconds or when the ignition
is turned to the ON or ACC position. The dome lamp control (if
equipped) mustnotbe set to the OFF position for the illuminated entry
system to operate.
The inside lights will not turn off if:
•they have been turned on with the dimmer control, or
•any door is open.
The battery saver will shut off the interior lamps 10 minutes after the
ignition has been turned to the OFF position.
Smart unlocking feature
The smart unlocking feature prevents you from locking yourself out of
the vehicle by unlocking the doors if the key is in the ignition and the
driver’s door is open/ajar when the vehicle doors were locked using the
power lock/unlock control.
The smart unlocking feature operates independent of the position of the
ignition.
Autolocking feature
The autolocking feature locks all vehicle doors when the following
conditions are met:
•All doors, including the liftgate, are closed.
•The brake is pressed while the ignition is in the RUN position.
•The transmission is in either a forward or reverse gear.
•The vehicle has a speed of 8 km/h (5 mph) or greater.
This feature relocks all doors if any door is opened, the brake is pressed
after all doors are closed again and the vehicle has a speed of 8 km/h (5
mph) or greater.
Deactivating/activating the autolock feature
The autolock feature may be deactivated/activated by selecting the
autolock function (accessed by pressing the SETUP control). Press the
RESET control to turn the autolock function ON or OFF. Refer to
Message centerin theDriver controlschapter for additional
information.
Locks and Security
109
Page 168 of 288

operation, automotive brake systems may emit occasional or intermittent
squeal or groan noises when the brakes are applied. Such noises are
usually heard during the first few brake applications in the morning;
however, they may be heard at any time while braking and can be
aggravated by environmental conditions such as cold, heat, moisture,
road dust, salt or mud. If a “metal-to-metal,” “continuous grinding” or
“continuous squeal” sound is present while braking, the brake linings
may be worn-out and should be inspected by a qualified service
technician.
If you are driving down a long or steephill, shift to a lower gear.
Do not apply your brakes continuously, as they may overheat
and become less effective.
Anti-lock brake system (ABS)
On ABS-equipped vehicles, a noise from the hydraulic pump motor and
pulsation in the pedal may be observed during ABS braking events. Pedal
pulsation coupled with noise while braking under panic conditions or on
loose gravel, bumps, wet or snowy roads is normal and indicates proper
functioning of the vehicle’s anti-lock brake system. The ABS performs a
self-check after you start the engine and begin to drive away. A brief
mechanical noise may be heard during this test. This is normal. If a
malfunction is found, the ABS warning light will come on. If the vehicle
has continuous vibration or shudder in the steering wheel while braking,
the vehicle should be inspected by a qualified service technician.
The ABS operates by detecting the onset of wheel lockup during brake
applications and compensates for this tendency. The wheels are
prevented from locking even when the brakes are firmly applied.
Using ABS
•In an emergency or when maximum efficiency from the four-wheel
ABS is required, apply continuous force on the brake. The four wheel
ABS will be activated immediately, thus allowing you to retain steering
control of your vehicle and, providing there is sufficient space, will
enable you to avoid obstacles and bring the vehicle to a controlled
stop.
•The anti-lock system does not always reduce stopping distance.
Always leave enough room between your vehicle and the vehicle in
front of you to stop.
•We recommend that you familiarize yourself with this braking
technique. However, avoid taking any unnecessary risks.
Driving
168