Page 233 of 483
AUDIO
220
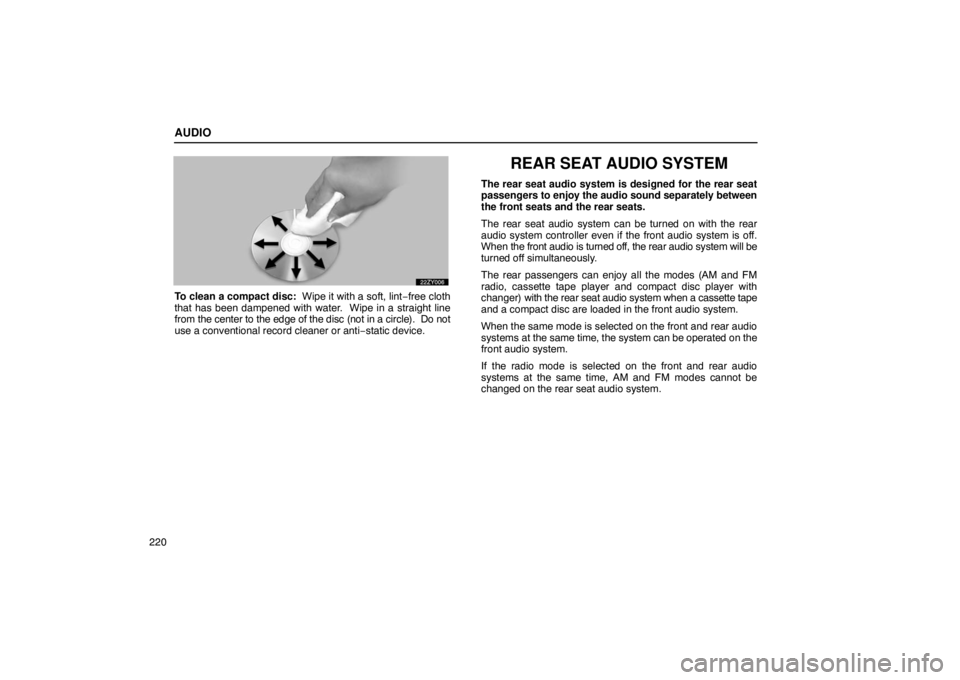
To clean a compact disc: Wipe it with a soft, lint−free cloth
that has been dampened with water. Wipe in a straight line
from the center to the edge of the disc (not in a circle). Do not
use a conventional record cleaner or anti −static device.
REAR SEAT AUDIO SYSTEM
The rear seat audio system is designed for the rear seat
passengers to enjoy the audio sound separately between
the front seats and the rear seats.
The rear seat audio system can be turned on with the rear
audio system controller even if the front audio system is off.
When the front audio is turned off, the rear audio system will be
turned off simultaneously.
The rear passengers can enjoy all the modes (AM and FM
radio, cassette tape player and compact disc player with
changer) with the rear seat audio system when a cassette tape
and a compact disc are loaded in the front audio system.
When the same mode is selected on the front and rear audio
systems at the same time, the system can be operated on the
front audio system.
If the radio mode is selected on the front and rear audio
systems at the same time, AM and FM modes cannot be
changed on the rear seat audio system.
Page 237 of 483
AUDIO
224
Using your rear seat audio system: some
basics
The following instructions are for the rear passengers.
Please let the rear passengers read and follow the
instructions when the rear passengers use the rear audio
system.
This section describes some of the basic features of the Lexus
audio system. Some information may not pertain to your
system.
Your audio system adjusts to the optimum volume and tone
quality automatically. While the system is adjusting the audio
sound, the audio sound fades out and then fades in.
Your audio system works when the ignition switch is in the
“ACC” or “ON” position.
NOTICE
To prevent the battery from being discharged, do not
leave the car audio on longer than necessary when the
engine is not running.
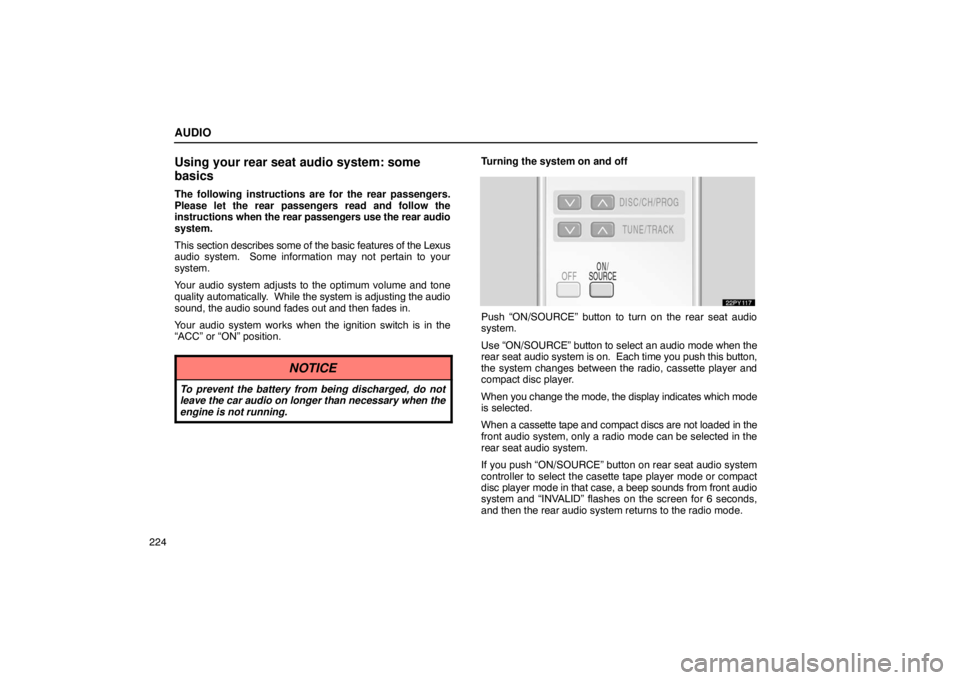
Turning the system on and off
Push “ON/SOURCE” button to turn on the rear seat audio
system.
Use “ON/SOURCE” button to select an audi o mode when the
rear seat audio system is on. Each time you push this button,
the system changes between the radio, cassette player and
compact disc player.
When you change the mode, the display indicates which mode
is selected.
When a cassette tape and compact discs are not loaded in the
front audio system, only a radio mode can be selected in the
rear seat audio system.
If you push “ON/SOURCE” button on rear seat audio system
controller to select the casette tape player mode or compact
disc player mode in that case, a beep sounds from front audio
system and “INVALID” flashes on the screen for 6 seconds,
and then the rear audio system returns to the radio mode.
Page 253 of 483
AUDIO
240Turning the system on and off
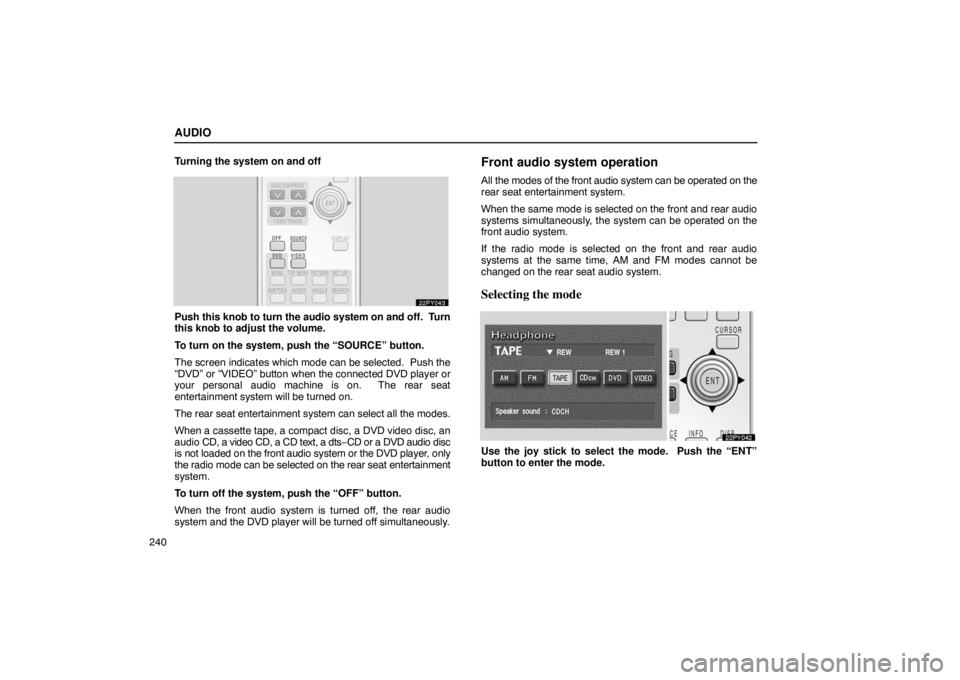
Push this knob to
turn the audio system on and off. Turn
this knob to adjust the volume.
To turn on the system, push the “SOURCE” button.
The screen indicates which mode can be selected. Push the
“DVD” or “VIDEO” button when the connected DVD player or
your personal audio machine is on. The rear seat
entertainment system will be turned on.
The rear seat entertainment system can select all the modes.
When a cassette tape, a compact disc, a DVD video disc, an
audio CD, a video CD, a CD text, a dts− CD or a DVD audio disc
is not loaded on the front audio system or the DVD player, only
the radio mode can be selected on the rear seat entertainment
system.
To turn off the system, push the “OFF” button.
When the front audio system is turned off, the rear audio
system and the DVD player will be turned off simultaneously.
Front audio system operation
All the modes of the front audio system can be operated on the
rear seat entertainment system.
When the same mode is selected on the front and rear audio
systems simultaneously, the system can be operated on the
front audio system.
If the radio mode is selected on the front and rear audio
systems at the same time, AM and FM modes cannot be
changed on the rear seat audio system.
Selecting the mode
Use the joy stick to select the mode. Push the “ENT”
button to enter the mode.
Page 269 of 483
AUDIO
256
DVD video/DVD audio player operation
NOTE: The playback condition of some DVD video discs
may be determined by the DVD video software producer.
This DVD player plays discs as the software producer
intended. Therefore, some functions may not work
properly. Be sure to read the instruction manual for the
DVD video disc separately provided. For detailed
information about DVD video discs, see “DVD video disc
information” on page 283.
Precautions for DVD video discs
When recording on a DVD video, DVD audio, video CD or
audio tracks may not record in some cases while the menu is
displayed. As audio will not play in this case, verify that the
video tracks are playing and then activate playback.
The title/chapter number and playback time display may not
appear while playing back certain DVD video discs.
CAUTION
Conversational speech on some DVDs is recorded at a
low volume to emphasize the impact of sound effects.
If you adjust the volume assuming that the
conversations represent the maximum volume level
available for the DVD, you may be startled by louder
sound effects or when you change to a different audio
source. Loud sounds may have a significant impact on
the human body or pose a driving hazard. Keep this in
mind when you adjust the volume.
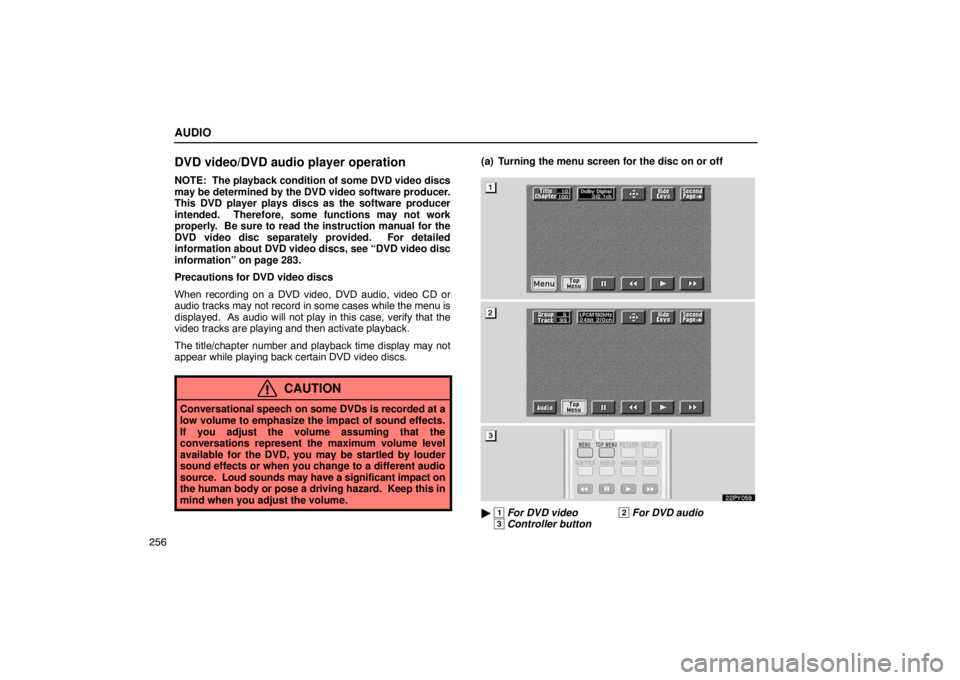
(a) Turning the menu screen for the disc on or off
22PY059
� 1 For DVD video2 For DVD audio3 Controller button
Page 278 of 483
AUDIO
265
Push the “Angle” switch on the screen or the “ANGLE”
button on the controller, and the changing angle screen
will appear.
The angle can be selected for discs that are multi
−angle
compatible when the “” mark appears on the screen. Each
time you push the “Angle” switch, the angle changes. The
angle number which you can select will appear on the screen.
To turn off the screen, push the “Hide” switch.
Push the “Back” switch to return to the previous screen. (j) Changing the initial setting
22PY074
�
1 For DVD video2 For DVD audio3 Controller button
Page 283 of 483
AUDIO
270(o) Setting level of viewer restrictions
You can restrict the play back screen by setting the viewer
restrictions. You can prevent the restriction with a
password. Some discs do not supply a restriction.
To set the level of viewer restriction, push the “Parental” switch
on the “Setup Menu 1” screen. The “Enter Personal Code”
screen will appear.
Push
the number for the password and the “Enter” switch. The
“Select Restriction Level” screen will appear.
If you enter a wrong number, push the “Clear” switch to delete
the number.
You cannot change the setting without inputting the password.
When you forget or change the password, push the “Clear”
switch ten times to initialize the password.
To return to the “Setup Menu 1” screen, push the “Back” switch.
Page 284 of 483
AUDIO
271
Push a parental level (1 − 8). The smaller the level number, the
stricter the age limit. Push the “Back” switch to return to the
“Setup Menu 1” screen. (p) Setting the display mode
Each time you push the “Display Mode” switch on the
“Setup
Menu 2” screen, the display mode is changed from
wide mode to auto mode.
Page 302 of 483
AUDIO
289
NOTICE
The headphone input jack lid must be closed before you
fold up the second seat.
Car audio/video system operating hints
NOTICE
To ensure correct audio/video system operation:
�Be careful not to spill beverages over the system.
� Do not put anything other than a cassette tape or
Compact Disc into the slot.
� Do not put anything other than a DVD video, DVD
audio, video CD, dts�CD and audio CD into the DVD
player.
� The use of a cellular phone inside or near the vehicle
may cause a noise from the speakers of the system
which you are listening to. However, this does not
indicate a malfunction.
Radio reception
Usually, a problem with radio reception does not mean there is
a problem with your radio − it is just the normal result of
conditions outside the vehicle. For example, nearby buildings and terrain can interfere with
FM reception. Power lines or telephone wires can interfere
with AM signals. And of course, radio signals have a limited
range.
The farther you are from a station, the weaker its signal
will be. In addition, reception conditions change constantly as
your vehicle moves.
Here are some common reception problems that probably do
not indicate a problem with your radio:
FM
Fading and drifting stations − Generally, the ef fective range
of FM is about 40 km (25 miles). Once outside this range, you
may notice fading and drifting, which increase with the distance
from the radio transmitter. They are often accompanied by
distortion.
Multi�path − FM signals are reflective, making it possible for
two signals to reach your antenna at the same time. If this
happens, the signals will cancel each other out, causing a
momentary flutter or loss of reception.
Static and fluttering − These occur when signals are blocked
by buildings, trees, or other large objects. Increasing the bass
level may reduce static and fluttering.
Station swapping − If the FM signal you are listening to is
interrupted or weakened, and there is another strong station
nearby on the FM band, your radio may tune in the second
station until the original signal can be picked up again.