Page 23 of 392

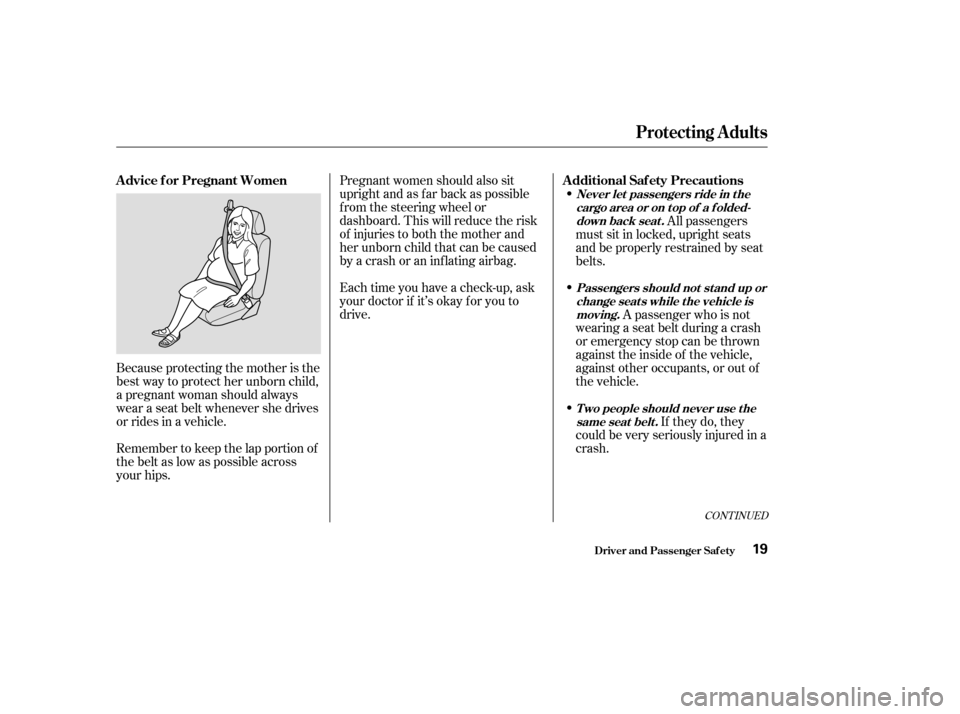
Pregnant women should also sit
upright and as f ar back as possible
f rom the steering wheel or
dashboard. This will reduce the risk
of injuries to both the mother and
her unborn child that can be caused
by a crash or an inf lating airbag.
Each time you have a check-up, ask
your doctor if it’s okay f or you to
drive.
Because protecting the mother is the
best way to protect her unborn child,
a pregnant woman should always
wear a seat belt whenever she drives
or rides in a vehicle.
Remember to keep the lap portion of
the belt as low as possible across
your hips. All passengers
must sit in locked, upright seats
andbeproperlyrestrainedbyseat
belts.
A passenger who is not
wearing a seat belt during a crash
or emergency stop can be thrown
against the inside of the vehicle,
against other occupants, or out of
the vehicle.
If they do, they
could be very seriously injured in a
crash.
CONT INUED
Advice f or Pregnant Women Additional Saf ety Precautions
Never let passengers ride in t he
cargo area or on t op of a f olded-down back seat .
Passengers should not st and up orchange seats while the vehicle ismoving.
T wo people should never use t hesame seat belt .
Protecting Adults
Driver and Passenger Saf ety19
Page 76 of 392
If you leave the lights on with the
ignition switch in ACCESSORY (I)
or LOCK (0), you will hear a
reminder chime when you open the
driver’s door.
The rotating switch on the lef t lever
controls the lights. Turning this
switch to the ‘‘ ’’ position turns
on the parking lights, taillights,
instrument panel lights, side-marker
lights, and rear license plate lights.
Turning the switch to the ‘‘ ’’
position turns on the headlights. To change f rom low beams to high
beams, push the turn signal lever
f orward until you hear a click. The
blue high beam indicator will light
(see page ). To return to low
beams, pull the turn signal lever
back.To f lash the high beams, pull the
turn signal lever back lightly, then
release it. The high beams will come
on and go of f .
The high beams will stay on f or as
long as you hold the lever back, no
matter what position the headlight
switch is in.
65
Controls Near the Steering Wheel
Inst rument s and Cont rols
Headlights
72
Page 78 of 392
Signal a turn or lane change with this
lever. Push down on the lever to
signal a lef t turn, and up to signal a
right turn. If you push it up or down
all the way, the turn signal continues
to blink even when you release the
lever. It shuts off automatically as
you complete the turn.To signal a lane change, push lightly
on the turn signal lever in the proper
direction and hold it. The lever will
return to the center position as soon
as you release it.
This lever controls the windshield
wipers and washers. It has five
positions:MIST: mist
OFF: off
INT: intermittent
LO: low speed
HI: high speed
To select a position, push the lever
up or down.
T urn Signals
Windshield Wipers
Inst rument s and Cont rols
Controls Near the Steering Wheel
74
TURN SIGNAL LEVER
Page 79 of 392
To operate the wipers in mist mode,
push the control lever up f rom the
OFF position. The wipers run at high
speed until you release the lever.
This gives you a quick way to clear
the windshield.
You can vary how of ten the wipers
sweep the windshield by turning the
INT TIME ring next to the rotary
switch.
In intermittent, the wipers operate
every f ew seconds. The sweep
interval will change slightly with
speed; getting shorter as you drive
f aster. In low speed and high speed,
the wipers run continuously.
If you turn the INT TIME ring to the
shortest delay, the wipers will
change from intermittent to low
speed operation when vehicle speed
exceeds 12 mph (20 km/h).
Controls Near the Steering Wheel
Inst rument s and Cont rols75
Page 85 of 392

�µ
If the f ront wheels are turned, the
anti-thef t lock may sometimes make
it difficult to turn the key from
LOCK to ACCESSORY. Firmly turn
the steering wheel to the lef t or to
the right as you turn the key. You can insert or
remove the key only in this position.
To switch f rom ACCESSORY to
LOCK, you must push the key in
slightly as you turn it. The shif t lever
must also be in Park. The anti-thef t
lock will lock the steering column
when you remove the key.
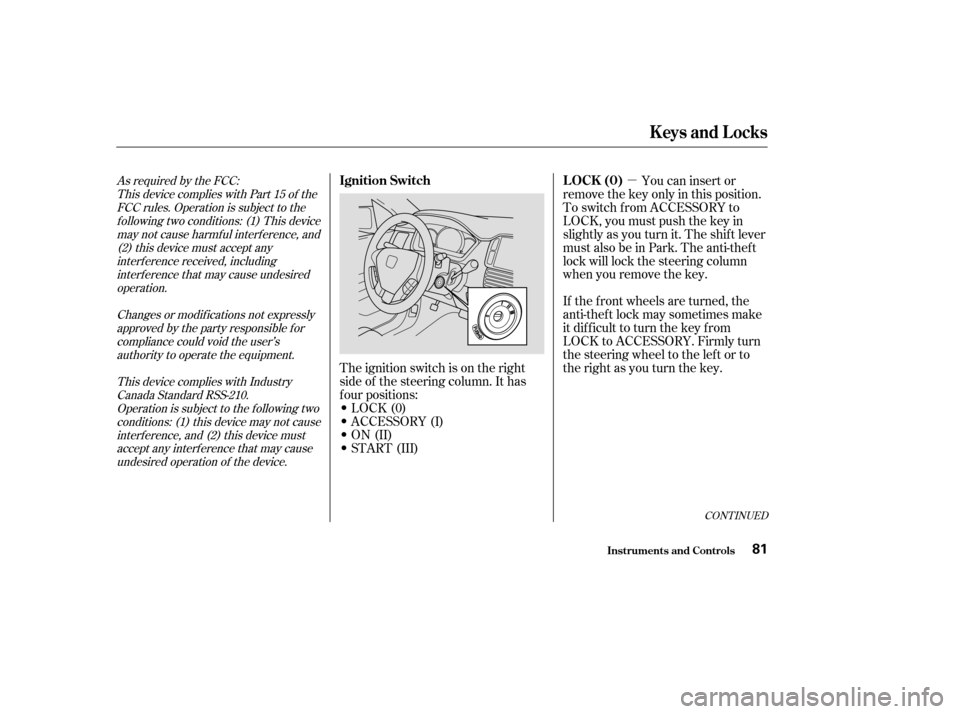
The ignition switch is on the right
side of the steering column. It has
f our positions:
LOCK(0)
ACCESSORY (I)
ON (II)
START (III)As required by the FCC: This device complies with Part 15 of theFCC rules. Operation is subject to thef ollowing two conditions: (1) This devicemay not cause harmf ul interf erence, and(2) this device must accept anyinterf erence received, includinginterf erence that may cause undesiredoperation.
Changes or modif ications not expresslyapproved by the party responsible f orcompliance could void the user’sauthority to operate the equipment.
This device complies with IndustryCanada Standard RSS-210.Operation is subject to the f ollowing twoconditions: (1) this device may not causeinterf erence, and (2) this device mustaccept any interf erence that may causeundesired operation of the device.
CONT INUED
LOCK (0)
Ignition Switch
Keys and Locks
Inst rument s and Cont rols81
Page 192 of 392

�Û�Ý
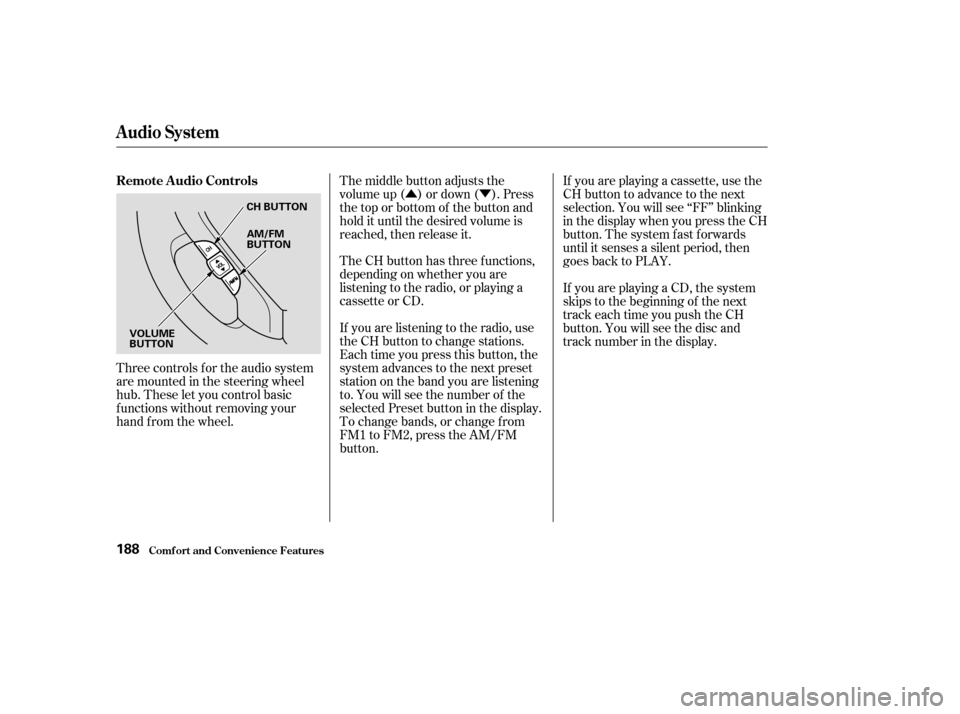
Three controls f or the audio system
are mounted in the steering wheel
hub. These let you control basic
f unctions without removing your
hand f rom the wheel. The middle button adjusts the
volume up ( ) or down ( ). Press
the top or bottom of the button and
hold it until the desired volume is
reached, then release it.
The CH button has three functions,
depending on whether you are
listening to the radio, or playing a
cassette or CD.
If you are listening to the radio, use
the CH button to change stations.
Each time you press this button, the
system advances to the next preset
station on the band you are listening
to. You will see the number of the
selected Preset button in the display.
To change bands, or change f rom
FM1 to FM2, press the AM/FM
button.If you are playing a cassette, use the
CH button to advance to the next
selection. You will see ‘‘FF’’ blinking
in the display when you press the CH
button. The system fast forwards
until it senses a silent period, then
goes back to PLAY.
If youareplayingaCD,thesystem
skips to the beginning of the next
track each time you push the CH
button. You will see the disc and
track number in the display.
Remote Audio Controls
Audio System
Comf ort and Convenience Feat ures188
CH BUTTON
AM/FM
BUTTON
VOLUME
BUTTON
Page 247 of 392

�Î
�Îon loose or
uneven surf aces, such as gravel or
snow, than a vehicle without anti-
lock. Slow down and allow a greater
distance between vehicles under
those conditions.
Always steer moderately
when you are braking hard. Severe
or sharp steering wheel movement
can still cause your vehicle to veer
into oncoming traffic or off the road. such as trying to take a
corner too f ast or making a sudden
lane change. Always drive at a safe,
prudent speed f or the road and
weather conditions. it only helps with steering
control during braking. You should
always maintain a saf e f ollowing
distance f rom other vehicles.
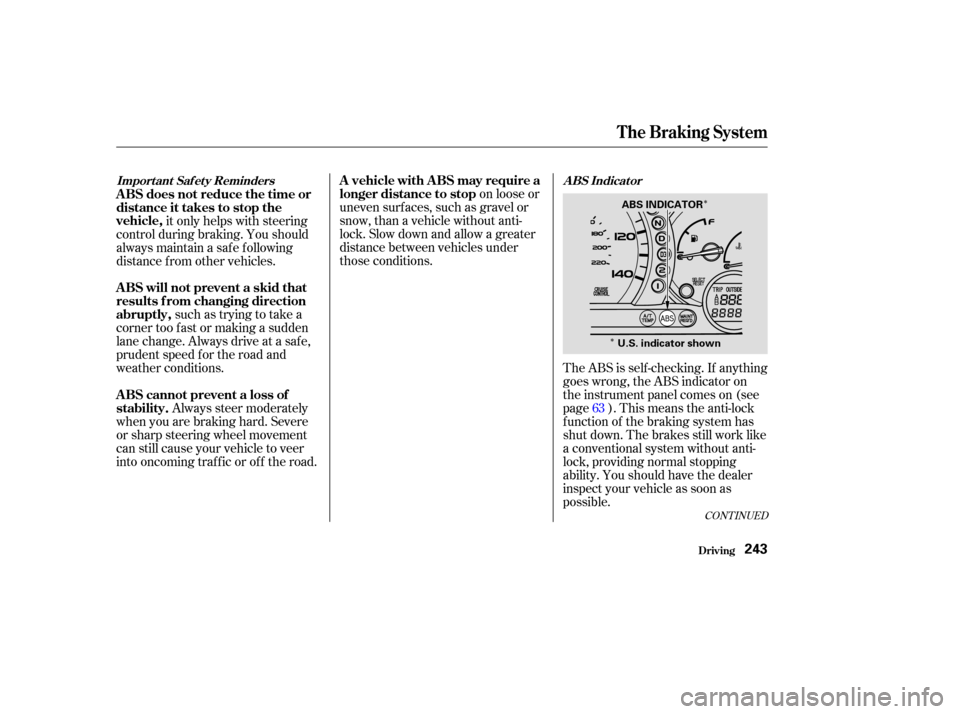
The ABS is self -checking. If anything
goes wrong, the ABS indicator on
the instrument panel comes on (see
page ). This means the anti-lock
f unction of the braking system has
shut down. The brakes still work like
a conventional system without anti-
lock, providing normal stopping
ability. You should have the dealer
inspect your vehicle as soon as
possible.63
CONT INUED
A BS Indicat or
Import ant Saf et y RemindersA vehicle with A BS may require a
longer distance to stop
A BS cannot prevent a loss of
stability. A BS will not prevent a skid that
results f rom changing direction
abruptly, A BS does not reduce the time or
distance it takes to stop the
vehicle,
The Braking System
Driving243
ABS INDICATOR
U.S. indicator shown
Page 249 of 392

�µ�µAlways drive
slower than you would in dry
weather. It takes your vehicle longer
to react, even in conditions that may
seem just barely damp. Apply
smooth, even pressure to all the
controls. Abrupt steering wheel
movements or sudden, hard appli-
cation of the brakes can cause loss of
control in wet weather. Be extra
cautious f or the f irst f ew miles
(kilometers) of driving while you
adjust to the change in driving
conditions. This is especially true in
snow. A person can f orget some
snow-driving techniques during the
summer months. Practice is needed
to relearn those skills.
Exercise extra caution when driving
in rain af ter a long dry spell. Af ter
months of dry weather, the f irst
rains bring oil to the surf ace of the
roadway, making it slippery.
Rain, f og, and snow conditions re-
quire a dif f erent driving technique
because of reduced traction and
visibility. Keep your vehicle well-
maintained and exercise greater
caution when you need to drive in
bad weather. The cruise control
should not be used in these condi-
tions. Being able to see
clearly in all directions and being
visible to other drivers are important
in all weather conditions. This is
more dif f icult in bad weather. To be
seen more clearly during daylight
hours, turn on your headlights.
Inspect your windshield wipers and
washers f requently. Keep the wind-
shield washer reservoir f ull of the
proper f luid. Have the windshield
wiper blades replaced if they start to
streak the windshield or leave parts
unwiped. Use the def rosters and air
conditioning to keep the windows
f rom f ogging up on the inside (see
page ). 125
CONT INUED
Driving T echnique Visibility
Driving in Bad Weather
Driving245