Page 334 of 411
The high-mount brake light should
be replaced by your dealer. The license plate has two lights
above it. The bulbs should be
replaced by your dealer.
Each outside mirror has side turn
signal lights. The lights should be
replaced by your dealer. The stop/taillights should be
replaced by your dealer.
EX models
Lights
High-mount Brake L ight Rear License Plate Light Bulbs
Side T urn Signal L ights Stop/taillights
330
Page 353 of 411
CONT INUED
If you have a f lat tire while driving,
stop in a saf e place to change it.
Drive slowly along the shoulder until
you get to an exit or an area to stop
that is far away from the traffic lanes.Park the vehicle on f irm, level, and
non-slippery ground. Put the
transmission in Park. Apply the
parking brake.
Turn on the hazard warning lights,
and turn the ignition switch to the
LOCK (0) position. Have all
passengers get out of the vehicle
while you change the tire.Open the hatch.
Remove the cargo area floor by
caref ully pulling the f ront edge of
the f loor straight up.
4. 3.
2. 1.
Changing a Flat T ire
T aking Care of t he Unexpect ed
349
HOLDER
FLOOR
TABThe vehicle can easily roll off
the jack, seriously injuring
anyone underneath.
Follow the directions for
changing a tire exactly, and
never get under the vehicle
when it is supported only by the
jack.
Page 361 of 411

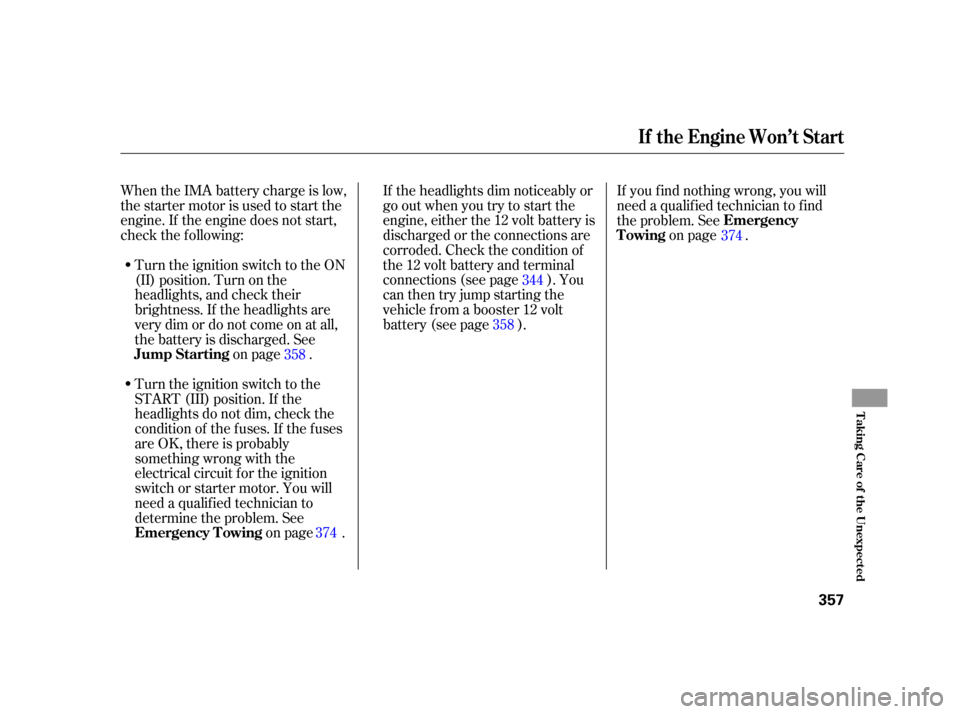
When the IMA battery charge is low,
the starter motor is used to start the
engine. If the engine does not start,
check the f ollowing:If the headlights dim noticeably or
go out when you try to start the
engine, either the 12 volt battery is
discharged or the connections are
corroded. Check the condition of
the 12 volt battery and terminal
connections (see page ). You
canthentryjumpstartingthe
vehicle f rom a booster 12 volt
battery (see page ).If youfindnothingwrong,youwill
need a qualif ied technician to f ind
the problem. See
on page .
Turn the ignition switch to the ON
(II) position. Turn on the
headlights, and check their
brightness. If the headlights are
very dim or do not come on at all,
the battery is discharged. See on page .
Turn the ignition switch to the
START (III) position. If the
headlights do not dim, check the
condition of the f uses. If the f uses
areOK,thereisprobably
something wrong with the
electrical circuit for the ignition
switch or starter motor. You will
need a qualif ied technician to
determine the problem. See on page .358
374 344
358 374
If theEngineWon’tStart
Emergency
Towing
Jump Starting
Emergency T owing
T aking Care of t he Unexpect ed
357
Page 362 of 411
Although this seems like a simple
procedure, you should take several
precautions.To jump start your vehicle:
The numbers in the illustration show
you the order to connect the jumper
cables.
You cannot start your vehicle by
pushing or pulling it. Open the hood, and check the
physical condition of the 12 volt
battery.
Turn of f all the electrical
accessories: climate control, audio
system, lights, etc. Put the
transmission in Park, and set the
parking brake.
1.
2.
Jump Starting
358
BOOSTER
BATTERY
A battery can explode if you do
not follow the correct procedure,
seriously injuring anyone
nearby.
Keep all sparks, open flames,
and smoking materials away
from the battery.
If a battery sits in extreme cold, the
electrolyte inside can f reeze.
Attempting to jump start with a f rozen
battery can cause it to rupture.
Page 365 of 411

CONT INUED
Saf ely pull to the side of the road.
Put the transmission in Park, and
set the parking brake. Turn of f all
the accessories, and turn on the
hazard warning lights.If you see steam and/or spray
coming f rom under the hood, turn
of f the engine. Wait until you see
no more signs of steam or spray,
then open the hood.
If you do not see steam or spray,
leave the engine running, and
check the high temperature
indicator. If the high heat is due to
overloading, the engine should
start to cool down almost
immediately. If it does, wait until
the high temperature indicator
goes of f , then continue driving.
If the high temperature indicator
stays on, turn of f the engine.Look f or any obvious coolant leaks,
such as a split radiator hose.
Everything is still extremely hot,
so use caution. If you f ind a leak, it
must be repaired bef ore you
continue driving (see
on page ).
If you don’t f ind an obvious leak,
check the coolant level in the
radiator reserve tank (see page ). Add coolant if the level is
below the MIN mark.
If there was no coolant in the
reserve tank, you may need to add
coolant to the radiator. Let the
engine cool down until the high
temperature indicator goes of f
bef ore checking the radiator.
1. 2.
3.
4.5.
6.
7.
374
250
If theEngineOverheats
Emergency
Towing
T aking Care of t he Unexpect ed
361
Steam and spray from an
overheated engine can
seriously scald you.
Do not open the hood if steam
is coming out.
Page 367 of 411

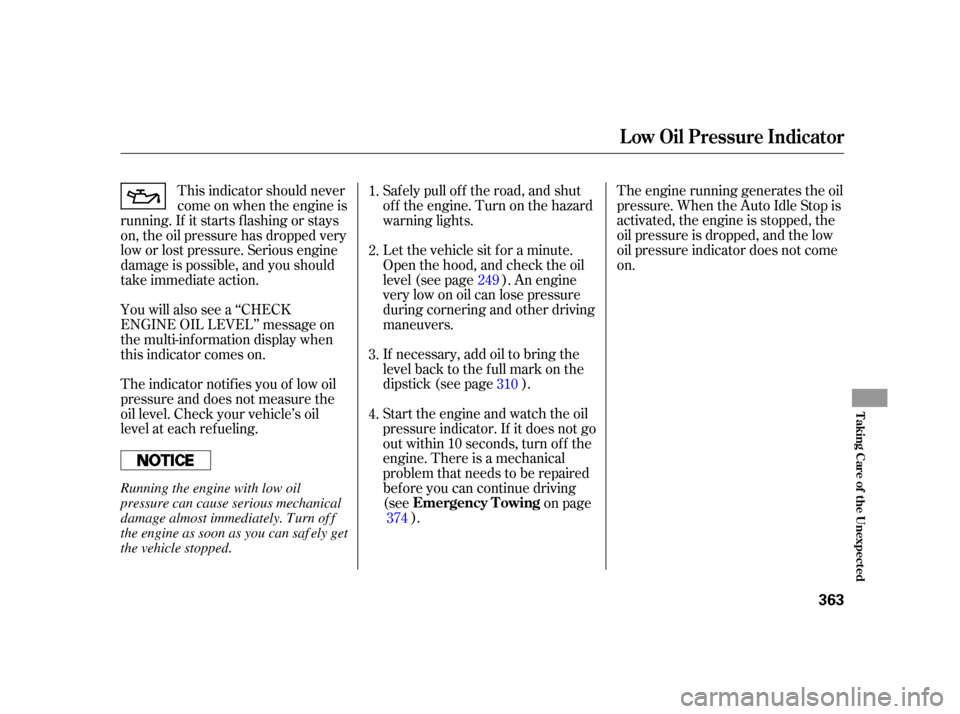
If necessary, add oil to bring the
level back to the full mark on the
dipstick (see page ).The engine running generates the oil
pressure. When the Auto Idle Stop is
activated, the engine is stopped, the
oil pressure is dropped, and the low
oil pressure indicator does not come
on.
Saf ely pull of f the road, and shut
of f the engine. Turn on the hazard
warning lights.
Let the vehicle sit f or a minute.
Open the hood, and check the oil
level (see page ). An engine
very low on oil can lose pressure
during cornering and other driving
maneuvers.
Start the engine and watch the oil
pressure indicator. If it does not go
out within 10 seconds, turn of f the
engine. There is a mechanical
problem that needs to be repaired
bef ore you can continue driving
(see
on page
).
This indicator should never
come on when the engine is
running. If it starts f lashing or stays
on, the oil pressure has dropped very
low or lost pressure. Serious engine
damage is possible, and you should
take immediate action.
You will also see a ‘‘CHECK
ENGINE OIL LEVEL’’ message on
the multi-information display when
this indicator comes on.
The indicator notif ies you of low oil
pressure and does not measure the
oil level. Check your vehicle’s oil
level at each ref ueling. 1.
2.
3.
4.
249
310
374
L ow Oil Pressure Indicator
Emergency T owing
T aking Care of t he Unexpect ed
363
Running the engine with low oil
pressure can cause serious mechanical
damage almost immediately. Turn of f
the engine as soon as you can saf ely get
the vehicle stopped.
Page 373 of 411

If something electrical in your
vehicle stops working, the first thing
youshouldcheckforisablownfuse.
Determine f rom the chart on pagesand , or the diagram on the
fuse box lid, which fuse or fuses
control that device. Check those
f uses f irst, but check all the f uses
bef ore deciding that a blown f use is
the cause. Replace any blown f uses,
and check if the device works.
Turn the ignition switch to the
LOCK (0) position. Make sure the
headlights and all other
accessories are of f . Remove the cover f rom the under-
hood f use box located on the
battery (see page ).
Check each of the large f uses in
the under-hood f use box on the 12
volt battery by looking through
thetopatthewireinside.
Replacement of these f uses should
be done by your dealer.Check the smaller f uses in the
under-hood f use boxes and all the
fuses in the interior fuse box by
pulling out each one with the f use
puller provided in the interior f use
box.
1.
2.4.
3.
372 373
368
CONT INUED
Checking and Replacing Fuses
Fuses
T aking Care of t he Unexpect ed
369
BLOWNFUSE PULLER
Page 385 of 411

�µ�µ�
�µ�¶ �
�¶�
�¶�¶ �µ
�µ
�µ
�µ
�µ
�µ
�µ
�µ
�µ
�µ
�µ
�µ
�µ
�µ
�µ
�Î
�Î
�Î
�Î
�Î�Î �Î �Î
�Î
�Î
Specif ications
T echnical Inf ormation
381
Air Conditioning
Tires Alignment Fuses 12 Volt Battery
Lights HFC-134a (R-134a)
15.8 17.6 oz (450 500 g) SP-10
12 V 60 W
Refrigerant type
Charge quantity
Lubricant oil type
12 V 55 W
Size
Pressure Toe-in
Camber
Caster Interior
Under-hood
60 psi (420 kPa , 4.2 kgf/cm
)
33 psi (230 kPa , 2.3 kgf/cm)
P185/60R15 84T 3°30’ 0.5°
1.5° 1°
0° 1°
Capacity
12 V
12 V 35 AH/20 HR
28 AH/5 HR
12 V 21 W
T135/80D15 99M
12 V 5 W
12 V 3.4 W 12 V 12 V
12 V
12 V
12 V
12 V
5W
8W
8W
5W
2CP
16 W
12 V 21 W
Replacement of a light bulb should be done by your dealer. 5W
12 V
0.10 0.10 in (2.5 2.5 mm)00.12in(03mm)
Headlights
Front turn signal lights
Front parking lights
Front side marker lights
Side turn signal lights
(door mirror)
Rear turn signal lights
Stop/taillights
Back-up lights
Rear side marker lights
License plate lights
Spot lights
Ceiling light
Cargo area light
High-mount brake light
Glove box light See page
372or the fuse label
attached to the inside of the fuse
box door under the steering
column.
See page 373or the fuse box
cover.
Front
Rear
Front
Rear
Front
High
Low
Front/Rear
Spare
Front/Rear
Spare
(HB3)
(H11)
(Amber)
LED type
LED type
LED type (Amber)
in
1:
2:
3 : LX model EX models
1
1, 3 1 2
2
2