Page 60 of 317

This section gives inf ormation about
the controls and displays that
contribute to the daily operation of
your Honda. All the essential
controls are within easy reach............................
Control Locations .58 ...............................
Indicator Lights .59
.............................................
Gauges .67
...............................
Speedometer .69
.................................
Tachometer .69
...............
Odometer/Trip Meter . 69
.................
Current Fuel Mileage . 70
................................
Trip Mileage .70
Turning Of f the Mileage .....................................
Display .71
..................................
Fuel Gauge .71
...................
Temperature Gauge . 71
..................
Battery Level Gauge . 72
................
Charge/Assist Gauge . 73
Controls Near the Steering .......................................
Wheel .74
...................................
Headlights .75
............
Daytime Running Lights . 76
....
Instrument Panel Brightness . 77
................................
Turn Signals .78
.....................
Windshield Wipers .78
..................
Windshield Washers . 80
..........................
Hazard Warning .80
.............
Rear Window Def ogger . 81
......
Steering Wheel Adjustment . 82
...............................
Keys and Locks .83
..............................................
Keys .83 ....................
Immobilizer System . 84
............................
Ignition Switch .86
......................
Power Door Locks .87
...................
Remote Transmitter . 89
..............
Childproof Door Locks . 92
...........................................
Trunk .92
........
Emergency Trunk Opener . 93
............................
Seat Adjustments .94
.............
Front Seat Adjustments . 94
................
Driver’s Seat Armrest . 95
..........................
Head Restraints .96
..............................
Power Windows .97
.............................................
Mirrors .99
....
Adjusting the Power Mirrors . 99
...............................
Parking Brake .100
......................................
Glove Box .101
...........................
Beverage Holder .102
.................
Console Compartment . 102
........................................
Coin Box .103
...............................
Center Pocket .103
.............
Accessory Power Socket . 103
...............................
Interior Lights .104
..............................
Ceiling Light .104
...................................
Spotlights .104
................
Ignition Switch Light . 105
Instruments and Controls
Inst rument s and Cont rols57
Page 70 of 317
CONT INUEDU.S. model is shown.
Gauges
Inst rument s and Cont rols67
Automatic Transmission (CVT)TACHOMETERSPEEDOMETER
ODOMETER/TRIP METER
FUEL GAUGE
IMA CHARGE/ASSIST GAUGE BATTERY LEVEL INDICATOR
FUEL MILEAGE DISPLAY CURRENT FUEL MILEAGE DISPLAYSELECT/RESET
BUTTON
TEMPERATURE GAUGE
Page 71 of 317
U.S. model is shown.
Gauges
Inst rument s and Cont rols68
Manual TransmissionTACHOMETERSPEEDOMETER
ODOMETER/TRIP METER FUEL GAUGE
IMA CHARGE/ASSIST GAUGE
BATTERY LEVEL INDICATOR
FUEL MILEAGE DISPLAY CURRENT FUEL MILEAGE DISPLAY SELECT/
RESET BUTTON
TEMPERATURE GAUGE
Page 73 of 317

There are two trip meters: Trip A
and Trip B. The odometer and the
two trip meters use the same display.
Switch between these displays and
the odometer by pressing the Select/
Reset button repeatedly. Each trip
meter works independently, so you
can keep track of two dif f erent
distances.
To reset a trip meter, display it, and
then press and hold the Select/Reset
button until the number resets to
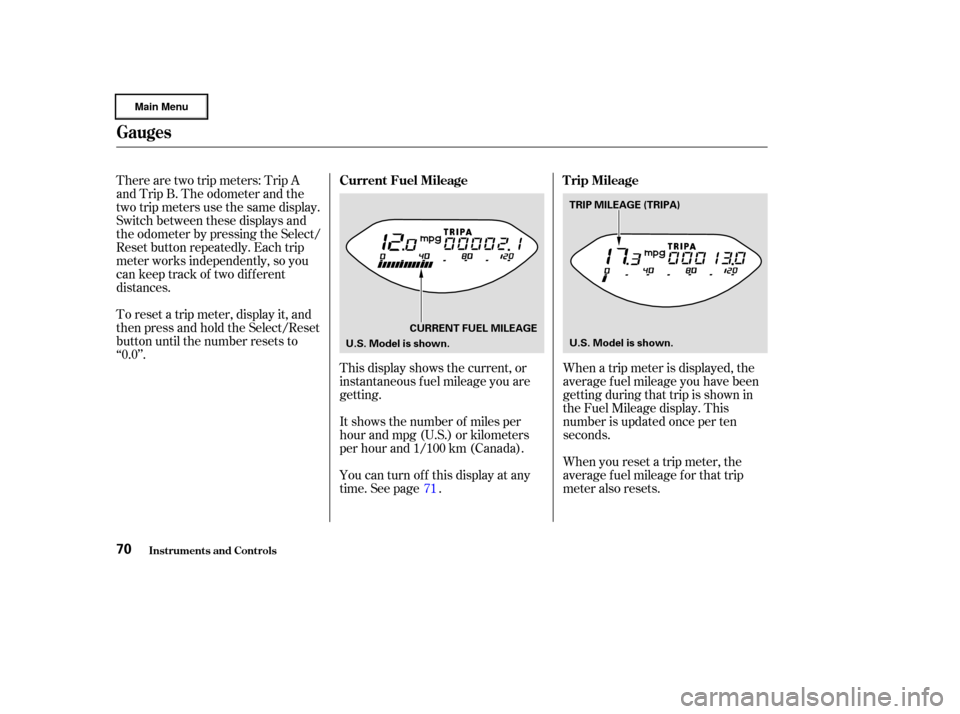
‘‘0.0’’.This display shows the current, or
instantaneous fuel mileage you are
getting.
It shows the number of miles per
hour and mpg (U.S.) or kilometers
per hour and 1/100 km (Canada).
You can turn off this display at any
time. See page .When you reset a trip meter, the
average fuel mileage for that trip
meter also resets. When a trip meter is displayed, the
average fuel mileage you have been
getting during that trip is shown in
the Fuel Mileage display. This
number is updated once per ten
seconds.
71
Inst rument s and Cont rols
Gauges
Current Fuel Mileage Trip Mileage
70
CURRENT FUEL MILEAGE
U.S. Model is shown. TRIP MILEAGE (TRIPA)
U.S. Model is shown.
Page 74 of 317

This shows the temperature of the
engine’s coolant. During normal
operation, the reading should be in
the middle of the gauge. In severe
driving conditions, such as very hot
weather or a long period of uphill
driving, the reading may reach near
the red mark. If it reaches the red
(Hot) mark, pull saf ely to the side of
the road. Turn to page for
instructions and precautions on
checking the engine’s cooling
system.
This shows how much f uel you have.
It is most accurate when the car is on
level ground. It may show slightly
more or less than the actual amount
whenyouaredrivingoncurvyor
hilly roads.
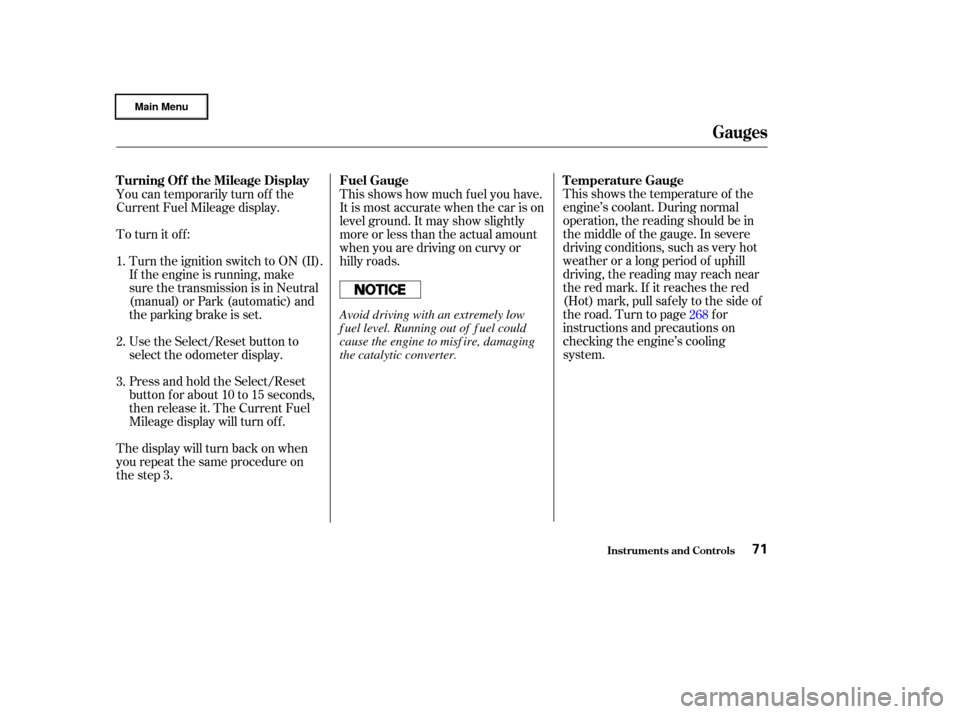
You can temporarily turn of f the
Current Fuel Mileage display.
To turn it off:
Turn the ignition switch to ON (II).
If the engine is running, make
sure the transmission is in Neutral
(manual) or Park (automatic) and
the parking brake is set.
Use the Select/Reset button to
select the odometer display.
Press and hold the Select/Reset
button f or about 10 to 15 seconds,
then release it. The Current Fuel
Mileage display will turn of f .
The display will turn back on when
you repeat the same procedure on
the step 3. 268
1.
2.
3.
Inst rument s and Cont rols
Temperature Gauge
Fuel Gauge
T urning Of f the Mileage Display
Gauges
71
Avoid driving with an extremely low
f uel level. Running out of f uel could
cause the engine to misf ire, damaging
the catalytic converter.
Page 80 of 317

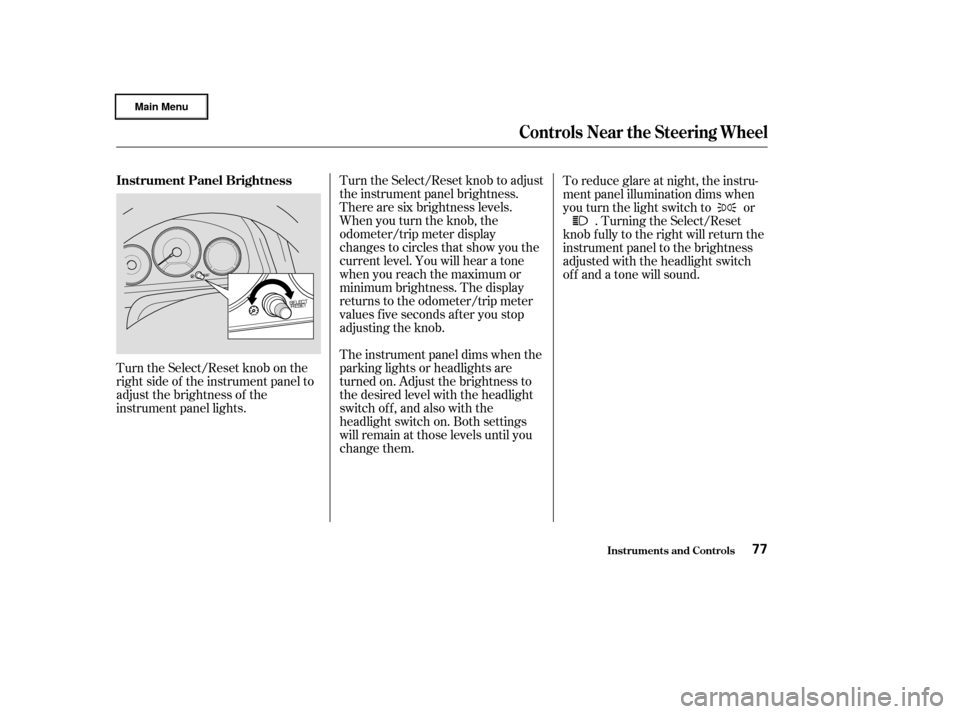
Turn the Select/Reset knob on the
right side of the instrument panel to
adjust the brightness of the
instrument panel lights.Turn the Select/Reset knob to adjust
the instrument panel brightness.
There are six brightness levels.
When you turn the knob, the
odometer/trip meter display
changes to circles that show you the
current level. You will hear a tone
when you reach the maximum or
minimum brightness. The display
returns to the odometer/trip meter
values f ive seconds af ter you stop
adjusting the knob.
The instrument panel dims when the
parking lights or headlights are
turned on. Adjust the brightness to
the desired level with the headlight
switch of f , and also with the
headlight switch on. Both settings
will remain at those levels until you
change them.To reduce glare at night, the instru-
ment panel illumination dims when
you turn the light switch to or
. Turning the Select/Reset
knob f ully to the right will return the
instrument panel to the brightness
adjusted with the headlight switch
of f and a tone will sound.
Controls Near the Steering Wheel
Inst rument s and Cont rols
Instrument Panel Brightness
77
Page 121 of 317
The band and f requency that the
radio was last tuned to is displayed.
To change bands, press the AM/FM
button. On the FM band, ST will be
displayed if the station is broadcast-
ing in stereo. Stereo reproduction on
AM is not available.
The ignition switch must be in
ACCESSORY (I) or ON (II) to
operate the audio system. Turn the
system on by pushing the PWR/
VOL knob or the AM/FM button.
Adjust the volume by turning the
PWR/VOL knob.
Your Honda’s audio system provides
clear reception on both AM and FM
bands, while the preset buttons allow
you to easily select your f avorite
stations.
The anti-thef t f eature will disable the
system if it is disconnected f rom the
car’s battery. To get the system
working again, you must enter a
code number (see page ).
137
Audio System
Comf ort and Convenience Feat ures
AM/FM/CD Audio System
Operating the Radio
118
AM/FM BUTTONSTEREO INDICATOR
SCAN INDICATOR
AUTO
SELECT
BUTTONSCAN
BUTTON
PRESET BUTTONS
SEEK BAR
PWR/VOL KNOB
TUNE KNOB
Page 122 of 317

�µ�µ�µ
CONT INUED
You can use any of f ive methods to
f ind radio stations on the selected
band: TUNE, SEEK, SCAN, AUTO
SELECT, and the Preset buttons.
Use the TUNE knob to
tune the radio to a desired f requency.
Turn the TUNE knob to the right to
tune to a higher f requency, or to the
lef t to tune to a lower f requency.
Turn the knob right or lef t until the
display reaches the desired
f requency. The SEEK f unction
searches the band for a station with
a strong signal. To activate it, press
theSEEKbaroneitherthe or side, then release it.
Depending on which side you press,
the system scans upward or down-
ward f rom the current f requency. It
stops when it finds a station with a
strong signal. The SCAN function
samples all the stations with strong
signals on the selected band. To
activate it, press the SCAN button,
then release it. You will see SCAN in
the display. The system will scan up
the band for a station with a strong
signal. When it f inds one, it will stop
and play that station for
approximately f ive seconds. If you do
nothing, the system will then scan
f or the next strong station and play
that f or f ive seconds. When it plays a
station that you want to continue
listening to, press the SCAN button
again.
Audio System
Comf ort and Convenience Feat ures
TUNE SEEK
SCA N
119