Page 110 of 200

•Move the gearshift lever and securely latch it in P (Park)
Always set the parking brake fully and make sure the gearshift is
latched in P (Park). Turn the ignition to the LOCK position and
remove the key whenever you leave your vehicle.
R (Reverse)
With the gearshift lever in R (Reverse), the vehicle will move backward.
Always come to a complete stop before shifting into and out of R
(Reverse).
N (Neutral)
With the gearshift lever in N (Neutral), the vehicle can be started and is
free to roll. Hold the brake pedal down while in this position.
Drive 5 (Overdrive)
The normal driving position for the best fuel economy. Transmission
operates in gears one through five.
Drive 4 (Overdrive cancelled)
Activated when the transmission shift lever is moved to the D4 position.
•This position allows for all forward gears 1–4, except overdrive.
•Provides engine braking.
•Use when driving conditions cause excessive shifting from O/D to
other gears. Examples: city traffic, hilly terrain, heavy loads and when
engine braking is required.
•To return to D5 (overdrive mode), move the transmission shift lever
into the D5 position.
•Select D4 at higher speeds will cause the transmission to downshift
into fourth gear.
3 (Third)
This position allows for third gear only.
•Provides engine braking.
•To return to D5 or D4, move the transmission shift lever into the D5
or D4 position.
•Selecting 3 (Third) at higher speeds will cause the transmission to
downshift to third gear at the appropriate vehicle speed.
2 (Second)
This position allows for second gear only.
Driving
110
Page 111 of 200

•Providesenginebraking.
•Use to start-up on slippery roads.
•To return to D5 or D4, move the transmission shift lever into the D5,
D4 or 3 (Third) position.
•Selecting 2 (Second) at higher speeds will cause the transmission to
downshift to second gear at the appropriate vehicle speed.
1 (First)
•Provides maximum engine braking.
•Allows upshifts by moving shift lever.
•Will not downshift into first gear at high speeds; will cause the
transmission to downshift to a lower gear, then allows for first gear
when the vehicle reaches slower speeds.
Forced downshifts
•Allowed in Overdrive or Drive.
•Depress the accelerator to the floor.
•Allows transmission to select an appropriate gear.
Driving with a 5–speed automatic transmission with the Select
Shift Transmission (SST) shifter (if equipped)
Understanding gearshift positions
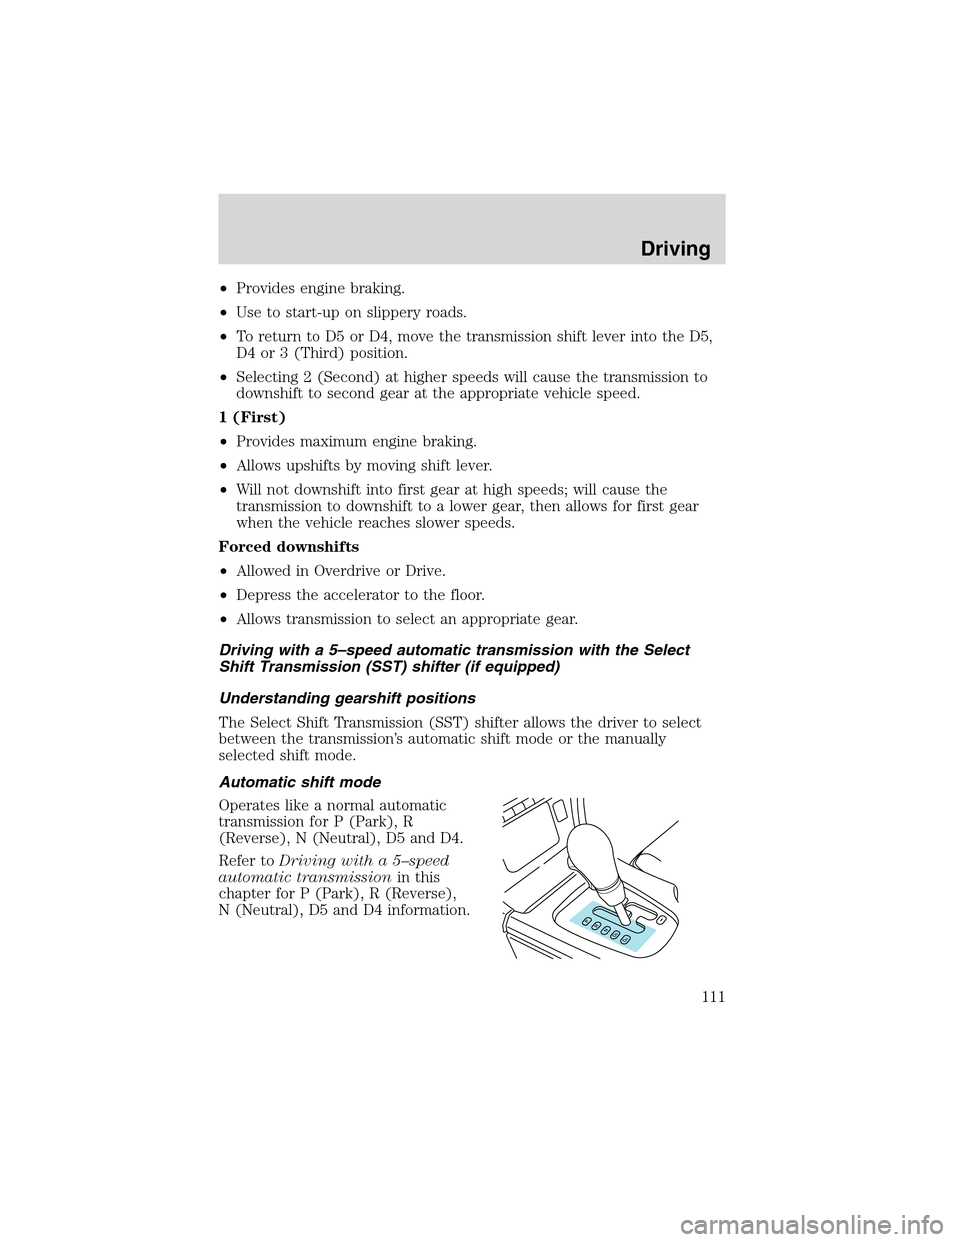
The Select Shift Transmission (SST) shifter allows the driver to select
between the transmission’s automatic shift mode or the manually
selected shift mode.
Automatic shift mode
Operates like a normal automatic
transmission for P (Park), R
(Reverse), N (Neutral), D5 and D4.
Refer toDriving with a 5–speed
automatic transmissionin this
chapter for P (Park), R (Reverse),
N (Neutral), D5 and D4 information.
Driving
111
Page 113 of 200

•If shifter (-) is tapped more than once in rapid succession, the
transmission will downshift only into the next lower gear, then when
the vehicle reaches a speed below a calibrated entry speed, the
transmission will allow a downshift into the next lower gear if again
selected by the driver. This is to prevent engine and transmission
damage and to keep the engine and transmission within allowable
RPM ranges.
•An electronic indicator on the instrument cluster will display the
selected gear.
Recommended shift speeds
Upshift according to the following chart:
Recommended upshift schedule
Shift from:
1 - 2 24 km/h (15 mph)
2 - 3 40 km/h (25 mph)
3 - 4 64 km/h (40 mph)
4 - 5 72 km/h (45 mph)
If your vehicle gets stuck in mud or snow
If your vehicle gets stuck in mud or snow, it may be rocked out by
shifting from forward and reverse gears, stopping between shifts in a
steady pattern. Press lightly on the accelerator in each gear.
Do not rock the vehicle if the engine is not at normal operating
temperature or damage to the transmission may occur.
Do not rock the vehicle for more than a minute or damage to the
transmission and tires may occur, or the engine may overheat.
DRIVING THROUGH WATER
If driving through deep or standing water is unavoidable, proceed very
slowly especially if the depth is not known. Never drive through water
that is higher than the bottom of the hubs (for trucks) or the bottom of
the wheel rims (for cars). Traction or brake capability may be limited
and your vehicle may stall. Water may also enter your engine’s air intake
and severely damage your engine.
Once through the water, always dry the brakes by moving your vehicle
slowly while applying light pressure on the brake pedal. Wet brakes do
not stop the vehicle as quickly as dry brakes.Driving through deep
water where the transmission vent tube is submerged may allow
water into the transmission and cause internal transmission
damage.
Driving
113
Page 118 of 200

FUELPUMPSHUT-OFFSWITCHFUEL
RESET
Thisdevicestops the electric fuel pump from sending fuel to the engine
when your vehicle has had a substantial jolt.
After an accident, if the engine cranks but does not start, this switch
may have been activated.
This switch is located in the driver’s
footwell, behind the kick panel.
To reset the switch:
1. Turn the ignition OFF.
2. Check the fuel system for leaks.
3. If no leaks are apparent, reset the
switch by pushing in on the reset
button.
4. Turn the ignition ON.
5. Wait a few seconds and return
the key to OFF.
6. Make another check for leaks.
FUSES AND RELAYS
Fuses
If electrical components in the
vehicle are not working, a fuse may
have blown. Blown fuses are
identified by a broken wire within
the fuse. Check the appropriate
fuses before replacing any electrical
components.
Note:Always replace a fuse with one that has the specified amperage
rating. Using a fuse with a higher amperage rating can cause severe wire
damage and could start a fire.
15
Roadside Emergencies
118
Page 122 of 200
Front power distribution box
The front power distribution box is
located in the engine compartment.
The power distribution box contains
high-current fuses that protect your
vehicle’s main electrical systems
from overloads.
Always disconnect the battery before servicing high current
fuses.
To reduce risk of electrical shock, always replace the cover to
the Power Distribution Box before reconnecting the battery or
refilling fluid reservoirs.
If the battery has been disconnected and reconnected, refer to the
Batterysection of theMaintenance and specificationschapter.
7
Roadside Emergencies
122
Page 128 of 200

•tow a trailer
•use tire chains
•drive through an automatic car wash, because of the vehicle’s reduced
ground clearance
•try to repair the temporary spare tire or remove it from its wheel
•drive for long distances when the temporary-use spare is on
•use the wheel for any other type of vehicle
•use more than one temporary spare tire at a time
Use of a temporary spare tire at any one wheel location can lead to
impairment of the following:
•Handling, stability and braking performance
•Comfort and noise
•Ground clearance and parking at curbs
•Winter driving capability
Tire change procedure
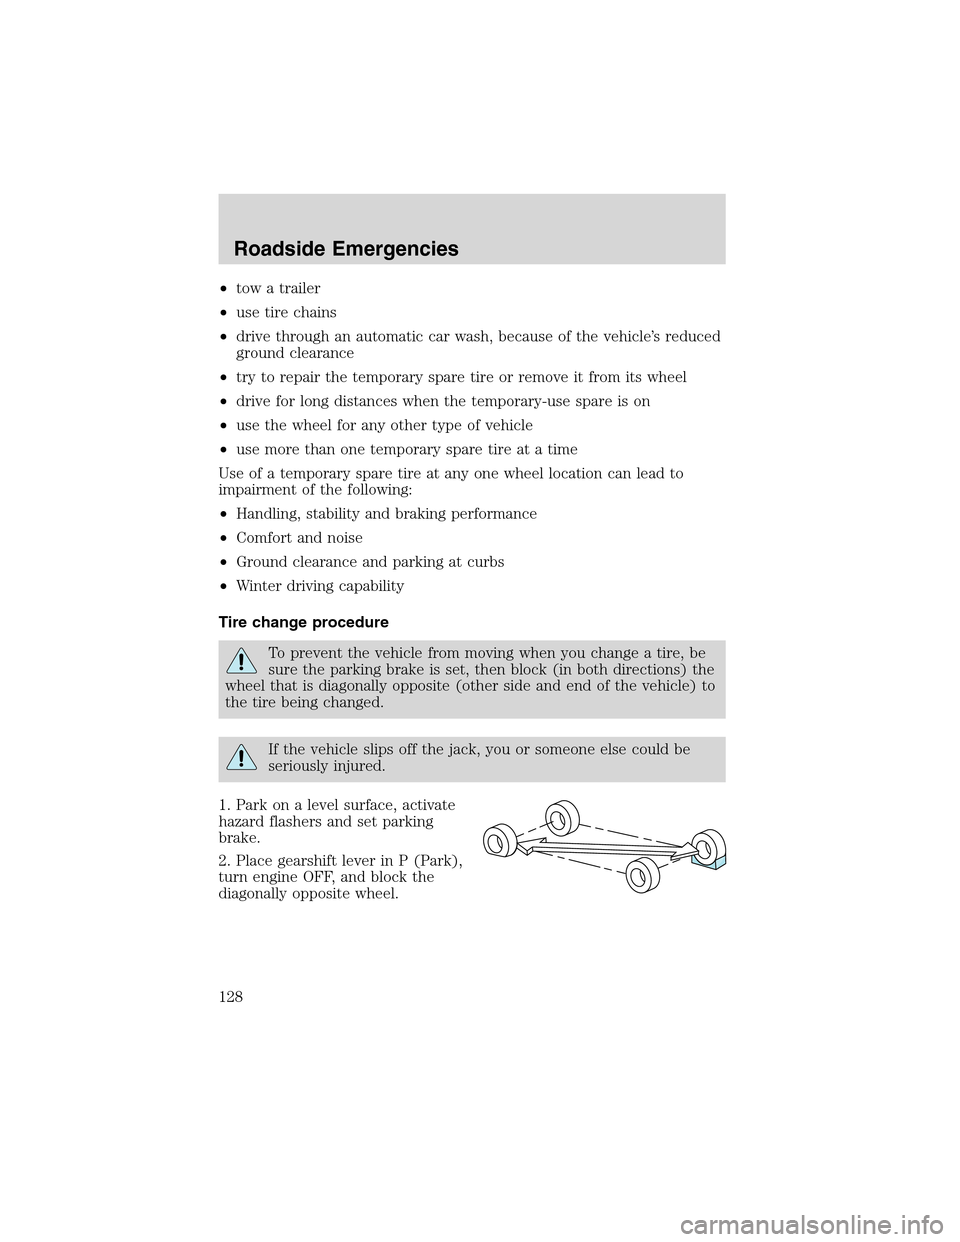
To prevent the vehicle from moving when you change a tire, be
sure the parking brake is set, then block (in both directions) the
wheel that is diagonally opposite (other side and end of the vehicle) to
the tire being changed.
If the vehicle slips off the jack, you or someone else could be
seriously injured.
1. Park on a level surface, activate
hazard flashers and set parking
brake.
2. Place gearshift lever in P (Park),
turn engine OFF, and block the
diagonally opposite wheel.
Roadside Emergencies
128
Page 130 of 200
5. Put the jack in the jack notch
next to the tire you are changing.
Turn the jack handle clockwise until
the wheel is completely off the
ground.
Never use the rear differential
as a jacking point.
To lessen the risk of
personal injury, do not put
any part of your body under the
vehicle while changing a tire. Do
not start the engine when your
vehicle is on the jack. The jack is
only meant for changing the tire.
6. Remove the lug nuts with the lug wrench.
7. Replace the flat tire with the spare tire, making sure the valve stem is
facing outward. Reinstall lug nuts until the wheel is snug against the hub.
Do not fully tighten the lug nuts until the wheel has been lowered.
If you are using the temporary tire, the lug nut washers will not appear
to be flush with the rim. This is normal only when using the temporary
spare tire.
8. Lower the wheel by turning the jack handle counterclockwise.
Roadside Emergencies
130
Page 133 of 200
1.Useonly a 12–volt supply to start your vehicle.
2. Do not disconnect the battery of your disabled vehicle as this could
damage the vehicle’s electrical system. Keep the battery vent hose
attached at all times.
3. Park the booster vehicle close to the trunk of your disabled vehicle
making sure the two vehiclesdo nottouch. Set the parking brake on
both vehicles and stay clear of the engine cooling fan and other moving
parts.
4. Check all battery terminals and remove any excessive corrosion before
you attach the battery cables. Ensure the vent caps are tight and level.
5. Turn the heater fan on in both vehicles to protect any electrical
surges. Turn all other accessories off.
Connecting the jumper cables
1. Connect the positive (+) booster cable to the positive (+) terminal of
the discharged battery.
Note:In the illustrations,lightning boltsare used to designate the
assisting (boosting) battery.
+–+–
Roadside Emergencies
133