Page 2 of 200
Brakes 105
Traction control/AdvanceTrac 106
Transmission operation 108
Trailer towing 115
Roadside Emergencies 116
Getting roadside assistance 116
Hazard flasher switch 117
Fuel pump shut-off switch 118
Fuses and relays 118
Changing tires 127
Jump starting 132
Wrecker towing 138
Customer Assistance 139
Reporting safety defects (U.S. only) 147
Cleaning 148
Maintenance and Specifications 154
Engine compartment 155
Engine oil 156
Battery 159
Fuel information 167
Air filter(s) 178
Part numbers 182
Refill capacities 183
Lubricant specifications 184
Accessories 189
Index 191
All rights reserved. Reproduction by any means, electronic or mechanical
including photocopying, recording or by any information storage and retrieval
system or translation in whole or part is not permitted without written
authorization from Ford Motor Company. Ford may change the contents without
notice and without incurring obligation.
Copyright © 2002 Ford Motor Company
Table of Contents
2
Page 4 of 200
SAFETY AND ENVIRONMENT PROTECTION
Warning symbols in this guide
How can you reduce the risk of personal injury and prevent possible
damage to others, your vehicle and its equipment? In this guide, answers
to such questions are contained in comments highlighted by the warning
triangle symbol. These comments should be read and observed.
Warning symbols on your vehicle
When you see this symbol, it is
imperative that you consult the
relevant section of this guide before
touching or attempting adjustment
of any kind.
Protecting the environment
We must all play our part in
protecting the environment. Correct
vehicle usage and the authorized
disposal of waste cleaning and
lubrication materials are significant
steps towards this aim. Information in this respect is highlighted in this
guide with the tree symbol.
BREAKING-IN YOUR VEHICLE
Your vehicle does not need an extensive break-in. Try not to drive
continuously at the same speed for the first 1,600 km (1,000 miles) of
new vehicle operation. Vary your speed to allow parts to adjust
themselves to other parts.
Do not add friction modifier compounds or special break-in oils during
the first few thousand kilometers (miles) of operation, since these
additives may prevent piston ring seating. SeeEngine oilin the
Maintenance and specificationschapter for more information on oil
usage.
SPECIAL NOTICES
Emission warranty
The New Vehicle Limited Warranty includes Bumper-to-Bumper
Coverage, Safety Restraint Coverage, Corrosion Coverage, and 7.3L
Power Stroke Diesel Engine Coverage. In addition, your vehicle is eligible
Introduction
4
Page 7 of 200
Vehicle Symbol Glossary
Power Windows
Front/Rear
Power Window Lockout
Child Safety Door
Lock/UnlockInterior Luggage
Compartment Release
Symbol
Panic AlarmEngine Oil
Engine CoolantEngine Coolant
Temperature
Do Not Open When HotBattery
Avoid Smoking, Flames,
or SparksBattery Acid
Explosive GasFan Warning
Power Steering FluidMaintain Correct Fluid
LevelMAX
MIN
Emission SystemEngine Air Filter
Passenger Compartment
Air FilterJack
Check fuel capLow tire warning
Introduction
7
Page 10 of 200
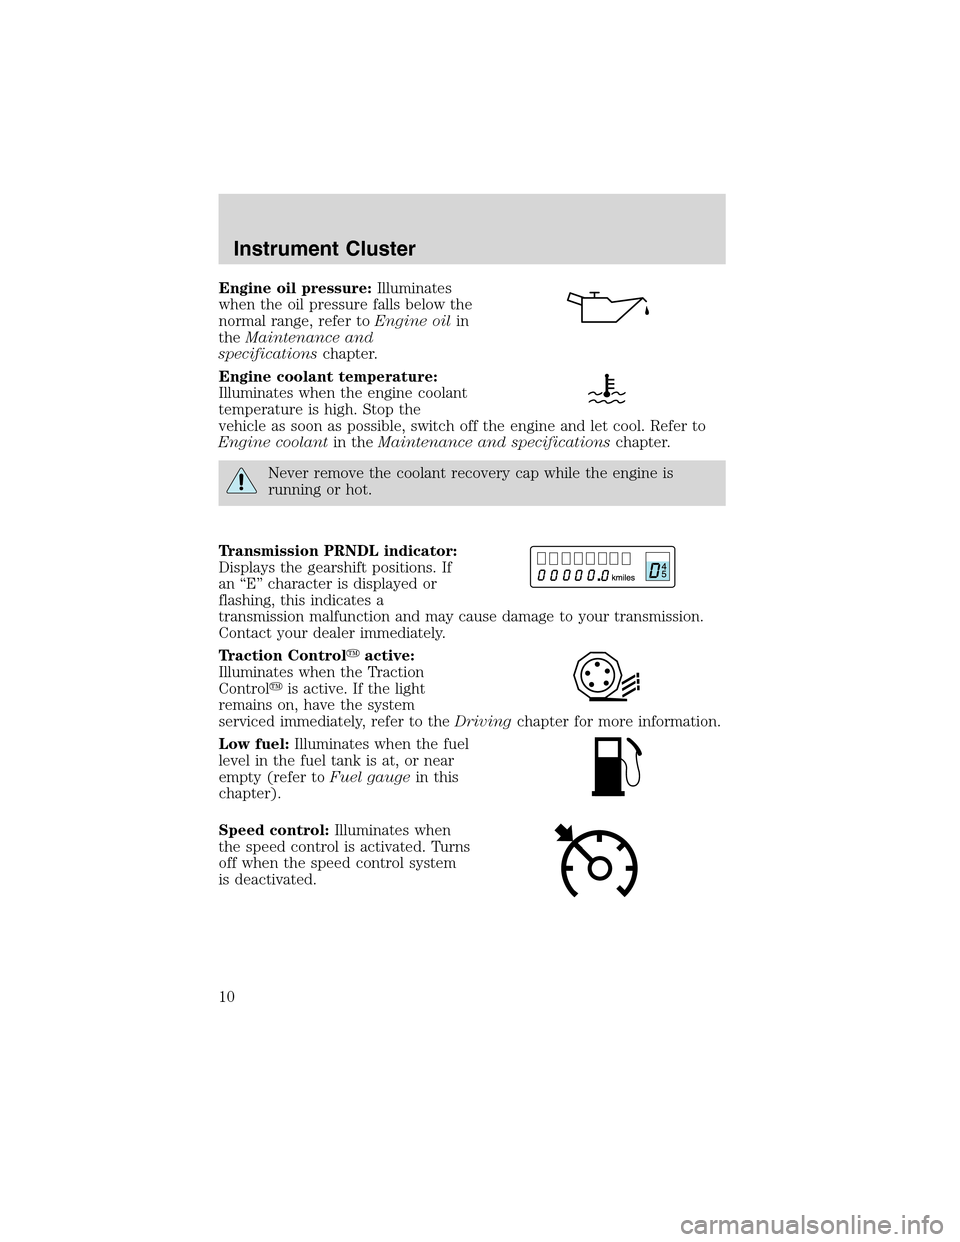
Engine oil pressure:Illuminates
when the oil pressure falls below the
normal range, refer toEngine oilin
theMaintenance and
specificationschapter.
Engine coolant temperature:
Illuminates when the engine coolant
temperature is high. Stop the
vehicle as soon as possible, switch off the engine and let cool. Refer to
Engine coolantin theMaintenance and specificationschapter.
Never remove the coolant recovery cap while the engine is
running or hot.
Transmission PRNDL indicator:
Displays the gearshift positions. If
an“E”character is displayed or
flashing, this indicates a
transmission malfunction and may cause damage to your transmission.
Contact your dealer immediately.
Traction Control�active:
Illuminates when the Traction
Control�is active. If the light
remains on, have the system
serviced immediately, refer to theDrivingchapter for more information.
Low fuel:Illuminates when the fuel
level in the fuel tank is at, or near
empty (refer toFuel gaugein this
chapter).
Speed control:Illuminates when
the speed control is activated. Turns
off when the speed control system
is deactivated.
Instrument Cluster
10
Page 149 of 200
•Removeparticles such as bird droppings, tree sap, insect deposits, tar
spots, road salt and industrial fallout before repairing paint chips.
•Always read the instructions before using the products.
ALUMINUM WHEELS AND WHEEL COVERS
Aluminum wheels and wheel covers are coated with a clearcoat paint
finish. In order to maintain their shine:
•Clean weekly with Motorcraft Wheel and Tire Cleaner (ZC-37–A),
which is available from your dealer. Heavy dirt and brake dust
accumulation may require agitation with a sponge. Rinse thoroughly
with a strong stream of water.
•Never apply any cleaning chemical to hot or warm wheel rims or
covers.
•Some automatic car washes may cause damage to the finish on your
wheel rims or covers. Chemical-strength cleaners, or cleaning
chemicals, in combination with brush agitation to remove brake dust
and dirt, could wear away the clearcoat finish over time.
•Do not use hydrofluoric acid-based or high caustic-based wheel
cleaners, steel wool, fuels or strong household detergent.
•To remove tar and grease, use Ford Extra Strength Tar and Road Oil
Removal (B7A-19520–AA), available from your dealer.
ENGINE
Engines are more efficient when they are clean because grease and dirt
buildup keep the engine warmer than normal. When washing:
•Take care when using a power washer to clean the engine. The
high-pressure fluid could penetrate the sealed parts and cause
damage.
•Do not spray a hot engine with cold water to avoid cracking the
engine block or other engine components.
•Spray Motorcraft Engine Shampoo and Degreaser (ZC-20) on all parts
that require cleaning and pressure rinse clean.
Cleaning
149
Page 150 of 200
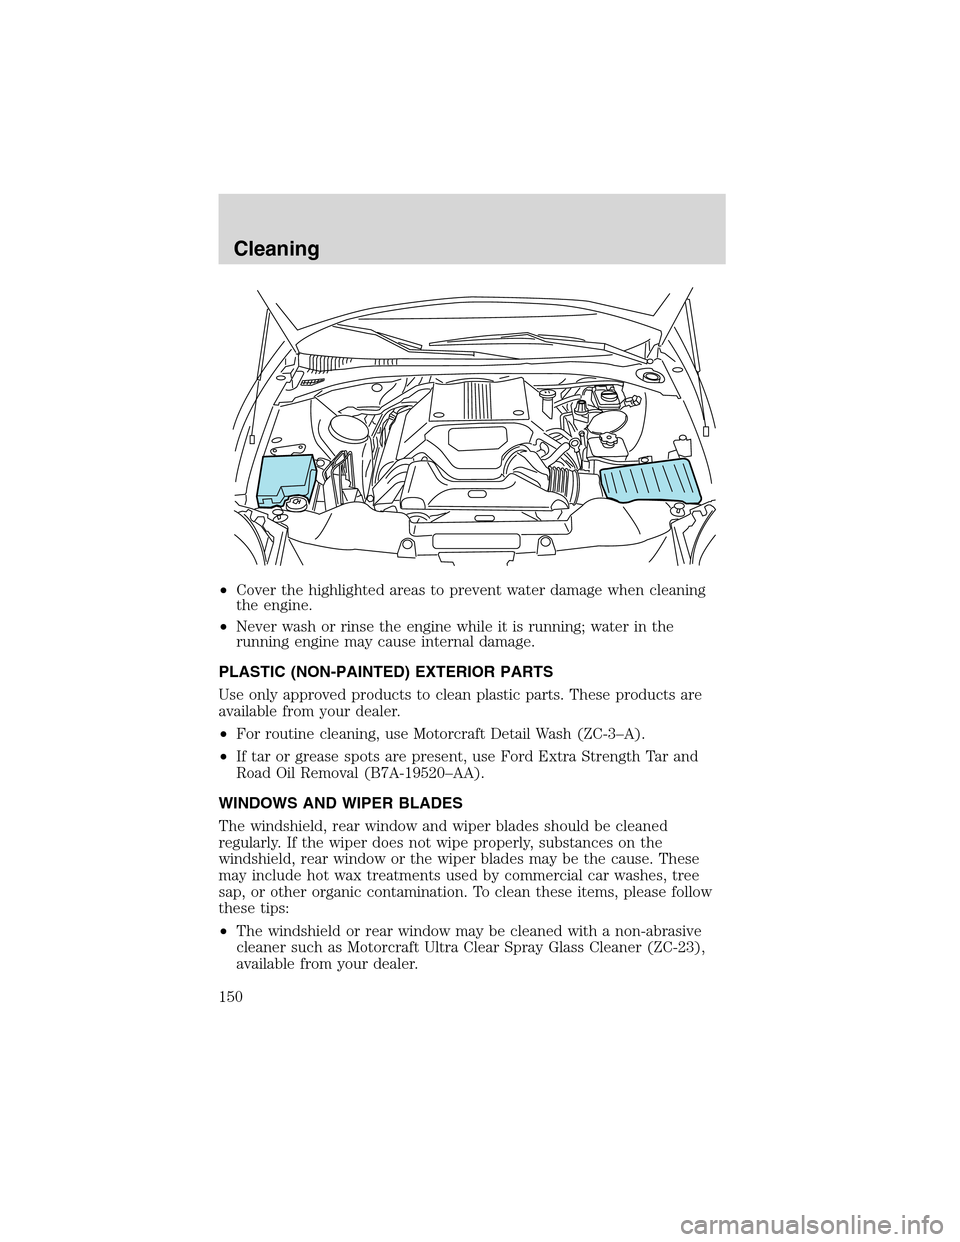
•Coverthehighlightedareas to prevent water damage when cleaning
the engine.
•Never wash or rinse the engine while it is running; water in the
running engine may cause internal damage.
PLASTIC (NON-PAINTED) EXTERIOR PARTS
Use only approved products to clean plastic parts. These products are
available from your dealer.
•For routine cleaning, use Motorcraft Detail Wash (ZC-3–A).
•If tar or grease spots are present, use Ford Extra Strength Tar and
Road Oil Removal (B7A-19520–AA).
WINDOWS AND WIPER BLADES
The windshield, rear window and wiper blades should be cleaned
regularly. If the wiper does not wipe properly, substances on the
windshield, rear window or the wiper blades may be the cause. These
may include hot wax treatments used by commercial car washes, tree
sap, or other organic contamination. To clean these items, please follow
these tips:
•The windshield or rear window may be cleaned with a non-abrasive
cleaner such as Motorcraft Ultra Clear Spray Glass Cleaner (ZC-23),
available from your dealer.
Cleaning
150
Page 153 of 200
FORD, LINCOLN AND MERCURY CAR CARE PRODUCTS
Your Ford, Lincoln or Mercury dealer has many quality products available
to clean your vehicle and protect its finishes. These quality products
have been specifically engineered to fulfill your automotive needs; they
are custom designed to complement the style and appearance of your
vehicle. Each product is made from high quality materials that meet or
exceed rigid specifications. For best results, use the following products
or products of equivalent quality:
Motorcraft Custom Clearcoat Polish (ZC–8–A)
Ford Custom Vinyl Protectant* (not available in Canada)
(F2AZ—19530–A)
Motorcraft Vinyl Cleaner (Canada only) (CXC-93)
Motorcraft Vinyl Conditioner (Canada only) (CXC-94)
Motorcraft Deluxe Leather and Vinyl Cleaner (not available in Canada)
(ZC-11–A)
Ford Extra Strength Tar and Road Oil Remover* (not available in
Canada) (B7A-19520–AA)
Ford Extra Strength Upholstery Cleaner (not available in Canada)
(E8AZ-19523–AA)
Motorcraft Custom Bright Metal Cleaner (ZC-15)
Motorcraft Wheel and Tire Cleaner (ZC-37–A)
Motorcraft Dash and Vinyl Cleaner (ZC-38–A)
Motorcraft Car Care Kit (ZC-26)
Ford Premium Car Wash Concentrate (F2SZ-19523–WC)
Motorcraft Carlite Glass Cleaner (Canada only) (CXC-100)
Motorcraft Spot and Stain Remover (ZC-14)
Motorcraft Detail Wash (ZC-3–A)
Motorcraft Tire Detailer (ZC-28)
Motorcraft Triple Clean (ZC-13)
Motorcraft Ultra-Clear Spray Glass Cleaner (not available in Canada)
(ZC-23)
Motorcraft Engine Shampoo and Degreaser (ZC-20)
* May be sold with the Motorcraft name
Cleaning
153
Page 155 of 200
OPENING THE HOOD
1. Inside the vehicle, pull the hood
release handle located at the bottom
left of the instrument panel.
2. Go to the front of the vehicle and
release the auxiliary latch that is
located under the front center of
the hood by pushing the handle
toward the passenger side of the
vehicle.
3. Lift the hood until the lift cylinders hold it open.
IDENTIFYING COMPONENTS IN THE ENGINE COMPARTMENT
3.9L–4V V8 engine
1. Engine oil filler cap
2. Engine oil dipstick
3. Brake fluid reservoir
Maintenance and Specifications
155