Page 1391 of 4378
Item Part Number Description
1 N605904 Bolt
2 N620480 Nut
3 6A946 Cover
4 17K814 Alternator bracket assembly
5 N811268 Bolts (2 req'd)
6 8620 Accessory drive belt
7 N606543 Bolt (4 req'd)
8 6L266 Timing chain tensioner �K�l�j . 7 �b�a
162003 Mustang Workshop Manual
17. 11. 2011file:///C:/Ford/2000 - 2004/tsocache/SHEF_4464/S3B~us~en~ ...
Page 1425 of 4378
9. Install the special tool.
10. Remove the bolts and the alternator support bracket.
11. Remove the nut and position the wiring harness aside.
12. Remove the stud and position the coolant hose assembly aside.
13. Remove the auxiliary crankshaft pulley brace fasteners. �K�l�j . 3 �b�a
42003 Mustang Workshop Manual
17. 11. 2011file:///C:/Ford/2000 - 2004/tsocache/SHEF_4464/S3B~us~en~ ...
Page 2316 of 4378

DIAGNOSIS AND TESTING
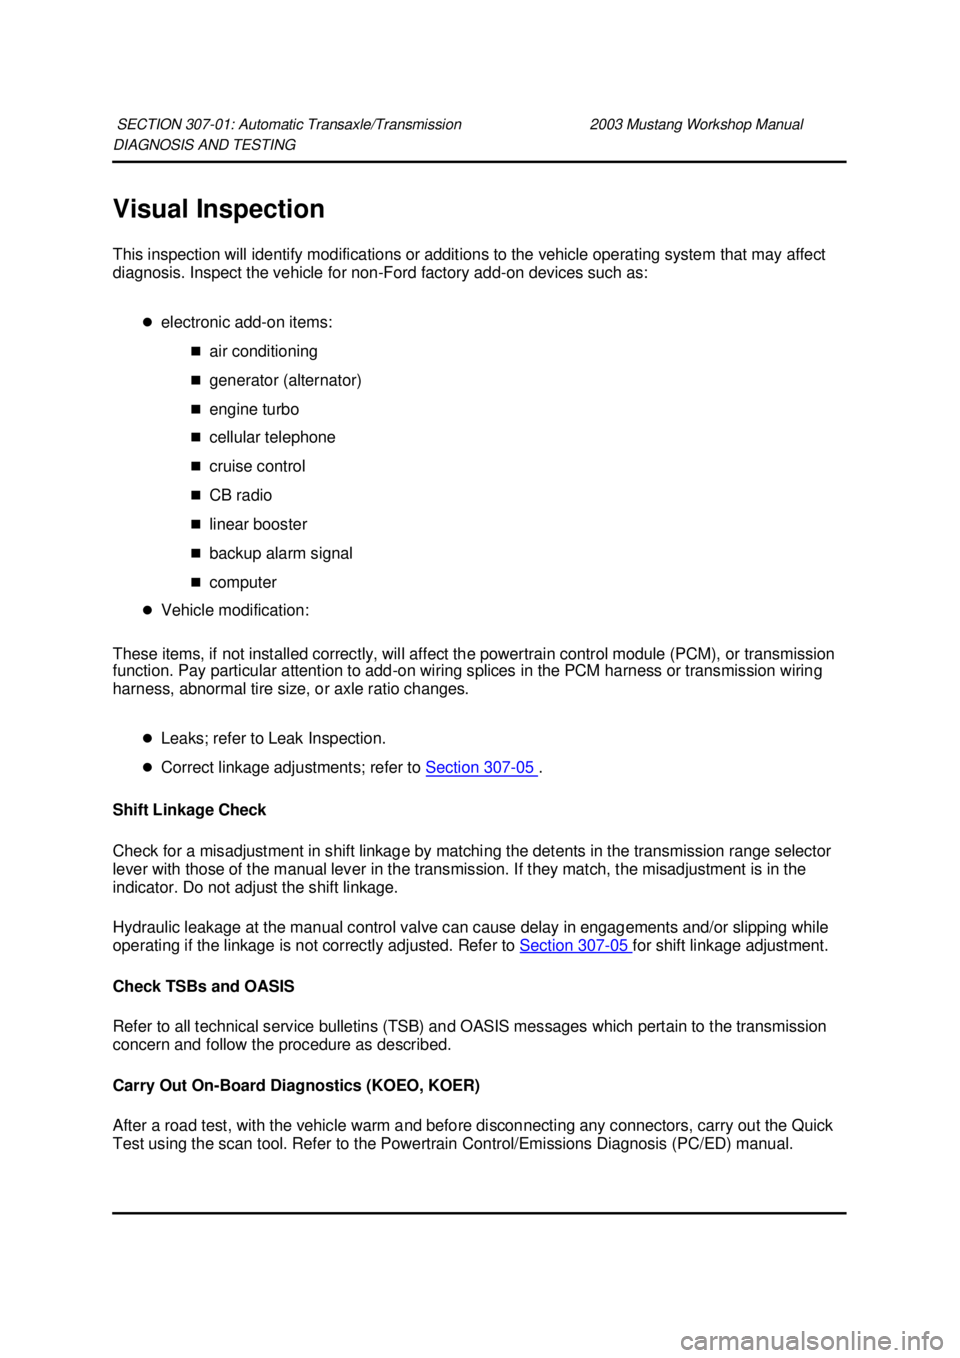
Visual Inspection
This inspection will identify modifications or additions to the vehicle operating system that may affect
diagnosis. Inspect the vehicle for non-
Ford factory add-on devices such as:
�z electronic add- on items:
�„ air conditioning
�„ generator (alternator)
�„ engine turbo
�„ cellular telephone
�„ cruise control
�„ CB radio
�„ linear booster
�„ backup alarm signal
�„ computer
�z Vehicle modification:
These items, if not installed correctly, will affect the powertrain control module (PCM), or transmission
function. Pay particular attention to add- on wiring splices in the PCM harness or transmission wiring
harness, abnormal tire size, or axle ratio changes.
�zLeaks; refer to Leak Inspection.
�z Correct linkage adjustments; refer to Section 307 - 05 .
Shift Linkage Check
Check for a misadjustment in shift linkage by matching the detents in the transmission range selector
lever with those of the manual lever in the transmission. If they match, the misadjustment is in the
indicator. Do not adjust the shift linkage.
Hydraulic leakage at the manual control valve can cause delay in engagements and/or slipping while
operating if the linkage is not correctly adjusted. Refer to Section 307 - 05 for shift linkage adjustment.
Check TSBs and OASIS
Refer to all technical service bulletins (TSB) and OASIS messages which pertain to the transmission
concern and follow the procedure as described.
Carry Out On- Board Diagnostics (KOEO, KOER)
After a road test, with the vehicle warm and before disconnecting any connectors, carry out the Quick
Test using the scan tool. Refer to the Powertrain Control/Emissions Diagnosis (PC/ED) manual. SECTION 307-
01: Automatic Transaxle/Transmission 2003 Mustang Workshop Manual �K�l�j . 1 �b�a
22003 Mustang Workshop Manual
18. 11. 2011file:///C:/Ford/2000 - 2004/tsocache/SHEF_2748/S3B~us~en~ ...
Page 3868 of 4378

DIAGNOSIS AND TESTING
Wipers and Washers
Refer to Wiring Diagrams Cell
59 , Generic Electronic Module for schematic and connector
information.
Refer to Wiring Diagrams Cell 81 , Interval Wiper/Washer for schematic and connector information.
Principles of Operation
Multifunction Wipers
The front wiper/washer feature controls the speed of the front windshield wipers and the amount of
washer fluid sprayed on the front windshield when requested by the customer. There are five (5) wiper
modes: OFF, LOW, HIGH, INTERVAL, and WASH.
Wiper Motor Speeds HIGH and LOW
There are two wiper speeds, HIGH and LOW. When the GEM detects the ignition switch circuits are in
the RUN or ACC states, and the GEM detects a high or low speed request from the wiper mode
circuits, the GEM will activate the wiper ON and OFF and the wiper speed circuits accordingly.
Wiper Motor Speeds Interval
There are one to seven wiper speed intervals, ranging from 1.5 seconds to 20 seconds in delay time
respectively, which can be selected. When the GEM detects the ignition switch circuits are in the RUN
or ACC states, and the GEM detects an interval selection of 1 through 7 from the delay/wash circuits, the GEM will activate the wiper ON and OFF and the wiper speed circuits accordingly. SECTION 501-
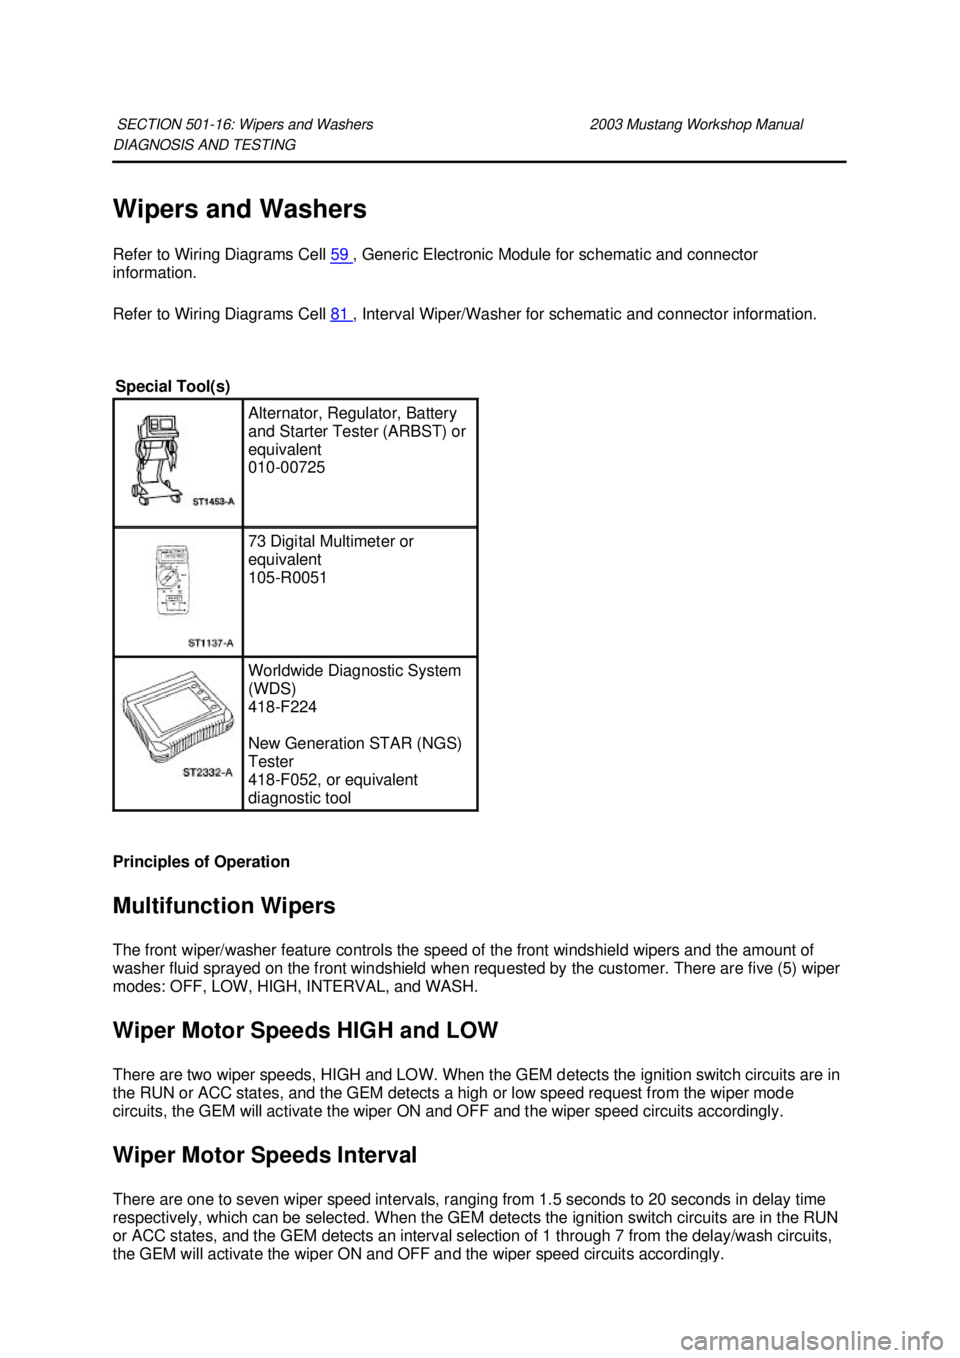
16: Wipers and Washers 2003 Mustang Workshop Manual Special Tool(s)
Alternator, Regulator, Battery
and Starter Tester (ARBST) or
equivalent
010-
00725 73 Digital Multimeter or
equivalent
105-
R0051 Worldwide Diagnostic System
(WDS)
418-
F224
New Generation STAR (NGS)
Tester
418- F052, or equivalent
diagnostic tool �K�l�j . 1 �b�a
202003 Mustang Workshop Manual
18. 11. 2011file:///C:/Ford/2000 - 2004/tsocache/SHEF_5108/S3B~us~en~ ...
Page 3885 of 4378
Component Test
Windshield Wiper Motor
CAUTION: Do not handle the wiper motor abusively when diagnosing the wiper
operations. Failure to follow this caution may result in damage to the motor magnets and will
make the wiper motor inoperative. Rough handling of new replacement wiper motors may also
damage the motor magnets.
Use Alternator, Regulator, Battery and Starter Tester (ARBST) to test the wiper motor on the vehicle. �z
Is the resistance less than 5 ohms? REPAIR Circuit 941
(BK/WH). REPEAT
the self-
test. CLEAR
the DTCs. C12 CHECK CIRCUIT 1205 (BK) FOR AN OPEN
�z
Measure the resistance between washer pump C137 Pin 2, Circuit
1205 (BK), harness side and ground.
�z Is the resistance less than 5 ohms? Yes
INSTALL a new
washer motor.
REPEAT the self-
test.
CLEAR the DTCs.
No
REPAIR Circuit 1205
(BK). REPEAT the
self- test. CLEAR the
DTCs. �K�l�j . 18 �b�a
202003 Mustang Workshop Manual
18. 11. 2011file:///C:/Ford/2000 - 2004/tsocache/SHEF_5108/S3B~us~en~ ...
Page 4150 of 4378

For example, if you don't know the specific system in which the ignition switch is located, look up ignition
switch in the wiring diagram component location tables and go to the appropriate wiring diagram(s) which
contain either full or partial views of the ignition swit ch. The full view of the ignition switch is located in
Power Distribution.
The first listing for the component will be the full or most complete view of the component. Additional
listings will be partial views of the component. Not all components are used on all models.
All components will have a partial view in Gr ound Distribution and Power Distribution. Data Link
Connectors show connecting circuits between modules. Alternate names for components may be listed in
wiring diagram component locations tables.
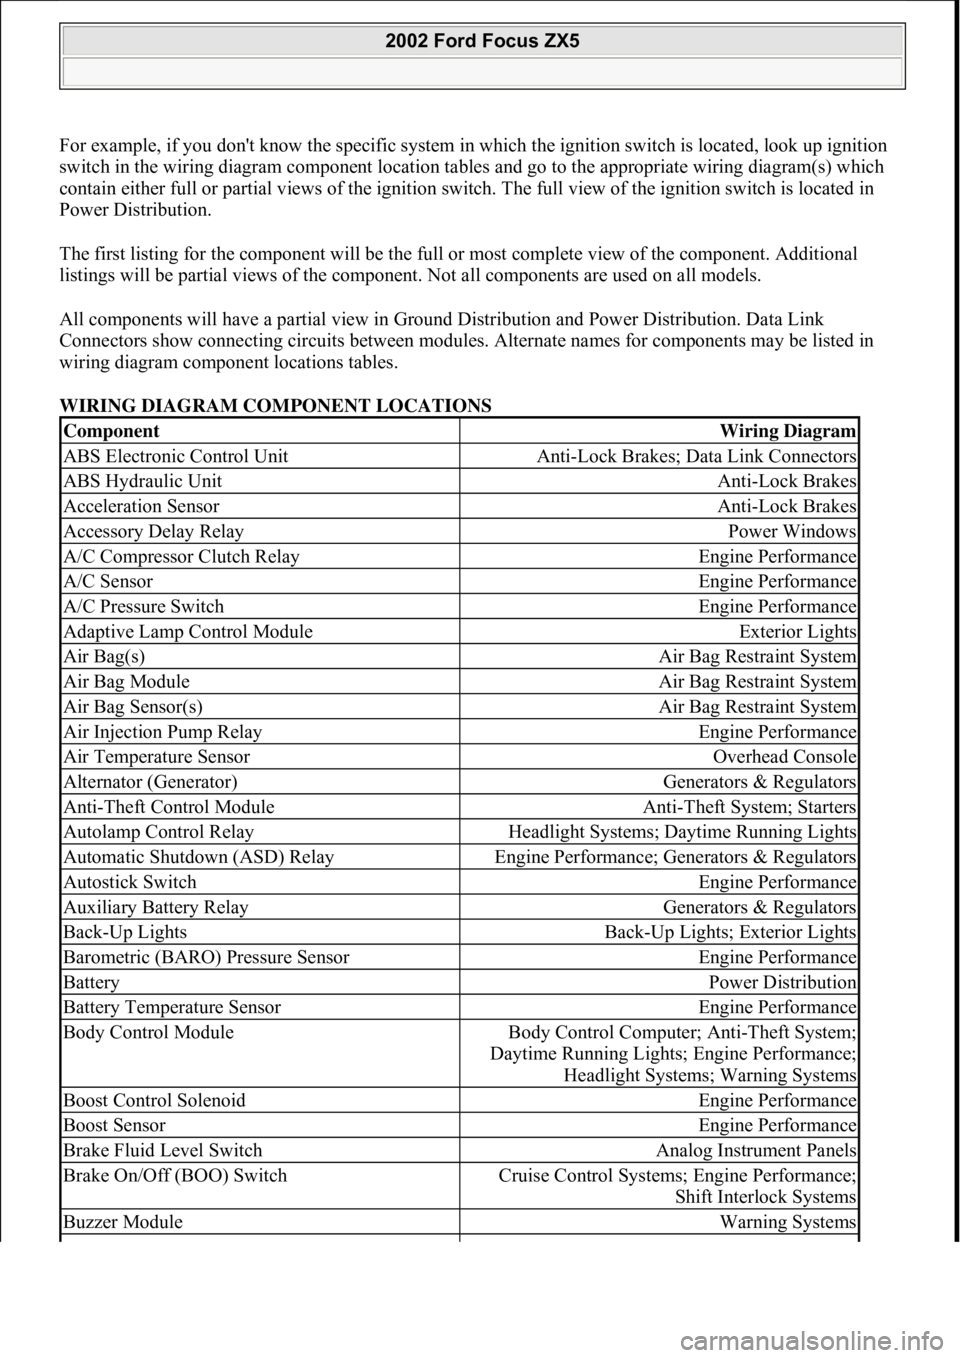
WIRING DIAGRAM COMPONENT LOCATIONS
ComponentWiring Diagram
ABS Electronic Control UnitAnti-Lock Brakes; Data Link Connectors
ABS Hydraulic UnitAnti-Lock Brakes
Acceleration SensorAnti-Lock Brakes
Accessory Delay RelayPower Windows
A/C Compressor Clutch RelayEngine Performance
A/C SensorEngine Performance
A/C Pressure SwitchEngine Performance
Adaptive Lamp Control ModuleExterior Lights
Air Bag(s)Air Bag Restraint System
Air Bag ModuleAir Bag Restraint System
Air Bag Sensor(s)Air Bag Restraint System
Air Injection Pump RelayEngine Performance
Air Temperature SensorOverhead Console
Alternator (Generator)Generators & Regulators
Anti-Theft Control ModuleAnti-Theft System; Starters
Autolamp Control RelayHeadlight Systems; Daytime Running Lights
Automatic Shutdown (ASD) RelayEngine Performance; Generators & Regulators
Autostick SwitchEngine Performance
Auxiliary Battery RelayGenerators & Regulators
Back-Up LightsBack-Up Lights; Exterior Lights
Barometric (BARO) Pressure SensorEngine Performance
BatteryPower Distribution
Battery Temperature SensorEngine Performance
Body Control ModuleBody Control Computer; Anti-Theft System;
Daytime Running Lights; Engine Performance;
Headlight Systems; Warning Systems
Boost Control SolenoidEngine Performance
Boost SensorEngine Performance
Brake Fluid Level SwitchAnalog Instrument Panels
Brake On/Off (BOO) SwitchCruise Control Systems; Engine Performance;
Shift Interlock Systems
Buzzer ModuleWarning Systems
2002 Ford Focus ZX5
111
15 ноября 2011 г. 20:18:43Page 5 © 2006 Mitchell Repair Information Company, LLC.