Page 2062 of 4378
5. Remove the bolts and the ignition coil (12029).
6.
NOTE: Apply silicone brake caliper grease and dielectric compound to the inside of the spark
plug wire coil boot.
NOTE: Be sure to reinstall the radio ignition interference capacitor (18801) under the correct
mounting bolt.
To install, reverse the removal procedure. �K�l�j . 2 �b�a
22003 Mustang Workshop Manual
18. 11. 2011file:///C:/Ford/2000 - 2004/tsocache/SHEF_4464/S3B~us~en~ ...
Page 2063 of 4378
REMOVAL AND INSTALLATION
Spark Plug Wire
Removal and Installation
CAUTION: It is important to twist the spark plug wire boots while pulling upward to avoid
possible damage to the spark plug wire.
CAUTION: Spark plug wires must be connected to the correct ignition coil terminal. Mark
spark plug wire (12286) locations before removing them.
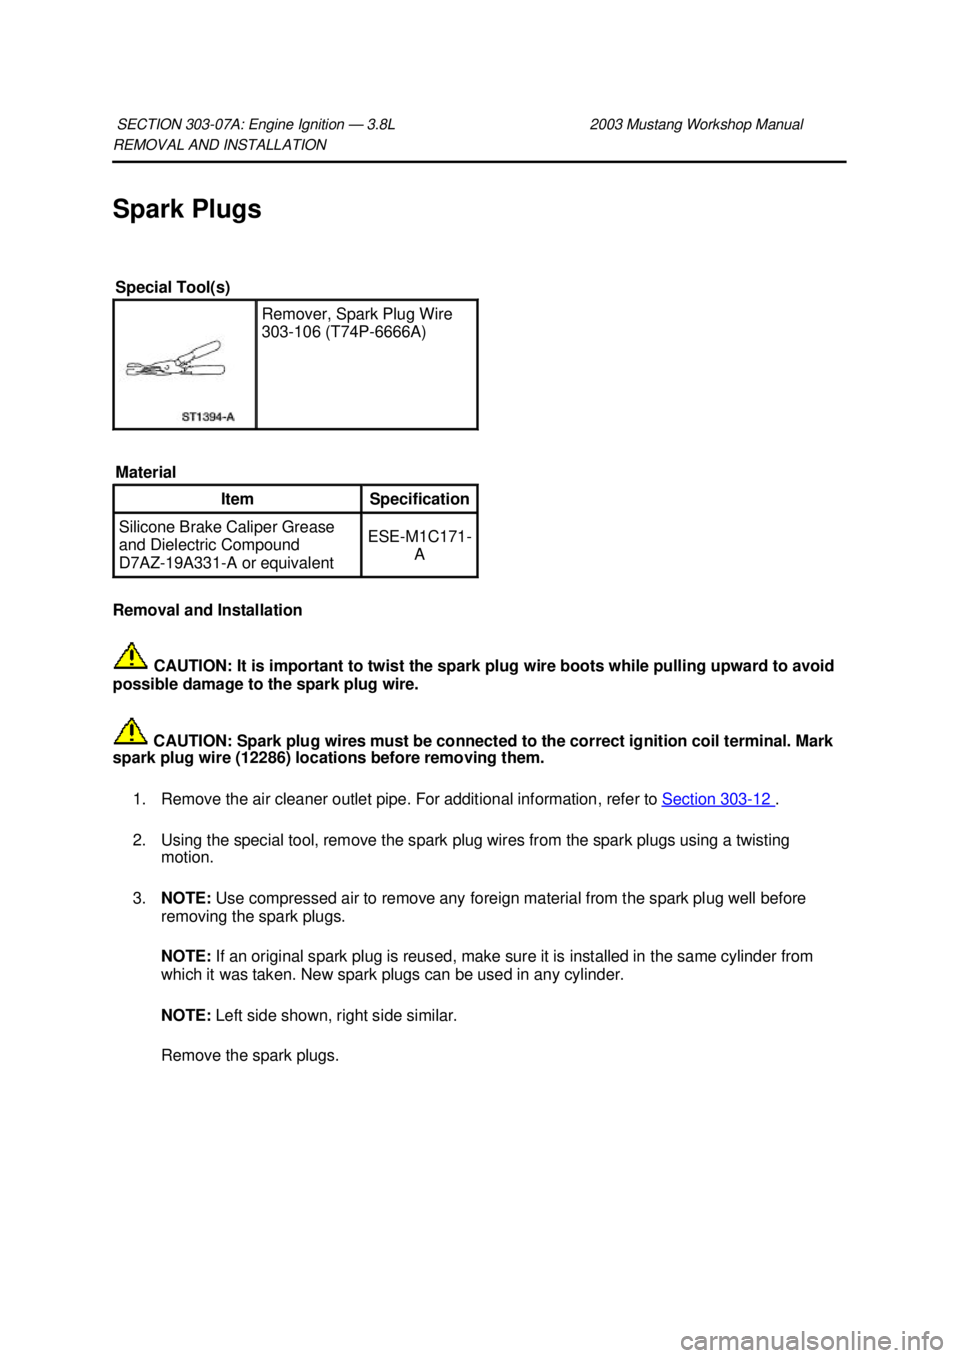
1. Using the special tool, remove the spark plug wire from the spark plug using a twisting motion.
2. Twist while pulling upward to disconnect the spark plug wires from the ignition coil (12029).
SECTION 303-
07A: Engine Ignition — 3.8L 2003 Mustang Workshop Manual Special Tool(s)
Remover, Spark Plug Wire
303-
106 (T74P- 6666A)
Material Item Specification
Silicone Brake Caliper Grease
and Dielectric Compound
D7AZ-
19A331-A or equivalent ESE-
M1C171-
A �K�l�j . 1 �b�a
22003 Mustang Workshop Manual
18. 11. 2011file:///C:/Ford/2000 - 2004/tsocache/SHEF_4464/S3B~us~en~ ...
Page 2064 of 4378
3.
CAUTION: Be sure to orient the spark plug boots so the spark plug wires do not
contact the exhaust manifold.
NOTE: Apply silicone brake caliper grease and dielectric compound to the inside of spark plug
and ignition coil boots of the spark plug wire.
To install, reverse the removal procedure. �K�l�j . 2 �b�a
22003 Mustang Workshop Manual
18. 11. 2011file:///C:/Ford/2000 - 2004/tsocache/SHEF_4464/S3B~us~en~ ...
Page 2065 of 4378

REMOVAL AND INSTALLATION
Spark Plugs
Removal and Installation
CAUTION: It is important to twist the spark plug wire boots while pulling upward to avoid
possible damage to the spark plug wire.
CAUTION: Spark plug wires must be connected to the correct ignition coil terminal. Mark
spark plug wire (12286) locations before removing them.
1. Remove the air cleaner outlet pipe. For additional information, refer to Section 303 - 12 .
2. Using the special tool, remove the spark plug wires from the spark plugs using a twisting motion.
3. NOTE: Use compressed air to remove any foreign material from the spark plug well before
removing the spark plugs.
NOTE: If an original spark plug is reused, make sure it is installed in the same cylinder from
which it was taken. New spark plugs can be used in any cylinder.
NOTE: Left side shown, right side similar.
Remove the spark plugs.
SECTION 303-
07A: Engine Ignition — 3.8L 2003 Mustang Workshop Manual Special Tool(s)
Remover, Spark Plug Wire
303-
106 (T74P- 6666A)
Material Item Specification
Silicone Brake Caliper Grease
and Dielectric Compound
D7AZ-
19A331-A or equivalent ESE-
M1C171-
A �K�l�j . 1 �b�a
52003 Mustang Workshop Manual
18. 11. 2011file:///C:/Ford/2000 - 2004/tsocache/SHEF_4464/S3B~us~en~ ...
Page 2066 of 4378
4. Inspect for gap bridged.
�zThis can be identified by deposit build up closing the gap between electrodes.
�z This may be caused by oil or carbon fouling.
�z Clean the spark plug.
5. Inspect for oil fouling. �zThis can be identified by wet black deposits on the insulator shell bore electrodes.
�z This may be caused by excessive oil entering the combustion chamber through worn
rings and pistons, excessive clearance between valve guides and stems, or worn or
loose bearings. Correct the oil problem.
�z Install a new spark plug.
6. Inspect for carbon fouling. �zThis can be identified by black, dry, fluffy carbon deposits on the insulator tips, exposed
shell surfaces and electrodes.
�z This may be caused by too cold a plug, dirty air cleaner, damaged fuel pump, too rich a
fuel mixture or excessive idling.
�z Clean the spark plug. �K�l�j . 2 �b�a
52003 Mustang Workshop Manual
18. 11. 2011file:///C:/Ford/2000 - 2004/tsocache/SHEF_4464/S3B~us~en~ ...
Page 2070 of 4378
SPECIFICATIONS
SECTION 303-
07B: Engine Ignition — 4.6L (2V) 2003 Mustang Workshop Manual General Specifications
Item Specification
Base ignition timing 10 degrees ±
2 degrees non- adjustable Firing order 1-3-7-2-6-5-4-
8 Spark plug gap mm (in) 1.32-
1.42 (0.052- 0.056) Spark plug type AWSF-
32PP
Torque Specifications Description Nm lb-
ft lb-
in Spark plugs 15 11 —
Coil on plug bolts 10 — 89 �K�l�j . 1 �b�a
12003 Mustang Workshop Manual
18. 11. 2011file:///C:/Ford/2000 - 2004/tsocache/SHEF_4464/S3B~us~en~ ...
Page 2071 of 4378

DESCRIPTION AND OPERATION
Engine Ignition
Eight separate ignition coils (12029):
�zare mounted directly above each spark plug (12405).
�z are controlled by the powertrain control module (PCM) for correct firing sequence.
The spark plug:
�zchanges the high voltage pulse into a spark which ignites the fuel and air mixture.
�z originally equipped on the vehicle has a platinum- enhanced active electrode for long life.
Crankshaft position (CKP) sensor (6C315):
NOTE: Initial engine ignition timing is set at 10 degrees ± 2 degrees before top dead center (BTDC)
and is not adjustable. For additional information, refer to the Powertrain Control/Emissions Diagnosis
(PC/ED) manual.
�zis a variable reluctance sensor triggered by a 36- minus-1 tooth trigger pulse wheel located on
the crankshaft (6303) inside the engine front cover (6019).
The sine wave type signal generated from the crankshaft position sensor provides two types of
information:
�zposition of the crankshaft in 10 degree increments
�z the crankshaft speed (rpm)
The powertrain control module (PCM) (12A650) uses this information to determine ignition coil turn ON
and turn OFF times and misfire detection.
For additional information, refer to Section 303 - 14 .
SECTION 303-
07B: Engine Ignition — 4.6L (2V) 2003 Mustang Workshop Manual �K�l�j . 1 �b�a
22003 Mustang Workshop Manual
18. 11. 2011file:///C:/Ford/2000 - 2004/tsocache/SHEF_4464/S3B~us~en~ ...
Page 2074 of 4378
REMOVAL AND INSTALLATION
Ignition Coil —
Coil On Plug
Removal 1. Disconnect the battery ground cable (14301). For additional information, refer to Section 414 -
01 .
2. Remove the air cleaner outlet tube (9B659). For additional information, refer to Section 303 - 12 .
3. NOTE: One ignition coil is shown, and the others are similar.
Disconnect the connector from the ignition coil (12029).
4. Remove the bolt and the ignition coil.
Installation 1. NOTE: Verify the ignition coil spring is correctly located inside the ignition coil boot and there is
no damage to the tip of the boot.
To install, reverse the removal procedure.
SECTION 303-
07B: Engine Ignition — 4.6L (2V) 2003 Mustang Workshop Manual �K�l�j . 1 �b�a
22003 Mustang Workshop Manual
18. 11. 2011file:///C:/Ford/2000 - 2004/tsocache/SHEF_4464/S3B~us~en~ ...