Page 10 of 256
WARNING LIGHTS AND CHIMES
Base instrument cluster
Optional instrument cluster
Turn signals
Illuminates when the
turn signals or the
hazard lights are
turned on. If the lights stay on continuously or flash
faster, check for a burned-out bulb.
High beams
Illuminates when the
high beam headlamps
are turned on.
Safety belt
Illuminates to remind
you to fasten your
safety belts. For more
information, refer to
theSeating and safety restraintschapter.
P! BRAKE
L
0
00000 00
C
E
FH
LH
10 203020 406080100
120
140
160
180
405060 70
80
90
100
11 0
1204
5
6
7 3
2
1
H
THEFT
RPMX1000
FUEL DOORSELECT/RESET
LOW
FUELO/D
OFF AIR
BAGSERVICE
ENGINE
SOON
MPH km/h
ABS
.
CHECK
FUEL
CAP
P! BRAKE
L
0
00000 00
C
E
FH
LH
102040608020 40608010 012 0 14 0
160
180
200
220
240
100
120
140
305070 90
110
13 0
1504
5
6
7
8 3
2
1
H
THEFT
RPMX1000
FUEL DOORSELECT/RESET
LOW
FUELO/D
OFF AIR
BAGSERVICE
ENGINE
SOONCHECK
FUEL
CAP
MPH km/h
ABS
.
Instrument Cluster
10
Page 12 of 256

recommended octane and/or properly installing and
securely tightening the fuel cap. After three driving
cycles without these or any other temporary
malfunctions present, the light should turn off. (A
driving cycle consists of a cold engine startup
followed by mixed city/highway driving.) No
additional vehicle service is required.
If the light remains on, have your vehicle serviced at
the first available opportunity.
Light is blinking:
Engine misfire is occurring which could damage your
catalytic converter. You should drive in a moderate
fashion (avoid heavy acceleration and deceleration)
and have your vehicle serviced at the first available
opportunity.
Under engine misfire conditions, excessive
exhaust temperatures could damage the
catalytic converter, the fuel system, interior floor
coverings or other vehicle components, possibly
causing a fire.
Check fuel cap
Illuminates when the
fuel cap is not installed
correctly. Check the
fuel cap for proper
installation. When the fuel filler cap is properly
re-installed, the light(s) will turn off after a period of
normal driving. Continuing to operate the vehicle
with the check fuel cap light on, or a mis-installed
fuel cap can activate theService Engine
Soon/Check Enginewarning light.
It may take a long period of time for the
system to detect an improperly installed fuel
filler cap.
For more information, refer toFuel filler capin the
Maintenance and specificationschapter.
CHECK
FUEL
CAP
Instrument Cluster
12
Page 16 of 256
Never remove the coolant reservoir cap
while the engine is running or hot. Steam
and scalding liquid from a hot cooling system can
burn you badly.
This gauge indicates the temperature of the engine
coolant, not the coolant level. If the coolant is not at
its proper level the gauge indication will not be
accurate.
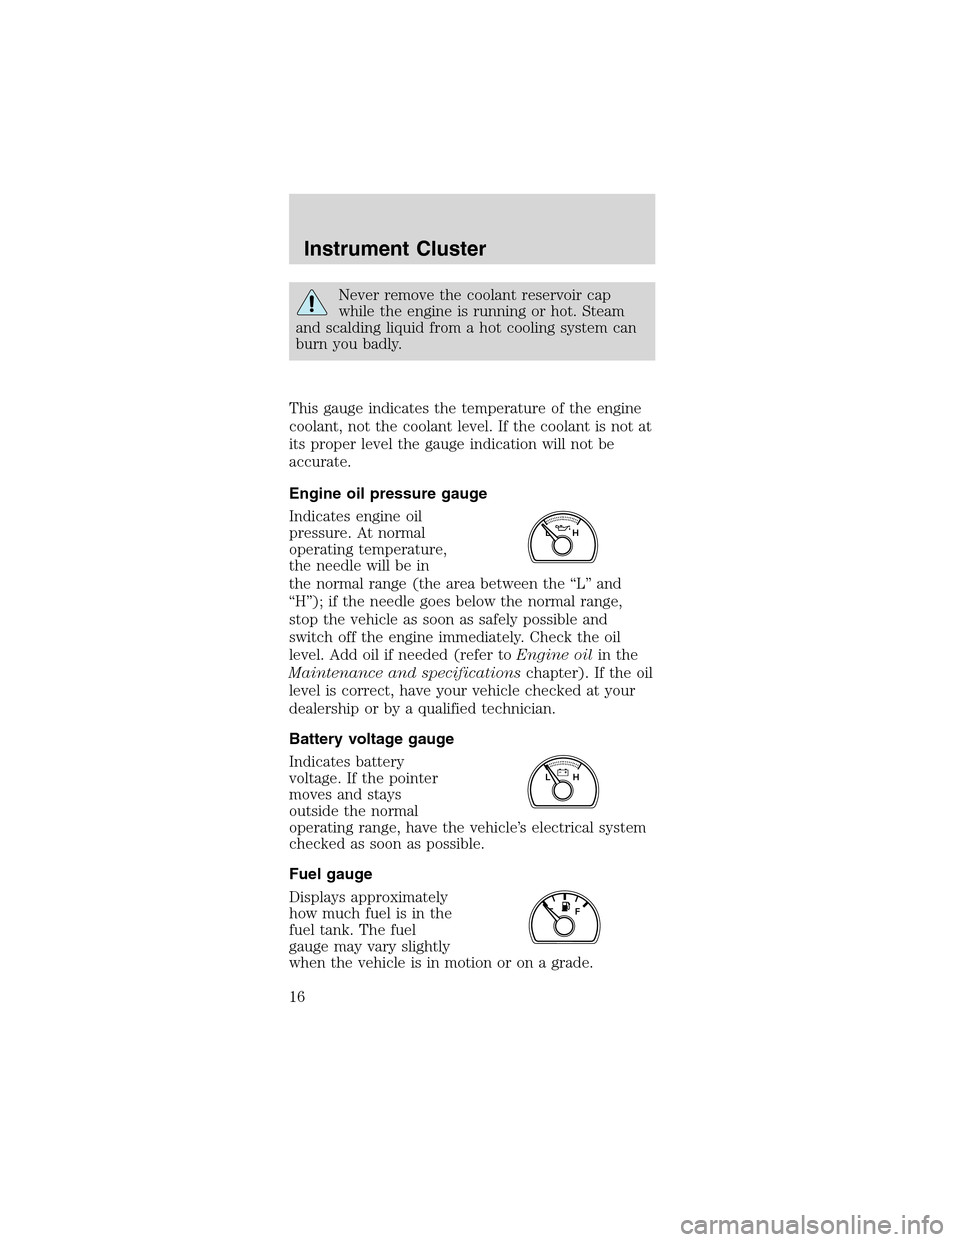
Engine oil pressure gauge
Indicates engine oil
pressure. At normal
operating temperature,
the needle will be in
the normal range (the area between the“L”and
“H”); if the needle goes below the normal range,
stop the vehicle as soon as safely possible and
switch off the engine immediately. Check the oil
level. Add oil if needed (refer toEngine oilin the
Maintenance and specificationschapter). If the oil
level is correct, have your vehicle checked at your
dealership or by a qualified technician.
Battery voltage gauge
Indicates battery
voltage. If the pointer
moves and stays
outside the normal
operating range, have the vehicle’s electrical system
checked as soon as possible.
Fuel gauge
Displays approximately
how much fuel is in the
fuel tank. The fuel
gauge may vary slightly
when the vehicle is in motion or on a grade.
LH
LH
F
Instrument Cluster
16
Page 136 of 256
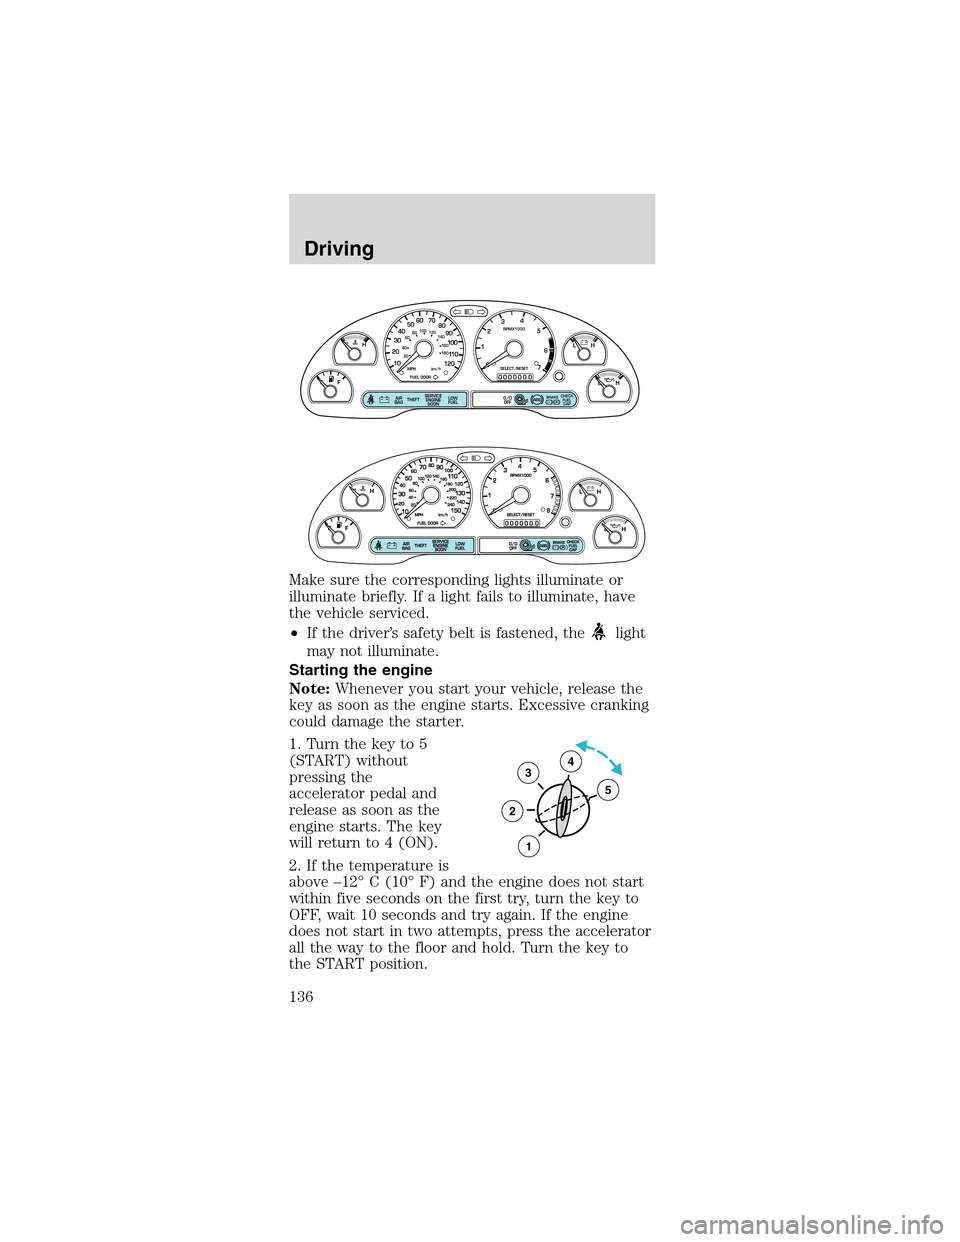
Makesurethecorrespondinglights illuminate or
illuminate briefly. If a light fails to illuminate, have
the vehicle serviced.
•If the driver’s safety belt is fastened, the
light
may not illuminate.
Starting the engine
Note:Whenever you start your vehicle, release the
key as soon as the engine starts. Excessive cranking
could damage the starter.
1. Turn the key to 5
(START) without
pressing the
accelerator pedal and
release as soon as the
engine starts. The key
will return to 4 (ON).
2. If the temperature is
above–12°C (10°F) and the engine does not start
within five seconds on the first try, turn the key to
OFF, wait 10 seconds and try again. If the engine
does not start in two attempts, press the accelerator
all the way to the floor and hold. Turn the key to
the START position.
P! BRAKE
L
0
00000 00
C
E
FH
LH
10 203020 406080100
120
140
160
180
405060 70
80
90
100
11 0
1204
5
6
7 3
2
1
H
THEFT
RPMX1000
FUEL DOORSELECT/RESET
LOW
FUELO/D
OFF AIR
BAGSERVICE
ENGINE
SOON
MPH km/h
ABS
.
CHECK
FUEL
CAP
3
2
1
5
4
Driving
136
Page 140 of 256
To release the parking
brake, the brake handle
may need to be pulled
up slightly to release
pressure before
pushing in the button.
Push the button on the
end of the parking
brake handle and push the handle down as far as
possible. Driving with the parking brake applied will
cause the brakes to wear out quickly and reduce fuel
economy.
Anti-lock brake system (ABS)
On vehicles equipped with an anti-lock braking
system (ABS), a noise from the hydraulic pump
motor and pulsation in the pedal may be observed
during ABS braking events. Pedal pulsation coupled
with noise while braking under panic conditions or
on loose gravel, bumps, wet or snowy roads is
normal and indicates proper functioning of the
vehicle’s anti-lock brake system. The ABS performs a
self-check after you start the engine and begin to
drive away. A brief mechanical noise may be heard
during this test. This is normal. If a malfunction is
found, the ABS warning light will come on. If the
vehicle has continuous vibration or shudder in the
steering wheel while braking, the vehicle should be
inspected by a qualified service technician.
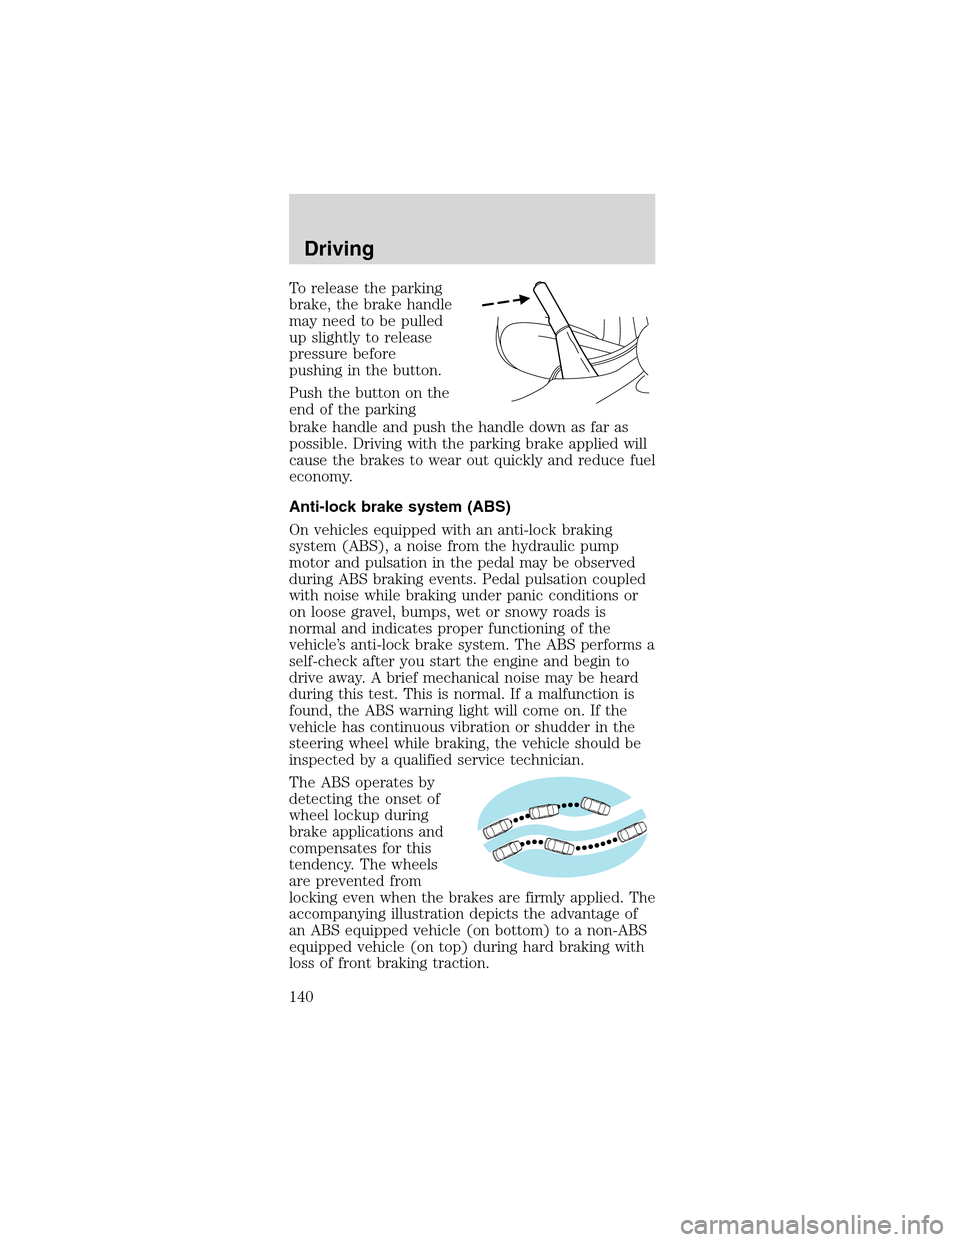
The ABS operates by
detecting the onset of
wheel lockup during
brake applications and
compensates for this
tendency. The wheels
are prevented from
locking even when the brakes are firmly applied. The
accompanying illustration depicts the advantage of
an ABS equipped vehicle (on bottom) to a non-ABS
equipped vehicle (on top) during hard braking with
loss of front braking traction.
Driving
140
Page 153 of 256
Removingkeyfrom ignition
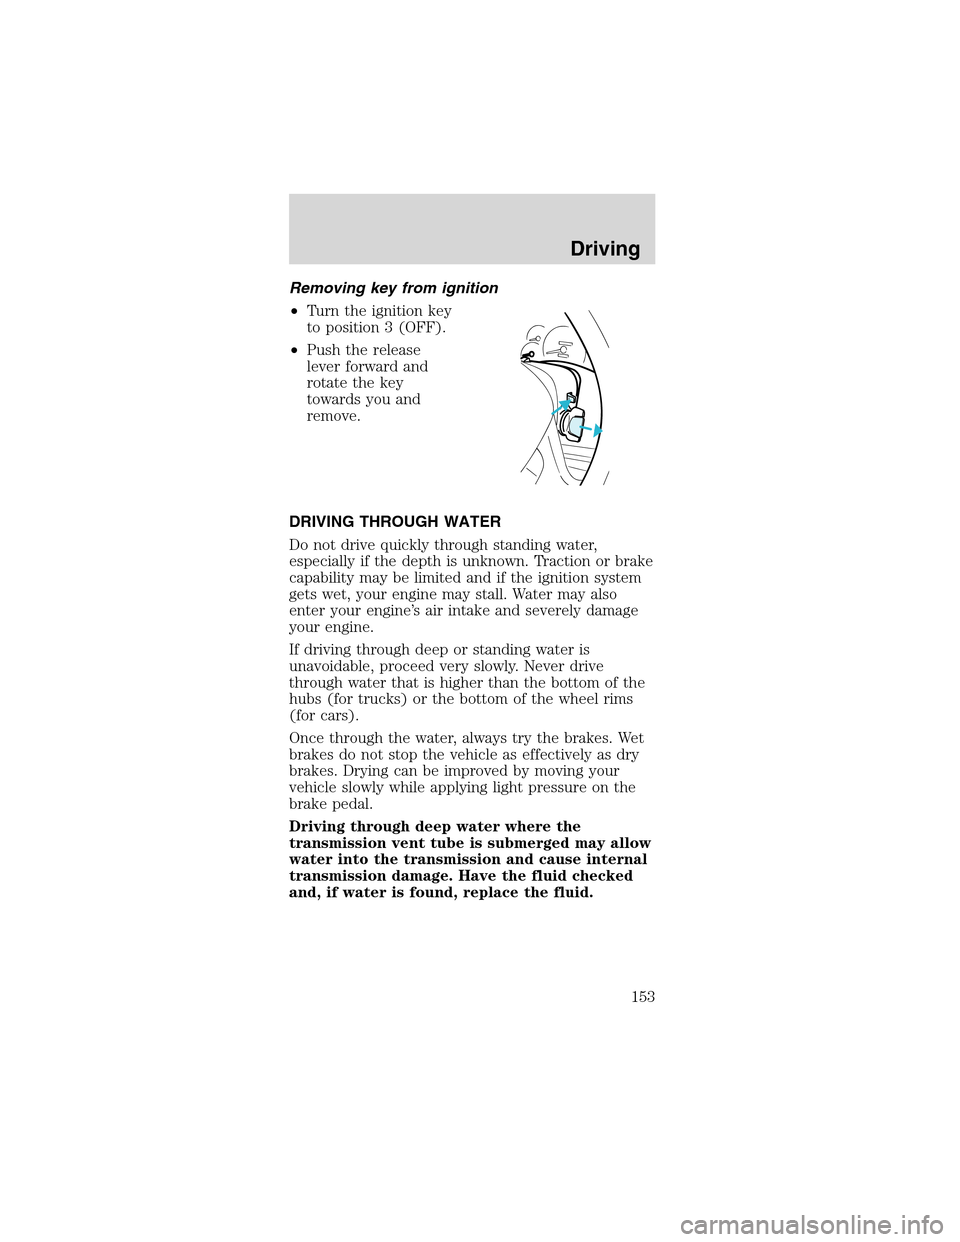
•Turn the ignition key
to position 3 (OFF).
•Push the release
lever forward and
rotate the key
towards you and
remove.
DRIVING THROUGH WATER
Do not drive quickly through standing water,
especially if the depth is unknown. Traction or brake
capability may be limited and if the ignition system
gets wet, your engine may stall. Water may also
enter your engine’s air intake and severely damage
your engine.
If driving through deep or standing water is
unavoidable, proceed very slowly. Never drive
through water that is higher than the bottom of the
hubs (for trucks) or the bottom of the wheel rims
(for cars).
Once through the water, always try the brakes. Wet
brakes do not stop the vehicle as effectively as dry
brakes. Drying can be improved by moving your
vehicle slowly while applying light pressure on the
brake pedal.
Driving through deep water where the
transmission vent tube is submerged may allow
water into the transmission and cause internal
transmission damage. Have the fluid checked
and, if water is found, replace the fluid.
Driving
153
Page 159 of 256
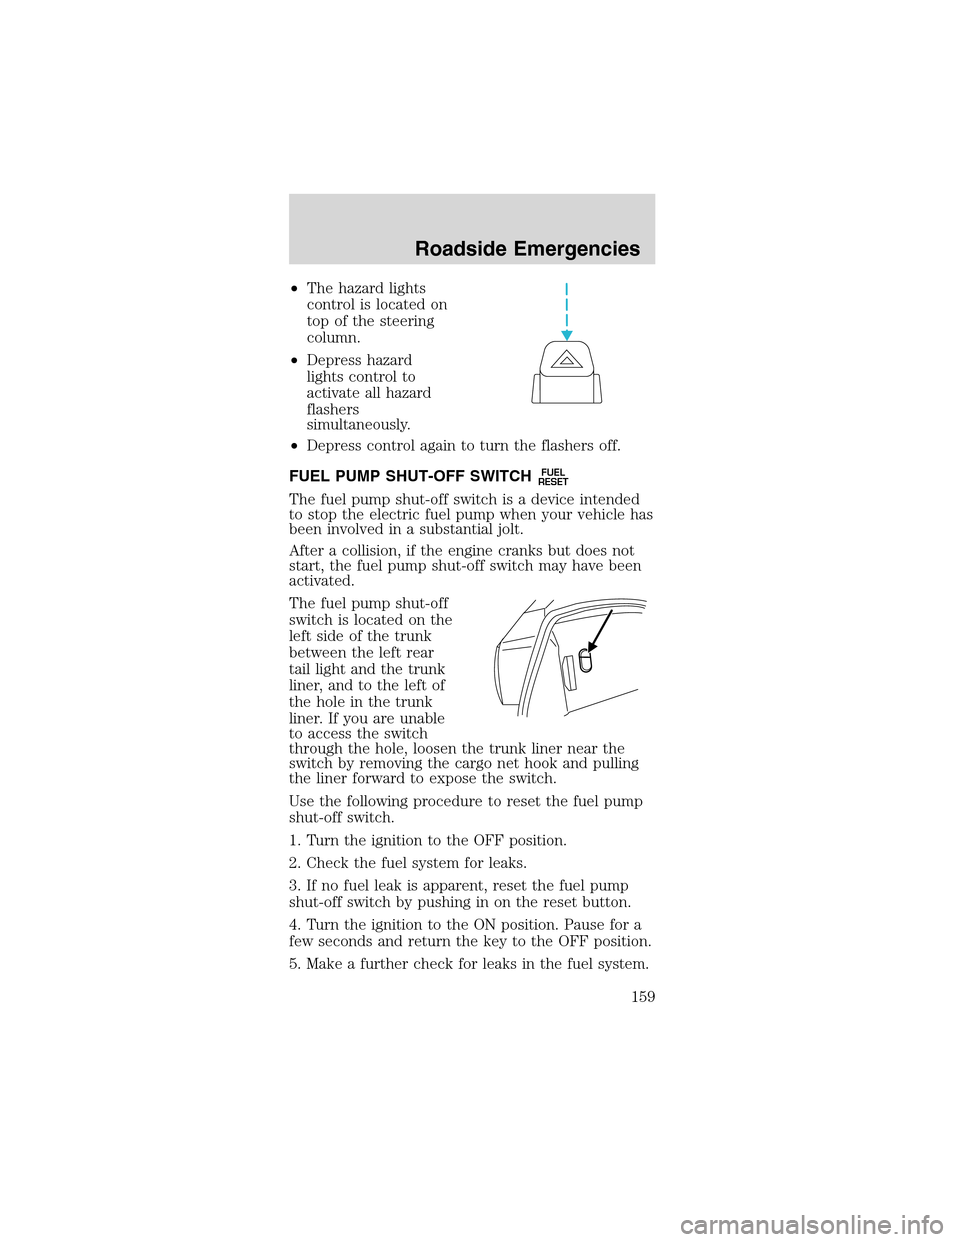
•The hazard lights
control is located on
top of the steering
column.
•Depress hazard
lights control to
activate all hazard
flashers
simultaneously.
•Depress control again to turn the flashers off.
FUEL PUMP SHUT-OFF SWITCH
FUEL
RESET
The fuel pump shut-off switch is a device intended
to stop the electric fuel pump when your vehicle has
been involved in a substantial jolt.
After a collision, if the engine cranks but does not
start, the fuel pump shut-off switch may have been
activated.
The fuel pump shut-off
switch is located on the
left side of the trunk
between the left rear
tail light and the trunk
liner, and to the left of
the hole in the trunk
liner. If you are unable
to access the switch
through the hole, loosen the trunk liner near the
switch by removing the cargo net hook and pulling
the liner forward to expose the switch.
Use the following procedure to reset the fuel pump
shut-off switch.
1. Turn the ignition to the OFF position.
2. Check the fuel system for leaks.
3. If no fuel leak is apparent, reset the fuel pump
shut-off switch by pushing in on the reset button.
4. Turn the ignition to the ON position. Pause for a
few seconds and return the key to the OFF position.
5. Make a further check for leaks in the fuel system.
Roadside Emergencies
159
Page 194 of 256
SERVICE RECOMMENDATIONS
To help you service your vehicle:
•We highlight do-it-yourself items in the engine
compartment for easy location.
•We provide a scheduled maintenance guide which
makes tracking routine service easy.
If your vehicle requires professional service, your
dealership can provide the necessary parts and
service. Check yourWarranty Guide/Owner
Information Guideto find out which parts and
services are covered.
Use only recommended fuels, lubricants, fluids and
service parts conforming to specifications. Motorcraft
parts are designed and built to provide the best
performance in your vehicle.
PRECAUTIONS WHEN SERVICING YOUR
VEHICLE
Be especially careful when inspecting or servicing
your vehicle.
•Do not work on a hot engine.
•When the engine is running, keep loose clothing,
jewelry or long hair away from moving parts.
•Do not work on a vehicle with the engine running
in an enclosed space, unless you are sure you
have enough ventilation.
•Keep all lit cigarettes, open flames and other lit
material away from the battery and all fuel related
parts.
If you disconnect the battery, the engine must
“relearn”its idle conditions before your vehicle will
drive properly, as explained in theBatterysection in
this chapter.
Working with the engine off
•Automatic transmission:
1. Set the parking brake and ensure the gearshift is
securely latched in P (Park).
Maintenance and Specifications
194