Page 40 of 216

VOR
1. Park the vehicle on a level surface approximately 7.6 meters (25 feet)
from the vertical wall or the screen directly in front of it.
2. Measure the height of the headlamp bulb center from the ground and
mark a 2.5 meters (8 foot) horizontal reference line on the vertical wall
or screen at this height. (A piece of masking tape works well.)
3. Turn on the low beam headlamps to illuminate the wall or screen and
open the hood.
4. On the wall or screen you will observe an area of high intensity light.
The top of the high intensity area should touch the horizontal reference
line. If not, the beam will need to be adjusted.
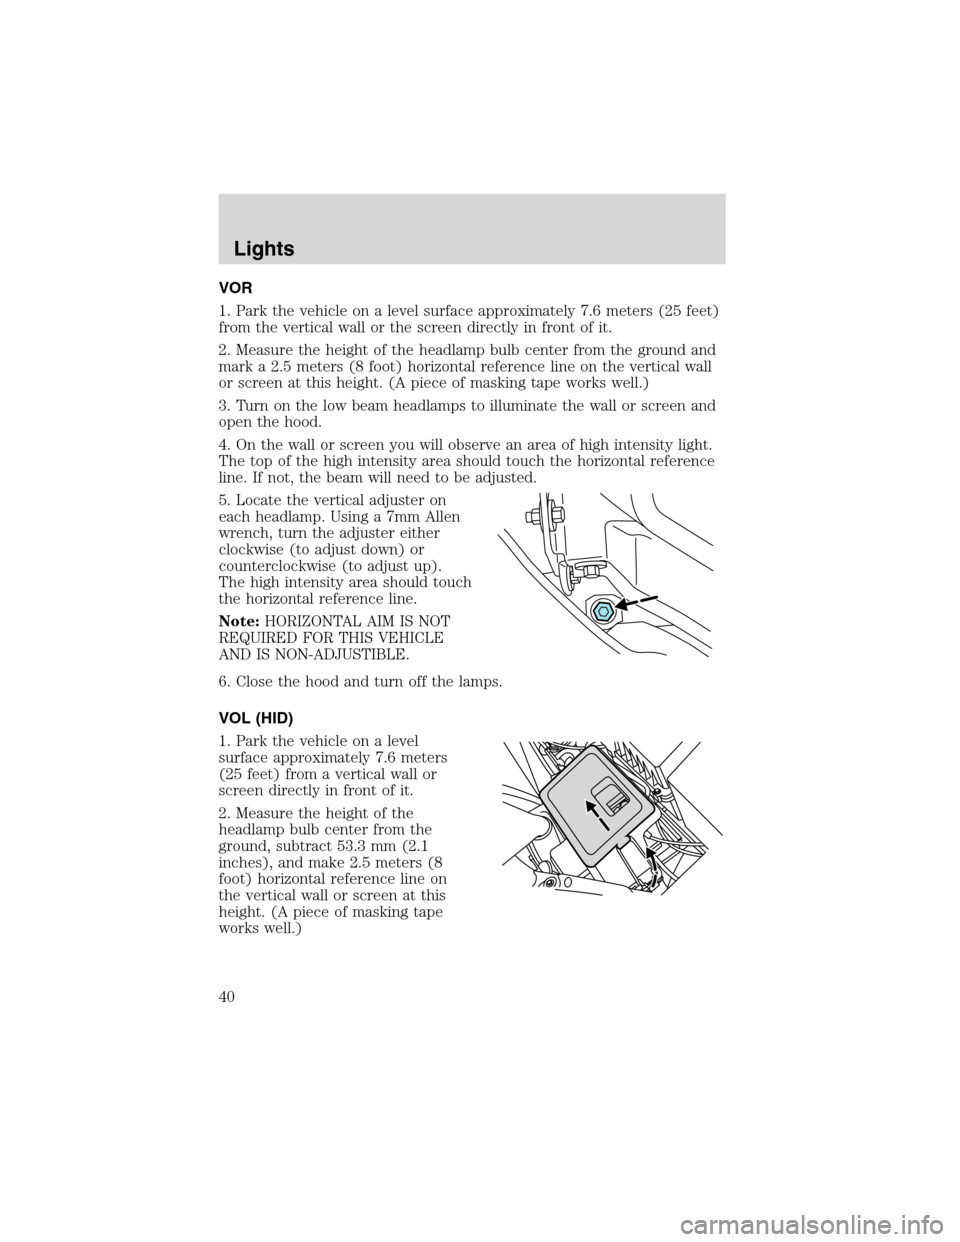
5. Locate the vertical adjuster on
each headlamp. Using a 7mm Allen
wrench, turn the adjuster either
clockwise (to adjust down) or
counterclockwise (to adjust up).
The high intensity area should touch
the horizontal reference line.
Note:HORIZONTAL AIM IS NOT
REQUIRED FOR THIS VEHICLE
AND IS NON-ADJUSTIBLE.
6. Close the hood and turn off the lamps.
VOL (HID)
1. Park the vehicle on a level
surface approximately 7.6 meters
(25 feet) from a vertical wall or
screen directly in front of it.
2. Measure the height of the
headlamp bulb center from the
ground, subtract 53.3 mm (2.1
inches), and make 2.5 meters (8
foot) horizontal reference line on
the vertical wall or screen at this
height. (A piece of masking tape
works well.)
Lights
40
Page 41 of 216

3. Open the hood.
4. Remove the battery cover.
5. Remove the headlamp bulb cover by releasing the four snap hooks
(two top and two bottom).
Note:On the left headlamp, pull the bulb cover approximately 1 inch
rearward and then slide it out until the vertical aiming adjuster is
accessible.
6. Turn on the low beam to illuminate the wall or screen. On the wall or
screen you will observe an area of high intensity light. If the left side of
each light pattern is not at the reference line, the beam needs to be
adjusted.
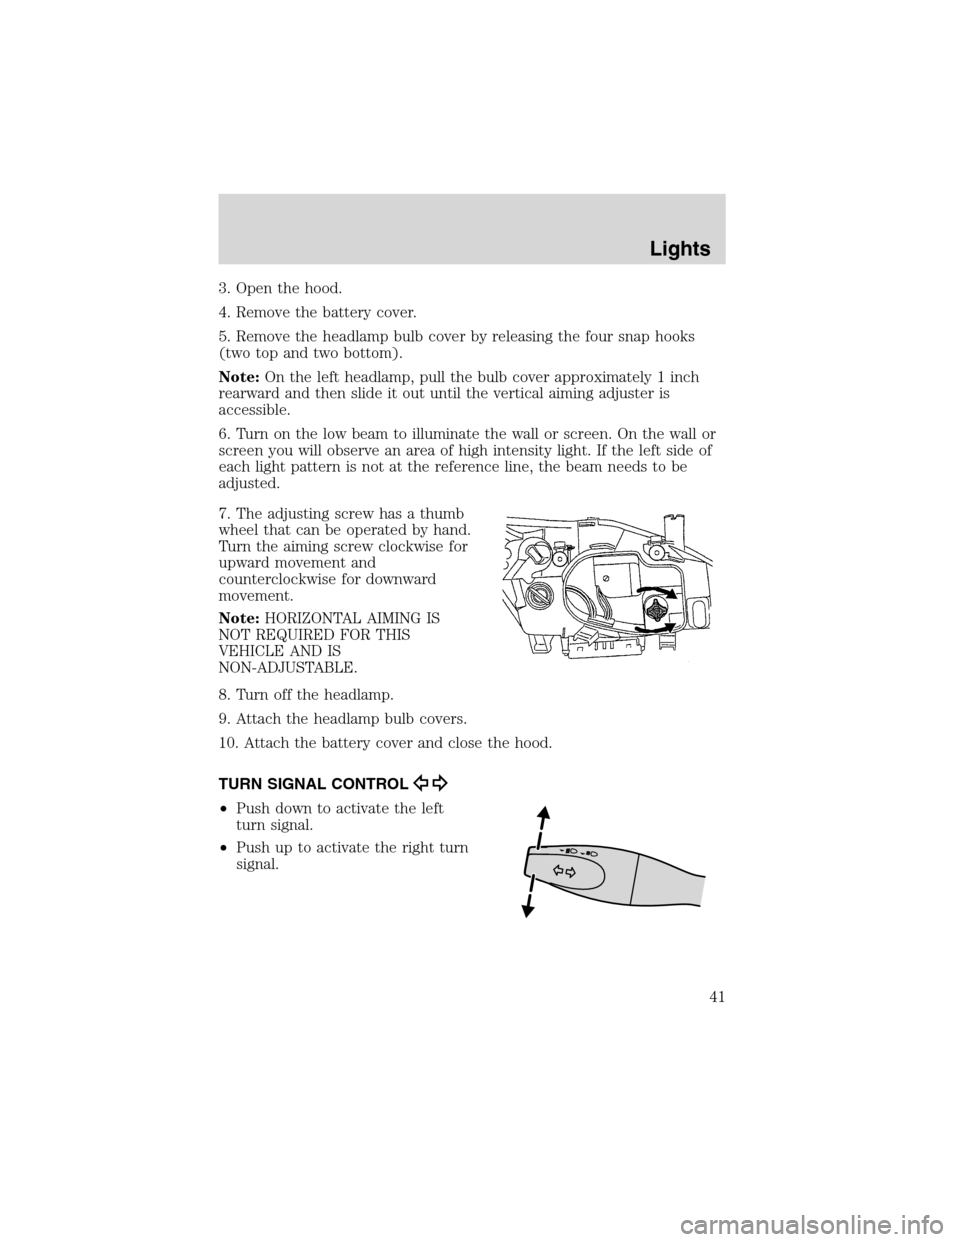
7. The adjusting screw has a thumb
wheel that can be operated by hand.
Turn the aiming screw clockwise for
upward movement and
counterclockwise for downward
movement.
Note:HORIZONTAL AIMING IS
NOT REQUIRED FOR THIS
VEHICLE AND IS
NON-ADJUSTABLE.
8. Turn off the headlamp.
9. Attach the headlamp bulb covers.
10. Attach the battery cover and close the hood.
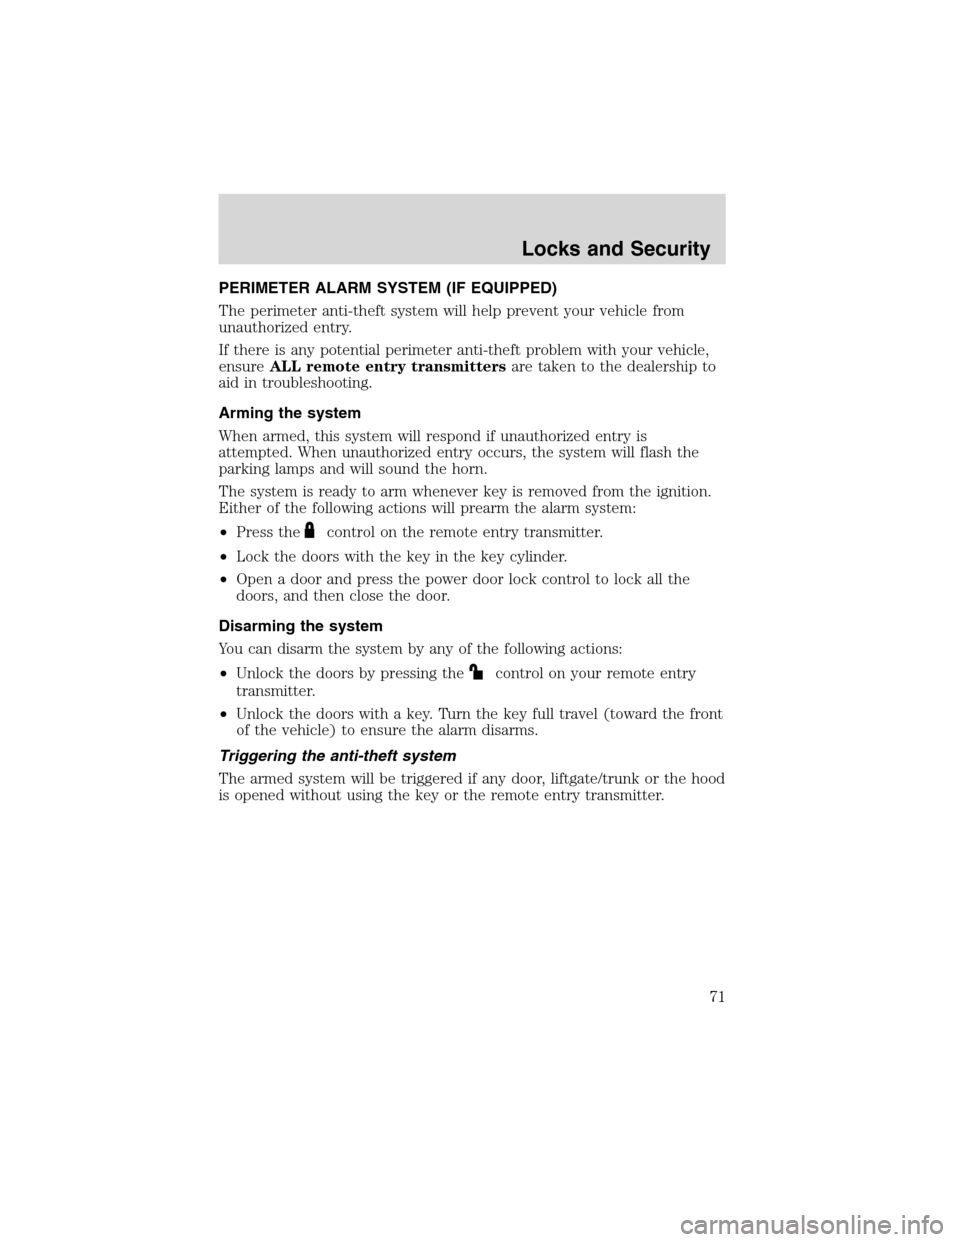
TURN SIGNAL CONTROL
•Push down to activate the left
turn signal.
•Push up to activate the right turn
signal.
Lights
41
Page 45 of 216
Replacing grill-mounted front parking lamp/turn signal bulbs
1. Make sure the headlamp control
is in the OFF position and open the
hood.
2. Remove the cover panel at the
front of the engine compartment.
3. Remove the bulb socket from the
grille by turning counterclockwise.
4. Pull the bulb straight out of the
socket.
Install in reverse order.
Replacing turn signal lamps
1. Make sure the headlamp control
is in the OFF position.
2. Open the hood and remove the
bulb socket from the headlamp unit
by turning it counterclockwise.
3. Pull the bulb straight out of the
bulb socket.
Note:On vehicles fitted with VOL (HID) headlamps, have your Ford
dealer change the park lamp bulbs.
Lights
45
Page 71 of 216

PERIMETER ALARM SYSTEM (IF EQUIPPED)
The perimeter anti-theft system will help prevent your vehicle from
unauthorized entry.
If there is any potential perimeter anti-theft problem with your vehicle,
ensureALL remote entry transmittersare taken to the dealership to
aid in troubleshooting.
Arming the system
When armed, this system will respond if unauthorized entry is
attempted. When unauthorized entry occurs, the system will flash the
parking lamps and will sound the horn.
The system is ready to arm whenever key is removed from the ignition.
Either of the following actions will prearm the alarm system:
•Press the
control on the remote entry transmitter.
•Lock the doors with the key in the key cylinder.
•Open a door and press the power door lock control to lock all the
doors, and then close the door.
Disarming the system
You can disarm the system by any of the following actions:
•Unlock the doors by pressing the
control on your remote entry
transmitter.
•Unlock the doors with a key. Turn the key full travel (toward the front
of the vehicle) to ensure the alarm disarms.
Triggering the anti-theft system
The armed system will be triggered if any door, liftgate/trunk or the hood
is opened without using the key or the remote entry transmitter.
Locks and Security
71
Page 162 of 216
Working with the engine on
•Automatic transmission:
1. Set the parking brake and shift to P (Park).
2. Block the wheels.
•Manual transmission:
1. Set the parking brake, depress the clutch and place the gearshift in N
(Neutral).
2. Block the wheels.
Note:Do not start your engine with the air cleaner removed and do not
remove it while the engine is running.
OPENING THE HOOD
1. Inside the vehicle, pull the hood
release handle located under the
instrument panel.
2. Go to the front of the vehicle and release the auxiliary latch that is
located under the front of the hood.
3. Lift the hood and support it with the strut in the yellow-colored
retainer; ensuring it is secure.
The engine cooling fan may operate for several minutes after the
engine is turned off. Do not start maintenance work until the fan
has stopped operating.
Maintenance and Specifications
162
Page 167 of 216
2. Turn the engine off and wait a few minutes for the oil to drain into the
oil pan.
3. Set the parking brake and ensure the gearshift is securely latched in P
(automatic transaxle) or 1st (manual transaxle).
4. Open the hood. Protect yourself from engine heat.
5. Locate and carefully remove the engine oil indicator (dipstick).
•2.0L SPI/2.3L I4engine
•2.0L Zetec engine
6. Wipe the indicator clean. Insert the indicator fully, then remove it
again.
•If the oil level isbetween the MIN and MAX marks(2.0L SPI/2.3
engine) orbetween ADD and FULL(2.0L Zetec engine), the oil
level is acceptable.DO NOT ADD OIL.
•2.0L SPI
Maintenance and Specifications
167