Page 59 of 280
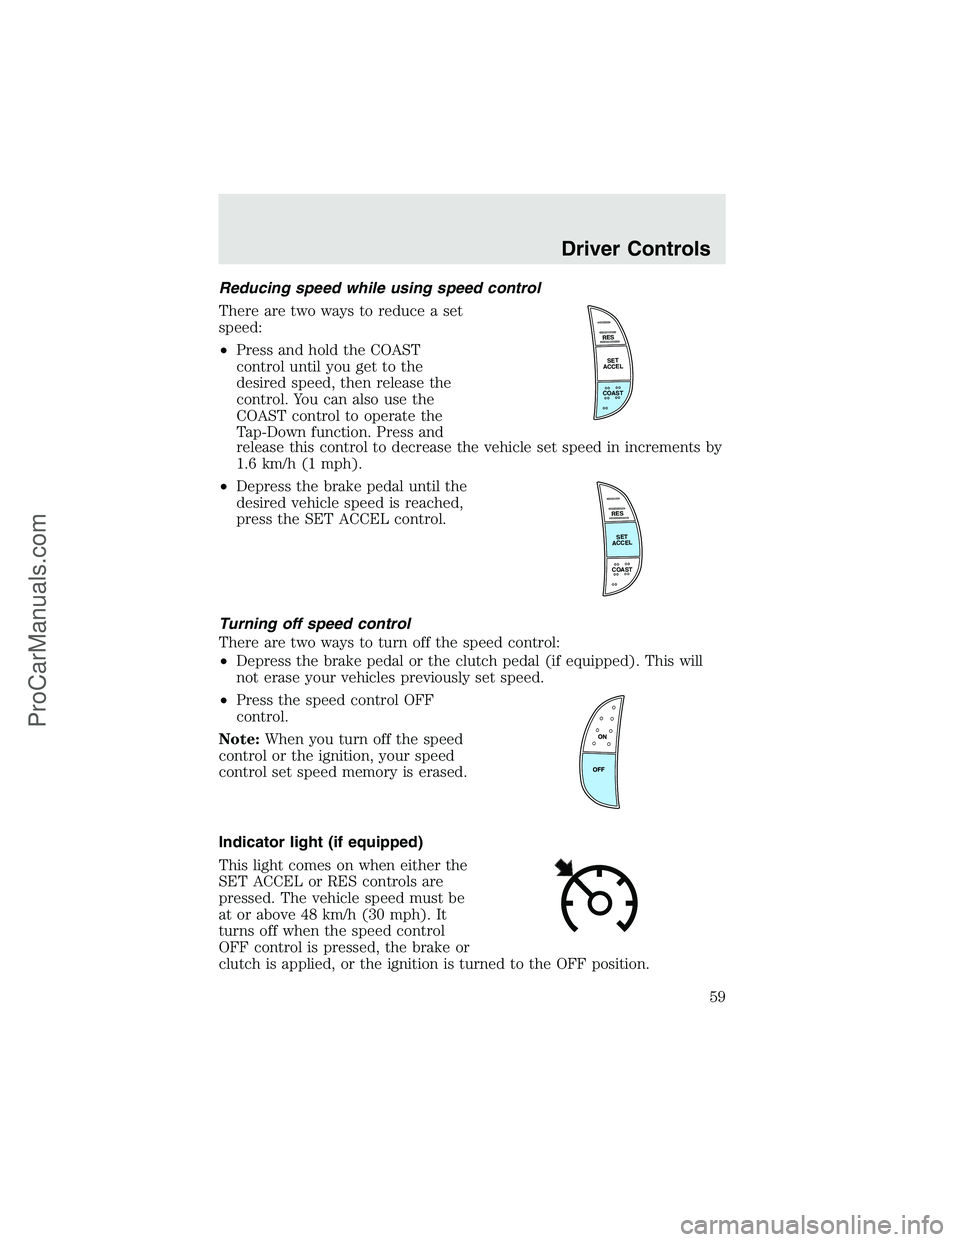
Reducing speed while using speed control
There are two ways to reduce a set
speed:
•Press and hold the COAST
control until you get to the
desired speed, then release the
control. You can also use the
COAST control to operate the
Tap-Down function. Press and
release this control to decrease the vehicle set speed in increments by
1.6 km/h (1 mph).
•Depress the brake pedal until the
desired vehicle speed is reached,
press the SET ACCEL control.
Turning off speed control
There are two ways to turn off the speed control:
•Depress the brake pedal or the clutch pedal (if equipped). This will
not erase your vehicles previously set speed.
•Press the speed control OFF
control.
Note:When you turn off the speed
control or the ignition, your speed
control set speed memory is erased.
Indicator light (if equipped)
This light comes on when either the
SET ACCEL or RES controls are
pressed. The vehicle speed must be
at or above 48 km/h (30 mph). It
turns off when the speed control
OFF control is pressed, the brake or
clutch is applied, or the ignition is turned to the OFF position.
RES
SET
ACCEL
COAST
RES
SET
ACCEL
COAST
Driver Controls
59
ProCarManuals.com
Page 112 of 280
If starting a vehicle with an automatic transmission:
•Make sure the parking brake is
set.
•Make sure the gearshift is in P
(Park).
If starting a vehicle with a manual
transmission:
1. Make sure the parking brake is
set.
2. Push the clutch pedal to the floor.
Driving
112
ProCarManuals.com
Page 124 of 280
Do not rock the vehicle if the engine is not at normal operating
temperature or damage to the transmission may occur.
Do not rock the vehicle for more than a minute or damage to the
transmission and tires may occur, or the engine may overheat.
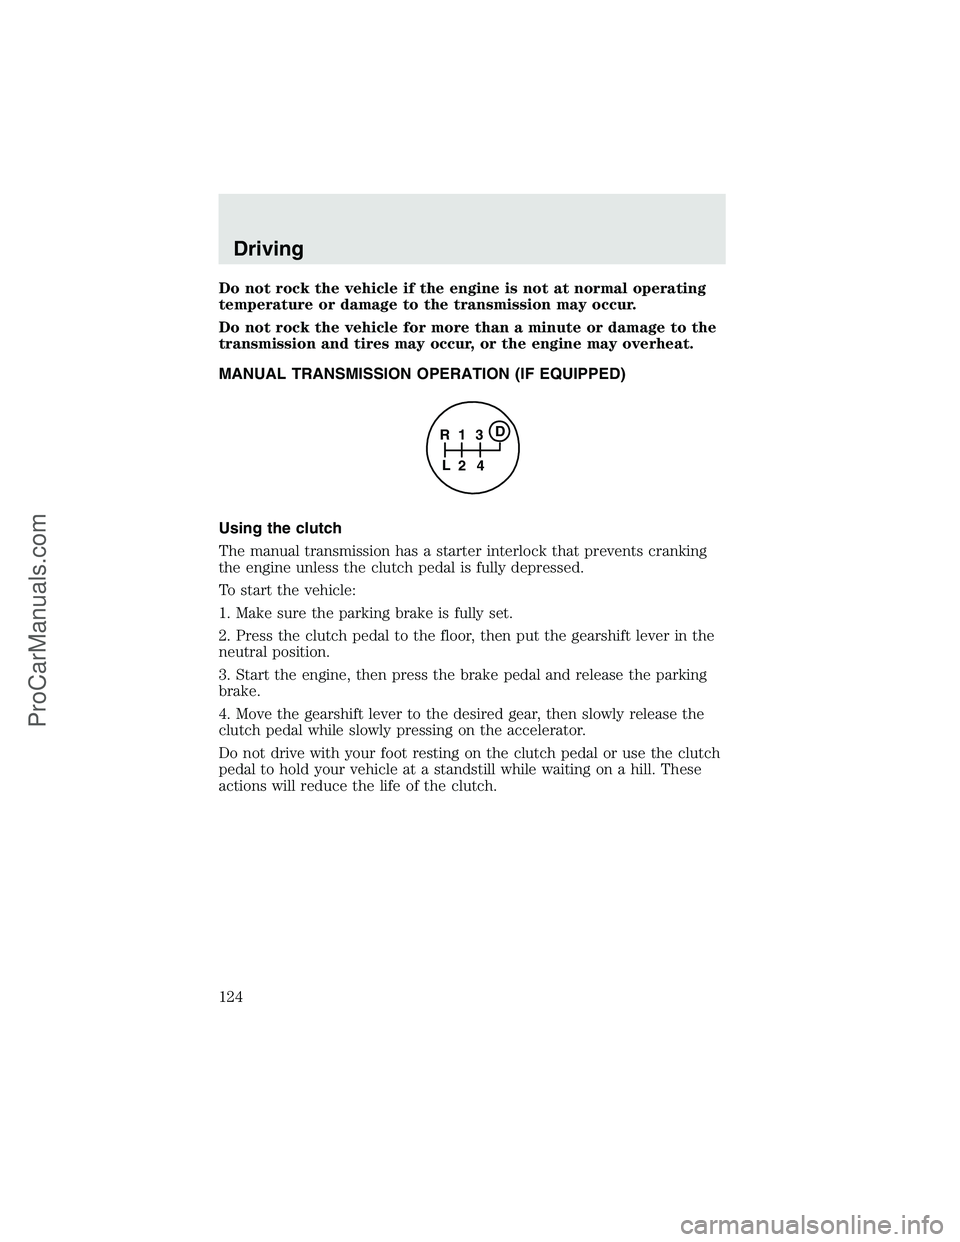
MANUAL TRANSMISSION OPERATION (IF EQUIPPED)
Using the clutch
The manual transmission has a starter interlock that prevents cranking
the engine unless the clutch pedal is fully depressed.
To start the vehicle:
1. Make sure the parking brake is fully set.
2. Press the clutch pedal to the floor, then put the gearshift lever in the
neutral position.
3. Start the engine, then press the brake pedal and release the parking
brake.
4. Move the gearshift lever to the desired gear, then slowly release the
clutch pedal while slowly pressing on the accelerator.
Do not drive with your foot resting on the clutch pedal or use the clutch
pedal to hold your vehicle at a standstill while waiting on a hill. These
actions will reduce the life of the clutch.
1
24 R
L3D
Driving
124
ProCarManuals.com
Page 128 of 280
FOUR-WHEEL DRIVE (4WD) OPERATION (IF EQUIPPED)
For important information regarding safe operation of this type
of vehicle, seePreparing to drive your vehiclein this chapter.
When four–wheel drive (4WD) is engaged, power is supplied to all four
wheels through a transfer case. 4WD can be selected when additional
driving power is desired.
4WD operation is not recommended on dry pavement. Doing so could
result in difficult disengagement of the transfer case, increased tire wear
and decreased fuel economy.
Manual 4x4 system (if equipped)
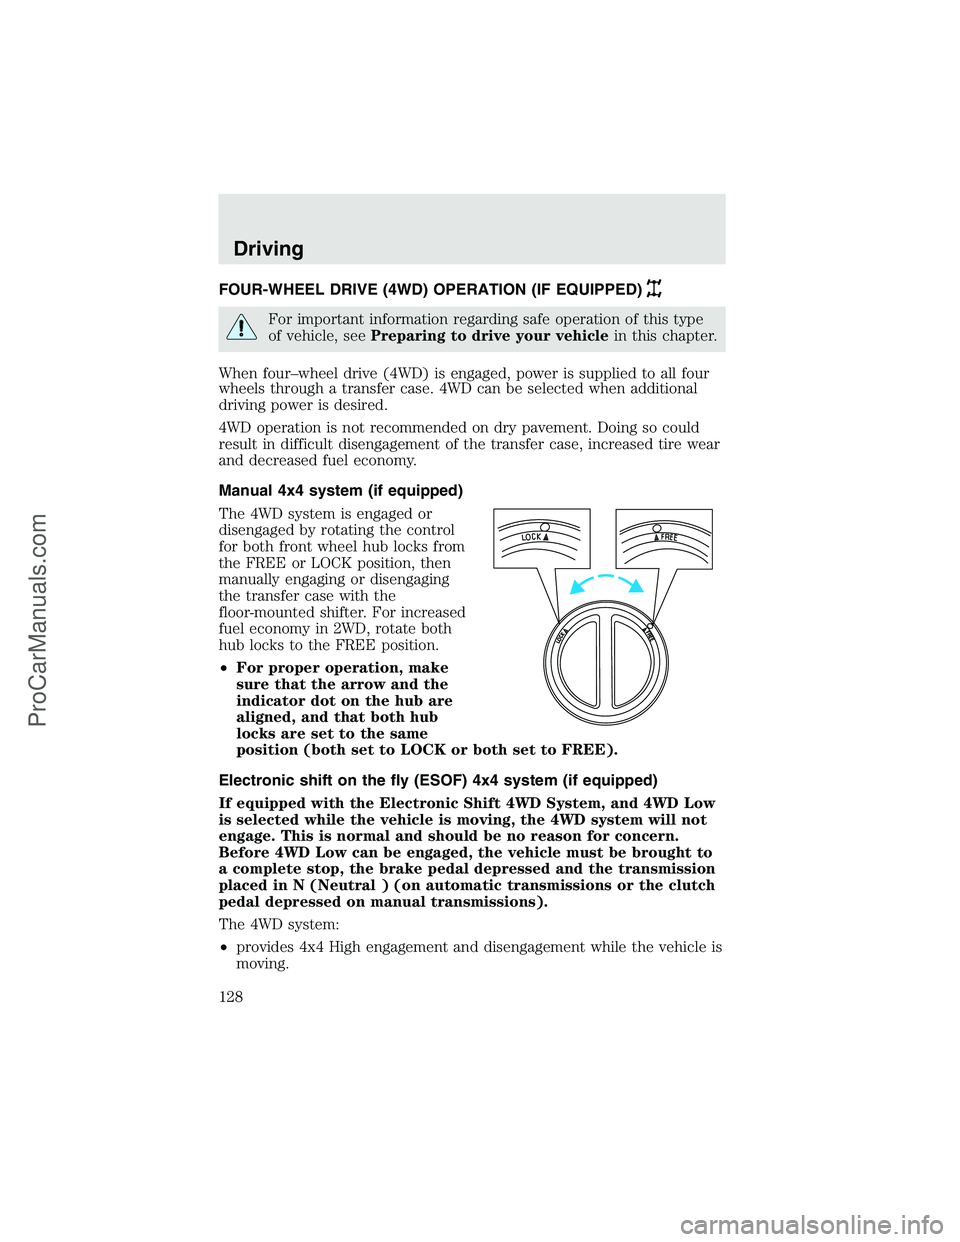
The 4WD system is engaged or
disengaged by rotating the control
for both front wheel hub locks from
the FREE or LOCK position, then
manually engaging or disengaging
the transfer case with the
floor-mounted shifter. For increased
fuel economy in 2WD, rotate both
hub locks to the FREE position.
•For proper operation, make
sure that the arrow and the
indicator dot on the hub are
aligned, and that both hub
locks are set to the same
position (both set to LOCK or both set to FREE).
Electronic shift on the fly (ESOF) 4x4 system (if equipped)
If equipped with the Electronic Shift 4WD System, and 4WD Low
is selected while the vehicle is moving, the 4WD system will not
engage. This is normal and should be no reason for concern.
Before 4WD Low can be engaged, the vehicle must be brought to
a complete stop, the brake pedal depressed and the transmission
placed in N (Neutral ) (on automatic transmissions or the clutch
pedal depressed on manual transmissions).
The 4WD system:
•provides 4x4 High engagement and disengagement while the vehicle is
moving.
Driving
128
ProCarManuals.com
Page 131 of 280
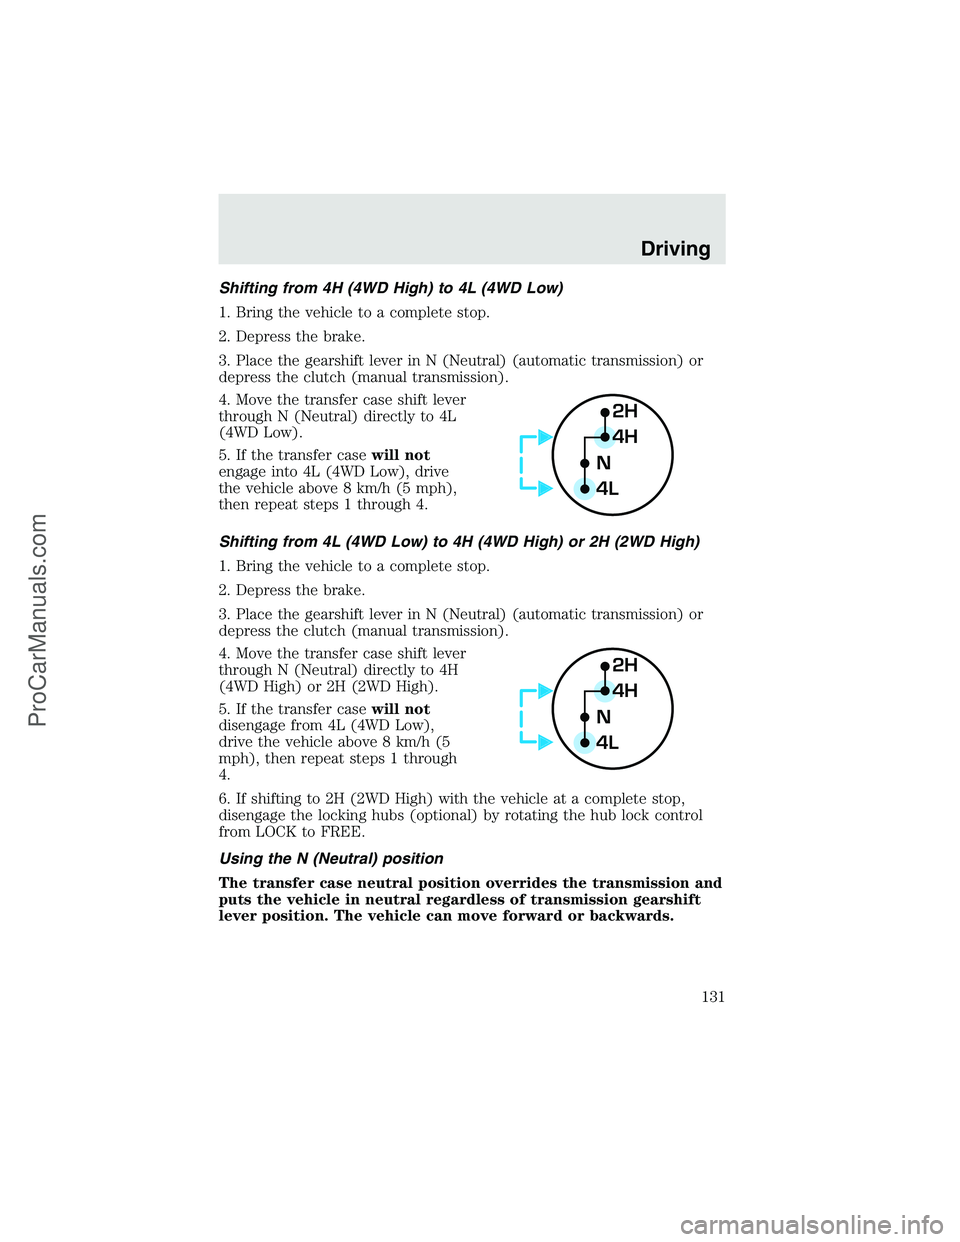
Shifting from 4H (4WD High) to 4L (4WD Low)
1. Bring the vehicle to a complete stop.
2. Depress the brake.
3. Place the gearshift lever in N (Neutral) (automatic transmission) or
depress the clutch (manual transmission).
4. Move the transfer case shift lever
through N (Neutral) directly to 4L
(4WD Low).
5. If the transfer casewill not
engage into 4L (4WD Low), drive
the vehicle above 8 km/h (5 mph),
then repeat steps 1 through 4.
Shifting from 4L (4WD Low) to 4H (4WD High) or 2H (2WD High)
1. Bring the vehicle to a complete stop.
2. Depress the brake.
3. Place the gearshift lever in N (Neutral) (automatic transmission) or
depress the clutch (manual transmission).
4. Move the transfer case shift lever
through N (Neutral) directly to 4H
(4WD High) or 2H (2WD High).
5. If the transfer casewill not
disengage from 4L (4WD Low),
drive the vehicle above 8 km/h (5
mph), then repeat steps 1 through
4.
6. If shifting to 2H (2WD High) with the vehicle at a complete stop,
disengage the locking hubs (optional) by rotating the hub lock control
from LOCK to FREE.
Using the N (Neutral) position
The transfer case neutral position overrides the transmission and
puts the vehicle in neutral regardless of transmission gearshift
lever position. The vehicle can move forward or backwards.
2H
4H
4LN
2H
4H
4LN
Driving
131
ProCarManuals.com
Page 133 of 280
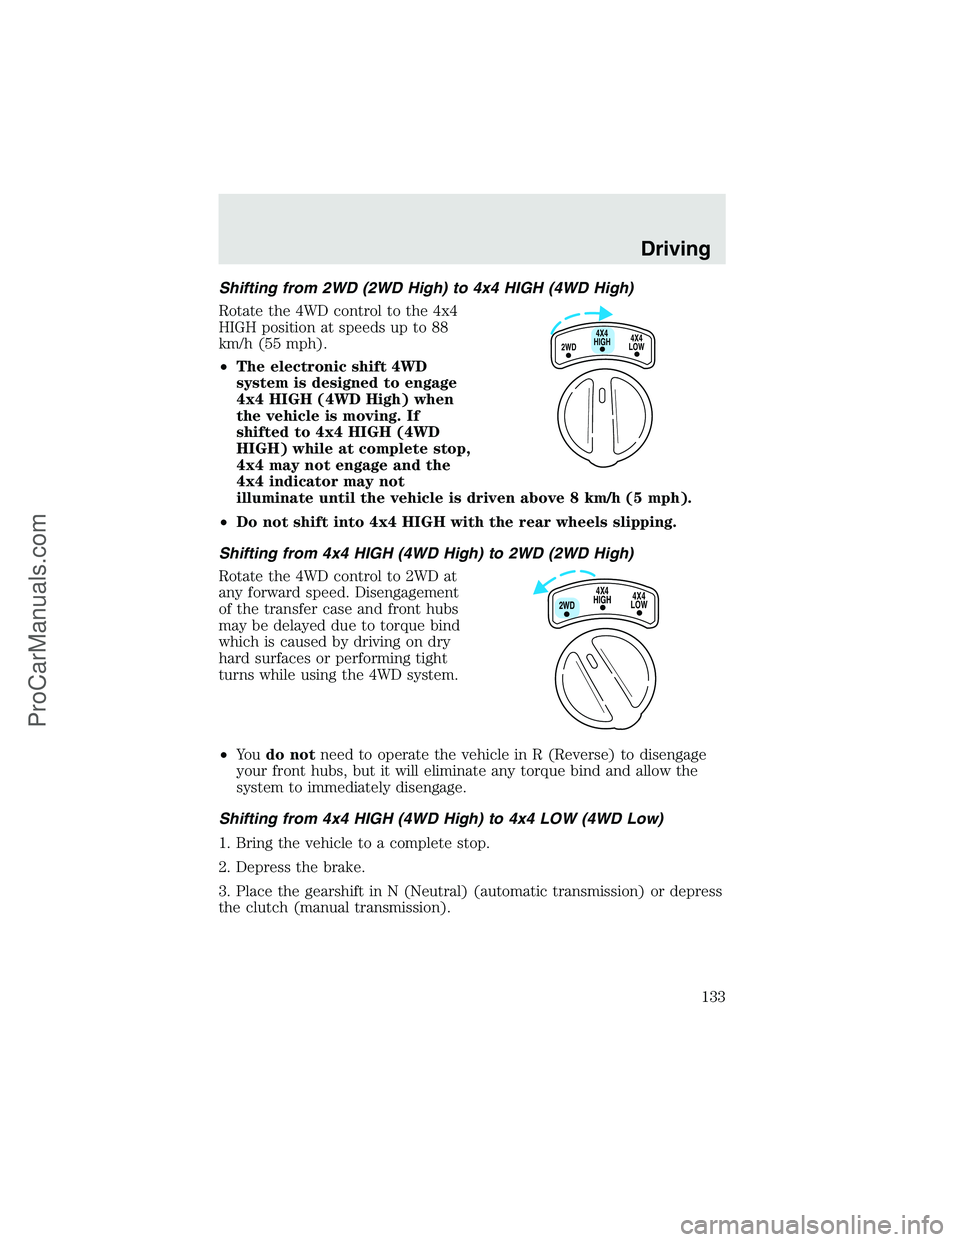
Shifting from 2WD (2WD High) to 4x4 HIGH (4WD High)
Rotate the 4WD control to the 4x4
HIGH position at speeds up to 88
km/h (55 mph).
•The electronic shift 4WD
system is designed to engage
4x4 HIGH (4WD High) when
the vehicle is moving. If
shifted to 4x4 HIGH (4WD
HIGH) while at complete stop,
4x4 may not engage and the
4x4 indicator may not
illuminate until the vehicle is driven above 8 km/h (5 mph).
•Do not shift into 4x4 HIGH with the rear wheels slipping.
Shifting from 4x4 HIGH (4WD High) to 2WD (2WD High)
Rotate the 4WD control to 2WD at
any forward speed. Disengagement
of the transfer case and front hubs
may be delayed due to torque bind
which is caused by driving on dry
hard surfaces or performing tight
turns while using the 4WD system.
•Yo udo notneed to operate the vehicle in R (Reverse) to disengage
your front hubs, but it will eliminate any torque bind and allow the
system to immediately disengage.
Shifting from 4x4 HIGH (4WD High) to 4x4 LOW (4WD Low)
1. Bring the vehicle to a complete stop.
2. Depress the brake.
3. Place the gearshift in N (Neutral) (automatic transmission) or depress
the clutch (manual transmission).
4X4
HIGH
2WD4X4
LOW
4X4
HIGH
2WD4X4
LOW
Driving
133
ProCarManuals.com
Page 134 of 280
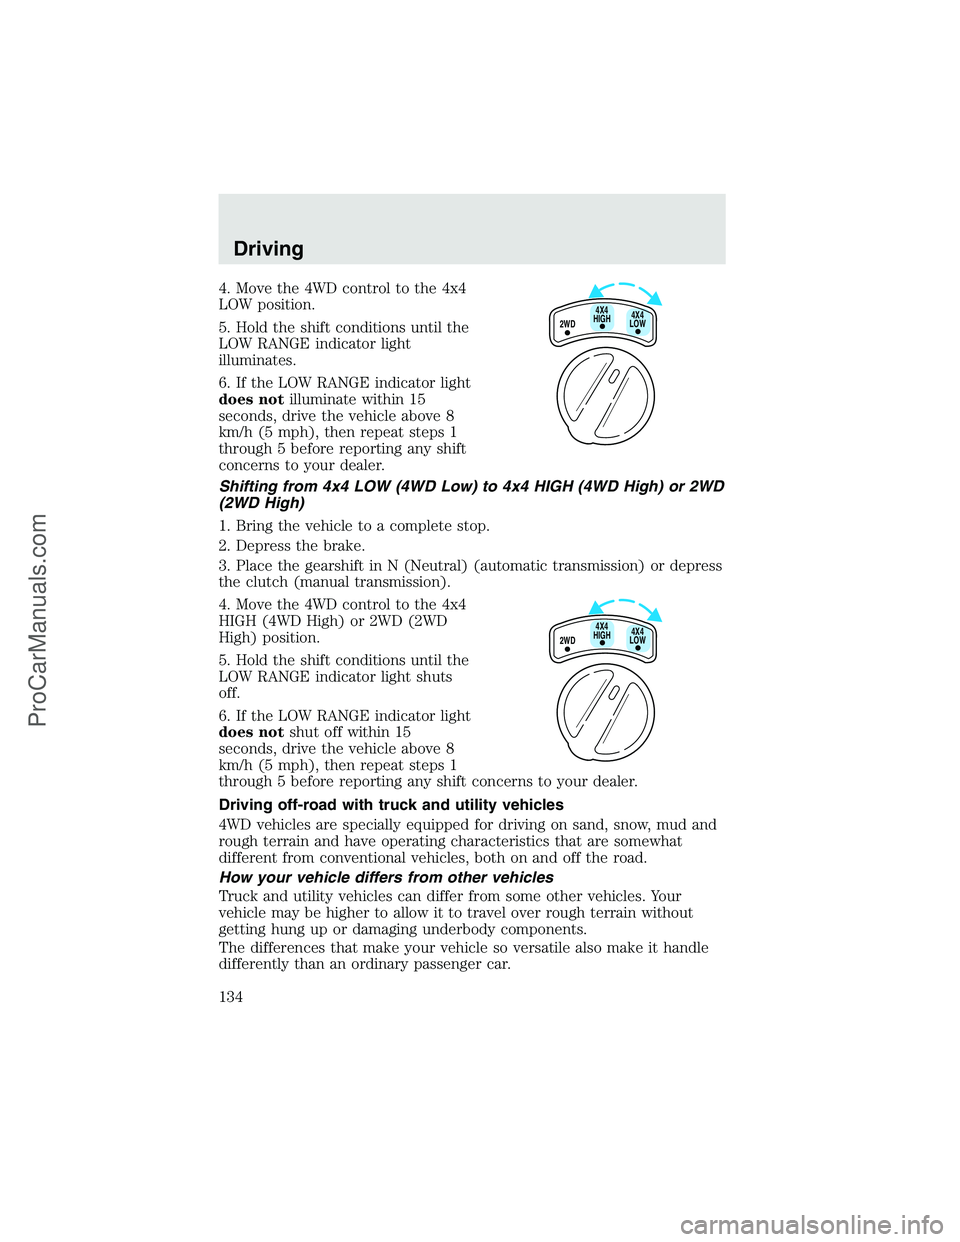
4. Move the 4WD control to the 4x4
LOW position.
5. Hold the shift conditions until the
LOW RANGE indicator light
illuminates.
6. If the LOW RANGE indicator light
does notilluminate within 15
seconds, drive the vehicle above 8
km/h (5 mph), then repeat steps 1
through 5 before reporting any shift
concerns to your dealer.
Shifting from 4x4 LOW (4WD Low) to 4x4 HIGH (4WD High) or 2WD
(2WD High)
1. Bring the vehicle to a complete stop.
2. Depress the brake.
3. Place the gearshift in N (Neutral) (automatic transmission) or depress
the clutch (manual transmission).
4. Move the 4WD control to the 4x4
HIGH (4WD High) or 2WD (2WD
High) position.
5. Hold the shift conditions until the
LOW RANGE indicator light shuts
off.
6. If the LOW RANGE indicator light
does notshut off within 15
seconds, drive the vehicle above 8
km/h (5 mph), then repeat steps 1
through 5 before reporting any shift concerns to your dealer.
Driving off-road with truck and utility vehicles
4WD vehicles are specially equipped for driving on sand, snow, mud and
rough terrain and have operating characteristics that are somewhat
different from conventional vehicles, both on and off the road.
How your vehicle differs from other vehicles
Truck and utility vehicles can differ from some other vehicles. Your
vehicle may be higher to allow it to travel over rough terrain without
getting hung up or damaging underbody components.
The differences that make your vehicle so versatile also make it handle
differently than an ordinary passenger car.
2WD4X4
LOW4X4
HIGH
2WD4X4
LOW4X4
HIGH
Driving
134
ProCarManuals.com
Page 179 of 280
To remove a fuse use the fuse puller
tool provided on the fuse panel
cover.
The fuses are coded as follows.
Fuse/Relay
LocationFuse Amp
RatingPassenger Compartment Fuse Panel
Description
1 15A* Adjustable pedals
2—Not used
3—Not used
4 20A* Power point - instrument panel
5—Not used
6 20A* Trailer tow turn/stop relay
7 30A* High beam headlamps/Flash to pass
8 15A* Backup lamps (Diesel engine only)
9 20A* Heated mirrors
10 10A* A/C clutch
11 20A* Radio (main)
Roadside Emergencies
179
ProCarManuals.com