Page 52 of 280
Totiltthe moon roof:
•To tilt into the vent position (when the glass panel is closed), press
and hold the front portion of the moon roof control. To close from the
vent position, press and hold the rear portion of the control until the
glass panel stops moving.
Sliding shade:
•The moon roof has a built-in sliding shade that can be manually
opened or closed when the glass panel is shut.
•To close the shade, pull it toward the front of the vehicle.
When closing the moon roof, you should verify that it is free of
obstructions and ensure that children and/or pets are not in the
proximity of the moon roof opening.
AUXILIARY POWER POINT
Power outlets are designed for
accessory plugs only. Do not
hang any type of accessory or
accessory bracket from the plug.
Improper use of the power
outlet can cause damage not
covered by your warranty.
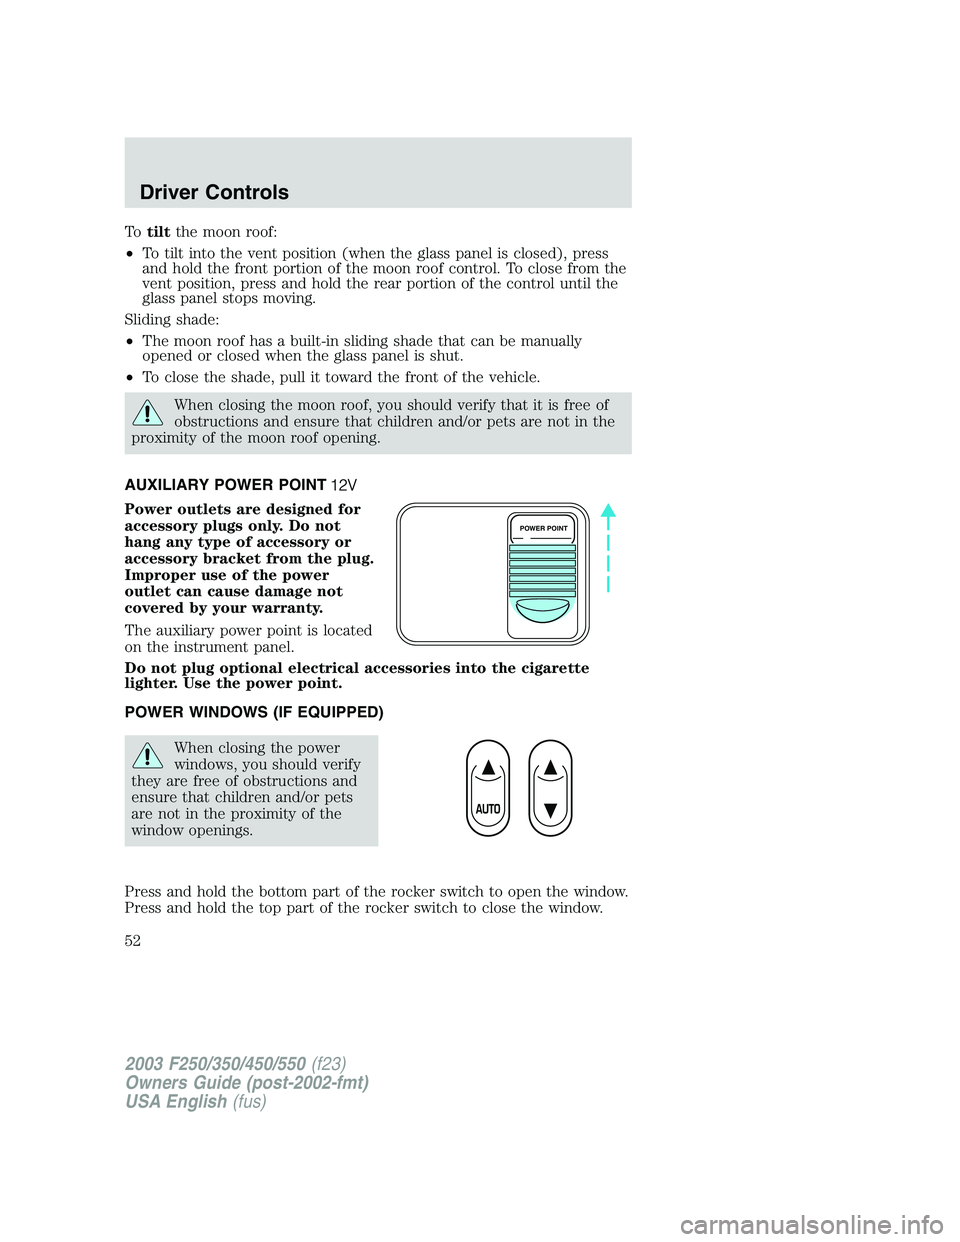
The auxiliary power point is located
on the instrument panel.
Do not plug optional electrical accessories into the cigarette
lighter. Use the power point.
POWER WINDOWS (IF EQUIPPED)
When closing the power
windows, you should verify
they are free of obstructions and
ensure that children and/or pets
are not in the proximity of the
window openings.
Press and hold the bottom part of the rocker switch to open the window.
Press and hold the top part of the rocker switch to close the window.
POWER POINT
2003 F250/350/450/550(f23)
Owners Guide (post-2002-fmt)
USA English(fus)
Driver Controls
52
Page 57 of 280
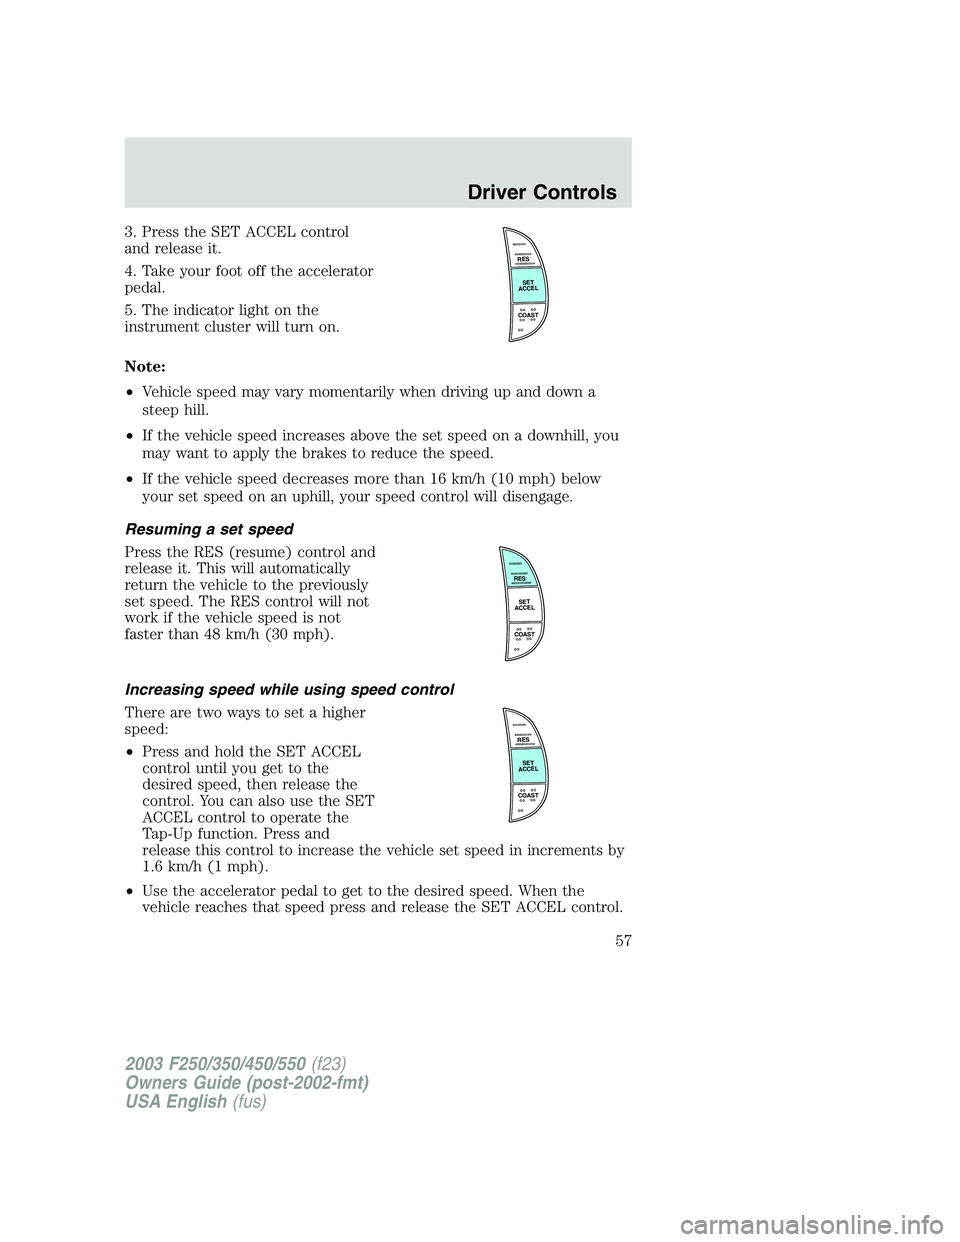
3. Press the SET ACCEL control
and release it.
4. Take your foot off the accelerator
pedal.
5. The indicator light on the
instrument cluster will turn on.
Note:
•Vehicle speed may vary momentarily when driving up and down a
steep hill.
•If the vehicle speed increases above the set speed on a downhill, you
may want to apply the brakes to reduce the speed.
•If the vehicle speed decreases more than 16 km/h (10 mph) below
your set speed on an uphill, your speed control will disengage.
Resuming a set speed
Press the RES (resume) control and
release it. This will automatically
return the vehicle to the previously
set speed. The RES control will not
work if the vehicle speed is not
faster than 48 km/h (30 mph).
Increasing speed while using speed control
There are two ways to set a higher
speed:
•Press and hold the SET ACCEL
control until you get to the
desired speed, then release the
control. You can also use the SET
ACCEL control to operate the
Tap-Up function. Press and
release this control to increase the vehicle set speed in increments by
1.6 km/h (1 mph).
•Use the accelerator pedal to get to the desired speed. When the
vehicle reaches that speed press and release the SET ACCEL control.
RES
SET
ACCEL
COAST
RES
SET
ACCEL
COAST
RES
SET
ACCEL
COAST
2003 F250/350/450/550(f23)
Owners Guide (post-2002-fmt)
USA English(fus)
Driver Controls
57
Page 58 of 280
Reducing speed while using speed control
There are two ways to reduce a set
speed:
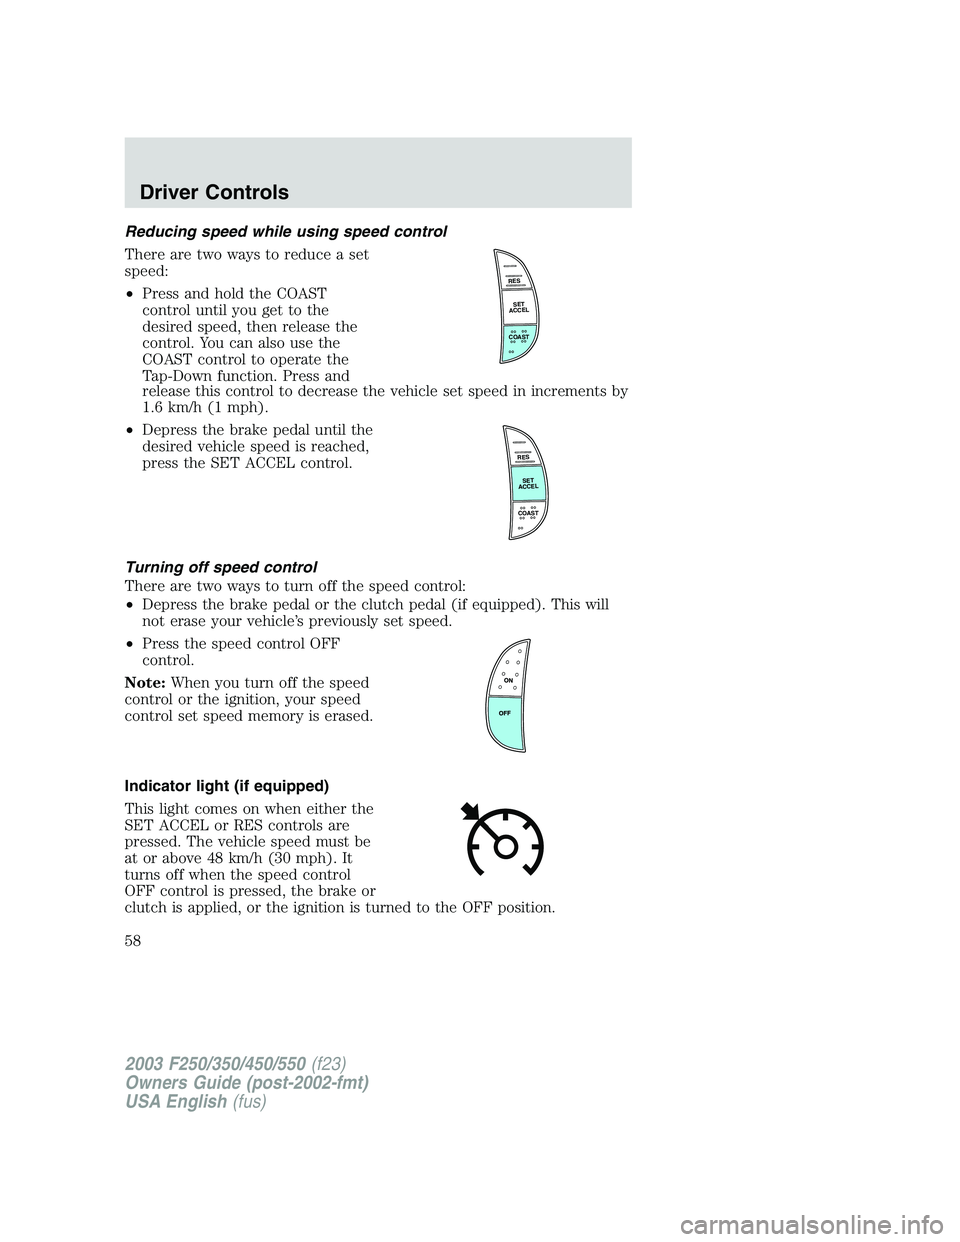
•Press and hold the COAST
control until you get to the
desired speed, then release the
control. You can also use the
COAST control to operate the
Tap-Down function. Press and
release this control to decrease the vehicle set speed in increments by
1.6 km/h (1 mph).
•Depress the brake pedal until the
desired vehicle speed is reached,
press the SET ACCEL control.
Turning off speed control
There are two ways to turn off the speed control:
•Depress the brake pedal or the clutch pedal (if equipped). This will
not erase your vehicle’s previously set speed.
•Press the speed control OFF
control.
Note:When you turn off the speed
control or the ignition, your speed
control set speed memory is erased.
Indicator light (if equipped)
This light comes on when either the
SET ACCEL or RES controls are
pressed. The vehicle speed must be
at or above 48 km/h (30 mph). It
turns off when the speed control
OFF control is pressed, the brake or
clutch is applied, or the ignition is turned to the OFF position.
RES
SET
ACCEL
COAST
RES
SET
ACCEL
COAST
2003 F250/350/450/550(f23)
Owners Guide (post-2002-fmt)
USA English(fus)
Driver Controls
58
Page 62 of 280
Compass
The compass display is contained in the overhead console. The vehicle
heading is displayed as one of N, NE, E, SE, S, SW, W and NW.
The compass heading is displayed in average fuel economy modes, fuel
range modes and temperature modes.
The compass reading may be affected when you drive near large
buildings, bridges, power lines and powerful broadcast antennas.
Magnetic or metallic objects placed in or on the vehicle may also affect
compass accuracy. Adjustments may need to be made to the zone and
calibration of the compass.
Compass zone adjustment
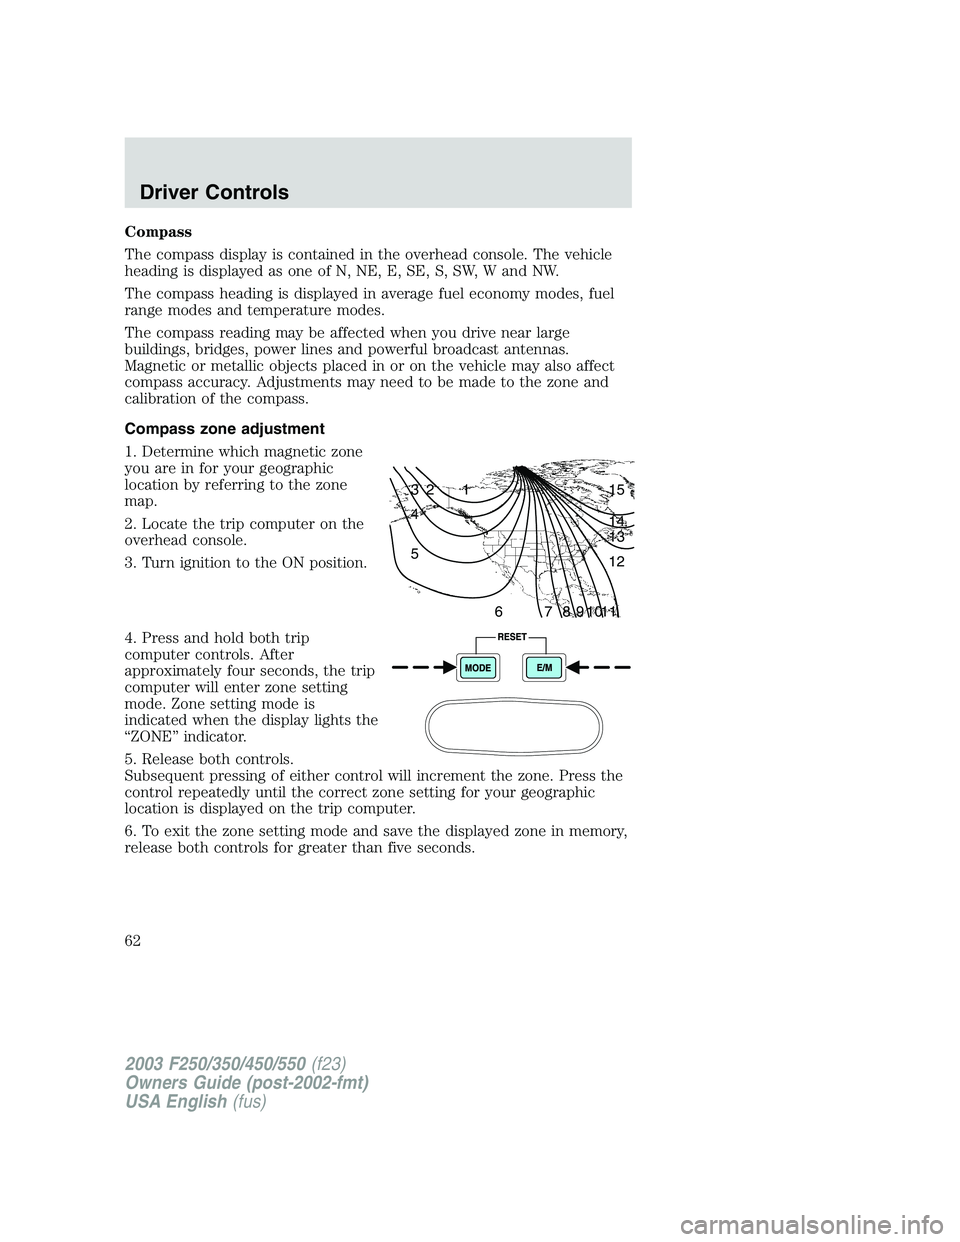
1. Determine which magnetic zone
you are in for your geographic
location by referring to the zone
map.
2. Locate the trip computer on the
overhead console.
3. Turn ignition to the ON position.
4. Press and hold both trip
computer controls. After
approximately four seconds, the trip
computer will enter zone setting
mode. Zone setting mode is
indicated when the display lights the
“ZONE”indicator.
5. Release both controls.
Subsequent pressing of either control will increment the zone. Press the
control repeatedly until the correct zone setting for your geographic
location is displayed on the trip computer.
6. To exit the zone setting mode and save the displayed zone in memory,
release both controls for greater than five seconds.
1 2 3
4
5
6 7 8 9 101112 13 14 15
2003 F250/350/450/550(f23)
Owners Guide (post-2002-fmt)
USA English(fus)
Driver Controls
62
Page 63 of 280
Compass calibration adjustment
Perform this adjustment in an open area free from steel structures and
high voltage lines.
For optimum calibration, turn off all electrical accessories (heater/air
conditioning, wipers, etc.) and make sure all vehicle doors are shut.
1. Locate the trip computer located in the overhead console.
2. Start the vehicle.
3. Press and hold both trip
computer controls. After
approximately eight seconds, the
trip computer will enter CAL mode.
CAL mode is indicated when the
display lights the“CAL”indicator.
4. Release both controls. The display
will return to normal, except that
the CAL indicator will remain lit until the compass is successfully
calibrated.
5. Slowly drive the vehicle in a circle (less than 5 km/h [3 mph]) until
the CAL indicator turns off. It may take up to five circles to complete
calibration.
6. The compass is now calibrated.
2003 F250/350/450/550(f23)
Owners Guide (post-2002-fmt)
USA English(fus)
Driver Controls
63
Page 70 of 280

To reprogram the remote entry
transmitters:
1. Ensure the vehicle is
electronically unlocked.
2. Put the key in the ignition.
3. Turn the key from the 2 (LOCK)
position to 3 (OFF).
4. Cycle eight times rapidly (within
10 seconds) between the 3 (OFF)
position and 4 (ON).Note:The
eighth turn must end in the 4 (ON) position.
5. The doors will lock, then unlock, to confirm that the programming
mode has been activated.
6. Within 20 seconds press any button on the remote entry transmitter.
Note:If more than 20 seconds have passed you will need to start the
procedure over again.
7. The doors will lock, then unlock, to confirm that this remote entry
transmitter has been programmed.
8. Repeat Step 6 to program each additional remote entry transmitter.
9. Turn the ignition to the 3 (OFF) position after you have finished
programming all of the remote entry transmitters.Note:After 20
seconds, you will automatically exit the programming mode.
10. The doors will lock, then unlock, to confirm that the programming
mode has been exited.
Illuminated entry
The interior lamps illuminate when the remote entry system is used to
unlock the door(s).
The illuminated entry system will turn off the interior lights if:
•the ignition switch is turned to the ON position, or
•the remote transmitter lock control is pressed, or
•after 25 seconds of illumination.
The dome lamp control (if equipped) mustnotbe set to the OFF
position for the illuminated entry system to operate.
The inside lights will not turn off if:
•they have been turned on with the dimmer control, or
•any door is open.
3
2
1
5
4
2003 F250/350/450/550(f23)
Owners Guide (post-2002-fmt)
USA English(fus)
Locks and Security
70
Page 76 of 280
•Type A
Press the control to move the seat
forward, backward, up or down.
•Type B
Press the control to move the seat
forward or backward.
Using the manual lumbar support
For more lumbar support, turn the
lumbar support control toward the
front of vehicle.
For less lumbar support, turn the
lumbar support control toward the
rear of vehicle.
Heated seats (if equipped)
To operate the heated seats, do the following:
•Push control to activate.
•Push again to deactivate.
The indicator light on the control will illuminate when activated.
The system automatically shuts off after 10 minutes.
2003 F250/350/450/550(f23)
Owners Guide (post-2002-fmt)
USA English(fus)
Seating and Safety Restraints
76
Page 85 of 280
•2nd row center seating position (if equipped)
The lap belt will not adjust automatically. To fasten, grasp the tongue,
and with a continuous motion, pull out enough webbing to buckle the
tongue into the correct buckle. If you did not pull out enough webbing to
reach the buckle, allow the tongue to retract fully before trying to pull it
out again.
Safety belt warning light and indicator chime
The safety belt warning light illuminates in the instrument cluster and a
chime sounds to remind the occupants to fasten their safety belts.
Conditions of operation
If... Then...
The driver’s safety belt is not
buckled before the ignition
switch is turned to the ON
position...The safety belt warning light
illuminates 1-2 minutes and the
warning chime sounds 4-8 seconds.
The driver’s safety belt is
buckled while the indicator
light is illuminated and the
warning chime is sounding...The safety belt warning light and
warning chime turn off.
The driver’s safety belt is
buckled before the ignition
switch is turned to the ON
position...The safety belt warning light and
indicator chime remain off.
BeltMinder
The BeltMinder feature is a supplemental warning to the safety belt
warning function. This feature provides additional reminders to the
driver that the driver’s safety belt is unbuckled by intermittently
sounding a chime and illuminating the safety belt warning lamp in the
instrument cluster.
2003 F250/350/450/550(f23)
Owners Guide (post-2002-fmt)
USA English(fus)
Seating and Safety Restraints
85