Page 17 of 272
PREMIUM IN-DASH SIX CD SOUND SYSTEM
AUDIOPHILE IN-DASH SIX CD SOUND SYSTEM
1.Seek:Press and release
SEEK
/for previous/next
strong station, selection or track.
LOADEJ
SHUFMUTE
SELBAL BASS
FADE TREB
SCAN
PUSH ON
CD123456MENUAM
FM
SEEKREW FFDISC
TUNE
234171615
14
13
1211109
5
6
7
8
1
COMP
Entertainment Systems
17
Page 19 of 272

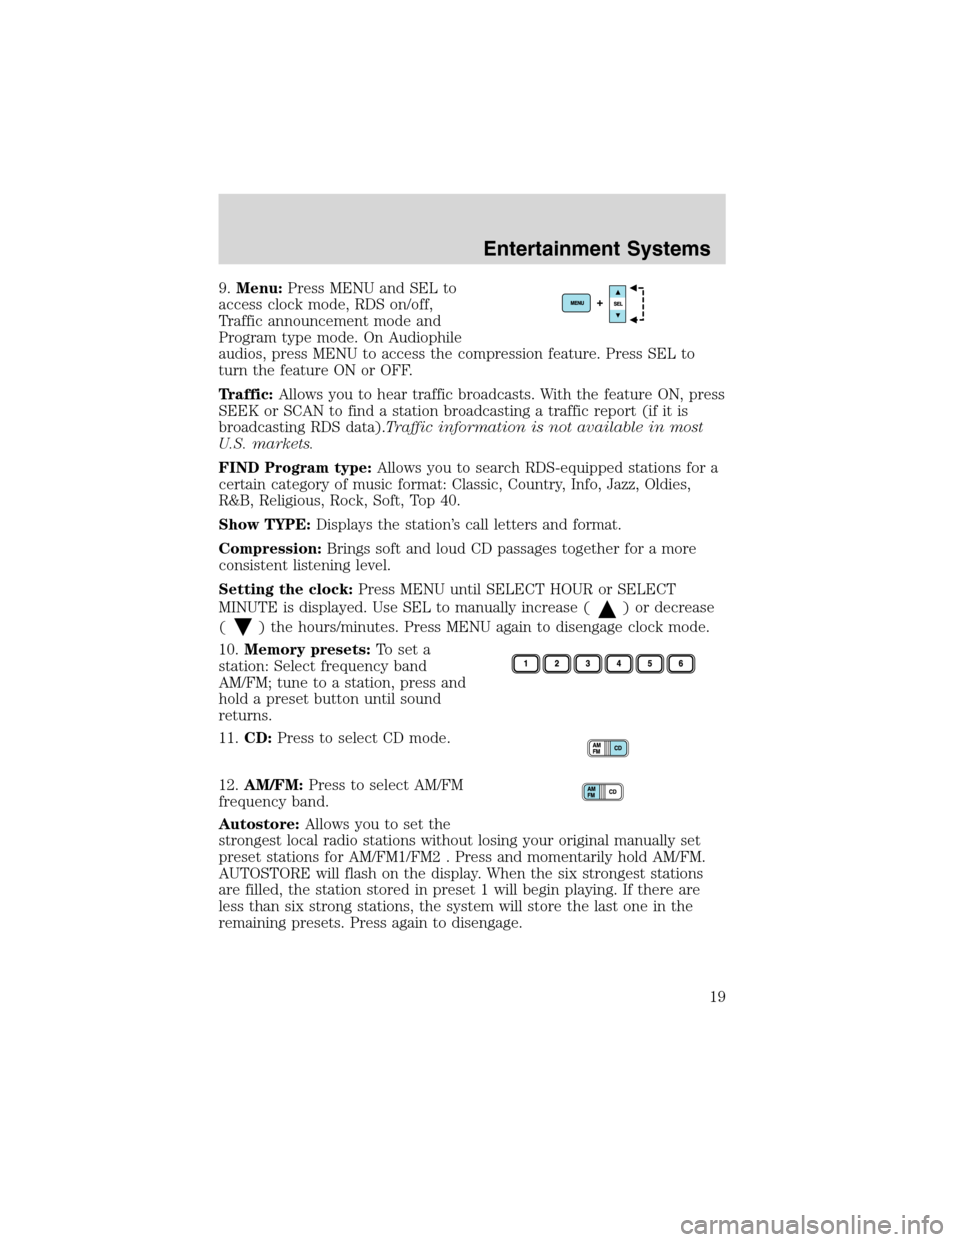
9.Menu:Press MENU and SEL to
access clock mode, RDS on/off,
Traffic announcement mode and
Program type mode. On Audiophile
audios, press MENU to access the compression feature. Press SEL to
turn the feature ON or OFF.
Traffic:Allows you to hear traffic broadcasts. With the feature ON, press
SEEK or SCAN to find a station broadcasting a traffic report (if it is
broadcasting RDS data).Traffic information is not available in most
U.S. markets.
FIND Program type:Allows you to search RDS-equipped stations for a
certain category of music format: Classic, Country, Info, Jazz, Oldies,
R&B, Religious, Rock, Soft, Top 40.
Show TYPE:Displays the station’s call letters and format.
Compression:Brings soft and loud CD passages together for a more
consistent listening level.
Setting the clock:Press MENU until SELECT HOUR or SELECT
MINUTE is displayed. Use SEL to manually increase (
) or decrease
(
) the hours/minutes. Press MENU again to disengage clock mode.
10.Memory presets:To set a
station: Select frequency band
AM/FM; tune to a station, press and
hold a preset button until sound
returns.
11.CD:Press to select CD mode.
12.AM/FM:Press to select AM/FM
frequency band.
Autostore:Allows you to set the
strongest local radio stations without losing your original manually set
preset stations for AM/FM1/FM2 . Press and momentarily hold AM/FM.
AUTOSTORE will flash on the display. When the six strongest stations
are filled, the station stored in preset 1 will begin playing. If there are
less than six strong stations, the system will store the last one in the
remaining presets. Press again to disengage.
Entertainment Systems
19
Page 22 of 272
4.Cassette door:Insert the
cassette with the opening to the
right.
5.Eject:Press to eject the
cassette/CD. The radio will resume
playing.
6.Tape:Press to start tape play.
Press to stop tape during
rewind/fast forward.
CD:Press to start CD play. With the
dual media audio, press CD to
toggle between single CD and CD
changer play (if equipped).
7.Mute:Press to MUTE playing
media; press again return to playing
media.
8.Auto:Press to set first six
strongest stations (if available) into
AM, FM1 or FM2 memory buttons;
press again to return to normal
stations.
9.Clock:Press and hold to set the
clock. Press the
SEEK to
decrease hours or SEEK
to
increase hours. Press the
TUNE
to decrease minutes or TUNE
to
increase minutes. If your vehicle has a stand alone clock this control will
not function.
Entertainment Systems
22
Page 26 of 272
CD units are designed to play commercially pressed 12 cm
(4.75 in) audio compact discs only. Due to technical
incompatibility, certain recordable and re-recordable compact
discs may not function correctly when used in Ford CD players.
Irregular shaped CDs, CDs with a scratch protection film
attached, and CDs with homemade paper (adhesive) labels should
not be inserted into the CD player. The label may peel and cause
the CD to become jammed. It is recommended that homemade
CDs be identified with permanent felt tip marker rather than
adhesive labels. Ball point pens may damage CDs. Please contact
your dealer for further information.
AUDIO SYSTEM WARRANTY AND SERVICE
Refer to theWarranty Guidefor audio system warranty information. If
service is necessary, see your dealer or qualified technician.
Entertainment Systems
26
Page 48 of 272
POWER WINDOWS
Press and hold the bottom part of
the rocker switch to open the
window. Press and hold the top part
of the rocker switch to close the
window.
One touch down
Allows the driver’s window to open
fully without holding the control
down. Press completely down on
AUTO and release quickly. Press
again to stop.
Window lock
The window lock feature allows only
the driver to operate the power
windows.
To lock out all the window controls
except for the driver’s press the left
side of the control. Press the right
side to restore the window controls.
Accessory delay
With accessory delay, the window switches and audio system may be
used for up to ten minutes after the ignition switch is turned to the OFF
position or until any door is opened.
Driver Controls
48
Page 53 of 272
Turning off speed control
There are two ways to turn off the speed control:
•Depress the brake pedal. This will not erase your vehicles previously
set speed.
•Press the speed control OFF
control.
Note:When you turn off the speed
control or the ignition, your speed
control set speed memory is erased.
STEERING WHEEL CONTROLS (IF EQUIPPED)
These controls allow you to operate some radio and climate control
features.
Audio control features
Press
to select:
•AM, FM1, FM2,
•TAPE (if equipped),
•CD (if equipped), or
•DVD (if equipped).
Driver Controls
53
Page 267 of 272

A
Accessory delay ..........................48
Air bag supplemental restraint
system ........................113–114, 118
and child safety seats ............115
description ......................114, 118
disposal ....................................121
driver air bag ..................116, 119
indicator light .................117, 120
operation .........................116, 119
passenger air bag ...........116, 119
Air cleaner filter .......................254
Air conditioning ..........................28
All Wheel Drive (AWD),
driving off road .........................159
Ambulance packages ....................7
Antifreeze
(see Engine coolant) ................229
Anti-lock brake system
(see Brakes) ......................137–138
Anti-theft system ........................88
arming the system ....................88
disarming a triggered system ..89
Audio system (see Radio) ...17, 21
Automatic transmission
driving an automatic
overdrive .................................145
fluid, adding ............................247
fluid, checking ........................247
fluid, refill capacities ..............254
fluid, specification ..................259
Auxiliary power point .................47
Axle
lubricant specifications ..257, 259
refill capacities ........................254
B
Battery .......................................227acid, treating emergencies .....227
jumping a disabled battery ....195
maintenance-free ....................227
replacement, specifications ...254
servicing ..................................227
BeltMinder .................................109
Brakes ........................................137
anti-lock ...........................137–138
anti-lock brake system (ABS)
warning light ...........................138
fluid, checking and adding ....247
fluid, refill capacities ..............254
fluid, specifications .........257, 259
lubricant specifications ..257, 259
parking ....................................138
shift interlock ..........................143
C
Calculating load ........................169
Capacities for refilling fluids ....254
Cargo cover .................................74
Cassette tape player ...................17
CD-single premium .....................21
Cell phone use ............................44
Certification Label ....................261
Changing a tire .........................188
Child safety restraints ..............121
child safety belts ....................121
Child safety seats ......................124
attaching with tether straps ..128
in front seat ............................126
in rear seat ..............................126
Cleaning your vehicle
engine compartment ..............211
instrument panel ....................213
interior .....................................213
interior trim ............................213
Index
267