2003 FORD ESCORT seats
[x] Cancel search: seatsPage 6 of 184
BREAKING-IN YOUR VEHICLE
Your vehicle does not need an extensive break-in. Try not to drive
continuously at the same speed for the first 1,600 km (1,000 miles) of
new vehicle operation. Vary your speed to allow parts to adjust
themselves to other parts.
Drive your new vehicle at least 800 km(500 miles) before towing a
trailer.
Do not add friction modifier compounds or special break-in oils during
the first few thousand kilometers (miles) of operation, since these
additives may prevent piston ring seating. SeeEngine oilin the
Maintenance and carechapter for more information on oil usage.
SPECIAL NOTICES
Emission warranty
The New Vehicle Limited Warranty includes Bumper-to-Bumper
Coverage, Safety Restraint Coverage, Corrosion Coverage, and 7.3L
Power Stroke Diesel Engine Coverage. In addition, your vehicle is eligible
for Emissions Defect and Emissions Performance Warranties. For a
detailed description of what is covered and what is not covered, refer to
theWarranty Guidethat is provided to you along with your Owner’s
Guide.
Special instructions
For your added safety, your vehicle is fitted with sophisticated electronic
controls.
Please read the sectionAir bagin theSeating and safety
restraintschapter. Failure to follow the specific warnings and
instructions could result in personal injury.
Front seat mounted rear facing child or infant seats should
NEVERbe used in front of a passenger side air bag unless the
air bag can be and is turned OFF.
Introduction
6
Page 29 of 184
Operating tips
•In humid weather, place the climate control system in Defrost (
)
before driving. This will reduce fogging on your windshield. Once the
windshield has been cleared, select any desired position.
•To reduce humidity buildup inside the vehicle, do not drive with the
climate control system in the OFF position.
•Under normal weather conditions, your vehicle’s climate control
systemshould be left in any position other than OFF position when
the vehicle is parked. This allows the vehicle to “breathe” through the
outside air inlet duct.
•Under snowy or dirty weather conditions, your vehicle’s climate
control systemshould be left in the OFF position when the vehicle is
parked. This allows the climate control system to be free from
contamination of outside pollutants.
•Do not place objects under the front seat which may interfere with
the airflow to the rear seats (if equipped).
•Remove any snow, ice, or leaves from the air intake area (at the base
of the windshield and underneath the hood).
•Do not place objects over the defroster outlets. These objects may
block airflow and reduce your visibility through the windshield. Avoid
placing small objects on top of the instrument panel. These objects
can fall into the defroster outlets and block airflow, in addition to,
damaging your climate control system.
Do not place objects on top of the instrument panel, as these
objects may become projectiles in a collision or sudden stop.
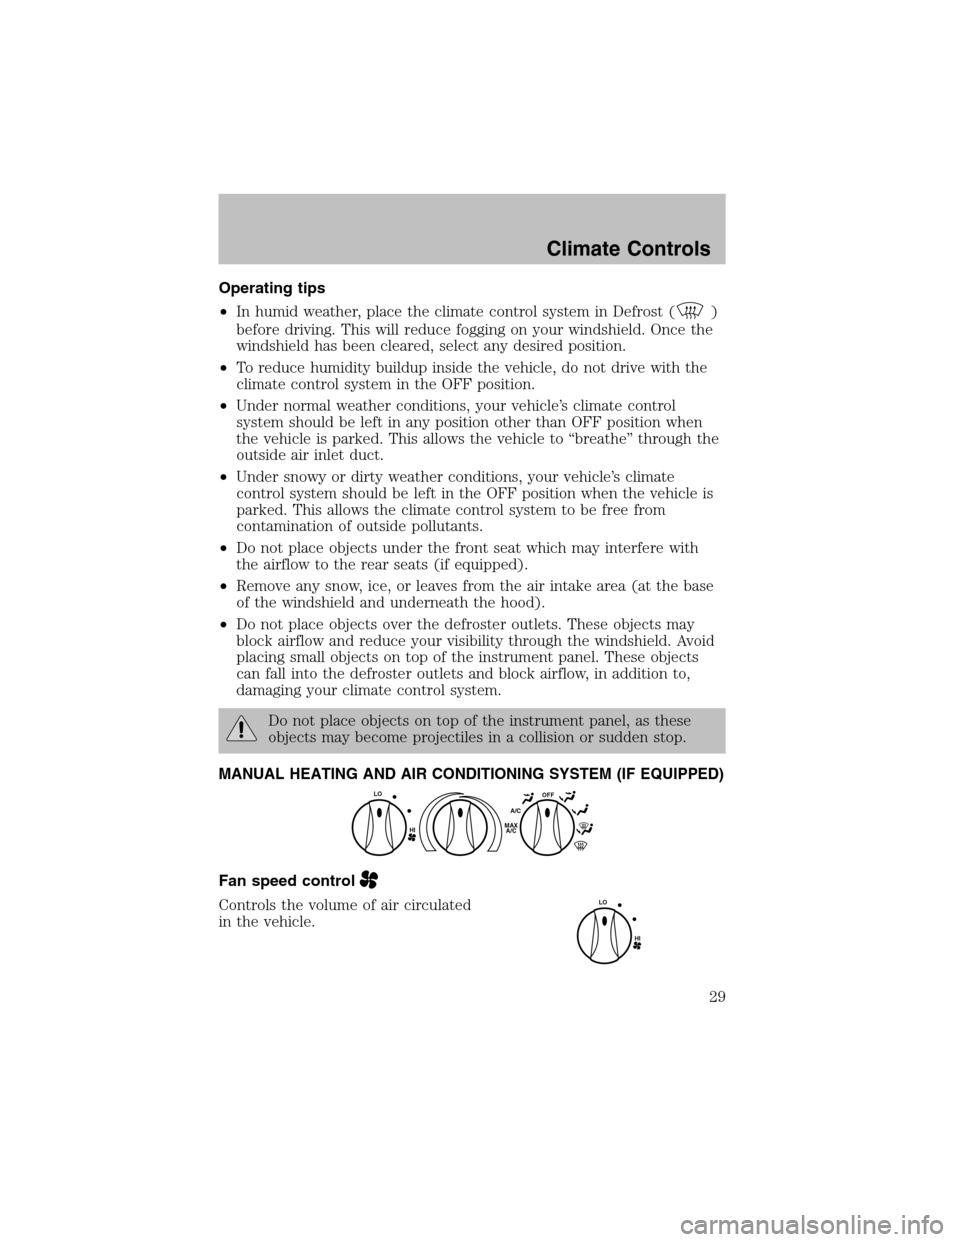
MANUAL HEATING AND AIR CONDITIONING SYSTEM (IF EQUIPPED)
Fan speed control
Controls the volume of air circulated
in the vehicle.
HI
LOOFFA/C
MAX
A/C
HI
LO
Climate Controls
29
Page 32 of 184
•Do not put objects under the front seat which may interfere with the
airflow to the rear seats.
•Remove any snow, ice or leaves from the air intake area (at the
bottomof the windshield and underneath the hood).
•Do not place objects over the defroster outlets. These objects can
block airflow and reduce visibility through your windshield. Avoid
placing small objects on top of the instrument panel. These objects
may fall down into the defroster outlets and block airflow, in addition
to, damaging the climate control system.
To aid in side window defogging/demisting in cold weather conditions:
1. Select the position that distributes air through the Panel and Floor.
2. Set the temperature control to full heat.
3. Set the fan speed to full fan.
4. Direct the outer panel vents towards the side windows.
5. To increase airflow to the outer panel vents, close the central panel
vents.
Do not place objects on top of the instrument panel as these
objects may become projectiles in a collision or sudden stop.
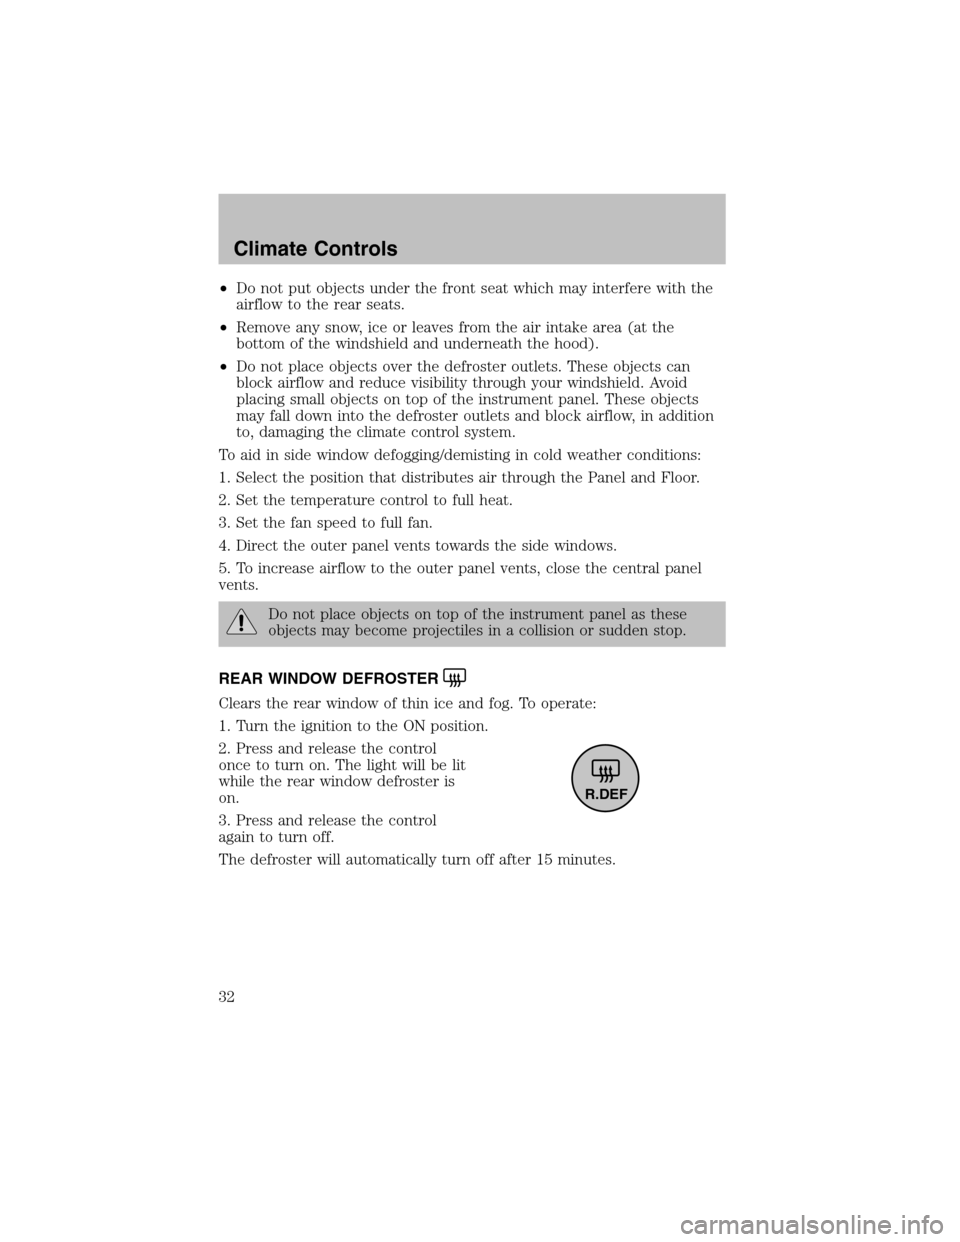
REAR WINDOW DEFROSTER
Clears the rear window of thin ice and fog. To operate:
1. Turn the ignition to the ON position.
2. Press and release the control
once to turn on. The light will be lit
while the rear window defroster is
on.
3. Press and release the control
again to turn off.
The defroster will automatically turn off after 15 minutes.
R.DEF
Climate Controls
32
Page 37 of 184
INTERIOR LAMPS
Dome lamp and map lamps (if equipped)
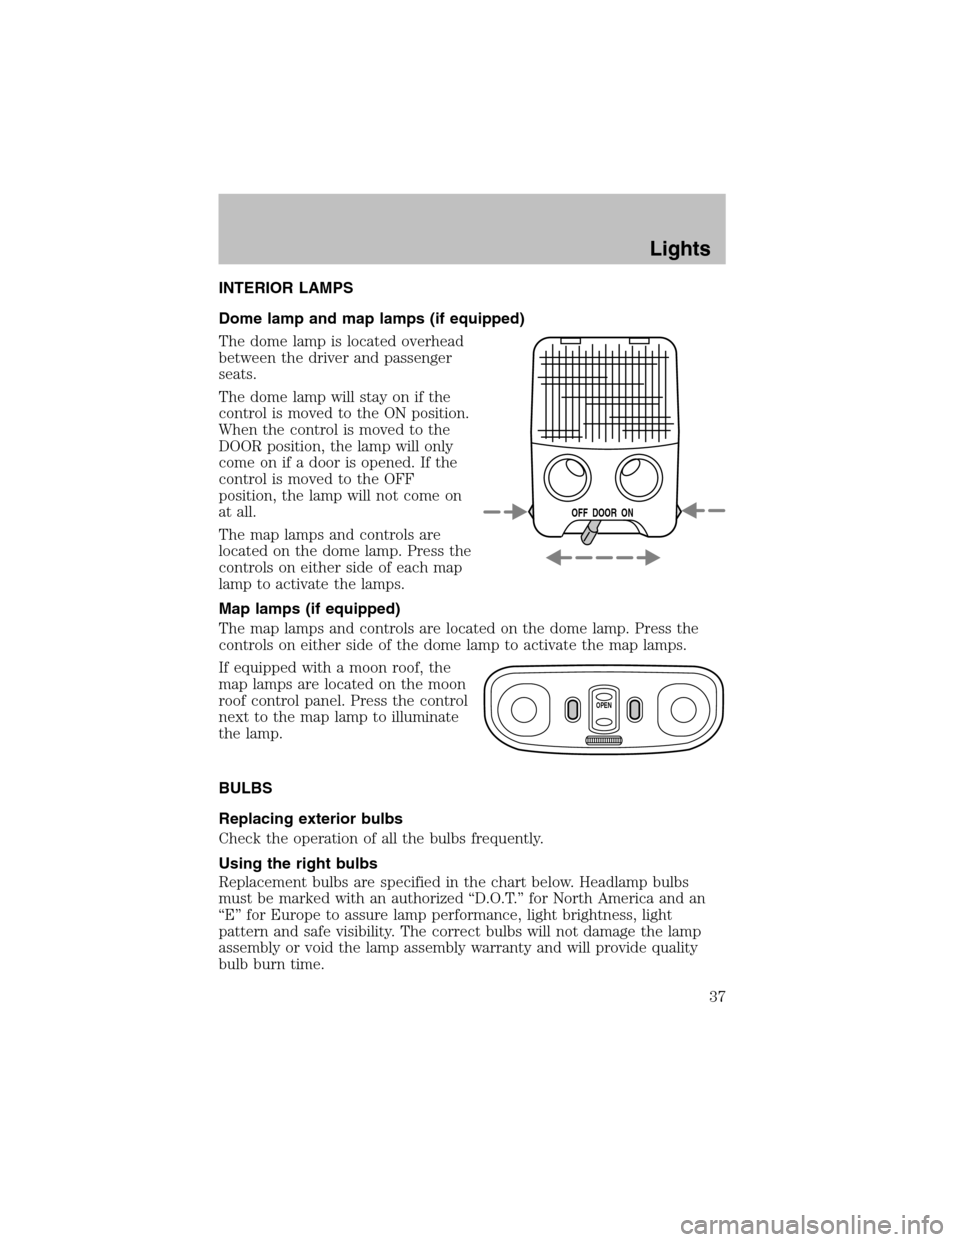
The dome lamp is located overhead
between the driver and passenger
seats.
The dome lamp will stay on if the
control is moved to the ON position.
When the control is moved to the
DOOR position, the lamp will only
come on if a door is opened. If the
control is moved to the OFF
position, the lamp will not come on
at all.
The map lamps and controls are
located on the dome lamp. Press the
controls on either side of each map
lamp to activate the lamps.
Map lamps (if equipped)
The map lamps and controls are located on the dome lamp. Press the
controls on either side of the dome lamp to activate the map lamps.
If equipped with a moon roof, the
map lamps are located on the moon
roof control panel. Press the control
next to the map lamp to illuminate
the lamp.
BULBS
Replacing exterior bulbs
Check the operation of all the bulbs frequently.
Using the right bulbs
Replacement bulbs are specified in the chart below. Headlamp bulbs
must be marked with an authorized “D.O.T.” for North America and an
“E” for Europe to assure lamp performance, light brightness, light
pattern and safe visibility. The correct bulbs will not damage the lamp
assembly or void the lamp assembly warranty and will provide quality
bulb burn time.
OFF DOOR ON
OPEN
Lights
37
Page 59 of 184
Always drive and ride with your seatback upright and the lap
belt snug and low across the hips.
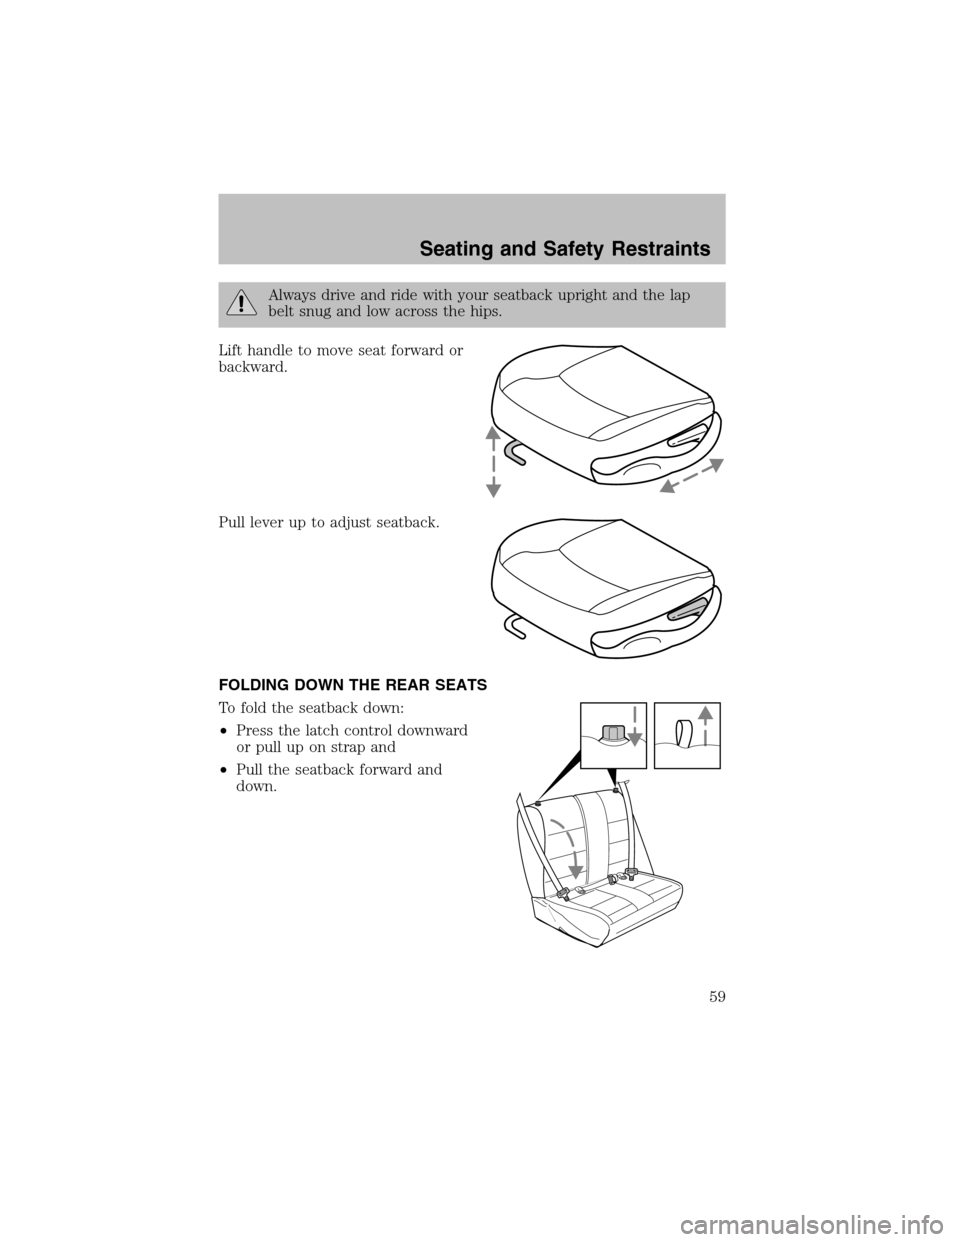
Lift handle to move seat forward or
backward.
Pull lever up to adjust seatback.
FOLDING DOWN THE REAR SEATS
To fold the seatback down:
•Press the latch control downward
or pull up on strap and
•Pull the seatback forward and
down.
Seating and Safety Restraints
59
Page 60 of 184
RETURNING THE SEAT TO THE UPRIGHT POSITION
Check to see that the seat and seatback is latched securely in
position. Keep floor area free of objects that would prevent
proper seat engagement. Never attempt to adjust the seat while the
vehicle is in motion.
To return the seat to the upright/normal seating position:
•Rotate seat upward and latch.
The full rear bench seat is shown. The split-folding rear seat (if
equipped) operates in a similar manner.
SAFETY RESTRAINTS
Safety restraints precautions
Always drive and ride with your seatback upright and the lap
belt snug and low across the hips.
To reduce the risk of injury, make sure children sit where they
can be properly restrained.
Never let a passenger hold a child on his or her lap while the
vehicle is moving. The passenger cannot protect the child from
injury in a collision.
All occupants of the vehicle, including the driver, should always
properly wear their safety belts, even when an air bag (SRS) is
provided.
It is extremely dangerous to ride in a cargo area, inside or
outside of a vehicle. In a collision, people riding in these areas
are more likely to be seriously injured or killed. Do not allow people to
ride in any area of your vehicle that is not equipped with seats and
safety belts. Be sure everyone in your vehicle is in a seat and using a
safety belt properly.
Seating and Safety Restraints
60
Page 61 of 184
In a rollover crash, an unbelted person is significantly more likely
to die than a person wearing a safety belt.
Each seating position in your vehicle has a specific safety belt
assembly which is made up of one buckle and one tongue that
are designed to be used as a pair. 1) Use the shoulder belt on the
outside shoulder only. Never wear the shoulder belt under the arm. 2)
Never swing the safety belt around your neck over the inside shoulder.
3) Never use a single belt for more than one person.
Always transport children 12 years old and under in the back
seat and always properly use appropriate child restraints.
Safety belts and seats can become hot in a vehicle that has been
closed up in sunny weather; they could burn a small child. Check
seat covers and buckles before you place a child anywhere near them.
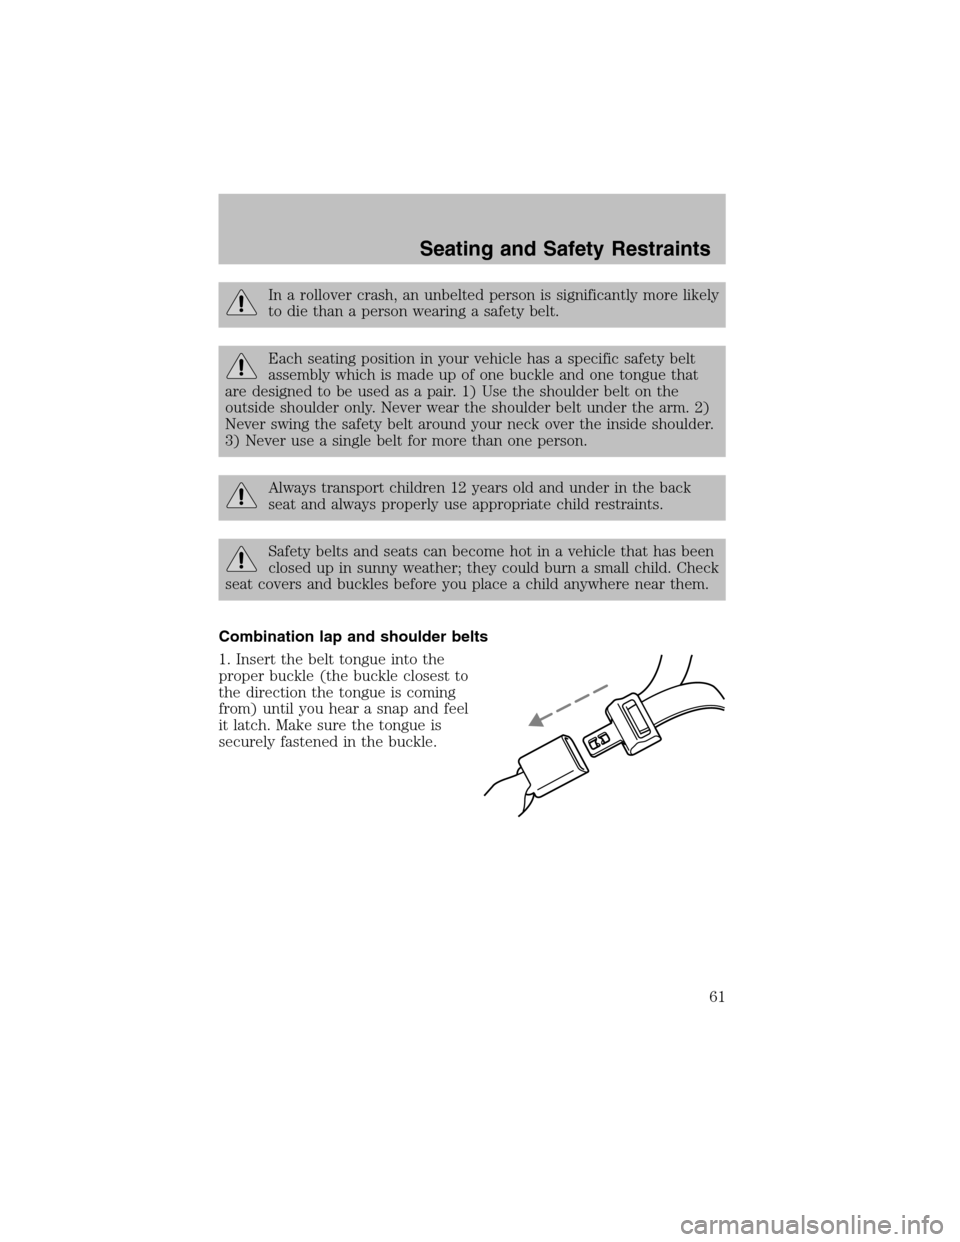
Combination lap and shoulder belts
1. Insert the belt tongue into the
proper buckle (the buckle closest to
the direction the tongue is coming
from) until you hear a snap and feel
it latch. Make sure the tongue is
securely fastened in the buckle.
Seating and Safety Restraints
61
Page 62 of 184
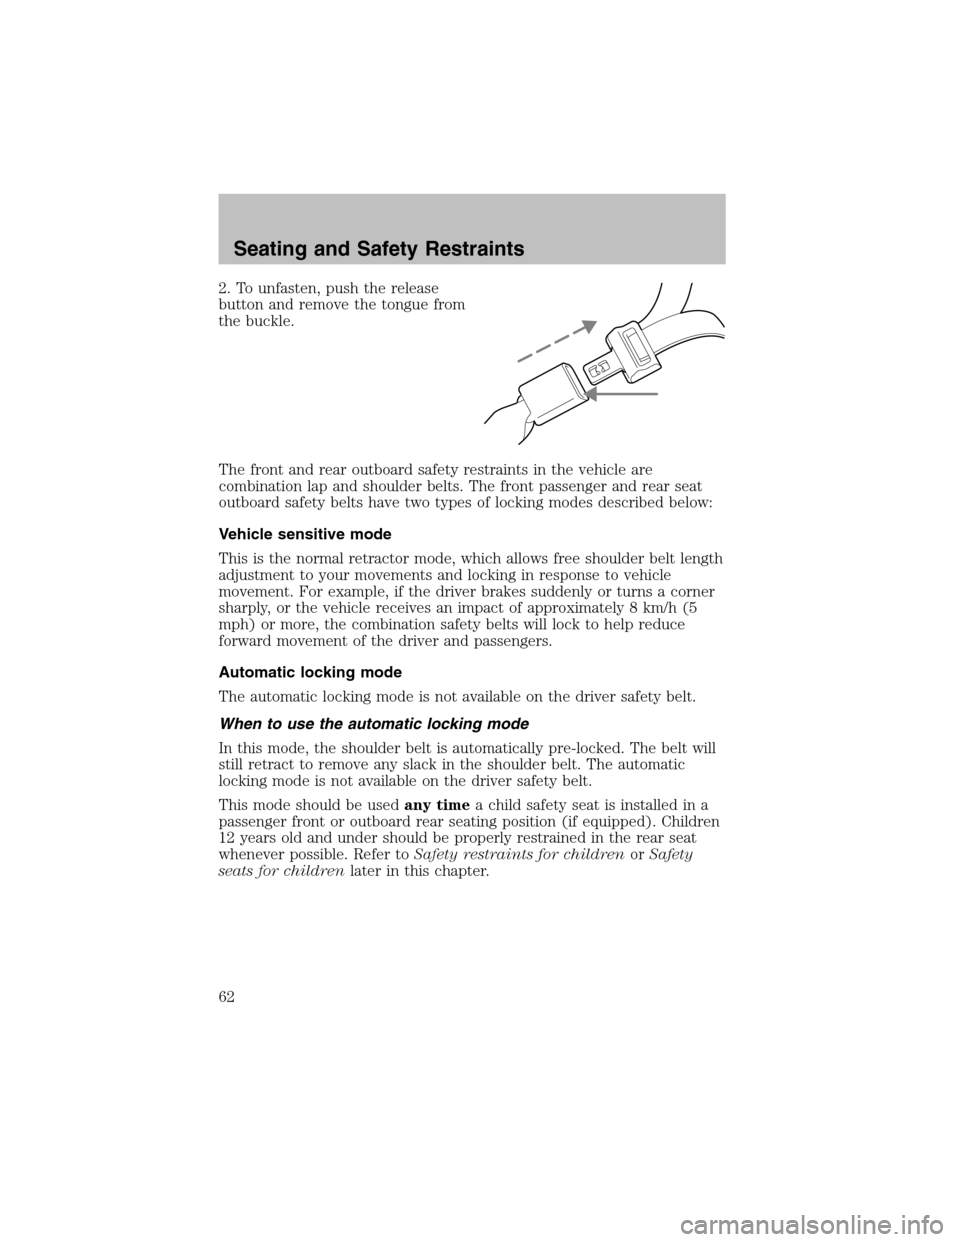
2. To unfasten, push the release
button and remove the tongue from
the buckle.
The front and rear outboard safety restraints in the vehicle are
combination lap and shoulder belts. The front passenger and rear seat
outboard safety belts have two types of locking modes described below:
Vehicle sensitive mode
This is the normal retractor mode, which allows free shoulder belt length
adjustment to your movements and locking in response to vehicle
movement. For example, if the driver brakes suddenly or turns a corner
sharply, or the vehicle receives an impact of approximately 8 km/h (5
mph) or more, the combination safety belts will lock to help reduce
forward movement of the driver and passengers.
Automatic locking mode
The automatic locking mode is not available on the driver safety belt.
When to use the automatic locking mode
In this mode, the shoulder belt is automatically pre-locked. The belt will
still retract to remove any slack in the shoulder belt. The automatic
locking mode is not available on the driver safety belt.
This mode should be usedany timea child safety seat is installed in a
passenger front or outboard rear seating position (if equipped). Children
12 years old and under should be properly restrained in the rear seat
whenever possible. Refer toSafety restraints for childrenorSafety
seats for childrenlater in this chapter.
Seating and Safety Restraints
62