Page 14 of 184
AM/FM STEREO/CASSETTE
Volume/power control
Press the control to turn the audio
systemon or off.
Turn control to raise or lower
volume.
If the volume is set above a certain level and the ignition is turned off,
the volume will come back on at a “nominal” listening level when the
ignition switch is turned back on. If you wish to maintain your preset
volume level, turn the audio system off with the power control before
switching off the ignition.
OFFR.DEFA/C
MAX
A/C HI
LO
TUNE SEEK
SCANAM
FM
1SIDE 1-223456
EJREW
FF
TAPE H
M
+
BAL
FADE
BASS
TREBDOLBY B NRVOL
PUSH ON
VOL
PUSH ON
VOL
PUSH ON
Entertainment Systems
14
Page 15 of 184
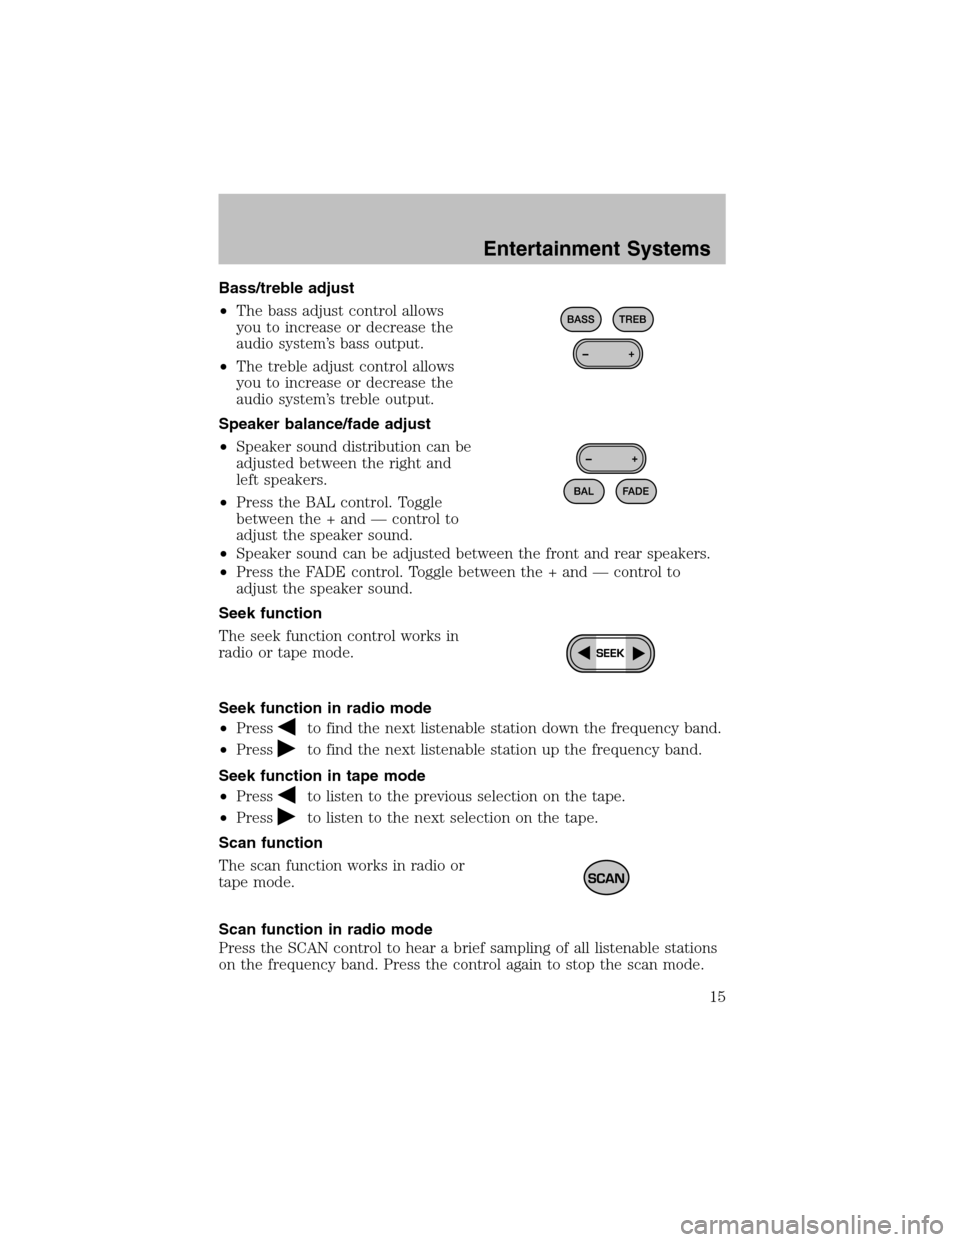
Bass/treble adjust
•The bass adjust control allows
you to increase or decrease the
audio system’s bass output.
•The treble adjust control allows
you to increase or decrease the
audio system’s treble output.
Speaker balance/fade adjust
•Speaker sound distribution can be
adjusted between the right and
left speakers.
•Press the BAL control. Toggle
between the + and — control to
adjust the speaker sound.
•Speaker sound can be adjusted between the front and rear speakers.
•Press the FADE control. Toggle between the + and — control to
adjust the speaker sound.
Seek function
The seek function control works in
radio or tape mode.
Seek function in radio mode
•Press
to find the next listenable station down the frequency band.
•Press
to find the next listenable station up the frequency band.
Seek function in tape mode
•Press
to listen to the previous selection on the tape.
•Press
to listen to the next selection on the tape.
Scan function
The scan function works in radio or
tape mode.
Scan function in radio mode
Press the SCAN control to hear a brief sampling of all listenable stations
on the frequency band. Press the control again to stop the scan mode.
Entertainment Systems
15
Page 19 of 184
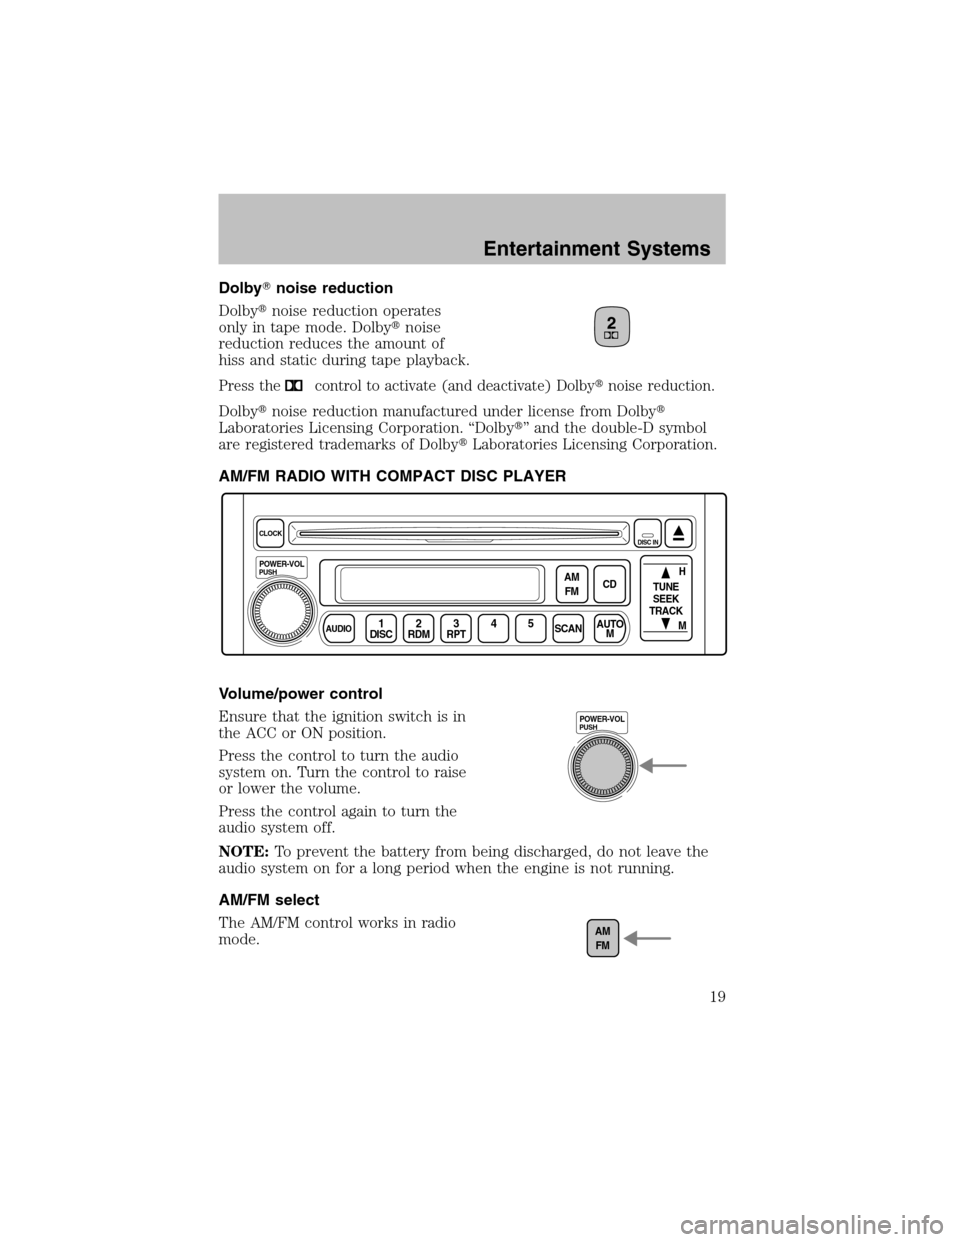
Dolby�noise reduction
Dolby�noise reduction operates
only in tape mode. Dolby�noise
reduction reduces the amount of
hiss and static during tape playback.
Press thecontrol to activate (and deactivate) Dolby�noise reduction.
Dolby�noise reduction manufactured under license from Dolby�
Laboratories Licensing Corporation. “Dolby�” and the double-D symbol
are registered trademarks of Dolby�Laboratories Licensing Corporation.
AM/FM RADIO WITH COMPACT DISC PLAYER
Volume/power control
Ensure that the ignition switch is in
the ACC or ON position.
Press the control to turn the audio
systemon. Turn the control to raise
or lower the volume.
Press the control again to turn the
audio systemoff.
NOTE:To prevent the battery frombeing discharged, do not leave the
audio systemon for a long period when the engine is not running.
AM/FM select
The AM/FM control works in radio
mode.
CLOCK
PUSH
POWER-VOL
AUDIODISC1RDM2RPTSCANAUTO
M AM
FMCDH
M TUNE
SEEK
TRACK345
DISC IN
PUSHPOWER-VOL
AM
FM
Entertainment Systems
19
Page 22 of 184
Treble adjust
The treble adjust control allows you
to increase or decrease the audio
system’s treble output.
Press the AUDIO control until TREB is illuminated in the display.
Turn the volume control to adjust to the desired level of treble.
NOTE:The volume can be adjusted without pressing the AUDIO
function control.
Bass adjust
The bass adjust control allows you
to increase or decrease the audio
system’s bass output.
Press the AUDIO control until BASS is illuminated in the display.
Turn the volume control to adjust to the desired level of bass.
Speaker fade adjust
Speaker sound can be adjusted
between the front and rear
speakers.
Press the AUDIO control until FADE is illuminated in the display.
Turn the volume control to adjust the speaker output.
PUSHPOWER-VOL
+AUDIO
PUSHPOWER-VOL
+AUDIO
PUSHPOWER-VOL
+AUDIO
Entertainment Systems
22
Page 23 of 184
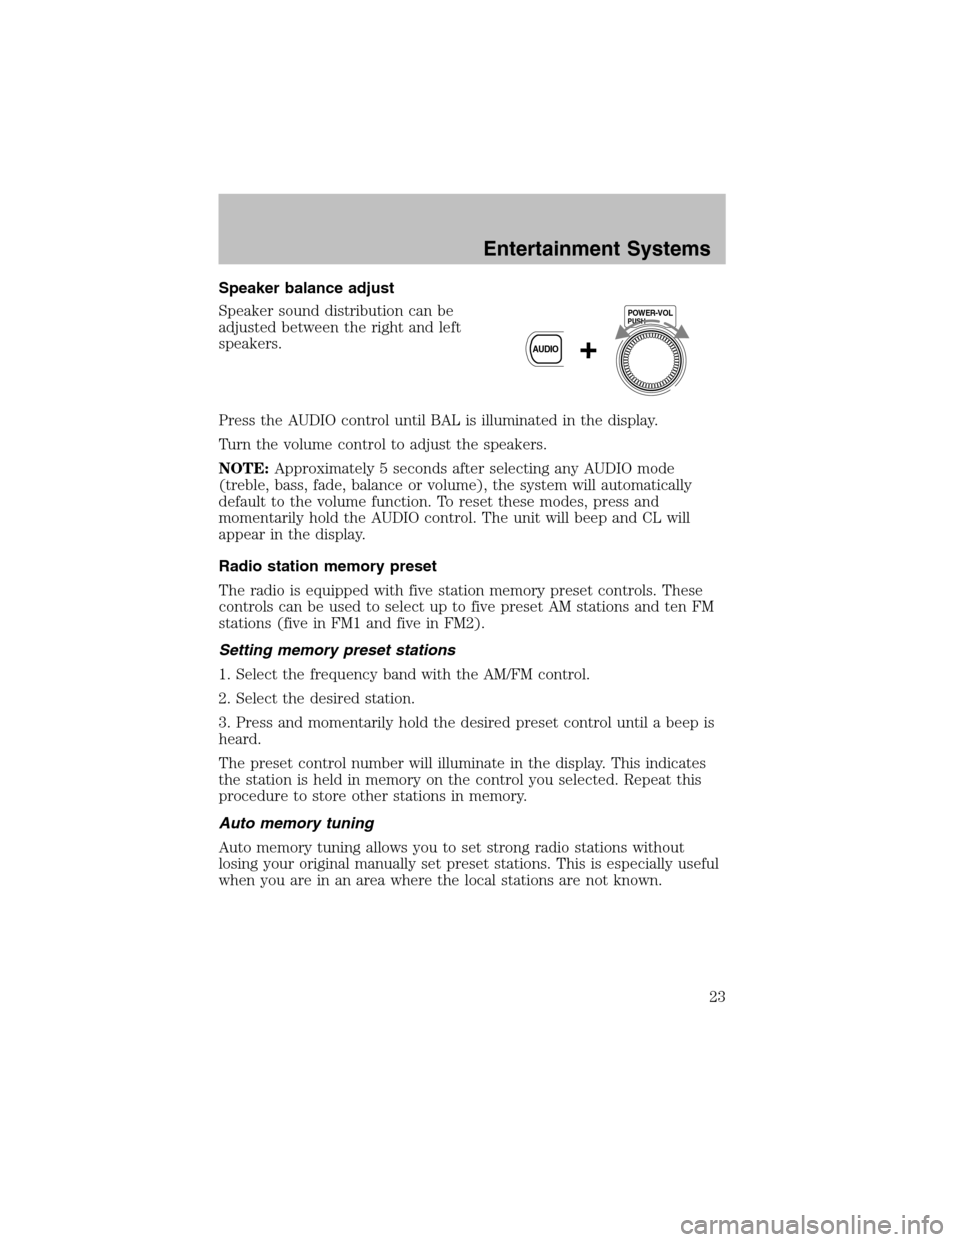
Speaker balance adjust
Speaker sound distribution can be
adjusted between the right and left
speakers.
Press the AUDIO control until BAL is illuminated in the display.
Turn the volume control to adjust the speakers.
NOTE:Approximately 5 seconds after selecting any AUDIO mode
(treble, bass, fade, balance or volume), the system will automatically
default to the volume function. To reset these modes, press and
momentarily hold the AUDIO control. The unit will beep and CL will
appear in the display.
Radio station memory preset
The radio is equipped with five station memory preset controls. These
controls can be used to select up to five preset AM stations and ten FM
stations (five in FM1 and five in FM2).
Setting memory preset stations
1. Select the frequency band with the AM/FM control.
2. Select the desired station.
3. Press and momentarily hold the desired preset control until a beep is
heard.
The preset control number will illuminate in the display. This indicates
the station is held in memory on the control you selected. Repeat this
procedure to store other stations in memory.
Auto memory tuning
Auto memory tuning allows you to set strong radio stations without
losing your original manually set preset stations. This is especially useful
when you are in an area where the local stations are not known.
PUSHPOWER-VOL
+AUDIO
Entertainment Systems
23
Page 24 of 184
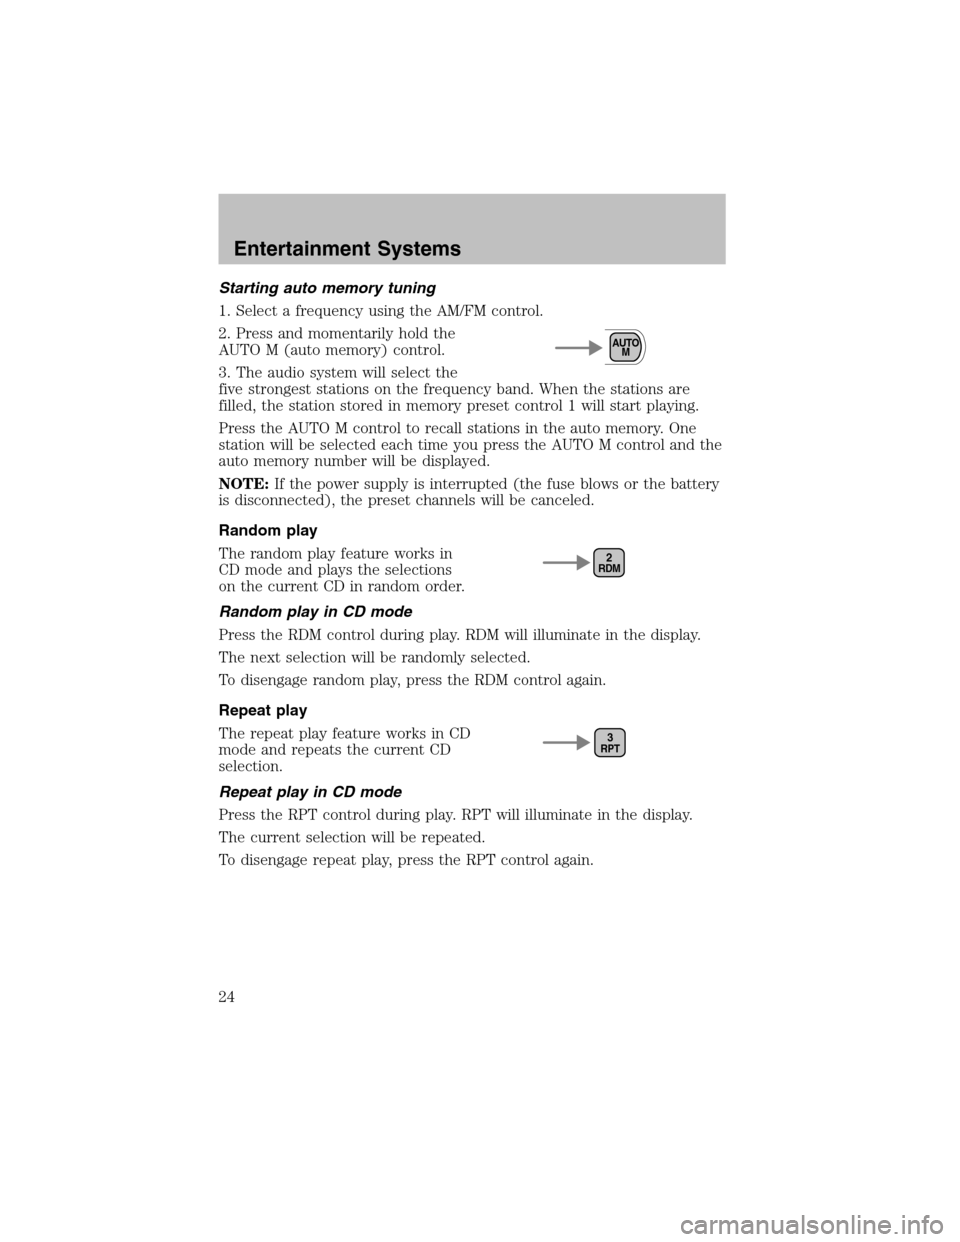
Starting auto memory tuning
1. Select a frequency using the AM/FM control.
2. Press and momentarily hold the
AUTO M (auto memory) control.
3. The audio systemwill select the
five strongest stations on the frequency band. When the stations are
filled, the station stored in memory preset control 1 will start playing.
Press the AUTO M control to recall stations in the auto memory. One
station will be selected each time you press the AUTO M control and the
auto memory number will be displayed.
NOTE:If the power supply is interrupted (the fuse blows or the battery
is disconnected), the preset channels will be canceled.
Random play
The randomplay feature works in
CD mode and plays the selections
on the current CD in randomorder.
Random play in CD mode
Press the RDM control during play. RDM will illuminate in the display.
The next selection will be randomly selected.
To disengage randomplay, press the RDM control again.
Repeat play
The repeat play feature works in CD
mode and repeats the current CD
selection.
Repeat play in CD mode
Press the RPT control during play. RPT will illuminate in the display.
The current selection will be repeated.
To disengage repeat play, press the RPT control again.
AUTO
M
RDM2
RPT3
Entertainment Systems
24
Page 25 of 184
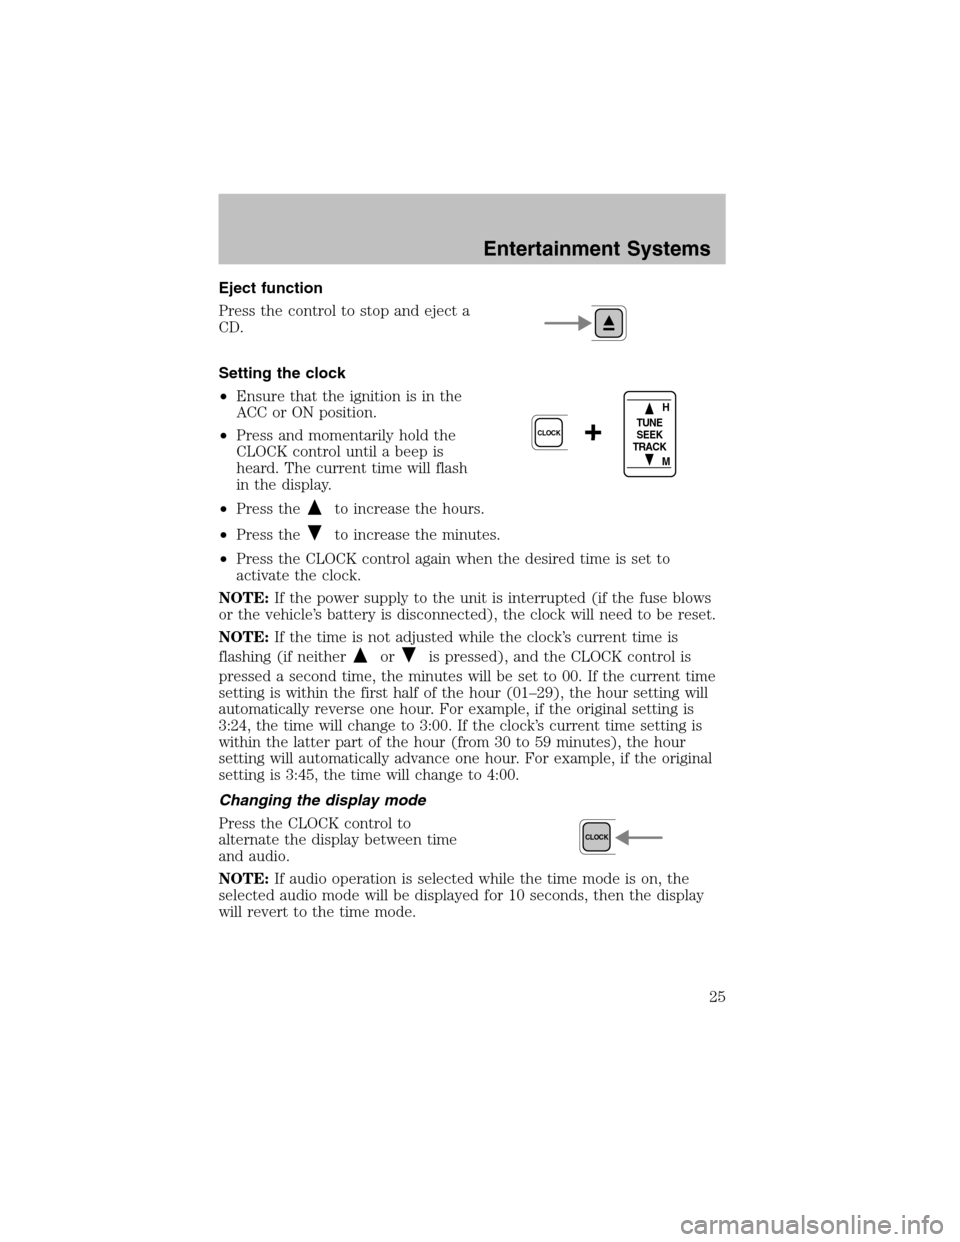
Eject function
Press the control to stop and eject a
CD.
Setting the clock
•Ensure that the ignition is in the
ACC or ON position.
•Press and momentarily hold the
CLOCK control until a beep is
heard. The current time will flash
in the display.
•Press the
to increase the hours.
•Press the
to increase the minutes.
•Press the CLOCK control again when the desired time is set to
activate the clock.
NOTE:If the power supply to the unit is interrupted (if the fuse blows
or the vehicle’s battery is disconnected), the clock will need to be reset.
NOTE:If the time is not adjusted while the clock’s current time is
flashing (if neither
oris pressed), and the CLOCK control is
pressed a second time, the minutes will be set to 00. If the current time
setting is within the first half of the hour (01–29), the hour setting will
automatically reverse one hour. For example, if the original setting is
3:24, the time will change to 3:00. If the clock’s current time setting is
within the latter part of the hour (from30 to 59 minutes), the hour
setting will automatically advance one hour. For example, if the original
setting is 3:45, the time will change to 4:00.
Changing the display mode
Press the CLOCK control to
alternate the display between time
and audio.
NOTE:If audio operation is selected while the time mode is on, the
selected audio mode will be displayed for 10 seconds, then the display
will revert to the time mode.
+CLOCK
H
M TUNE
SEEK
TRACK
CLOCK
Entertainment Systems
25
Page 27 of 184

CD/CD PLAYER CARE
Do:
•Handle discs by their edges only. Never touch the playing surface.
•Inspect discs before playing. Clean only with an approved CD cleaner
and wipe fromthe center out.
Don’t:
•Expose discs to direct sunlight or heat sources for extended periods
of time.
•Insert more than one disc into each slot of the CD changer magazine.
•Clean using a circular motion.
CD units are designed to play commercially pressed 12 cm (4.75
in) audio compact discs only. Due to technical incompatibility,
certain recordable and re-recordable compact discs may not
function correctly when used in Ford CD players. Irregular
shaped CDs, CDs with a scratch protection film attached, and CDs
with homemade paper (adhesive) labels should not be inserted
into the CD player. The label may peel and cause the CD to
become jammed. It is recommended that homemade CDs be
identified with permanent felt tip marker rather than adhesive
labels. Ball point pens may damage CDs. Please contact your
dealer for further information.
AUDIO SYSTEM WARRANTY AND SERVICE
Refer to theWarranty Guidefor audio systemwarranty information. If
service is necessary, see your dealer or qualified technician.
Entertainment Systems
27