Page 2 of 240
Locks and Security 63
Keys 63
Locks 63
Anti-theft system 69
Seating and Safety Restraints 74
Seating 74
Safety restraints 84
Air bags 95
Child restraints 102
Driving 114
Starting 114
Brakes 118
Transmission operation 120
Trailer towing 141
Roadside Emergencies 146
Hazard flasher switch 146
Fuel pump shut-off switch 146
Fuses and relays 147
Changing tires 154
Jump starting 159
Wrecker towing 165
Customer Assistance 167
Reporting safety defects (U.S. only) 176
Cleaning 177
Table of Contents
2
Page 12 of 240

Low fuel:Illuminates when the fuel
level in the fuel tank is at, or near
empty (refer toFuel gaugein this
chapter).
Overdrive off:Illuminates when
the overdrive function of the
transmission has been turned off,
refer to theDrivingchapter. If the
light flashes steadily, have the system serviced immediately.
Four wheel driver indicator (if
equipped):Illuminates when
four-wheel drive is engaged.
Anti-theft system:Flashes when
the Securilock�Passive Anti-theft
System has been activated.
Speed control:Illuminates when
the speed control is activated. Turns
off when the speed control system
is deactivated.
Door ajar:Illuminates when the
ignition is in the ON position and
any door is open.
Turn signal:Illuminates when the
left or right turn signal or the
hazard lights are turned on. If the
indicators stay on or flash faster, check for a burned out bulb.
High beams:Illuminates when the
high beam headlamps are turned on.
Key-in-ignition warning chime:Sounds when the key is left in the
ignition in the OFF/LOCK or ACC position and the driver’s door is
opened.
Headlamps on warning chime:Sounds when the headlamps or parking
lamps are on, the ignition is off (and the key is not in the ignition) and
the driver’s door is opened.
O/D
OFF
4x4
Instrument Cluster
12
Page 93 of 240

One time disable
Any time the safety belt is buckled and then unbuckled during an
ignition ON cycle, BeltMinder will be disabled for that ignition cycle only.
Deactivating/activating the BeltMinder feature
Read steps1-9thoroughly before proceeding with the
deactivation/activation programming procedure.
The BeltMinder feature can be deactivated/activated by performing the
following procedure:
Before following the procedure, make sure that:
•the parking brake is set
•the gearshift is in P (Park) (automatic transmission) or the neutral
position (manual transmission).
•the ignition switch is in the OFF position
•all vehicle doors are closed
•the driver’s safety belt is unbuckled
•the parklamps/headlamps are in OFF position (If vehicle is equipped
with Autolamps, this will not affect the procedure.)
To reduce the risk of injury, do not deactivate/activate the Belt
Minder feature while driving the vehicle.
1. Turn the ignition switch to the RUN (or ON) position. (DO NOT
START THE ENGINE)
2. Wait until the safety belt warning light turns off. (Approximately 1–2
minutes)
•Steps 3–5 must be completed within 60 seconds or the procedure will
have to be repeated.
3. Uncoil then retract the safety belt three times, ending with the safety
belt retracted. This can be done before or during BeltMinder warning
activation.
4. Turn on the parklamps/headlamps, turn off the parklamps/headlamps.
5. Uncoil then retract the safety belt three times, ending with the safety
belt retracted.
•After step 5 the safety belt warning light will be turned on for three
seconds.
Seating and Safety Restraints
93
Page 115 of 240
If you smell exhaust fumes inside your vehicle, have your dealer
inspect your vehicle immediately. Do not drive if you smell
exhaust fumes.
Important safety precautions
When the engine starts, the idle RPM runs faster to warm the engine. If
the engine idle speed does not slow down automatically, have the vehicle
checked.
Before starting the vehicle:
1. Make sure all vehicle occupants buckle their safety belts. For more
information on safety belts and their proper usage, refer to theSeating
and safety restraintschapter.
2. Make sure the headlamps and electrical accessories are off.
If starting a vehicle with an
automatic transmission:
•Make sure the parking brake is
set.
•Make sure the gearshift is in P
(Park).
R D 2 1ODO
Driving
115
Page 116 of 240
If starting a vehicle with a manual
transmission:
•Make sure the parking brake is
set.
•Push the clutch pedal to the
floor.
3. Turn the key to 3 (RUN) without
turning the key to 4 (START).
Make sure the corresponding lights illuminate or illuminate briefly. If a
light fails to illuminate, have the vehicle serviced.
•If the driver’s safety belt is fastened, the
light may not illuminate.
Driving
116
Page 119 of 240

Parking brake
To set the parking brake (1), pull
the parking brake handle up as far
as possible. The BRAKE warning
lamp will illuminate and will remain
illuminated until the parking brake
is released.
To release, press and hold the button (2), pull the handle up slightly,
then push the handle down.
Always set the parking brake fully and make sure that the
gearshift is securely latched in P (Park) (automatic
transmission) or in 1 (First) (manual transmission).
STEERING
To prevent damage to the power steering system:
•Never hold the steering wheel at its furthest turning points (until it
stops) for more than a few seconds when the engine is running.
•Do not operate the vehicle with a low power steering pump fluid level
(below the MIN mark on the reservoir).
If the power steering system breaks down (or if the engine is turned
off), you can steer the vehicle manually, but it takes more effort.
If the steering wanders or pulls, check for:
•an underinflated tire
•uneven tire wear
•loose or worn suspension components
•loose or worn steering components
•improper steering alignment
PREPARING TO DRIVE YOUR VEHICLE
Utility vehicles have a significantly higher rollover rate than
other types of vehicles.
In a rollover crash, an unbelted person is significantly more likely
to die than a person wearing a safety belt.
!
BRAKE
Driving
119
Page 120 of 240

Your vehicle has larger tires and increased ground clearance, giving the
vehicle a higher center of gravity than a passenger car.
Vehicles with a higher center of gravity such as utility and
four-wheel drive vehicles handle differently than vehicles with a
lower center of gravity. Utility and four-wheel drive vehicles arenot
designed for cornering at speeds as high as passenger cars any more
than low-slung sports cars are designed to perform satisfactorily under
off-road conditions. Avoid sharp turns, excessive speed and abrupt
maneuvers in these vehicles. Failure to drive cautiously could result in
an increased risk of loss of vehicle control, vehicle rollover, personal
injury and death.
Loaded vehicles, with a higher center of gravity, may handle
differently than unloaded vehicles. Extra precautions, such as
slower speeds and increased stopping distance, should be taken when
driving a heavily loaded vehicle.
AUTOMATIC TRANSMISSION OPERATION
Brake-shift interlock
This vehicle is equipped with a brake-shift interlock feature that prevents
the gearshift lever from being moved from P (Park) when the ignition is
in the ON position unless brake pedal is depressed.
If you cannot move the gearshift lever out of P (Park) with ignition in
the ON position and the brake pedal depressed:
1. Apply the parking brake, turn ignition key to LOCK, then remove the
key.
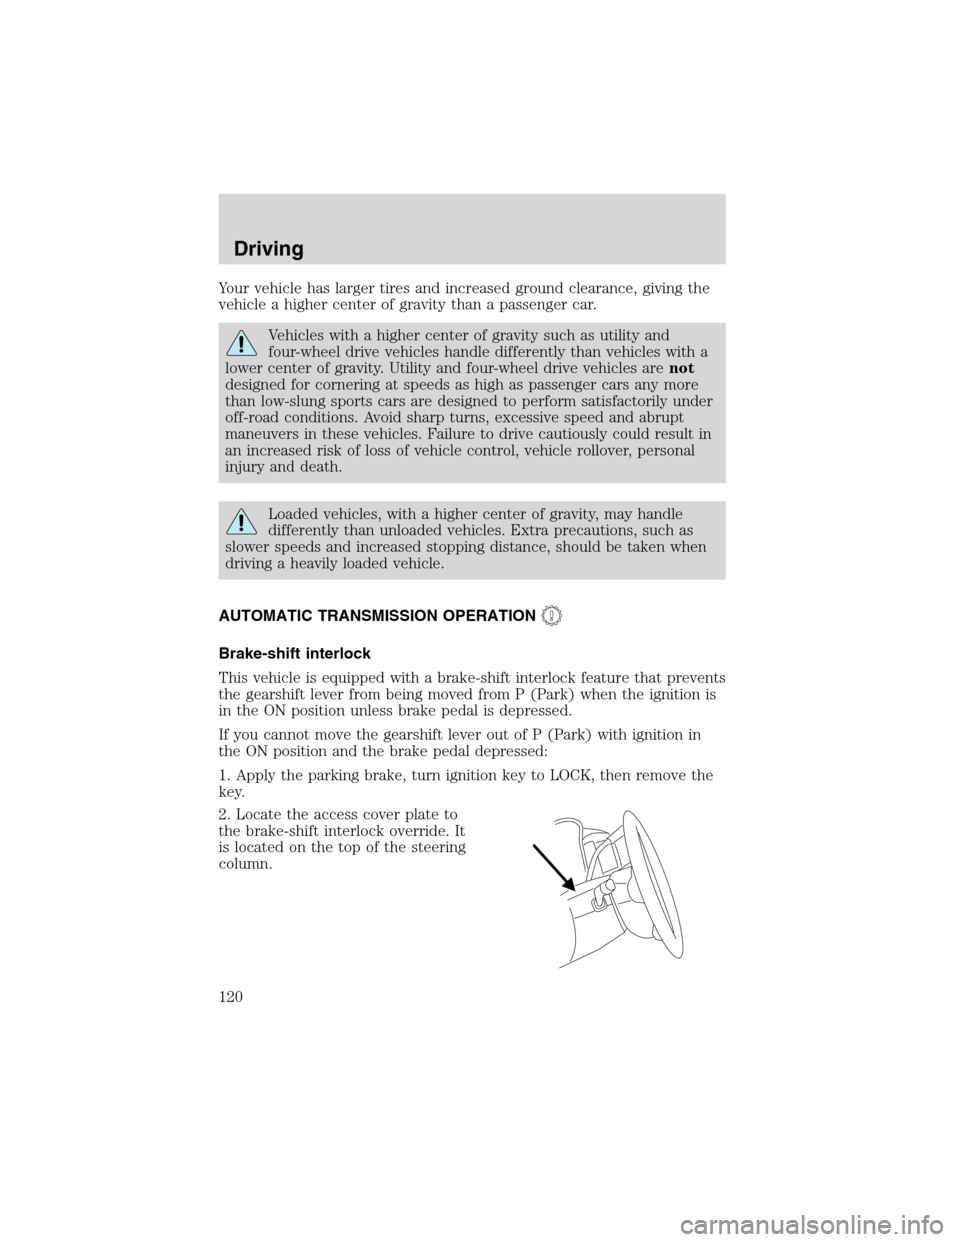
2. Locate the access cover plate to
the brake-shift interlock override. It
is located on the top of the steering
column.
Driving
120
Page 124 of 240

•To return to O/D (overdrive mode), press the O/D OFF switch. The
O/D OFF lamp will not be illuminated.
•O/D (Overdrive) is automatically returned each time the key is turned
off.
2 (Second)
This position allows for second gear only.
•Provides engine braking.
•Use to start-up on slippery roads.
•To return to D (Overdrive), move the gearshift lever into the D
(Overdrive) position.
•Selecting 2 (Second) at higher speeds will cause the transaxle to
downshift to second gear at the appropriate vehicle speed.
1 (First)
•Provides maximum engine braking.
•Allows upshifts by moving gearshift lever.
•Will not downshift into 1 (First) at high speeds; allows for 1 (First)
when vehicle reaches slower speeds.
When parking, do not use the gearshift in place of the parking
brake. Always set the parking brake fully and make sure that the
gearshift is securely latched in Park (P). Turn off the ignition
whenever you leave your vehicle. Never leave your vehicle unattended
while it is running. If you do not take these precautions, your vehicle
may move unexpectedly and injure someone.
Forced downshifts
•Allowed in D (Overdrive) or Drive.
•Depress the accelerator to the floor.
•Allows transmission to select an appropriate gear.
If your vehicle gets stuck in mud or snow
If your vehicle gets stuck in mud or snow, it may be rocked out by
shifting from forward and reverse gears, stopping between shifts in a
steady pattern. Press lightly on the accelerator in each gear.
Do not rock the vehicle if the engine is not at normal operating
temperature or damage to the transmission may occur.
Driving
124