Page 5 of 240

SAFETY AND ENVIRONMENT PROTECTION
Warning symbols in this guide
How can you reduce the risk of personal injury and prevent possible
damage to others, your vehicle and its equipment? In this guide, answers
to such questions are contained in comments highlighted by the warning
triangle symbol. These comments should be read and observed.
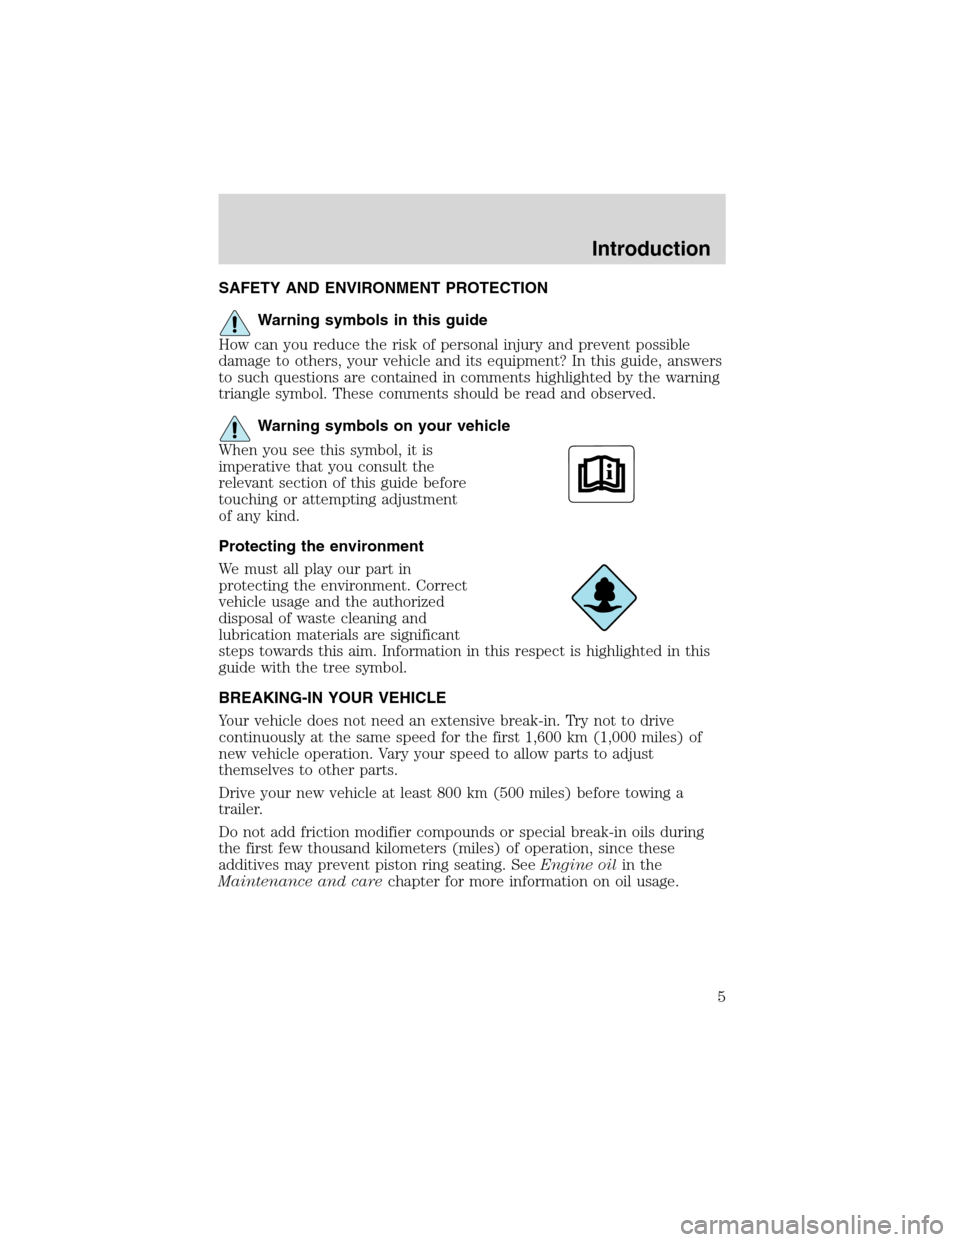
Warning symbols on your vehicle
When you see this symbol, it is
imperative that you consult the
relevant section of this guide before
touching or attempting adjustment
of any kind.
Protecting the environment
We must all play our part in
protecting the environment. Correct
vehicle usage and the authorized
disposal of waste cleaning and
lubrication materials are significant
steps towards this aim. Information in this respect is highlighted in this
guide with the tree symbol.
BREAKING-IN YOUR VEHICLE
Your vehicle does not need an extensive break-in. Try not to drive
continuously at the same speed for the first 1,600 km (1,000 miles) of
new vehicle operation. Vary your speed to allow parts to adjust
themselves to other parts.
Drive your new vehicle at least 800 km (500 miles) before towing a
trailer.
Do not add friction modifier compounds or special break-in oils during
the first few thousand kilometers (miles) of operation, since these
additives may prevent piston ring seating. SeeEngine oilin the
Maintenance and carechapter for more information on oil usage.
Introduction
5
Page 30 of 240

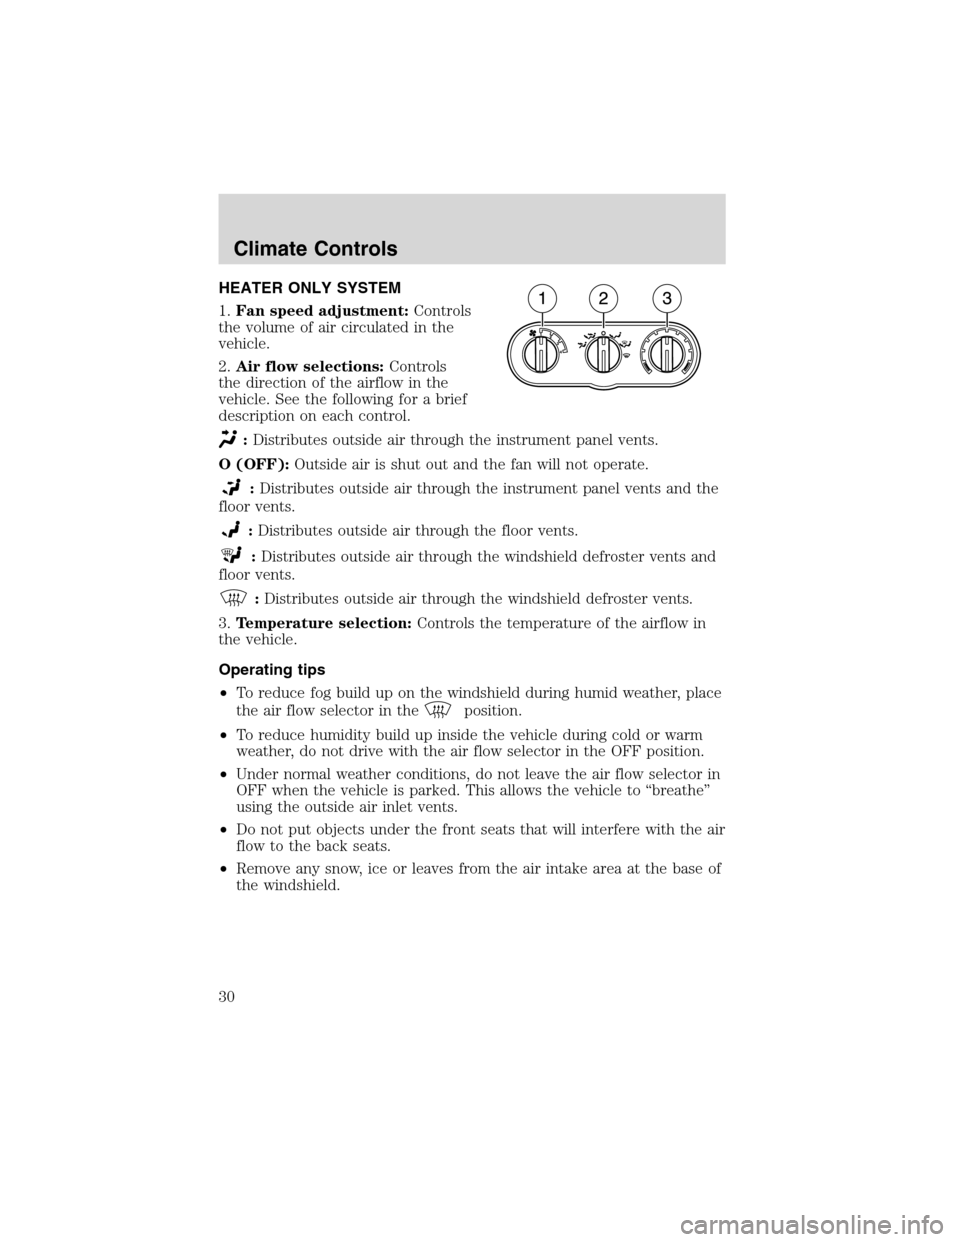
HEATER ONLY SYSTEM
1.Fan speed adjustment:Controls
the volume of air circulated in the
vehicle.
2.Air flow selections:Controls
the direction of the airflow in the
vehicle. See the following for a brief
description on each control.
:Distributes outside air through the instrument panel vents.
O (OFF):Outside air is shut out and the fan will not operate.
:Distributes outside air through the instrument panel vents and the
floor vents.
:Distributes outside air through the floor vents.
:Distributes outside air through the windshield defroster vents and
floor vents.
:Distributes outside air through the windshield defroster vents.
3.Temperature selection:Controls the temperature of the airflow in
the vehicle.
Operating tips
•To reduce fog build up on the windshield during humid weather, place
the air flow selector in the
position.
•To reduce humidity build up inside the vehicle during cold or warm
weather, do not drive with the air flow selector in the OFF position.
•Under normal weather conditions, do not leave the air flow selector in
OFF when the vehicle is parked. This allows the vehicle to“breathe”
using the outside air inlet vents.
•Do not put objects under the front seats that will interfere with the air
flow to the back seats.
•Remove any snow, ice or leaves from the air intake area at the base of
the windshield.
Climate Controls
30
Page 86 of 240

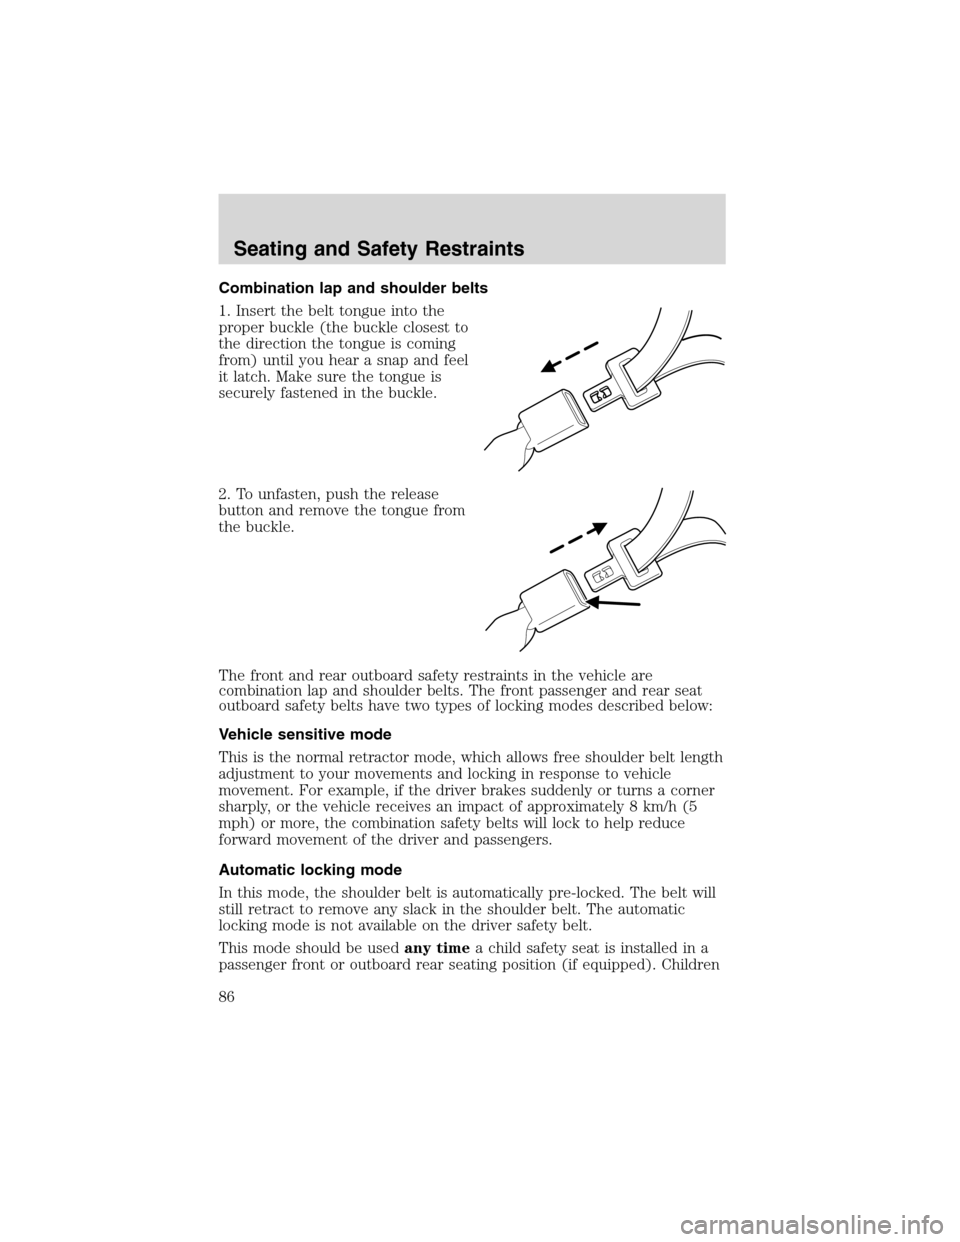
Combination lap and shoulder belts
1. Insert the belt tongue into the
proper buckle (the buckle closest to
the direction the tongue is coming
from) until you hear a snap and feel
it latch. Make sure the tongue is
securely fastened in the buckle.
2. To unfasten, push the release
button and remove the tongue from
the buckle.
The front and rear outboard safety restraints in the vehicle are
combination lap and shoulder belts. The front passenger and rear seat
outboard safety belts have two types of locking modes described below:
Vehicle sensitive mode
This is the normal retractor mode, which allows free shoulder belt length
adjustment to your movements and locking in response to vehicle
movement. For example, if the driver brakes suddenly or turns a corner
sharply, or the vehicle receives an impact of approximately 8 km/h (5
mph) or more, the combination safety belts will lock to help reduce
forward movement of the driver and passengers.
Automatic locking mode
In this mode, the shoulder belt is automatically pre-locked. The belt will
still retract to remove any slack in the shoulder belt. The automatic
locking mode is not available on the driver safety belt.
This mode should be usedany timea child safety seat is installed in a
passenger front or outboard rear seating position (if equipped). Children
Seating and Safety Restraints
86
Page 88 of 240

BELT AND RETRACTOR ASSEMBLY MUST BE REPLACED if
the seat belt assembly“automatic locking retractor”feature or
any other seat belt function is not operating properly when checked
according to the procedures in Workshop Manual. Failure to replace
the Belt and Retractor assembly could increase the risk of injury in
collisions.
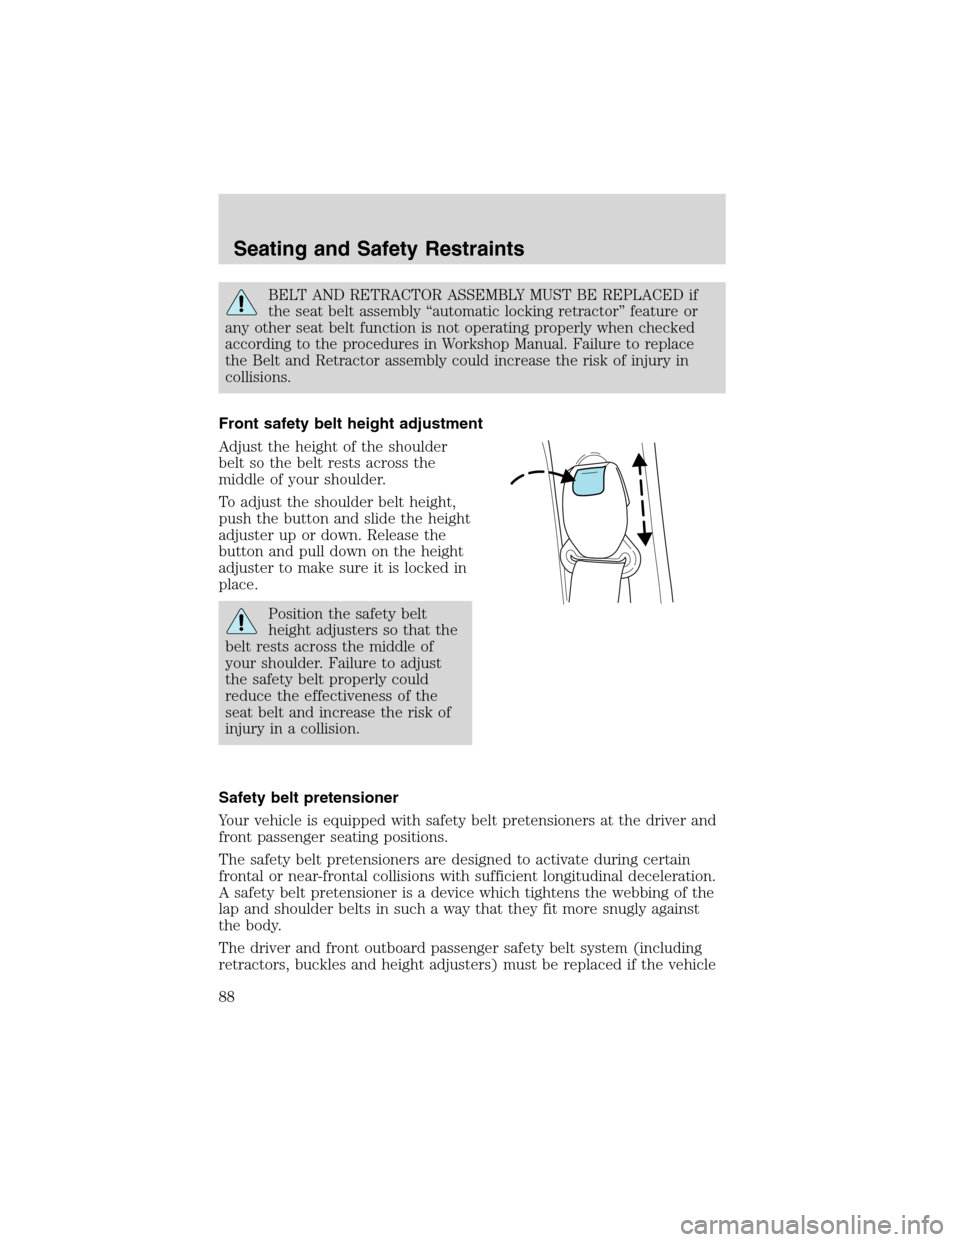
Front safety belt height adjustment
Adjust the height of the shoulder
belt so the belt rests across the
middle of your shoulder.
To adjust the shoulder belt height,
push the button and slide the height
adjuster up or down. Release the
button and pull down on the height
adjuster to make sure it is locked in
place.
Position the safety belt
height adjusters so that the
belt rests across the middle of
your shoulder. Failure to adjust
the safety belt properly could
reduce the effectiveness of the
seat belt and increase the risk of
injury in a collision.
Safety belt pretensioner
Your vehicle is equipped with safety belt pretensioners at the driver and
front passenger seating positions.
The safety belt pretensioners are designed to activate during certain
frontal or near-frontal collisions with sufficient longitudinal deceleration.
A safety belt pretensioner is a device which tightens the webbing of the
lap and shoulder belts in such a way that they fit more snugly against
the body.
The driver and front outboard passenger safety belt system (including
retractors, buckles and height adjusters) must be replaced if the vehicle
Seating and Safety Restraints
88