Page 121 of 232

To put your vehicle in P (Park):
•Come to a complete stop
•Move the gearshift lever and securely latch it in P (Park)
Always set the parking brake fully and make sure the gearshift is
latched in P (Park). Turn the ignition to the LOCK position and
remove the key whenever you leave your vehicle.
R (Reverse)
With the gearshift lever in R (Reverse), the vehicle will move backward.
Always come to a complete stop before shifting into and out of R
(Reverse).
N (Neutral)
With the gearshift lever in N (Neutral), the vehicle can be started and is
free to roll. Hold the brake pedal down while in this position.
(Overdrive)
The normal driving position for the best fuel economy. Transmission
operates in gears one through four.
(Overdrive) can be deactivated
by pressing the transmission control switch on the end of the gearshift
lever. This will illuminate the O/D OFF lamp and activate Drive.
Drive (not shown)
Drive is activated when the transmission control switch is pressed.
•This position allows for all forward gears except overdrive.
•O/D OFF lamp is illuminated.
•Provides engine braking.
•Use when driving conditions cause excessive shifting from O/D to
other gears. Examples: city traffic, hilly terrain, heavy loads, trailer
towing and when engine braking is required.
•To return to O/D (Overdrive), press the transmission control switch.
The O/D OFF lamp will not be illuminated.
•O/D (Overdrive) is automatically returned each time the key is turned
off.
2003 Econoline(eco)
Owners Guide (post-2002-fmt)
USA English(fus)
Driving
121
ProCarManuals.com
Page 137 of 232
Except for commmercial stripped
chassis vehicles, this switch is
located in the passenger’s footwell,
by the kick panel.
On commmercial stripped chassis
vehicles, this switch is located on a
bracket above the brake pedal.
To reset the switch:
1. Turn the ignition OFF.
2. Check the fuel system for leaks.
3. If no leaks are apparent, reset the
switch by pushing in on the reset
button.
4. Turn the ignition ON.
5. Wait a few seconds and return
the key to OFF.
6. Make another check of leaks.
2003 Econoline(eco)
Owners Guide (post-2002-fmt)
USA English(fus)
Roadside Emergencies
137
ProCarManuals.com
Page 151 of 232

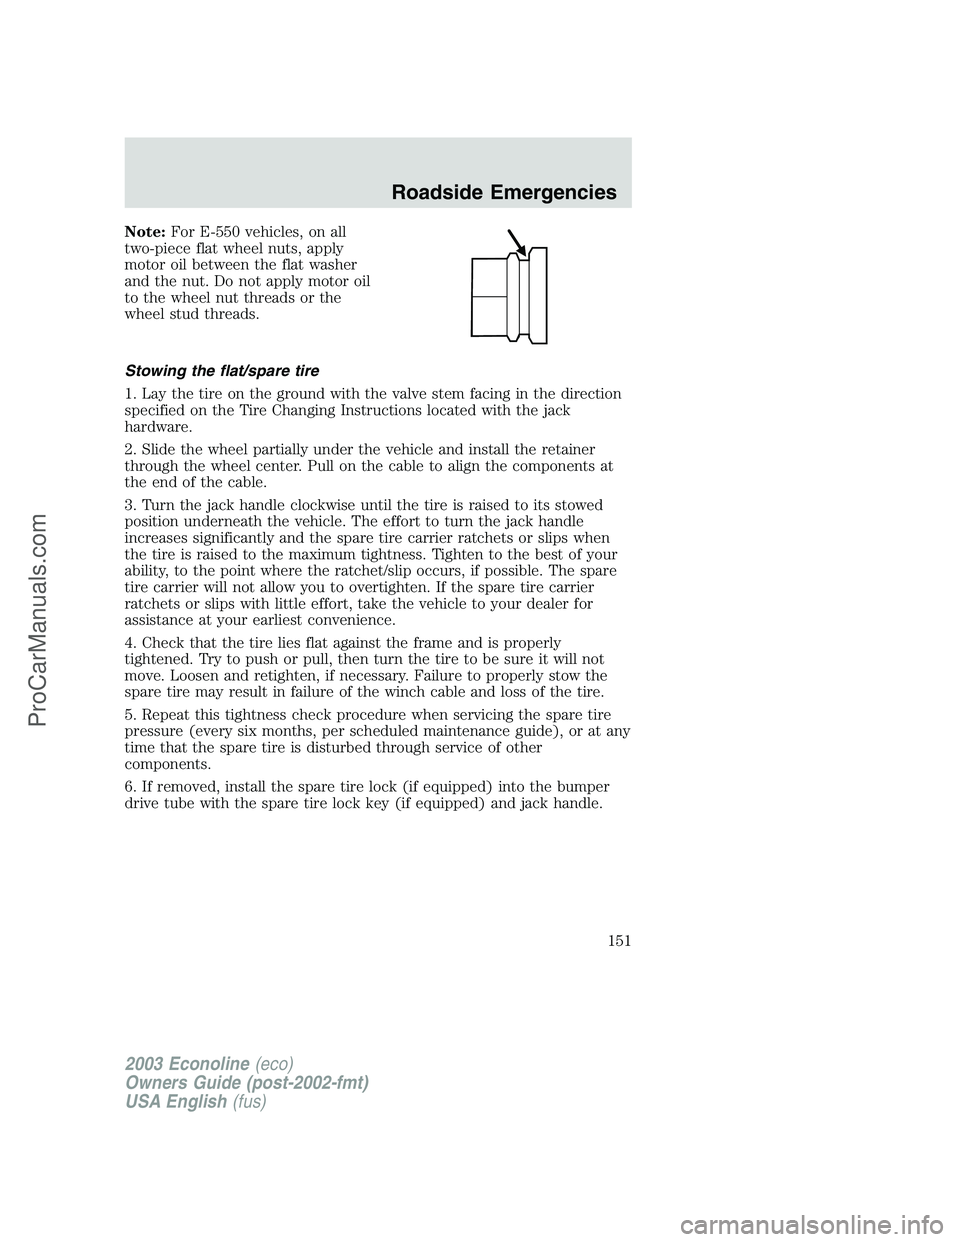
Note:For E-550 vehicles, on all
two-piece flat wheel nuts, apply
motor oil between the flat washer
and the nut. Do not apply motor oil
to the wheel nut threads or the
wheel stud threads.
Stowing the flat/spare tire
1. Lay the tire on the ground with the valve stem facing in the direction
specified on the Tire Changing Instructions located with the jack
hardware.
2. Slide the wheel partially under the vehicle and install the retainer
through the wheel center. Pull on the cable to align the components at
the end of the cable.
3. Turn the jack handle clockwise until the tire is raised to its stowed
position underneath the vehicle. The effort to turn the jack handle
increases significantly and the spare tire carrier ratchets or slips when
the tire is raised to the maximum tightness. Tighten to the best of your
ability, to the point where the ratchet/slip occurs, if possible. The spare
tire carrier will not allow you to overtighten. If the spare tire carrier
ratchets or slips with little effort, take the vehicle to your dealer for
assistance at your earliest convenience.
4. Check that the tire lies flat against the frame and is properly
tightened. Try to push or pull, then turn the tire to be sure it will not
move. Loosen and retighten, if necessary. Failure to properly stow the
spare tire may result in failure of the winch cable and loss of the tire.
5. Repeat this tightness check procedure when servicing the spare tire
pressure (every six months, per scheduled maintenance guide), or at any
time that the spare tire is disturbed through service of other
components.
6. If removed, install the spare tire lock (if equipped) into the bumper
drive tube with the spare tire lock key (if equipped) and jack handle.
2003 Econoline(eco)
Owners Guide (post-2002-fmt)
USA English(fus)
Roadside Emergencies
151
ProCarManuals.com
Page 173 of 232

SERVICE RECOMMENDATIONS
To help you service your vehicle:
•We highlight do-it-yourself items in the engine compartment for easy
location.
•We provide a scheduled maintenance guide which makes tracking
routine service easy.
If your vehicle requires professional service, your dealership can provide
the necessary parts and service. Check yourWarranty Guide/Owner
Information Guideto find out which parts and services are covered.
Use only recommended fuels, lubricants, fluids and service parts
conforming to specifications. Motorcraft parts are designed and built to
provide the best performance in your vehicle.
PRECAUTIONS WHEN SERVICING YOUR VEHICLE
•Do not work on a hot engine.
•Make sure that nothing gets caught in moving parts.
•Do not work on a vehicle with the engine running in an enclosed
space, unless you are sure you have enough ventilation.
•Keep all open flames and other lit material away from the battery and
all fuel related parts.
Working with the engine off
1. Set the parking brake and shift to P (Park).
2. Turn off the engine and remove the key.
3. Block the wheels.
Working with the engine on
1. Set the parking brake and shift to P (Park).
2. Block the wheels.
Note:Do not start your engine with the air cleaner removed and do not
remove it while the engine is running.
2003 Econoline(eco)
Owners Guide (post-2002-fmt)
USA English(fus)
Maintenance and Specifications
Maintenance and Specifications
173
ProCarManuals.com
Page 228 of 232

J
Jump-starting your vehicle ......152
K
Keys
positions of the ignition .........113
L
Lamps
bulb replacement
specifications chart ..................57
cargo lamps ...............................55
daytime running light ...............54
headlamps .................................54
headlamps, flash to pass ..........55
instrument panel, dimming .....55
interior lamps ...........................56
replacing bulbs ...................57–61
Lane change indicator
(see Turn signal) ........................55
Lights, warning and indicator ....10
anti-lock brakes (ABS) ..........117
Load limits .................................124
GAWR ......................................124
GVWR ......................................124
trailer towing ..........................124
Loading instructions .................126
Lubricant specifications ...215, 218
Lumbar support, seats ...............78
M
Mirrors
fold away ...................................69
side view mirrors (power) .......68
Motorcraft parts ................194, 210O
Octane rating ............................193
Oil (see Engine oil) ..................176
P
Parking brake ............................117
Parts (see Motorcraft parts) ....210
Power distribution box
(see Fuses) ...............................141
Power door locks ........................73
Power point .................................67
Power steering ..........................118
fluid, checking and adding ....200
fluid, refill capacity ................211
fluid, specifications .........215, 218
Power Windows ...........................68
Preparing to drive your
vehicle ........................................118
R
Radio ..........................16, 18, 21, 25
Relays ................................138, 143
Remote entry system
illuminated entry ......................76
locking/unlocking doors ...........73
Roadside assistance ..................135
S
Safety Belt Maintenance ............92
Safety belts (see Safety
restraints) ........................83–85, 87
Safety defects, reporting ..........166
2003 Econoline(eco)
Owners Guide (post-2002-fmt)
USA English(fus)
Index
228
ProCarManuals.com
Page:
< prev 1-8 9-16 17-24