2003 CHEVROLET VENTURE display
[x] Cancel search: displayPage 142 of 486

B (LOCK):This is the only position from which you can
remove the key. This position locks your ignition,
steering wheel and transaxle.
Notice:If your key seems stuck in LOCK and you
can't turn it, be sure you are using the correct key; if
so, is it all the way in? If it is, then turn the steering
wheel left and right while you turn the key hard.
Turn the key only with your hand. Using a tool
to force it could break the key or the ignition switch.
If none of these works, then your vehicle needs
service.
C (OFF):This position unlocks the ignition, steering
wheel and transaxle but, does not send power to
any accessories. Use this position if your vehicle must
be pushed or towed, but never try to push-start your
vehicle.
D (RUN):This is the position to which the switch
returns after you start your engine and release the
ignition key. This is the position for driving. Even when
the engine is not running, you can use RUN to
operate your electrical accessories and to display some
instrument panel warning lights.
E (START):This position starts the engine. When the
engine starts, release the ignition key. The switch
will return to RUN for normal driving.If the engine is not running, ACCESSORY and RUN are
positions that allow you to operate your electrical
accessories, such as the radio.Retained Accessory Power (RAP)
With RAP, the power windows, power rear quarter
windows, audio system and the automatic level control
will continue to work up to 10 minutes after the
ignition key is turned to OFF and none of the doors are
opened.
Starting Your Engine
Move your shift lever to PARK (P) or NEUTRAL (N).
Your engine won't start in any other position ± that's a
safety feature. To restart when you're already moving,
use NEUTRAL (N) only.
Notice:Shifting into PARK (P) with the vehicle
moving could damage the transmission. Shift
to PARK (P) only when your vehicle is stopped.
1. With your foot off the accelerator pedal, turn your
ignition key to START. When the engine starts, let
go of the key. The idle speed will go down as
your engine warms up.
2-32
Page 202 of 486

Ultrasonic Rear Parking
Assist (URPA)
The Ultrasonic Rear Parking Assist (URPA) system is
designed to help you park, while the vehicle is in
REVERSE (R). It operates only at very low speeds, less
than 3 mph (5 km/h). URPA can help make parking
easier and to help you avoid colliding with objects such
as parked vehicles. The URPA system can detect
objects up to 5 feet (1.5 m) behind the vehicle, and tell
you how close these objects are from your rear
bumper.
Your vehicle's URPA operates when the shift lever is
moved into REVERSE (R) and the vehicle speed is less
than 3 mph (5 km/h). Four ultrasonic sensors located
at the rear bumper are used to detect the distance to the
object. The URPA display is located inside the vehicle,
near the rear window. It has three color-coded lights
used to provide distance and system information to
the driver.
{CAUTION:
Even with the Ultrasonic Rear Park Assist
system, the driver must check carefully before
backing up. The system does not operate
above typical backing speeds of 3 mph
(5 km/h) while parking. And, the system
doesn't detect objects that are more than
5 feet (1.5 meters) behind the vehicle.
So, unless you check carefully behind you
before and when you back up, you could strike
children, pedestrians, bicyclists or pets behind
you, and they could be injured or killed.
Whether or not you are using Rear Park Assist,
always check carefully behind your vehicle
before you back up and then watch closely as
you do.
3-22
Page 203 of 486

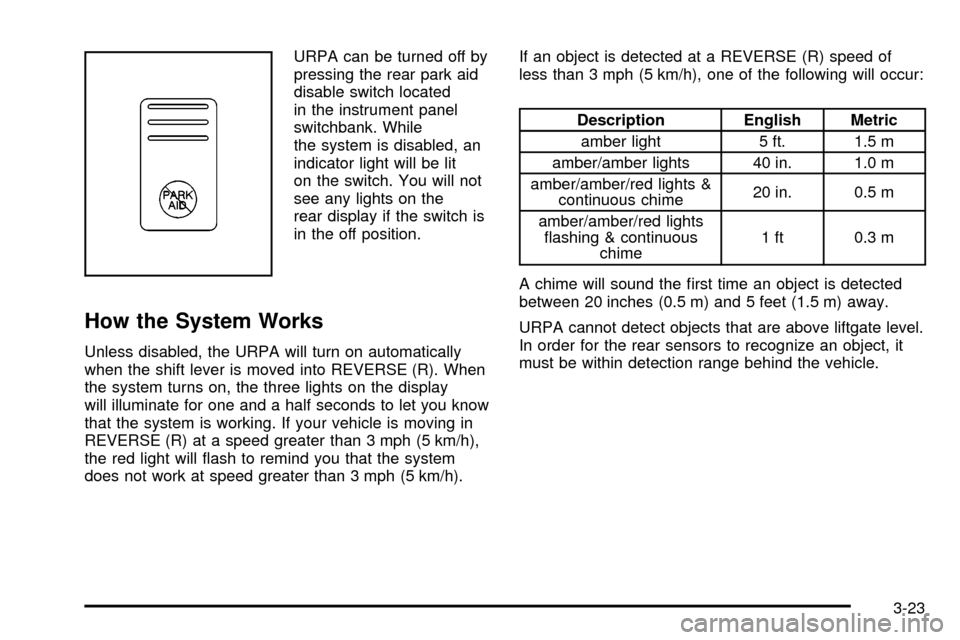
URPA can be turned off by
pressing the rear park aid
disable switch located
in the instrument panel
switchbank. While
the system is disabled, an
indicator light will be lit
on the switch. You will not
see any lights on the
rear display if the switch is
in the off position.
How the System Works
Unless disabled, the URPA will turn on automatically
when the shift lever is moved into REVERSE (R). When
the system turns on, the three lights on the display
will illuminate for one and a half seconds to let you know
that the system is working. If your vehicle is moving in
REVERSE (R) at a speed greater than 3 mph (5 km/h),
the red light will ¯ash to remind you that the system
does not work at speed greater than 3 mph (5 km/h).If an object is detected at a REVERSE (R) speed of
less than 3 mph (5 km/h), one of the following will occur:
Description English Metric
amber light 5 ft. 1.5 m
amber/amber lights 40 in. 1.0 m
amber/amber/red lights &
continuous chime20 in. 0.5 m
amber/amber/red lights
¯ashing & continuous
chime1 ft 0.3 m
A chime will sound the ®rst time an object is detected
between 20 inches (0.5 m) and 5 feet (1.5 m) away.
URPA cannot detect objects that are above liftgate level.
In order for the rear sensors to recognize an object, it
must be within detection range behind the vehicle.
3-23
Page 204 of 486

When the System Does Not Seem to Work
Properly
The light may ¯ash red when the vehicle is in
REVERSE (R) if the ultrasonic sensors are not kept
clean. So be sure to keep your rear bumper free of mud,
dirt, snow, ice and slush. Other conditions that may
affect system performance include things like the
vibrations from a jackhammer or the compression of air
brakes on a very large truck. If after cleaning the
rear bumper and then driving forward at least 15 mph
(25 km/h), the display continues to ¯ash red, see
your dealer.
If a trailer was attached to your vehicle, or a bicycle or
an object was on the back of, or hanging out of your
liftgate during your last drive cycle, the light may
also ¯ash red. The light will continue to ¯ash whenever
in REVERSE (R) until your vehicle is driven forward
at least 15 mph (25 km/h) without any obstructions
behind the vehicle.
For cleaning instructions, see
Cleaning the Outside of
Your Vehicle on page 5-90.
Accessory Power Outlets
With accessory power outlets you can plug in electrical
equipment such as a cellular telephone or CB radio.
The front accessory power outlet is located below
the cupholder drawer.
Pull the cover down to use the accessory power outlet.
When not in use, keep the cover on.
The rear accessory power outlet is located in the rear
compartment on the driver's side next to the air
in¯ator system.
To remove the cover, pull the tab on the cover and pull
it off. To put the cover back on, line up the tabs at
the back of the cover and put the cover in place. Push
down the tab to secure the cover. When not in use,
always cover the rear accessory power outlet with the
protective cap.
Notice:Leaving electrical equipment on for
extended periods will drain the battery. Always turn
off electrical equipment when not in use and do
not plug in equipment that exceeds the maximum
amperage rating.
3-24
Page 212 of 486

Directing the Air¯ow
To direct the air¯ow to the rear-seating area, use the
right knob located on the main climate-control panel.
·Select vent or bi-level mode to direct air to the
rear of the vehicle through the overhead outlets.
·Select ¯oor, defog or defrost mode to direct air to
the rear of the vehicle through the ¯oor outlets.
Generally the upper outlets are used for air conditioning
and the ¯oor outlets are used for heating.
Selecting the Fan Speed
If the driver is adjusting the fan speed, use the following
control:
9(Fan):Turn the fan knob on the rear fan control
located below the main climate-control system on
the switchbank to numeral 1, 2, or 3 to increase or
decrease air¯ow to the rear-seating area. Turn the fan
knob on the rear fan control to 0 to turn off the fan.If a rear-seat passenger is adjusting the fan speed, use
the following control:
FAN:Press the FAN button on the rear control panel.
The display will show the current setting. Press the
left and right arrow buttons to cycle through the available
settings: OFF, LOW, MED and HIGH.
Setting the Temperature
If the driver is adjusting the temperature, do the
following:
To increase or decrease the temperature for the entire
vehicle, use the temperature controls located on the
main climate-control panel.
If using the main climate-control panel, then the
air-conditioning system must be on to direct cooled air
to the rear of the vehicle. If it is not on, then the
temperature in the rear of the vehicle will remain at
cabin temperature.
If a rear-seat passenger is adjusting the temperature, do
the following:
Press the TEMP button on the rear control panel. Use
the left arrow button to make the air cooler. Use the right
arrow button to make the air warmer.
3-32
Page 218 of 486

Speedometer and Odometer
Your speedometer lets you see your speed in both
miles per hour (mph) and kilometers per hour (km/h).
Your odometer shows how far your vehicle has
been driven, in either miles (used in the United States)
or kilometers (used in Canada).
Your vehicle has a tamper-resistant odometer.
You may wonder what happens if your vehicle needs a
new odometer installed. If the new one can be set to
the mileage total of the old odometer, then that will
be done. If it can't, then it's set at zero and a label must
be put on the driver's door to show the old mileage
reading when the new odometer was installed.
Dual Trip Odometers
In addition to the standard odometer, the cluster can
also display two separate trip odometers (designated by
the letter A or B in the display window) as well as
your vehicle's Engine Oil Life (designated by the word
OIL in the display window). The display can be
toggled between the odometer, the trip odometers and
engine oil life by quickly pressing and releasing the
trip/reset button located to the right of the temperature
gage. The display toggles once each time the trip/reset
button is pressed for less than 1.5 seconds. The
display toggles in the following sequence: Odometer -
Trip Odometer A - Trip Odometer B - Engine Oil Life. If
the engine oil life is left on the display, it will
automatically toggle back to the odometer after about
15 seconds. Each of the two trip odometers can be used
to keep track of different trip distances (for example,
the mileage of a long trip and the mileage driven on the
current tank of fuel). The trip odometers will continue
to keep track of miles (kilometers) driven even if they are
not currently displayed. To reset the odometer to
zero (0), press and hold the trip/reset button for at least
1.5 seconds, but less than three seconds. Only the
trip odometer that is showing in the display will be reset.
3-38
Page 219 of 486

Retro-Active Reset
Each of the two trip odometers has a feature called
retro-active reset. This feature can be used to set either
(or both) trip odometer(s) to the number of miles
(kilometers) driven since the ignition was last turned on.
This can be used if you forget to reset your trip
odometer at the beginning of a trip. To use the
retro-active reset feature, press and hold the trip/reset
button for at least three seconds. The trip odometer
will then display the number of miles (kilometers) driven
since the ignition was last turned on and you began
driving. (If you use the retro-active reset feature
after you have started the vehicle, but before you begin
moving, the display will show the number of miles
(kilometers) you drove during the last ignition cycle.)
Once you begin driving, the trip odometer will
accumulate mileage. For example, if you have driven
5.0 miles (8.0 km) since you started your vehicle,
and then activate the retro-active reset feature, the
display will show 5.0 miles (8.0 km). As you drive, the
display will then increase to 5.1 miles (8.2 km), 5.2 miles
(8.4 km), etc. Only the trip odometer that is displayed
will be affected by the retro-active reset so that both trip
odometers can be used separately.
Tachometer
Your vehicle may have a tachometer that displays the
engine speed in revolutions per minute (rpm).
Notice:If you operate the engine with the
tachometer in the shaded warning area, your vehicle
could be damaged, and the damages would not
be covered by your warranty. Do not operate
the engine with the tachometer in the shaded
warning area.
3-39
Page 230 of 486

Message Center
The message center is located in the instrument panel
cluster. It gives you important safety and maintenance
facts.
Service Traction System Warning
Message
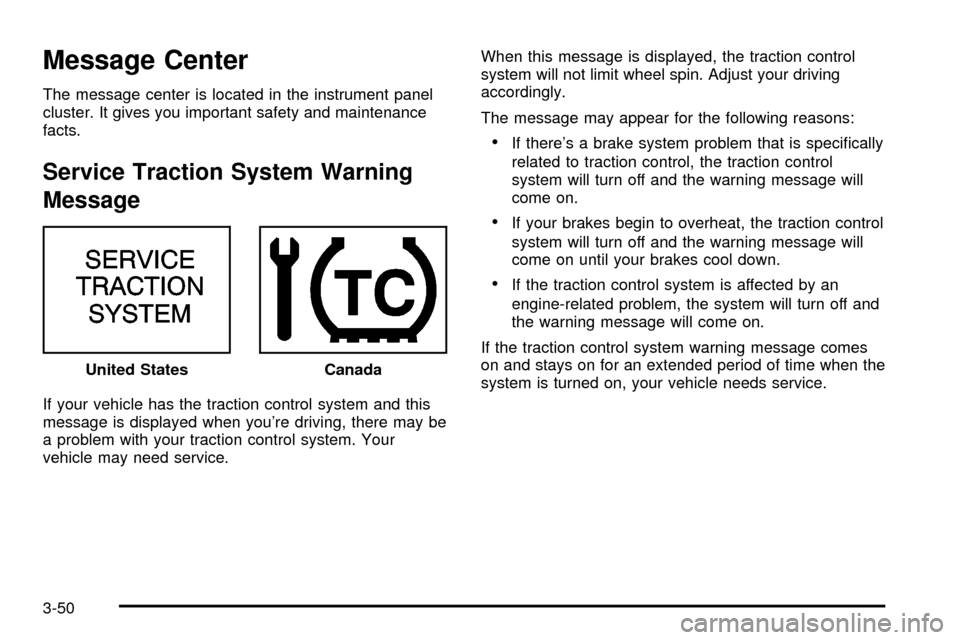
If your vehicle has the traction control system and this
message is displayed when you're driving, there may be
a problem with your traction control system. Your
vehicle may need service.When this message is displayed, the traction control
system will not limit wheel spin. Adjust your driving
accordingly.
The message may appear for the following reasons:
·If there's a brake system problem that is speci®cally
related to traction control, the traction control
system will turn off and the warning message will
come on.
·If your brakes begin to overheat, the traction control
system will turn off and the warning message will
come on until your brakes cool down.
·If the traction control system is affected by an
engine-related problem, the system will turn off and
the warning message will come on.
If the traction control system warning message comes
on and stays on for an extended period of time when the
system is turned on, your vehicle needs service. United States
Canada
3-50