2003 CHEVROLET TRAIL BLAZER change wheel
[x] Cancel search: change wheelPage 103 of 436

To ®rst activate this feature, perform the following steps:
1. Press the Personalization button, located on the
steering wheel, until ªTilt Mirror in REVERSE (R)º
is displayed on the DIC display.
2. Press the Select button once to select the
passenger's side mirror, twice for the driver's side
mirror and three times for both mirrors. Then
press the Personalization button repeatedly until the
display goes blank.
3. With the engine running, engage the parking brake,
press the brake pedal and place the vehicle in
REVERSE (R) gear.
4. Adjust the passenger's side and then the driver's
side outside mirrors to the desired tilt positions.
These positions will be stored into memory once the
vehicle is shifted out of REVERSE (R).
When the vehicle is placed in PARK (P) or in any
forward gear, the mirror(s) will return to normal
driving position, following a short delay.
To change the tilt position, adjust the mirror while the
vehicle is in REVERSE (R) gear with the engine running,
the parking brake engaged and the brake pedal
pressed. The new position will be saved into memory
once the vehicle is shifted out of REVERSE (R).Outside Convex Mirror
A convex mirror's surface is curved so you can see
more from the driver's seat.
{CAUTION:
A convex mirror can make things (like other
vehicles) look farther away than they really are.
If you cut too sharply into the right or left lane,
you could hit a vehicle. Check your inside
mirror or glance over your shoulder before
changing lanes.
Outside Heated Mirrors
Your vehicle may have this feature.
When you operate the rear window defogger, a defogger
also warms the heated driver's and passenger's
outside rearview mirrors to help clear them of ice, snow
and condensation.
2-37
Page 119 of 436

Instrument Panel Overview...............................3-4
Hazard Warning Flashers................................3-6
Other Warning Devices...................................3-6
Horn.............................................................3-7
Tilt Wheel.....................................................3-7
Turn Signal/Multifunction Lever.........................3-7
Exterior Lamps.............................................3-15
Interior Lamps..............................................3-18
Accessory Power Outlets...............................3-20
Ashtrays and Cigarette Lighter........................3-20
Climate Controls............................................3-21
Dual Climate Control System..........................3-21
Dual Automatic Climate Control System...........3-24
Rear Climate Control System.........................3-30
Steering Wheel Climate Controls.....................3-34
Climate Controls Personalization.....................3-34Warning Lights, Gages and Indicators.............3-35
Instrument Panel Cluster................................3-36
Speedometer and Odometer...........................3-37
Tachometer.................................................3-38
Safety Belt Reminder Light.............................3-38
Air Bag Readiness Light................................3-38
Charging System Light..................................3-39
Voltmeter Gage............................................3-40
Brake System Warning Light..........................3-41
Anti-Lock Brake System Warning Light.............3-42
Engine Coolant Temperature Gage..................3-42
Malfunction Indicator Lamp.............................3-43
Oil Pressure Gage........................................3-46
Change Engine Oil Light................................3-47
Security Light...............................................3-47
Cruise Control Light......................................3-48
Reduced Engine Power Light.........................3-48
Service Four-Wheel Drive Warning Light..........3-49
Check Gages Warning Light...........................3-49
Gate Ajar Light.............................................3-50
Fuel Gage...................................................3-50
Low Fuel Warning Light.................................3-51
Section 3 Instrument Panel
3-1
Page 125 of 436

Horn
To sound the horn, press the horn symbols on the
steering wheel pad.
Tilt Wheel
You should adjust the
steering wheel before you
drive. The tilt lever is
located to the left of the
steering column, under the
turn signal lever.
You can raise it to the highest level to give your legs
more room when you enter and exit the vehicle.
To tilt the wheel, hold the steering wheel and pull the
lever toward you. Move the steering wheel to a
comfortable level, then release the lever to lock the
wheel in place.
Do not adjust the steering wheel while driving.
Turn Signal/Multifunction Lever
The lever on the left side of the steering column
includes the following:
·G:Turn and Lane Change Signals
·2:Headlamp High/Low-Beam Changer
·Flash-to-Pass Feature
·N:Windshield Wipers
·J:Windshield Washer
·I:Cruise Control (If Equipped)
3-7
Page 130 of 436

Cruise Control
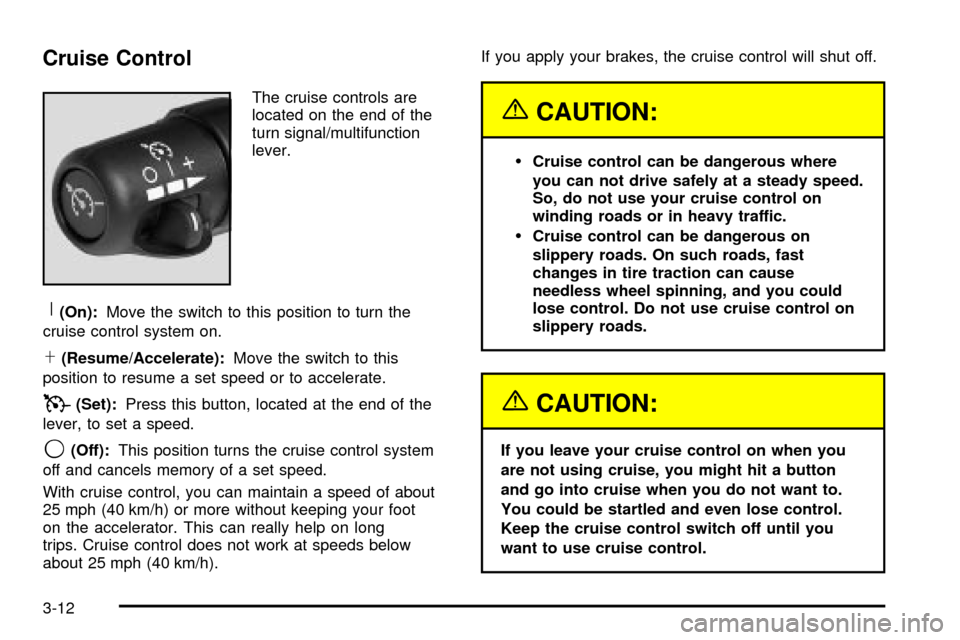
The cruise controls are
located on the end of the
turn signal/multifunction
lever.
R(On):Move the switch to this position to turn the
cruise control system on.
S(Resume/Accelerate):Move the switch to this
position to resume a set speed or to accelerate.
T(Set):Press this button, located at the end of the
lever, to set a speed.
9(Off):This position turns the cruise control system
off and cancels memory of a set speed.
With cruise control, you can maintain a speed of about
25 mph (40 km/h) or more without keeping your foot
on the accelerator. This can really help on long
trips. Cruise control does not work at speeds below
about 25 mph (40 km/h).If you apply your brakes, the cruise control will shut off.
{CAUTION:
·Cruise control can be dangerous where
you can not drive safely at a steady speed.
So, do not use your cruise control on
winding roads or in heavy traffic.
·Cruise control can be dangerous on
slippery roads. On such roads, fast
changes in tire traction can cause
needless wheel spinning, and you could
lose control. Do not use cruise control on
slippery roads.
{CAUTION:
If you leave your cruise control on when you
are not using cruise, you might hit a button
and go into cruise when you do not want to.
You could be startled and even lose control.
Keep the cruise control switch off until you
want to use cruise control.
3-12
Page 152 of 436

Steering Wheel Climate Controls
You can adjust the fan
speed and temperature of
the front climate control
system by using the
buttons located on your
steering wheel.
9(Fan):Press the up or down arrow on this switch to
increase or decrease the fan speed.
B(Temperature):Press the up or down arrow on this
switch to increase or decrease the temperature of
the air ¯owing through the system.
Climate Controls Personalization
If your vehicle is equipped with the Driver Information
Center (DIC), you can store and recall the climate
control settings for temperature, air delivery mode and
fan speed for two different drivers. The personal
choice settings recalled are determined by the
transmitter used to enter the vehicle. After the button
with the unlock symbol on a remote keyless entry
transmitter is pressed, the climate control will adjust to
the last settings of the identi®ed driver. The settings
can also be changed by pressing one of the memory
buttons (1 or 2) located on the driver's door. When
adjustments are made, the new settings are
automatically saved for the driver.
3-34
Page 169 of 436

Here are four things that some owners ask about. None
of these show a problem with your fuel gage:
·At the gas station, the gas pump shuts off before
the gage reads full.
·It takes a little more or less fuel to ®ll up than the
gage indicated. For example, the gage may have
indicated the tank was half full, but it actually took a
little more or less than half the tank's capacity to
®ll the tank.
·The gage moves a little when you turn a corner or
speed up.
·The gage doesn't go back to empty when you turn
off the ignition.
Low Fuel Warning Light
The light next to the fuel gage will come on brie¯y when
you are starting the engine.
This light comes on when the fuel tank is low on fuel.
To turn it off, add fuel to the fuel tank.
Driver Information Center (DIC)
Your vehicle may have this feature. The DIC display
is located on the instrument panel cluster above
the steering wheel. The DIC can display information
such as the trip odometer, fuel economy and
personalization features. The DIC buttons are located
on the steering wheel.
A.Trip Information:Press this button to display the
odometer, trip odometer and the timer.
B.Fuel Information:Press this button to display the
current range, average fuel economy, instant
fuel economy and engine oil life.
C.Personalization:Press this button to change
personal settings for some of the options on your
vehicle.
D.Select:Press this button to reset certain functions
and turn off or acknowledge messages on the DIC.
3-51
Page 224 of 436

Audio Steering Wheel Controls
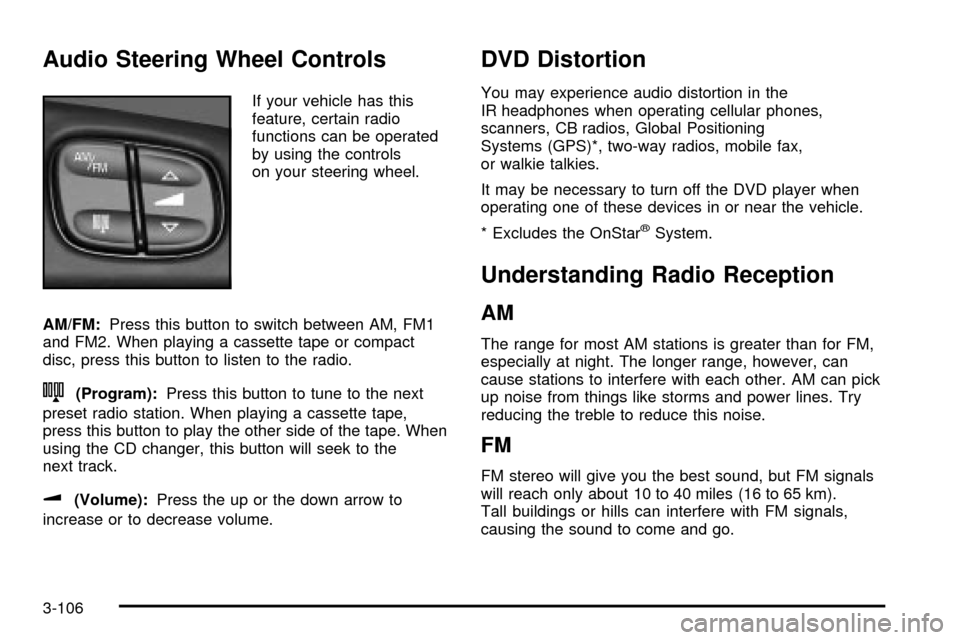
If your vehicle has this
feature, certain radio
functions can be operated
by using the controls
on your steering wheel.
AM/FM:Press this button to switch between AM, FM1
and FM2. When playing a cassette tape or compact
disc, press this button to listen to the radio.
n(Program):Press this button to tune to the next
preset radio station. When playing a cassette tape,
press this button to play the other side of the tape. When
using the CD changer, this button will seek to the
next track.
u(Volume):Press the up or the down arrow to
increase or to decrease volume.
DVD Distortion
You may experience audio distortion in the
IR headphones when operating cellular phones,
scanners, CB radios, Global Positioning
Systems (GPS)*, two-way radios, mobile fax,
or walkie talkies.
It may be necessary to turn off the DVD player when
operating one of these devices in or near the vehicle.
* Excludes the OnStar
žSystem.
Understanding Radio Reception
AM
The range for most AM stations is greater than for FM,
especially at night. The longer range, however, can
cause stations to interfere with each other. AM can pick
up noise from things like storms and power lines. Try
reducing the treble to reduce this noise.
FM
FM stereo will give you the best sound, but FM signals
will reach only about 10 to 40 miles (16 to 65 km).
Tall buildings or hills can interfere with FM signals,
causing the sound to come and go.
3-106
Page 234 of 436

The anti-lock system can change the brake pressure
faster than any driver could. The computer is
programmed to make the most of available tire and road
conditions. This can help you steer around the obstacle
while braking hard.
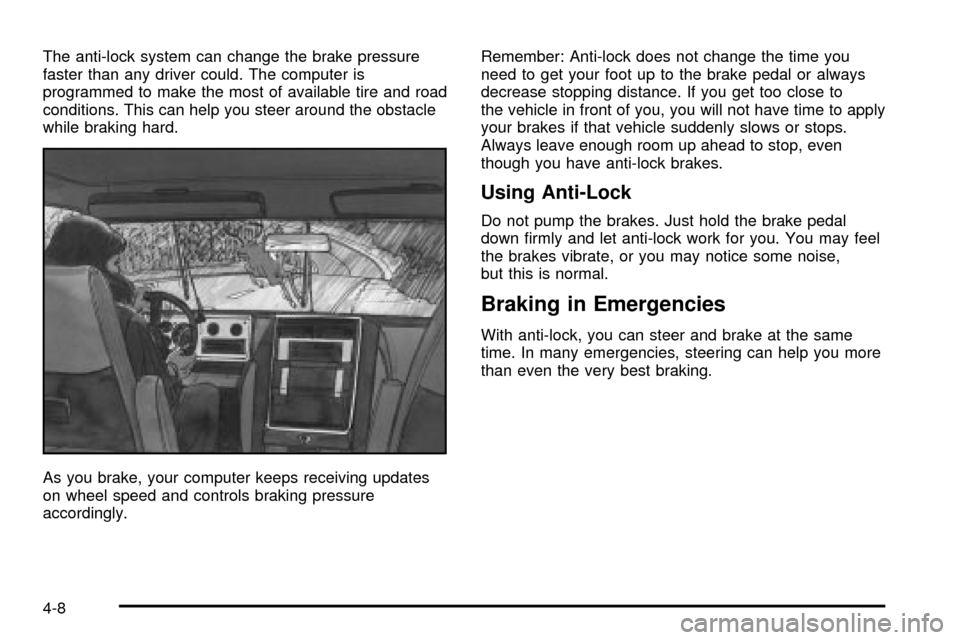
As you brake, your computer keeps receiving updates
on wheel speed and controls braking pressure
accordingly.Remember: Anti-lock does not change the time you
need to get your foot up to the brake pedal or always
decrease stopping distance. If you get too close to
the vehicle in front of you, you will not have time to apply
your brakes if that vehicle suddenly slows or stops.
Always leave enough room up ahead to stop, even
though you have anti-lock brakes.
Using Anti-Lock
Do not pump the brakes. Just hold the brake pedal
down ®rmly and let anti-lock work for you. You may feel
the brakes vibrate, or you may notice some noise,
but this is normal.
Braking in Emergencies
With anti-lock, you can steer and brake at the same
time. In many emergencies, steering can help you more
than even the very best braking.
4-8