Page 99 of 436
{CAUTION:
It can be dangerous to get out of your vehicle
if the shift lever is not fully in PARK (P) with
the parking brake ®rmly set. Your vehicle can
roll. Do not leave your vehicle when the engine
is running unless you have to. If you have left
the engine running, the vehicle can move
suddenly. You or others could be injured.
To be sure your vehicle will not move, even
when you are on fairly level ground, always
set your parking brake and move the shift
lever to PARK (P).
{CAUTION:
If you have four-wheel drive, your vehicle will
be free to roll Ð even if your shift lever is in
PARK (P) Ð if your transfer case is in
NEUTRAL. So be sure the transfer case is in a
drive gear Ð not in NEUTRAL. See
Four-Wheel
Drive on page 2-24
Follow the proper steps to be sure your vehicle will not
move. SeeShifting Into Park (P) on page 2-29.
If you are pulling a trailer, see
Towing a Trailer on
page 4-50.
2-33
Page 103 of 436

To ®rst activate this feature, perform the following steps:
1. Press the Personalization button, located on the
steering wheel, until ªTilt Mirror in REVERSE (R)º
is displayed on the DIC display.
2. Press the Select button once to select the
passenger's side mirror, twice for the driver's side
mirror and three times for both mirrors. Then
press the Personalization button repeatedly until the
display goes blank.
3. With the engine running, engage the parking brake,
press the brake pedal and place the vehicle in
REVERSE (R) gear.
4. Adjust the passenger's side and then the driver's
side outside mirrors to the desired tilt positions.
These positions will be stored into memory once the
vehicle is shifted out of REVERSE (R).
When the vehicle is placed in PARK (P) or in any
forward gear, the mirror(s) will return to normal
driving position, following a short delay.
To change the tilt position, adjust the mirror while the
vehicle is in REVERSE (R) gear with the engine running,
the parking brake engaged and the brake pedal
pressed. The new position will be saved into memory
once the vehicle is shifted out of REVERSE (R).Outside Convex Mirror
A convex mirror's surface is curved so you can see
more from the driver's seat.
{CAUTION:
A convex mirror can make things (like other
vehicles) look farther away than they really are.
If you cut too sharply into the right or left lane,
you could hit a vehicle. Check your inside
mirror or glance over your shoulder before
changing lanes.
Outside Heated Mirrors
Your vehicle may have this feature.
When you operate the rear window defogger, a defogger
also warms the heated driver's and passenger's
outside rearview mirrors to help clear them of ice, snow
and condensation.
2-37
Page 105 of 436

Luxury and Leisure Plan
·
All Directions and Connections Plan services
·Personal Concierge
OnStaržPersonal Calling
With OnStaržPersonal Calling, you have a safer way to
stay connected while driving. It's a hands-free wireless
phone that's integrated into your vehicle. You can place
calls nationwide using voice-activated dialing with no
contracts and no additional roaming charges. To ®nd out
more about OnStar
žPersonal Calling, refer to the
OnStaržowner's guide in your vehicle's glove box, or
call OnStaržat 1-888-4-ONSTAR (1-888-466-7827).
OnStaržVirtual Advisor
With OnStaržVirtual Advisor you can listen to your
favorite news, entertainment and information topics,
such as traffic and weather reports, stock quotes
and sports scores. You listen to your e-mail through
your vehicle's speakers, and reply with your hands on
the wheel and your eyes on the road.
HomeLinkžTransmitter
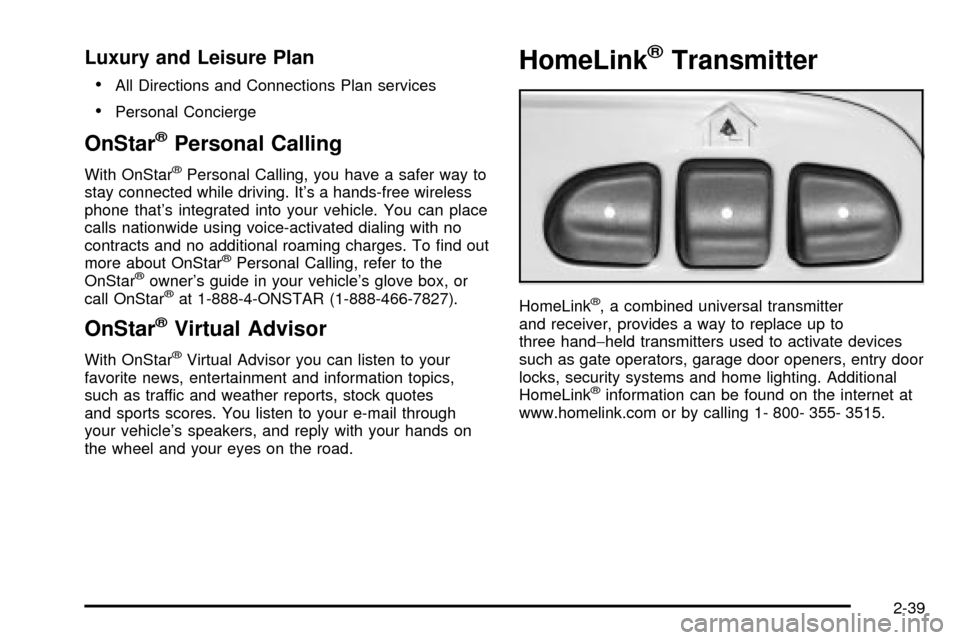
HomeLinkž, a combined universal transmitter
and receiver, provides a way to replace up to
three hand-held transmitters used to activate devices
such as gate operators, garage door openers, entry door
locks, security systems and home lighting. Additional
HomeLink
žinformation can be found on the internet at
www.homelink.com or by calling 1- 800- 355- 3515.
2-39
Page 119 of 436

Instrument Panel Overview...............................3-4
Hazard Warning Flashers................................3-6
Other Warning Devices...................................3-6
Horn.............................................................3-7
Tilt Wheel.....................................................3-7
Turn Signal/Multifunction Lever.........................3-7
Exterior Lamps.............................................3-15
Interior Lamps..............................................3-18
Accessory Power Outlets...............................3-20
Ashtrays and Cigarette Lighter........................3-20
Climate Controls............................................3-21
Dual Climate Control System..........................3-21
Dual Automatic Climate Control System...........3-24
Rear Climate Control System.........................3-30
Steering Wheel Climate Controls.....................3-34
Climate Controls Personalization.....................3-34Warning Lights, Gages and Indicators.............3-35
Instrument Panel Cluster................................3-36
Speedometer and Odometer...........................3-37
Tachometer.................................................3-38
Safety Belt Reminder Light.............................3-38
Air Bag Readiness Light................................3-38
Charging System Light..................................3-39
Voltmeter Gage............................................3-40
Brake System Warning Light..........................3-41
Anti-Lock Brake System Warning Light.............3-42
Engine Coolant Temperature Gage..................3-42
Malfunction Indicator Lamp.............................3-43
Oil Pressure Gage........................................3-46
Change Engine Oil Light................................3-47
Security Light...............................................3-47
Cruise Control Light......................................3-48
Reduced Engine Power Light.........................3-48
Service Four-Wheel Drive Warning Light..........3-49
Check Gages Warning Light...........................3-49
Gate Ajar Light.............................................3-50
Fuel Gage...................................................3-50
Low Fuel Warning Light.................................3-51
Section 3 Instrument Panel
3-1
Page 120 of 436

Driver Information Center (DIC).......................3-51
DIC Operation and Displays...........................3-52
DIC Warnings and Messages.........................3-61
Audio System(s).............................................3-64
Setting the Time...........................................3-64
Radio with CD..............................................3-65
Radio with Cassette and CD..........................3-72
Radio with Six-Disc CD.................................3-82
Rear Seat Entertainment System....................3-93
Rear Seat Audio (RSA)................................3-104
Radio Personalization..................................3-105Theft-Deterrent Feature (RDS Radios)............3-105
Audio Steering Wheel Controls......................3-106
DVD Distortion............................................3-106
Understanding Radio Reception....................3-106
Care of Your Cassette Tape Player...............3-107
Care of Your CDs and DVDs........................3-108
Care of Your CD and DVD Player.................3-108
Cleaning the Video Screen...........................3-108
Fixed Mast Antenna....................................3-108
Chime Level Adjustment...............................3-108
Section 3 Instrument Panel
3-2
Page 123 of 436

The main components of your instrument panel are the following:
A. Exterior Lamp Controls. See
Exterior Lamps on
page 3-15.
B. Air Outlets. See ªOutlet Adjustmentº under
Dual
Climate Control System on page 3-21.
C. Turn Signal/Multifunction Lever. See
Turn
Signal/Multifunction Lever on page 3-7.
D. Instrument Panel Cluster. See
Instrument Panel
Cluster on page 3-36.
E. Ignition Switch. See
Ignition Positions on page 2-19.
F. Transfer Case Controls or Traction Control Button.
See ªAutomatic Transfer Caseº under
Four-Wheel
Drive on page 2-24.
G. Rear Window Washer/Wiper. See ªRear Window
Washer/Wiperº under
Turn Signal/Multifunction Lever
on page 3-7.
H. Audio System. See
Audio System(s) on page 3-64.I. Climate Controls. See
Dual Climate Control System
on page 3-21.
J. Hood Release. See
Hood Release on page 5-10.
K. Ashtray. See
Ashtrays and Cigarette Lighter on
page 3-20.
L. Shift Lever. See
Shifting Into Park (P) on page 2-29.
M. Lighter. See
Ashtrays and Cigarette Lighter on
page 3-20.
N. Accessory Power Outlet. See
Accessory Power
Outlets on page 3-20.
O. Rear Window Defogger. See ªRear Window
Defoggerº under
Dual Climate Control System on
page 3-21.
P. Glove Box. See
Glove Box on page 2-43.
3-5
Page 125 of 436
Horn
To sound the horn, press the horn symbols on the
steering wheel pad.
Tilt Wheel
You should adjust the
steering wheel before you
drive. The tilt lever is
located to the left of the
steering column, under the
turn signal lever.
You can raise it to the highest level to give your legs
more room when you enter and exit the vehicle.
To tilt the wheel, hold the steering wheel and pull the
lever toward you. Move the steering wheel to a
comfortable level, then release the lever to lock the
wheel in place.
Do not adjust the steering wheel while driving.
Turn Signal/Multifunction Lever
The lever on the left side of the steering column
includes the following:
·G:Turn and Lane Change Signals
·2:Headlamp High/Low-Beam Changer
·Flash-to-Pass Feature
·N:Windshield Wipers
·J:Windshield Washer
·I:Cruise Control (If Equipped)
3-7
Page 129 of 436

Rear Window Washer/Wiper
This control is located to
the right of the steering
wheel on the instrument
panel.
To turn the rear wiper on, turn the control to either 1, 2,
or 3. For delayed wiping, turn the control to 1 or 2.
For steady wiping, turn the control to 3. To turn the wiper
off, turn the control to 0.
To wash the rear window, press the washer symbol
located in the center of the control.
The rear window washer uses the same ¯uid bottle as
the windshield washer. However, the rear window
washer will run out of ¯uid before the windshield washer.
If you can wash your windshield but not your rear
window, check the ¯uid level.
Headlamp Washer
Your vehicle may be
equipped with a headlamp
washer system. The
button to operate this
feature is located on the
instrument panel and
functions separately from
your other washer
systems.
To wash your headlamps, press the headlamp washer
button brie¯y and release to activate the system.
Two pressurized bursts of washer ¯uid will then be
applied to the headlamps.
3-11