2003 CHEVROLET TRAIL BLAZER instrument panel
[x] Cancel search: instrument panelPage 79 of 436

Liftgate/Liftglass
{CAUTION:
It can be dangerous to drive with the liftgate or
liftglass open because carbon monoxide (CO)
gas can come into your vehicle. You can't see
or smell CO. It can cause unconsciousness
and even death. If you must drive with the
liftgate open or if electrical wiring or other
cable connections must pass through the seal
between the body and the liftgate or liftglass:
·Make sure all other windows are shut.
·Turn the fan on your heating or cooling
system to its highest speed and select the
control setting that will force outside air
into your vehicle. See ªClimate Control
Systemº in the Index.
·If you have air outlets on or under the
instrument panel, open them all the way.
See ªEngine Exhaustº in the Index.
Liftgate Release
To unlock the liftgate, you may use the power door
locks or the keyless entry system described earlier.
On some vehicles the liftglass will also unlock when
the liftgate is unlocked. Press the pushbutton on
the liftglass to open it.
To open the entire liftgate, lift the handle located in
the center of the liftgate. If you open the liftgate,
the liftgate module will lock the liftglass after a one to
two second delay.
Emergency Release for Opening
Liftgate
1. Remove the trim plug to expose the access hole in
the trim panel. The access hole is located on the
inside of the liftgate.
2. Use a tool to reach through the access hole in the
trim panel.
3. Pry the left release lever up to the unlock position.
Pry the right release lever up to unlatch the liftgate.
4. Reattach the trim plug.
2-13
Page 91 of 436

Automatic Transfer Case
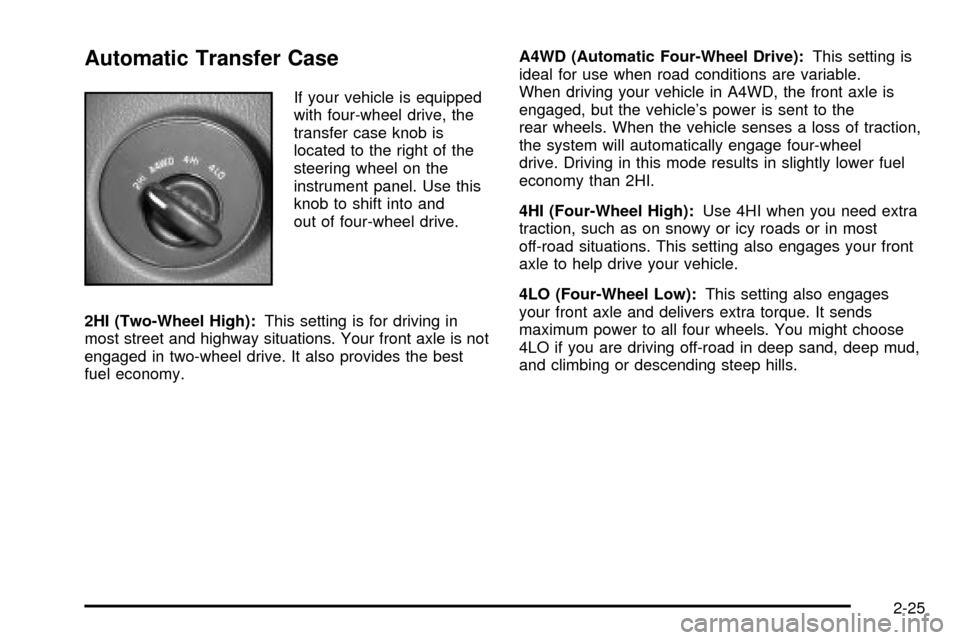
If your vehicle is equipped
with four-wheel drive, the
transfer case knob is
located to the right of the
steering wheel on the
instrument panel. Use this
knob to shift into and
out of four-wheel drive.
2HI (Two-Wheel High):This setting is for driving in
most street and highway situations. Your front axle is not
engaged in two-wheel drive. It also provides the best
fuel economy.A4WD (Automatic Four-Wheel Drive):This setting is
ideal for use when road conditions are variable.
When driving your vehicle in A4WD, the front axle is
engaged, but the vehicle's power is sent to the
rear wheels. When the vehicle senses a loss of traction,
the system will automatically engage four-wheel
drive. Driving in this mode results in slightly lower fuel
economy than 2HI.
4HI (Four-Wheel High):Use 4HI when you need extra
traction, such as on snowy or icy roads or in most
off-road situations. This setting also engages your front
axle to help drive your vehicle.
4LO (Four-Wheel Low):This setting also engages
your front axle and delivers extra torque. It sends
maximum power to all four wheels. You might choose
4LO if you are driving off-road in deep sand, deep mud,
and climbing or descending steep hills.
2-25
Page 92 of 436

{CAUTION:
Shifting the transfer case to NEUTRAL can
cause your vehicle to roll even if the
transmission is in PARK (P). You or someone
else could be seriously injured. Be sure to set
the parking brake before placing the transfer
case in NEUTRAL. See ªParking Brakeº in
the Index.
NEUTRAL:Shift the vehicle's transfer case to
NEUTRAL only when towing your vehicle. See
Recreational Vehicle Towing on page 4-44for
more information.
An indicator light in the knob will show you which
position the transfer case is in. The indicator lights will
come on brie¯y when you turn on the ignition and
one will stay on. If the lights do not come on, you should
take your vehicle to your dealer for service. An
indicator light will ¯ash while shifting the transfer case. It
will remain illuminated when the shift is complete. If
for some reason the transfer case cannot make a
requested shift, it will return to the last chosen setting.
If the service four-wheel drive light on the instrument
panel cluster stays on, you should take your vehicle toyour dealer for service. See
Service Four-Wheel Drive
Warning Light on page 3-49for further information.
Shifting into 4HI or A4WD
Turn the knob to 4HI or A4WD. This can be done at any
speed unless you are shifting out of 4LO. The indicator
light will ¯ash while shifting. It will remain illuminated
when the shift is complete.
Shifting into 2HI
Turn the knob to 2HI. This can be done at any speed
unless you are shifting out of 4LO.
Shifting into 4LO
To shift to 4LO, the vehicle's engine must be running
and the vehicle must be stopped or moving less
than 2 mph (3.2 km/h) with the transmission in
NEUTRAL (N). The preferred method for shifting into
4LO is to have your vehicle moving 1 or 2 mph
(1.6 to 3.2 km/h). Turn the knob to 4LO. You must wait
for the 4LO indicator light to stop ¯ashing and remain
illuminated before shifting your transmission into gear.
If you turn the knob to 4LO when your vehicle is in gear
and/or moving, the 4LO indicator light will ¯ash for
30 seconds and not complete the shift unless your
vehicle is moving less than 2 mph (3.2 km/h) and the
transmission is in NEUTRAL (N). After 30 seconds, the
transfer case will return to the setting last chosen.
2-26
Page 119 of 436

Instrument Panel Overview...............................3-4
Hazard Warning Flashers................................3-6
Other Warning Devices...................................3-6
Horn.............................................................3-7
Tilt Wheel.....................................................3-7
Turn Signal/Multifunction Lever.........................3-7
Exterior Lamps.............................................3-15
Interior Lamps..............................................3-18
Accessory Power Outlets...............................3-20
Ashtrays and Cigarette Lighter........................3-20
Climate Controls............................................3-21
Dual Climate Control System..........................3-21
Dual Automatic Climate Control System...........3-24
Rear Climate Control System.........................3-30
Steering Wheel Climate Controls.....................3-34
Climate Controls Personalization.....................3-34Warning Lights, Gages and Indicators.............3-35
Instrument Panel Cluster................................3-36
Speedometer and Odometer...........................3-37
Tachometer.................................................3-38
Safety Belt Reminder Light.............................3-38
Air Bag Readiness Light................................3-38
Charging System Light..................................3-39
Voltmeter Gage............................................3-40
Brake System Warning Light..........................3-41
Anti-Lock Brake System Warning Light.............3-42
Engine Coolant Temperature Gage..................3-42
Malfunction Indicator Lamp.............................3-43
Oil Pressure Gage........................................3-46
Change Engine Oil Light................................3-47
Security Light...............................................3-47
Cruise Control Light......................................3-48
Reduced Engine Power Light.........................3-48
Service Four-Wheel Drive Warning Light..........3-49
Check Gages Warning Light...........................3-49
Gate Ajar Light.............................................3-50
Fuel Gage...................................................3-50
Low Fuel Warning Light.................................3-51
Section 3 Instrument Panel
3-1
Page 120 of 436

Driver Information Center (DIC).......................3-51
DIC Operation and Displays...........................3-52
DIC Warnings and Messages.........................3-61
Audio System(s).............................................3-64
Setting the Time...........................................3-64
Radio with CD..............................................3-65
Radio with Cassette and CD..........................3-72
Radio with Six-Disc CD.................................3-82
Rear Seat Entertainment System....................3-93
Rear Seat Audio (RSA)................................3-104
Radio Personalization..................................3-105Theft-Deterrent Feature (RDS Radios)............3-105
Audio Steering Wheel Controls......................3-106
DVD Distortion............................................3-106
Understanding Radio Reception....................3-106
Care of Your Cassette Tape Player...............3-107
Care of Your CDs and DVDs........................3-108
Care of Your CD and DVD Player.................3-108
Cleaning the Video Screen...........................3-108
Fixed Mast Antenna....................................3-108
Chime Level Adjustment...............................3-108
Section 3 Instrument Panel
3-2
Page 122 of 436

Instrument Panel Overview
3-4
Page 123 of 436

The main components of your instrument panel are the following:
A. Exterior Lamp Controls. See
Exterior Lamps on
page 3-15.
B. Air Outlets. See ªOutlet Adjustmentº under
Dual
Climate Control System on page 3-21.
C. Turn Signal/Multifunction Lever. See
Turn
Signal/Multifunction Lever on page 3-7.
D. Instrument Panel Cluster. See
Instrument Panel
Cluster on page 3-36.
E. Ignition Switch. See
Ignition Positions on page 2-19.
F. Transfer Case Controls or Traction Control Button.
See ªAutomatic Transfer Caseº under
Four-Wheel
Drive on page 2-24.
G. Rear Window Washer/Wiper. See ªRear Window
Washer/Wiperº under
Turn Signal/Multifunction Lever
on page 3-7.
H. Audio System. See
Audio System(s) on page 3-64.I. Climate Controls. See
Dual Climate Control System
on page 3-21.
J. Hood Release. See
Hood Release on page 5-10.
K. Ashtray. See
Ashtrays and Cigarette Lighter on
page 3-20.
L. Shift Lever. See
Shifting Into Park (P) on page 2-29.
M. Lighter. See
Ashtrays and Cigarette Lighter on
page 3-20.
N. Accessory Power Outlet. See
Accessory Power
Outlets on page 3-20.
O. Rear Window Defogger. See ªRear Window
Defoggerº under
Dual Climate Control System on
page 3-21.
P. Glove Box. See
Glove Box on page 2-43.
3-5
Page 126 of 436

Turn and Lane Change Signals
The turn signal has two upward (for right) and two
downward (for left) positions. These positions allow you
to signal a turn or a lane change.
To signal a turn, move the lever all the way up or down.
When the turn is ®nished, the lever will return
automatically.
An arrow on the instrument
panel cluster will ¯ash in
the direction of the
turn or lane change.
To signal a lane change, just raise or lower the lever
until the arrow starts to ¯ash. Hold it there until you
complete your lane change. The lever will return by itself
when you release it. The bottom of the outside
rearview mirrors may also be equipped with lane change
indicators.As you signal a turn or a lane change, if the arrows
¯ash more quickly than normal, a signal bulb may
be burned out and other drivers won't see your turn
signal.
If a bulb is burned out, replace it to help avoid an
accident. If the arrows don't go on at all when you signal
a turn, check the fuse. See
Fuses and Circuit Breakers
on page 5-89and check for burned-out bulbs.
If you have a trailer towing option with added wiring for
the trailer lamps, a different turn signal ¯asher is
used. With this ¯asher installed, the signal indicator will
¯ash even if a turn signal bulb is burned out. Check
the front and rear turn signal lamps regularly to make
sure they are working.
Turn Signal On Chime
If your turn signal is left on for more than 3/4 of a
mile (1.2 km), a chime will sound at each ¯ash of the
turn signal. To turn off the chime, move the turn
signal lever to the off position.
3-8