Page 297 of 432

If No Steam Is Coming From Your
Engine
If you get an engine overheat warning but see or hear
no steam, the problem may not be too serious.
Sometimes the engine can get a little too hot when you:
·Climb a long hill on a hot day.
·Stop after high-speed driving.
·Idle for long periods in traffic.
·Tow a trailer. See ªDriving on Gradesº under
Towing a Trailer on page 4-54.
If you get the overheat warning with no sign of steam,
try this for a minute or so:
1. In heavy traffic, let the engine idle in NEUTRAL
while stopped. If it is safe to do so, pull off the
road, shift to PARK (P) or NEUTRAL and let the
engine idle.
2. Turn on your heater to full hot at the highest fan
speed and open the window as necessary.If you no longer have the overheat warning, you can
drive. Just to be safe, drive slower for about 10 minutes.
If the warning doesn't come back on, you can drive
normally.
If the warning continues, pull over, stop, and park your
vehicle right away.
If there's still no sign of steam, idle the engine for three
minutes while you're parked. Push down the accelerator
until the engine speed is about twice as fast as normal
idle speed for at least three minutes while you're parked.
If you still have the warning,
turn off the engine and get
everyone out of the vehicleuntil it cools down.
You may decide not to lift the hood but to get service
help right away.
5-31
Page 299 of 432

{CAUTION:
Heater and radiator hoses, and other engine
parts, can be very hot. Do not touch them. If
you do, you can be burned.
Do not run the engine if there is a leak. If you
run the engine, it could lose all coolant. That
could cause an engine ®re, and you could be
burned. Get any leak ®xed before you drive the
vehicle.
If there seems to be no leak, start the engine again.
The engine cooling fan speed should increase when idle
speed is doubled by pushing the accelerator pedal
down. If it doesn't, your vehicle needs service. Turn off
the engine.
Notice:Engine damage from running your engine
without coolant isn't covered by your warranty.
Notice:When adding coolant, it is important that
you use only DEX-COOLž(silicate-free) coolant.
If coolant other than DEX-COOLžis added to
the system, premature engine, heater core or
radiator corrosion may result. In addition, the engine
coolant will require change sooner Ð at 30,000 miles
(50 000 km) or 24 months, whichever occurs ®rst.
Damage caused by the use of coolant other
than DEX-COOL
žis not covered by your new vehicle
warranty.
5-33
Page 310 of 432

Brake Wear
If you have four-wheel drive, your vehicle has four-wheel
disc brakes. If not, your vehicle has front disc brakes
and rear drum brakes.
Disc brake pads have built-in wear indicators that make
a high-pitched warning sound when the brake pads
are worn and new pads are needed. The sound
may come and go or be heard all the time your vehicle
is moving (except when you are pushing on the
brake pedal ®rmly).
{CAUTION:
The brake wear warning sound means that soon
your brakes will not work well. That could lead
to an accident. When you hear the brake wear
warning sound, have your vehicle serviced.
Notice:Continuing to drive with worn-out brake
pads could result in costly brake repair.Some driving conditions or climates may cause a brake
squeal when the brakes are ®rst applied or lightly
applied. This does not mean something is wrong with
your brakes.
Properly torqued wheel nuts are necessary to help
prevent brake pulsation. When tires are rotated, inspect
brake pads for wear and evenly tighten wheel nuts in
the proper sequence to GM torque speci®cations.
If you have rear drum brakes, they don't have wear
indicators, but if you ever hear a rear brake rubbing
noise, have the rear brake linings inspected immediately.
Also, the rear brake drums should be removed and
inspected each time the tires are removed for rotation or
changing. When you have the front brake pads
replaced, have the rear brakes inspected, too.
Brake linings should always be replaced as complete
axle sets.
See
Brake System Inspection on page 6-32.
Brake Pedal Travel
See your dealer if the brake pedal does not return to
normal height, or if there is a rapid increase in
pedal travel. This could be a sign of brake trouble.
5-44
Page 315 of 432

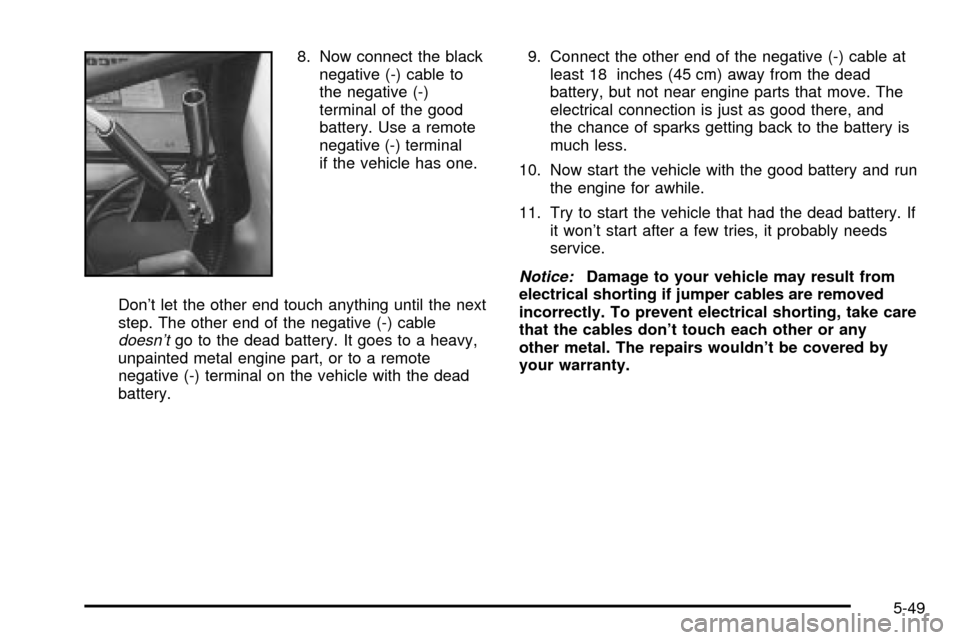
8. Now connect the black
negative (-) cable to
the negative (-)
terminal of the good
battery. Use a remote
negative (-) terminal
if the vehicle has one.
Don't let the other end touch anything until the next
step. The other end of the negative (-) cable
doesn'tgo to the dead battery. It goes to a heavy,
unpainted metal engine part, or to a remote
negative (-) terminal on the vehicle with the dead
battery.9. Connect the other end of the negative (-) cable at
least 18 inches (45 cm) away from the dead
battery, but not near engine parts that move. The
electrical connection is just as good there, and
the chance of sparks getting back to the battery is
much less.
10. Now start the vehicle with the good battery and run
the engine for awhile.
11. Try to start the vehicle that had the dead battery. If
it won't start after a few tries, it probably needs
service.
Notice:Damage to your vehicle may result from
electrical shorting if jumper cables are removed
incorrectly. To prevent electrical shorting, take care
that the cables don't touch each other or any
other metal. The repairs wouldn't be covered by
your warranty.
5-49
Page 317 of 432
Rear Axle
When to Check and Change Lubricant
Refer to the Maintenance Schedule to determine
how often to check the lubricant and when to change it.
See
Part A: Scheduled Maintenance Services on
page 6-4.
How to Check Lubricant
To get an accurate reading, the vehicle should be on a
level surface.
If the level is below the bottom of the ®ller plug hole,
you'll need to add some lubricant. Add enough lubricant
to raise the level to the bottom of the ®ller plug hole.
What to Use
Refer to the Maintenance Schedule to determine what
kind of lubricant to use. SeePart D: Recommended
Fluids and Lubricants on page 6-33.
5-51
Page 318 of 432
Four-Wheel Drive
Lubricant checks in this section also apply to these
vehicles. However, there are two additonal systems that
need lubrication.
Transfer Case
When to Check Lubricant
Refer to the Maintenance Schedule to determine how
often to check the lubricant. SeePart C: Periodic
MaintenanceInspections on page 6-31.
How to Check Lubricant
To get and accurate reading, the vehicle should be on a
level service.
If the level is below the bottom of the ®ller plug hole,
you'll need to add some lubricant. Remove the plug and
add enough lubricant to raise the level to the bottom
of the ®ller plug hole. Use care not to overtighten
the plug.
What to Use
Refer to the Maintenance Schedule to determine what
kind of lubricant to use. SeePart D: Recommended
Fluids and Lubricants on page 6-33.
5-52
Page 319 of 432
Front Axle
When to Check and Change Lubricant
Refer to the Maintenance Schedule to determine
how often to check the lubricant and when to change it.
See
Part A: Scheduled Maintenance Services on
page 6-4.
How to Check Lubricant
To get an accurate reading, the vehicle should be on a
level surface.
If the level is below the bottom of the ®ller plug hole,
you may need to add some lubricant.
When the differential is cold, add enough lubricant to
raise the level to 1/2 inch (12 mm) below the ®ller
plug hole.
When the differential is at operating temperature
(warm), add enough lubricant to raise the level to the
bottom of the ®ller plug hole.
What to Use
Refer to the Maintenance Schedule to determine what
kind of lubricant to use. SeePart D: Recommended
Fluids and Lubricants on page 6-33.
5-53
Page 320 of 432
Bulb Replacement
SeeReplacement Bulbs on page 5-59for the proper
types of bulbs to use. For any bulb changing procedure
not listed in this section, contact your GM dealer's
service department.
Halogen Bulbs
{CAUTION:
Halogen bulbs have pressurized gas inside and
can burst if you drop or scratch the bulb. You or
others could be injured. Be sure to read and
follow the instructions on the bulb package.
Headlamps
One-Piece Composite Headlamp
System
1. Open the hood.
2. Remove the black retainer clips by lifting up.
3. Pull the headlamp assembly out.
4. Unplug the electrical connector.
5-54