2003 CHEVROLET S10 brake light
[x] Cancel search: brake lightPage 209 of 432

Avoid needless heavy braking. Some people drive in
spurts Ð heavy acceleration followed by heavy
braking Ð rather than keeping pace with traffic. This is a
mistake. Your brakes may not have time to cool between
hard stops. Your brakes will wear out much faster if you
do a lot of heavy braking. If you keep pace with the traffic
and allow realistic following distances, you will eliminate a
lot of unnecessary braking. That means better braking
and longer brake life.
If your engine ever stops while you're driving, brake
normally but don't pump your brakes. If you do,
the pedal may get harder to push down. If your engine
stops, you will still have some power brake assist.
But you will use it when you brake. Once the power
assist is used up, it may take longer to stop and
the brake pedal will be harder to push.Anti-lock Brake System
Your vehicle has anti-lock brakes. ABS is an advanced
electronic braking system that will help prevent a
braking skid.
When you start your engine and begin to drive away,
your anti-lock brake system will check itself. You
may hear a momentary motor or clicking noise while
this test is going on. This is normal.
If there's a problem with
the anti-lock brake system,
this warning light will
stay on. See
Anti-Lock
Brake System Warning
Light on page 3-32
.
4-7
Page 224 of 432

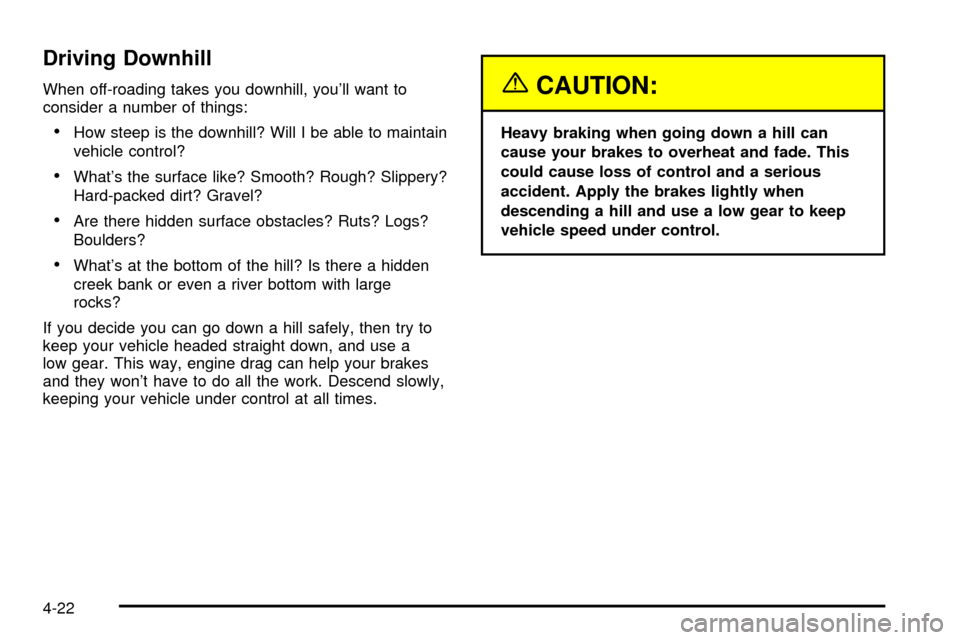
Driving Downhill
When off-roading takes you downhill, you'll want to
consider a number of things:
·How steep is the downhill? Will I be able to maintain
vehicle control?
·What's the surface like? Smooth? Rough? Slippery?
Hard-packed dirt? Gravel?
·Are there hidden surface obstacles? Ruts? Logs?
Boulders?
·What's at the bottom of the hill? Is there a hidden
creek bank or even a river bottom with large
rocks?
If you decide you can go down a hill safely, then try to
keep your vehicle headed straight down, and use a
low gear. This way, engine drag can help your brakes
and they won't have to do all the work. Descend slowly,
keeping your vehicle under control at all times.
{CAUTION:
Heavy braking when going down a hill can
cause your brakes to overheat and fade. This
could cause loss of control and a serious
accident. Apply the brakes lightly when
descending a hill and use a low gear to keep
vehicle speed under control.
4-22
Page 233 of 432

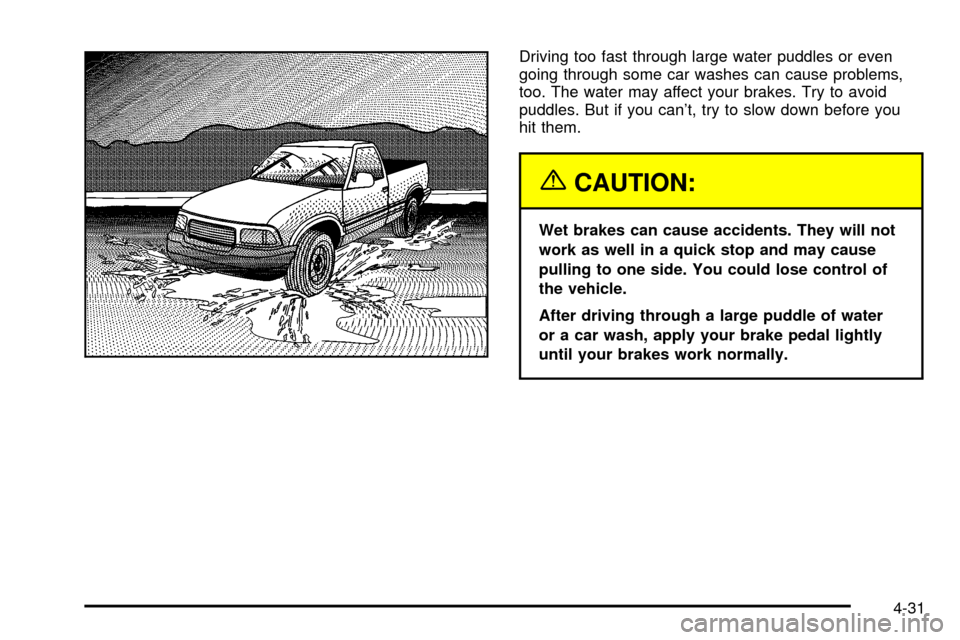
Driving too fast through large water puddles or even
going through some car washes can cause problems,
too. The water may affect your brakes. Try to avoid
puddles. But if you can't, try to slow down before you
hit them.
{CAUTION:
Wet brakes can cause accidents. They will not
work as well in a quick stop and may cause
pulling to one side. You could lose control of
the vehicle.
After driving through a large puddle of water
or a car wash, apply your brake pedal lightly
until your brakes work normally.
4-31
Page 310 of 432

Brake Wear
If you have four-wheel drive, your vehicle has four-wheel
disc brakes. If not, your vehicle has front disc brakes
and rear drum brakes.
Disc brake pads have built-in wear indicators that make
a high-pitched warning sound when the brake pads
are worn and new pads are needed. The sound
may come and go or be heard all the time your vehicle
is moving (except when you are pushing on the
brake pedal ®rmly).
{CAUTION:
The brake wear warning sound means that soon
your brakes will not work well. That could lead
to an accident. When you hear the brake wear
warning sound, have your vehicle serviced.
Notice:Continuing to drive with worn-out brake
pads could result in costly brake repair.Some driving conditions or climates may cause a brake
squeal when the brakes are ®rst applied or lightly
applied. This does not mean something is wrong with
your brakes.
Properly torqued wheel nuts are necessary to help
prevent brake pulsation. When tires are rotated, inspect
brake pads for wear and evenly tighten wheel nuts in
the proper sequence to GM torque speci®cations.
If you have rear drum brakes, they don't have wear
indicators, but if you ever hear a rear brake rubbing
noise, have the rear brake linings inspected immediately.
Also, the rear brake drums should be removed and
inspected each time the tires are removed for rotation or
changing. When you have the front brake pads
replaced, have the rear brakes inspected, too.
Brake linings should always be replaced as complete
axle sets.
See
Brake System Inspection on page 6-32.
Brake Pedal Travel
See your dealer if the brake pedal does not return to
normal height, or if there is a rapid increase in
pedal travel. This could be a sign of brake trouble.
5-44
Page 313 of 432

1. Check the other vehicle. It must have a
12±volt battery with a negative ground system.
Notice:If the other system isn't a 12-volt system
with a negative ground, both vehicles can be
damaged.
2. Get the vehicles close enough so the jumper cables
can reach, but be sure the vehicles aren't touching
each other. If they are, it could cause a ground
connection you don't want. You wouldn't be able to
start your vehicle, and the bad grounding could
damage the electrical systems.
To avoid the possibility of the vehicles rolling, set
the parking brake ®rmly on both vehicles involved in
the jump start procedure. Put an automatic
transmission in PARK (P) or a manual transmission
in NEUTRAL before setting the parking brake. If
you have a four-wheel-drive vehicle, be sure
the transfer case is not in NEUTRAL (N).
Notice:If you leave your radio on, it could be badly
damaged. The repairs wouldn't be covered by
your warranty.
3. Turn off the ignition on both vehicles. Unplug
unnecessary accessories plugged into the cigarette
lighter or in the accessory power outlets. Turn off
the radio and all lamps that aren't needed. This will
avoid sparks and help save both batteries. And it
could save your radio!4. Open the hoods and locate the batteries. Find the
positive (+) and negative (-) terminal locations on
each vehicle. See
Engine Compartment Overview
on page 5-12for more information on location of the
battery.
{CAUTION:
Using a match near a battery can cause battery
gas to explode. People have been hurt doing
this, and some have been blinded. Use a
¯ashlight if you need more light.
Be sure the batteries have enough water. You
don't need to add water to the ACDelco
ž
battery (or batteries) installed in your new
vehicle. But if a battery has ®ller caps, be sure
the right amount of ¯uid is there. If it is low,
add water to take care of that ®rst. If you don't,
explosive gas could be present.
Battery ¯uid contains acid that can burn you.
Don't get it on you. If you accidentally get it in
your eyes or on your skin, ¯ush the place with
water and get medical help immediately.
5-47
Page 361 of 432

Fuse Usage
4Gages, Body Control Module,
Instrument Panel Cluster
5Parking Lamps, Power Window
Switch, Body Control Module,
Ashtray Lamp
6 Steering Wheel Radio Controls
7Headlamps Switch, Body Control
Module, Headlamp Relay
8Courtesy Lamps, Battery Run-Down
Protection
9Heating, Ventilation, Air Cooling
Control Head (Manual)
10 Turn Signal
11 Cluster, Engine Control Module
12 Interior Lights
13 Auxiliary Power
14 Power Locks MotorFuse Usage
154WD Switch, Engine Controls (VCM,
PCM, Transmission)
16 Supplemental In¯atable Restraint
17 Front Wiper
18 Steering Wheel Radio Controls
19 Radio, Battery
20 Ampli®er
21Heating, Ventilation, Air Cooling
(Manual), Heating,Ventilation, Air
Cooling (Automatic), Heating,
Ventilation, Air Cooling Sensors
(Automatic)
22 Anti-Lock Brakes
23 Rear Wiper
24 Radio, Ignition
5-95
Page 364 of 432

Fuse Usage
STUD #2 Accessory Feeds, Electric Brake
PARKLP Parking Lamps
LR PRK Left Rear Parking Lamps
LIFTGLASS Liftglass
IGN CStarter Solenoid, Fuel Pump,
PRNDL
HTDSEAT Heated Seat
HVACHeating,Ventilation, Air Cooling
System
TRCHMSL Trailer Center High Mount Stop Light
RRDFOG Rear Defogger
TBC Truck Body ComputerFuse Usage
CRANK Clutch Switch, NSBU Switch
CHMSL Center High Mounted Stoplamp
HAZLP Hazard Lamps
VECHMSLVehicle Center High-Mounted Stop
Lamp
RR DEFOG Rear Defogger
HTDMIR Heated Mirror
ATC Transfer Case (Four-Wheel Drive)
STOPLP Stop Lamps
RR W/W Rear Window Wiper
5-98
Page 417 of 432

A
Accessory Power Outlets.................................3-17
Adding Equipment to Your Air Bag-Equipped
Vehicle.......................................................1-65
Adding Washer Fluid.......................................5-40
Additional Program Information........................... 7-9
Additives, Fuel................................................. 5-6
Add-On Electrical Equipment............................5-93
Add-On Equipment..........................................4-50
Adjusting the Speakers
(Balance/Fade)....................3-43, 3-47, 3-55, 3-65
After Off-Road Driving.....................................4-28
Air Bag System..............................................1-55
Adding Equipment to Your Air Bag-Equipped
Vehicle...................................................1-65
Air Bag Off Switch.......................................1-61
How Does an Air Bag Restrain?....................1-59
Servicing Your Air Bag-Equipped Vehicle.........1-64
What Makes an Air Bag In¯ate?....................1-59
What Will You See After an Air Bag In¯ates? . . 1-60
When Should an Air Bag In¯ate?...................1-59
Where Are the Air Bags?..............................1-57
Air Bag .........................................................3-28
Off Light.....................................................3-28
Readiness Light..........................................3-27
Air Cleaner/Filter, Engine.................................5-19
AM-FM Radio.................................................3-41
AM ...............................................................3-74
Antenna, Fixed Mast.......................................3-76Anti-Lock Brake, System Warning Light..............3-32
Anti-lock Brake System..................................... 4-7
Appearance Care............................................5-83
Care of Safety Belts....................................5-86
Chemical Paint Spotting...............................5-90
Cleaning the Inside of Your Vehicle................5-84
Cleaning the Outside of Your Vehicle..............5-87
Finish Damage............................................5-89
Sheet Metal Damage...................................5-89
Underbody Maintenance...............................5-90
Vehicle Care/Appearance Materials................5-90
Weatherstrips..............................................5-87
Approaching a Hill..........................................4-19
Ashtrays........................................................3-18
Assist Handles...............................................2-49
Audio System(s).............................................3-40
AM-FM Radio.............................................3-41
Care of Your Cassette Tape Player................3-75
Care of Your CD Player...............................3-76
Care of Your CDs........................................3-76
Fixed Mast Antenna.....................................3-76
Radio with Cassette and CD.........................3-52
Radio with CD............................................3-44
Radio with Six-Disc CD................................3-62
Setting the Time for Radios with Radio Data
Systems (RDS)........................................3-41
Setting the Time for Radios without Radio
Data Systems (RDS)................................3-40
Theft-Deterrent Feature................................3-74
Understanding Radio Reception.....................3-74
1