Page 114 of 386
Outside Remote Control Mirror
If your vehicle has power mirrors, they can be adjusted
from inside the vehicle.
Select the mirror you want
to move by turning the
knob clockwise to adjust
the passenger's side mirror
and counterclockwise to
adjust the driver's side
mirror. The center position
is neutral.
Then, adjust the mirror angle by pushing the knob in the
direction desired until the mirror is adjusted to where
you want it.
Outside Camper-Type Mirrors
If your vehicle is equipped
with the camper-type
mirrors, they can be
adjusted so you can have
a clear view of any
objects behind you.
1. To adjust the mirrors
when towing a trailer,
turn the mirror by
pushing the mirror
head toward the front
of the vehicle.
2-32
Page 115 of 386
2. Turn the mirror head
so that it swings further
outboard and adjust
the mirror surface
as needed.Outside Power Mirrors
If you have power mirrors, they can be adjusted from
inside the vehicle.
Select the mirror you want
to move by turning the
knob clockwise to adjust
the passenger's side mirror
and counterclockwise to
adjust the driver's side
mirror. The center position
is neutral.
Then, adjust the mirror angle by pushing the knob in the
direction desired until the mirror is adjusted to where
you want it.
2-33
Page 131 of 386

Using Cruise Control on Hills
How well your cruise control will work on hills depends
upon your speed, load and the steepness of the
hills. When going up steep hills, you may want to step
on the accelerator pedal to maintain your speed.
When going downhill, you may have to brake or shift to
a lower gear to keep your speed down. Of course,
applying the brake takes you out of cruise control. Many
drivers ®nd this to be too much trouble and don't use
cruise control on steep hills.
Ending Cruise Control
There are two ways to turn off the cruise control:
·Step lightly on the brake pedal,
·or move the cruise control switch to off.
Erasing Speed Memory
When you turn off the cruise control or the ignition, your
cruise control set speed memory is erased.
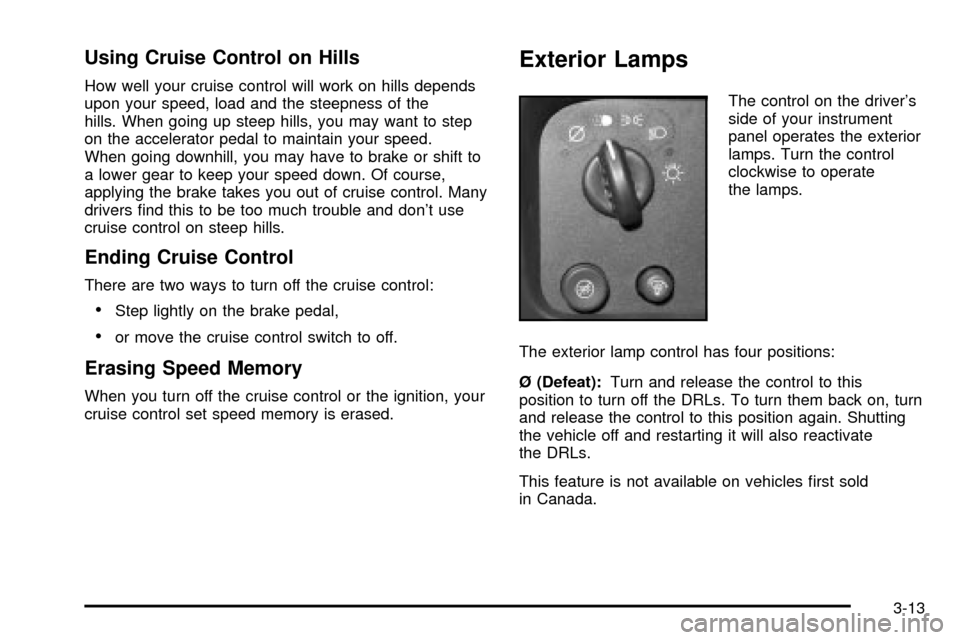
Exterior Lamps
The control on the driver's
side of your instrument
panel operates the exterior
lamps. Turn the control
clockwise to operate
the lamps.
The exterior lamp control has four positions:
é (Defeat):Turn and release the control to this
position to turn off the DRLs. To turn them back on, turn
and release the control to this position again. Shutting
the vehicle off and restarting it will also reactivate
the DRLs.
This feature is not available on vehicles ®rst sold
in Canada.
3-13
Page 137 of 386

Climate Controls
Climate Control System
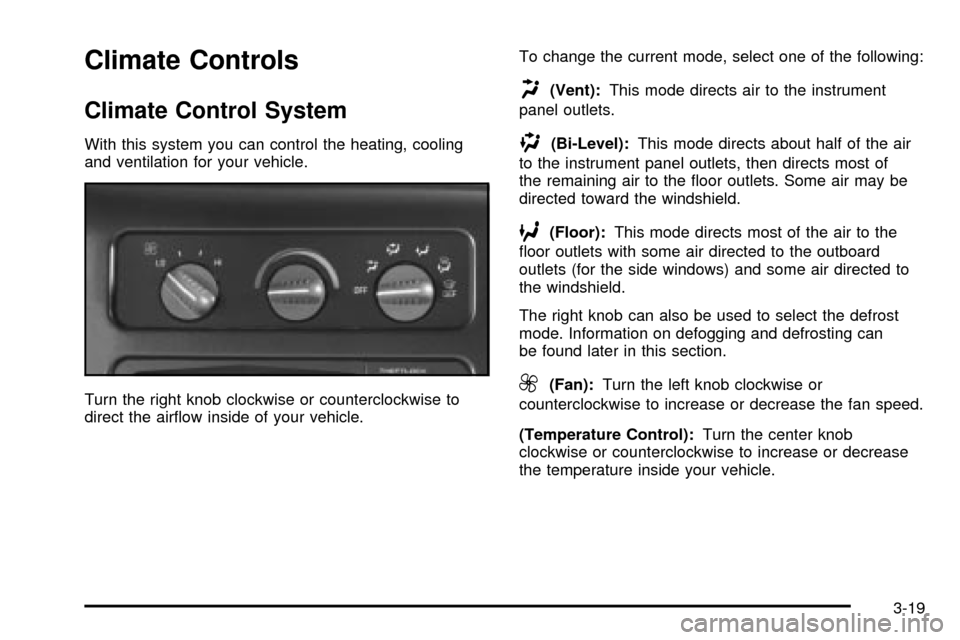
With this system you can control the heating, cooling
and ventilation for your vehicle.
Turn the right knob clockwise or counterclockwise to
direct the air¯ow inside of your vehicle.To change the current mode, select one of the following:
H(Vent):This mode directs air to the instrument
panel outlets.
)(Bi-Level):This mode directs about half of the air
to the instrument panel outlets, then directs most of
the remaining air to the ¯oor outlets. Some air may be
directed toward the windshield.
6(Floor):This mode directs most of the air to the
¯oor outlets with some air directed to the outboard
outlets (for the side windows) and some air directed to
the windshield.
The right knob can also be used to select the defrost
mode. Information on defogging and defrosting can
be found later in this section.
9(Fan):Turn the left knob clockwise or
counterclockwise to increase or decrease the fan speed.
(Temperature Control):Turn the center knob
clockwise or counterclockwise to increase or decrease
the temperature inside your vehicle.
3-19
Page 140 of 386

Turn the center knob clockwise or counterclockwise
to change the direction of the air¯ow in the
rear-seating area.
To change the current mode, select one of the following:
D(Vent):Use this mode to direct air to the upper
outlets, with a little air directed to the ¯oor outlets.
2(Floor):Use this mode to direct most of the air to
the ¯oor outlets.
9(Fan):Turn the left knob clockwise or
counterclockwise to HIGH, MED (Medium) or LOW to
increase or decrease the fan speed in the rear-seating
area. Turn the knob to OFF to turn off the fan.
(Temperature Control):To increase or decrease the
temperature for the rear of the vehicle, turn the right
knob located on the climate-control panel.
The air-conditioning system on the main climate-control
panel must be turned on to direct cooled air to the
rear of the vehicle. If it is not on, then the temperature
in the rear of the vehicle will remain at cabin
temperature.
Be sure to keep the area under the front seats clear of
any objects so that the air inside of your vehicle can
circulate effectively.For information on how to use the main climate-control
system, see
Climate Control System on page 3-19listed previously in this section. For information
on ventilation, see ªOutlet Adjustmentº earlier in this
section.
Defogging and Defrosting
Fog on the inside of windows is a result of high humidity
(moisture) condensing on the cool window glass. This
can be minimized if the climate control is used properly.
There are two modes to clear fog or frost from your
windshield and side windows.
Use the defog mode to clear the windows of fog or
moisture and warm the passengers. Use the defrost
mode to remove fog or frost from the windshield more
quickly. For best results, clear all snow and ice from the
windshield before defrosting.
Turn the knob on the right of the climate control panel
to select the defog or defrost mode.
-(Blend):With this setting, the outside air comes out
of both the ¯oor and defroster outlets. Adjust the
temperature knob for warmer or cooler air. The air
conditioning compressor may operate in this setting to
dehumidify the air.
1(Defrost):This setting operates the defroster.
Most of the air comes out near the windshield, with
some going to the ¯oor outlets and front side windows.
3-22
Page 174 of 386

Cassette Tape Messages
CHK TAPE (Check Tape):If CHK TAPE appears on
the radio display, the tape won't play because of one of
the following errors.
·The tape is tight and the player can't turn the tape
hubs. Remove the tape. Hold the tape with the
open end down and try to turn the right hub
counterclockwise with a pencil. Turn the tape over
and repeat. If the hubs do not turn easily, your
tape may be damaged and should not be used in
the player. Try a new tape to make sure your player
is working properly.
·The tape is broken. Try a new tape.
·The tape is wrapped around the tape head. Attempt
to get the cassette out. Try a new tape.
CLEAN:If this message appears on the display, the
cassette tape player needs to be cleaned. It will still play
tapes, but you should clean it as soon as possible to
prevent damage to the tapes and player. See
Care
of Your Cassette Tape Player on page 3-74.
If any error occurs repeatedly or if an error can't be
corrected, contact your dealer.
CD Adapter Kits
It is possible to use a portable CD player adapter kit
with your cassette tape player after activating the bypass
feature on your tape player.
To activate the bypass feature, perform the
following steps:
1. Turn the ignition on.
2. Turn the radio off.
3. Press and hold the TAPE DISC button for ®ve
seconds. The radio will display READY and the
tape symbol on the display will ¯ash, indicating the
feature is active.
4. Insert the adapter into the cassette tape slot. It will
power up the radio and begin playing.
The override feature will remain active until the eject
symbol is pressed.
3-56
Page 204 of 386

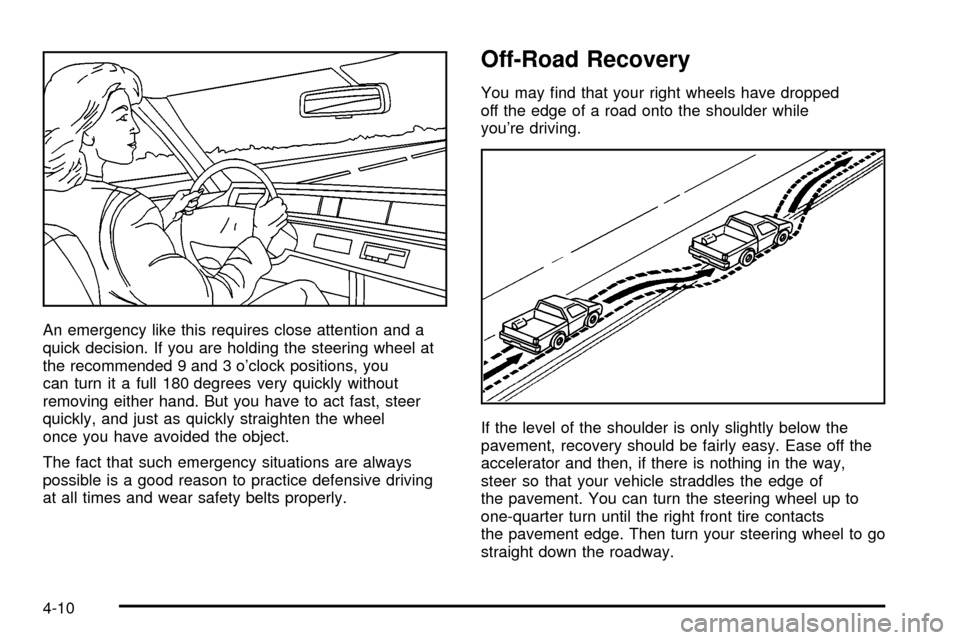
An emergency like this requires close attention and a
quick decision. If you are holding the steering wheel at
the recommended 9 and 3 o'clock positions, you
can turn it a full 180 degrees very quickly without
removing either hand. But you have to act fast, steer
quickly, and just as quickly straighten the wheel
once you have avoided the object.
The fact that such emergency situations are always
possible is a good reason to practice defensive driving
at all times and wear safety belts properly.
Off-Road Recovery
You may ®nd that your right wheels have dropped
off the edge of a road onto the shoulder while
you're driving.
If the level of the shoulder is only slightly below the
pavement, recovery should be fairly easy. Ease off the
accelerator and then, if there is nothing in the way,
steer so that your vehicle straddles the edge of
the pavement. You can turn the steering wheel up to
one-quarter turn until the right front tire contacts
the pavement edge. Then turn your steering wheel to go
straight down the roadway.
4-10
Page 278 of 386

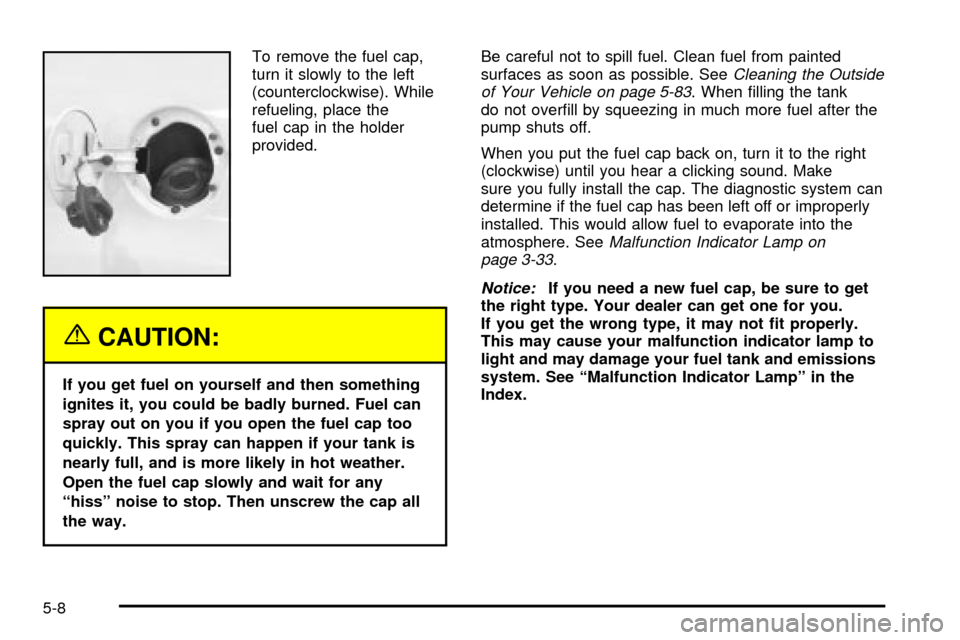
To remove the fuel cap,
turn it slowly to the left
(counterclockwise). While
refueling, place the
fuel cap in the holder
provided.
{CAUTION:
If you get fuel on yourself and then something
ignites it, you could be badly burned. Fuel can
spray out on you if you open the fuel cap too
quickly. This spray can happen if your tank is
nearly full, and is more likely in hot weather.
Open the fuel cap slowly and wait for any
ªhissº noise to stop. Then unscrew the cap all
the way.Be careful not to spill fuel. Clean fuel from painted
surfaces as soon as possible. See
Cleaning the Outside
of Your Vehicle on page 5-83. When ®lling the tank
do not over®ll by squeezing in much more fuel after the
pump shuts off.
When you put the fuel cap back on, turn it to the right
(clockwise) until you hear a clicking sound. Make
sure you fully install the cap. The diagnostic system can
determine if the fuel cap has been left off or improperly
installed. This would allow fuel to evaporate into the
atmosphere. See
Malfunction Indicator Lamp on
page 3-33.
Notice:If you need a new fuel cap, be sure to get
the right type. Your dealer can get one for you.
If you get the wrong type, it may not ®t properly.
This may cause your malfunction indicator lamp to
light and may damage your fuel tank and emissions
system. See ªMalfunction Indicator Lampº in the
Index.
5-8