2003 CHEVROLET BLAZER wiring
[x] Cancel search: wiringPage 79 of 420

Swing-Out Windows
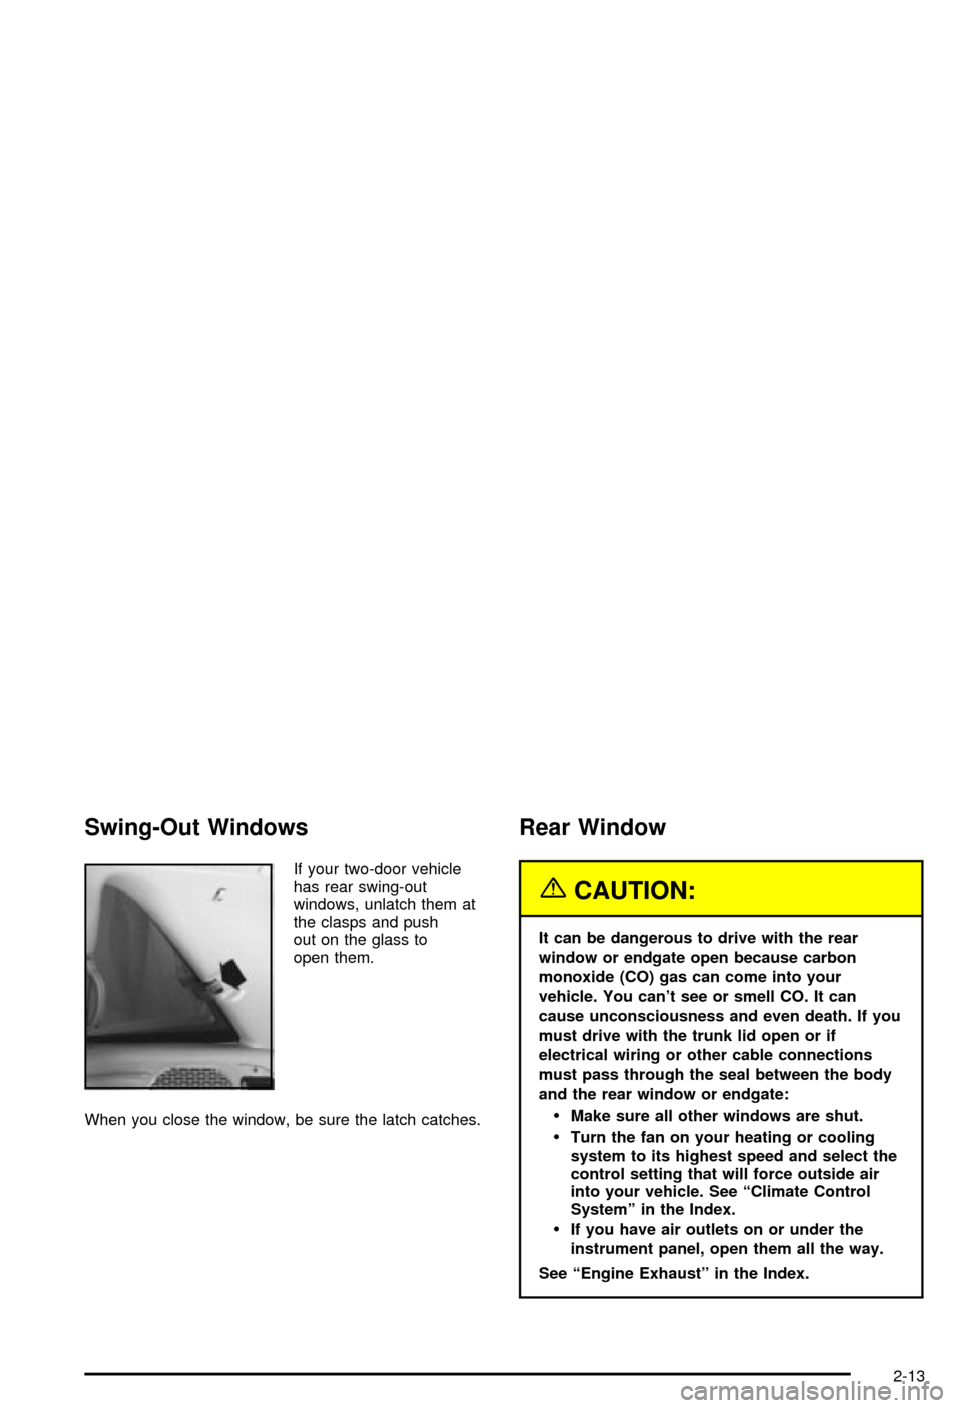
If your two-door vehicle
has rear swing-out
windows, unlatch them at
the clasps and push
out on the glass to
open them.
When you close the window, be sure the latch catches.
Rear Window
{CAUTION:
It can be dangerous to drive with the rear
window or endgate open because carbon
monoxide (CO) gas can come into your
vehicle. You can't see or smell CO. It can
cause unconsciousness and even death. If you
must drive with the trunk lid open or if
electrical wiring or other cable connections
must pass through the seal between the body
and the rear window or endgate:
·Make sure all other windows are shut.
·Turn the fan on your heating or cooling
system to its highest speed and select the
control setting that will force outside air
into your vehicle. See ªClimate Control
Systemº in the Index.
·If you have air outlets on or under the
instrument panel, open them all the way.
See ªEngine Exhaustº in the Index.
2-13
Page 134 of 420

If you have a trailer towing option with added wiring for
the trailer lamps, a different turn signal ¯asher is
used. With this ¯asher installed, the signal indicator will
¯ash even if a turn signal bulb is burned out. Check
the front and rear turn signal lamps regularly to make
sure they are working.
Turn Signal On Chime
If your turn signal is left on for more than 3/4 of a mile
(1.2 km), a chime will sound at each ¯ash of the
turn signal. To turn off the chime, move the turn signal
lever to the off position.
Headlamp High/Low-Beam Changer
To change the headlamps from low beam to high or high
to low, pull the multifunction lever all the way toward
you. Then release it.
When the high beams are
on, this indicator light on
the instrument panel
cluster will also be on.
Flash-to-Pass Feature
This feature lets you use your high-beam headlamps to
signal a driver in front of you that you want to pass.
It works even if your headlamps are in the automatic
position.
To use it, pull the turn signal lever toward you, but not
so far that you hear a click.
If your headlamps are in the automatic position or on
low beam, your high-beam headlamps will turn on.
They'll stay on as long as you hold the lever toward you
and the high-beam indicator on the instrument panel
cluster will come on. Release the lever to return
to normal operation.
Windshield Wipers
To operate the windshield wipers turn the band, located
on the multifunction lever, upward or downward.
MIST:Turn the band to MIST for a single wiping cycle.
Hold it until the windshield wipers start. Then let it
go. The windshield wipers will stop after one wipe. If
you want more wipes, hold the band on MIST longer.
OFF:Turn the band to OFF to turn off the windshield
wipers.
3-6
Page 153 of 420

Safety Belt Reminder Light
When the key is turned to RUN or START, a chime will
come on for several seconds to remind people to
fasten their safety belts, unless the driver's safety belt is
already buckled.
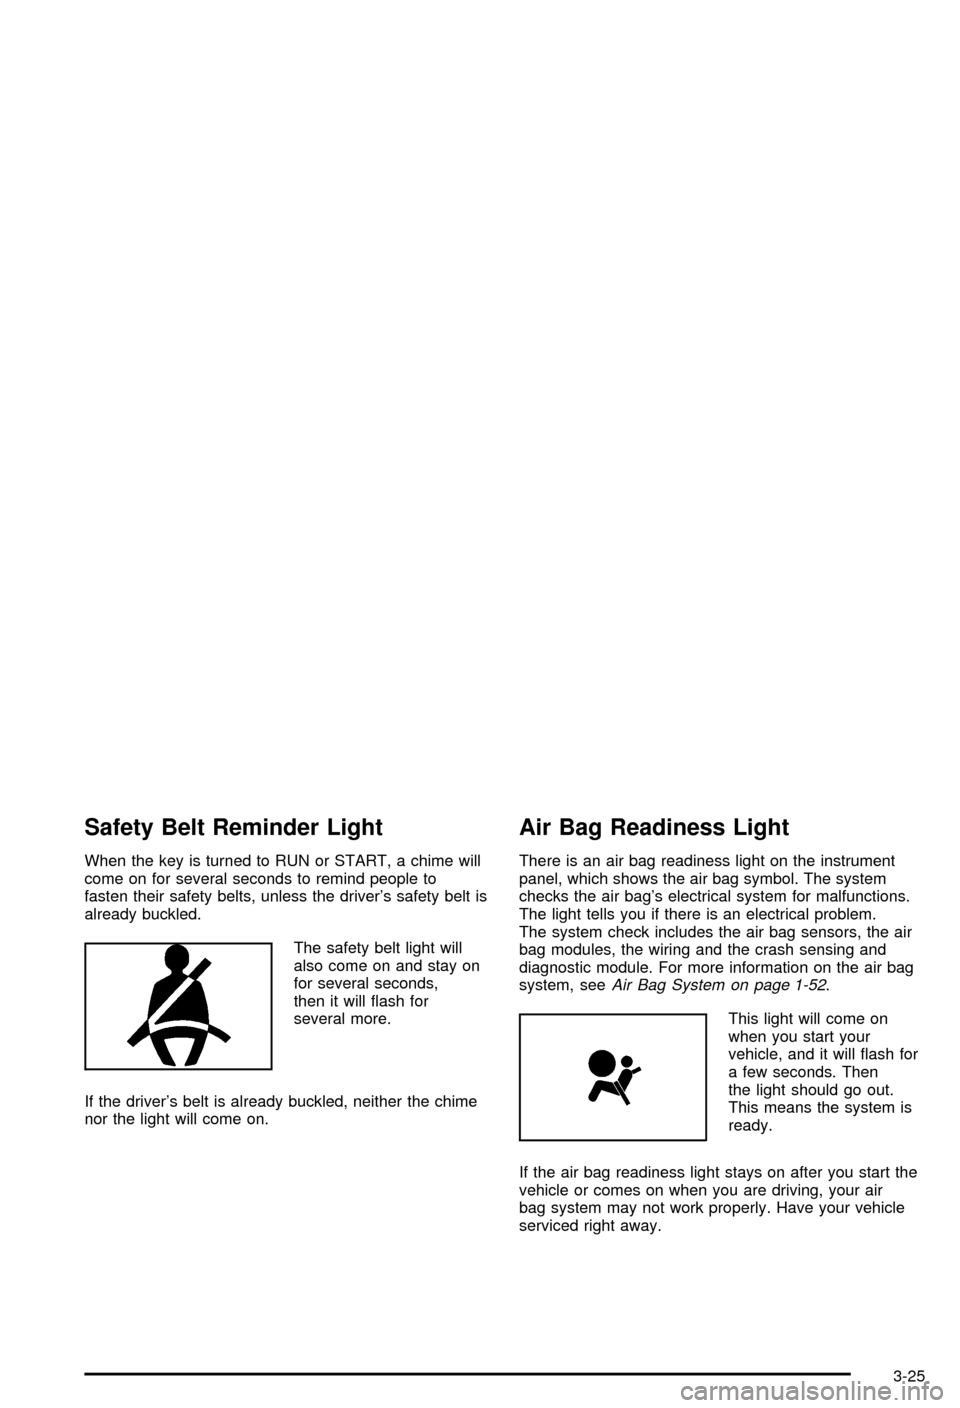
The safety belt light will
also come on and stay on
for several seconds,
then it will ¯ash for
several more.
If the driver's belt is already buckled, neither the chime
nor the light will come on.
Air Bag Readiness Light
There is an air bag readiness light on the instrument
panel, which shows the air bag symbol. The system
checks the air bag's electrical system for malfunctions.
The light tells you if there is an electrical problem.
The system check includes the air bag sensors, the air
bag modules, the wiring and the crash sensing and
diagnostic module. For more information on the air bag
system, see
Air Bag System on page 1-52.
This light will come on
when you start your
vehicle, and it will ¯ash for
a few seconds. Then
the light should go out.
This means the system is
ready.
If the air bag readiness light stays on after you start the
vehicle or comes on when you are driving, your air
bag system may not work properly. Have your vehicle
serviced right away.
3-25
Page 260 of 420

Turn Signals When Towing a Trailer
When you tow a trailer, your vehicle has to have extra
wiring and a heavy-duty turn signal ¯asher (included
in the optional trailering package).
The arrows on your instrument panel will ¯ash whenever
you signal a turn or lane change. Properly hooked up,
the trailer lamps will also ¯ash, telling other drivers
you're about to turn, change lanes or stop.
When towing a trailer, the arrows on your instrument
panel will ¯ash for turns even if the bulbs on the trailer
are burned out. Thus, you may think drivers behind
you are seeing your signal when they are not. It's
important to check occasionally to be sure the trailer
bulbs are still working.
Driving On Grades
Reduce speed and shift to a lower gearbeforeyou start
down a long or steep downgrade. If you don't shift
down, you might have to use your brakes so much that
they would get hot and no longer work well.If you have an automatic transmission, you can tow in
DRIVE (D). You may want to shift the transmission
to THIRD (3) or, if necessary, a lower gear selection if
the transmission shifts too often (e.g., under heavy loads
and/or hilly conditions). Or, if you have a manual
transmission and you are towing a trailer, it's better not
to use FIFTH (5) gear. Just drive in FOURTH (4)
gear (or, as you need to, a lower gear). See
Tow/Haul
Mode Light on page 3-35.
When towing at high altitude on steep uphill grades,
consider the following: Engine coolant will boil at a lower
temperature than at normal altitudes. If you turn your
engine off immediately after towing at high altitude
on steep uphill grades, your vehicle may show signs
similar to engine overheating. To avoid this, let the
engine run while parked (preferably on level ground)
with the automatic transmission in PARK (P) (or
the manual transmission out of gear and the parking
brake applied) for a few minutes before turning the
engine off. If you do get the overheat warning,
see
Engine Overheating on page 5-25.
4-62
Page 263 of 420

Trailer Wiring Harness
The light-duty trailer wiring is a six-wire harness
assembly. The optional heavy-duty trailer wiring is an
eight-wire harness assembly. The harnesses are stored
under the vehicle, along the passenger-side frame
crossmember on two-door vehicles or on the driver's
side corner frame rear crossmember on four-door
vehicles. The heavy-duty trailer wiring is fused in the
engine compartment fuse block. See
Fuses and Circuit
Breakers on page 5-85. Both harnesses have no
connector and should be wired by a quali®ed electrical
technician. The technician can use the following
color code chart when connecting the wiring harness to
your trailer.
·Dark Blue: Use for electric trailer brakes or auxiliary
wiring (eight-wire harness only).
·Red: Use for battery charging; it connects to the
starter solenoid (eight-wire harness only).
·Light Green: Back-up lamps.
·Brown: Taillamps and parking lamps.
·Yellow: Driver's side stoplamp and turn signal.
·Dark Green: Passenger's side stoplamp and turn
signal.
·White: Ground wire.
·Light Blue: Auxiliary stoplamp.
Securely attach the harness to the trailer, then tape or
strap it to your vehicle's frame rail. Be sure you
leave it loose enough so the wiring doesn't bend or
break, but not so loose that it drags on the ground. Store
the harness in its original place. Wrap the harness
together and tie it neatly so it won't be damaged.
4-65
Page 348 of 420

Service Parts Identi®cation Label
You'll ®nd this label on the inside of the glove box. It's
very helpful if you ever need to order parts. On this
label is:
·your VIN,
·the model designation,
·paint information and
·a list of all production options and special
equipment.
Be sure that this label is not removed from the vehicle.
Electrical System
Add-On Electrical Equipment
Notice:Don't add anything electrical to your
vehicle unless you check with your dealer ®rst.
Some electrical equipment can damage your vehicle
and the damage wouldn't be covered by your
warranty. Some add-on electrical equipment can
keep other components from working as they
should.
Your vehicle has an air bag system. Before attempting
to add anything electrical to your vehicle, see
Servicing Your Air Bag-Equipped Vehicle on page 1-57.
Headlamps
The headlamp wiring is protected by an internal circuit
breaker. An electrical overload will cause the lamps
to go on and off, or in some cases to remain off. If this
happens, have your headlamp wiring checked
right away.
5-84
Page 349 of 420

Windshield Wiper Fuses
The windshield wiper motor is protected by a circuit
breaker and a fuse. If the motor overheats due to heavy
snow or ice, the wiper will stop until the motor cools.
If the overload is caused by some electrical problem, be
sure to get it ®xed.
Power Windows and Other Power
Options
Circuit breakers protect the power windows and other
power accessories. When the current load is too heavy,
the circuit breaker opens and closes, protecting the
circuit until the problem is ®xed or goes away.
Fuses and Circuit Breakers
The wiring circuits in your vehicle are protected from
short circuits by a combination of fuses and circuit
breakers. This greatly reduces the chance of ®res
caused by electrical problems.
Look at the silver-colored band inside the fuse. If the
band is broken or melted, replace the fuse. Be sure you
replace a bad fuse with a new one of the identical
size and rating.
If you ever have a problem on the road and don't have
a spare fuse, you can borrow one that has the same
amperage. Just pick some feature of your vehicle
that you can get along withoutÐ like the radio or
cigarette lighterÐand use its fuse, if it is the correct
amperage. Replace it as soon as you can.
5-85
Page 419 of 420

Tow/Haul Mode...............................................2-26
Towing..........................................................4-45
Recreational Vehicle.....................................4-45
Towing a Trailer..........................................4-54
Your Vehicle...............................................4-45
Trailer Brakes.................................................4-60
Trailer Wiring Harness.....................................4-65
Transfer Case and Front Axle (Four-Wheel Drive)
Inspection...................................................6-32
Transfer Case................................................5-45
Transmission Operation, Automatic....................2-23
Transmission Operation, Manual........................2-27
Transmission, Transaxle, Transfer Case Unit
Repair Manual............................................7-11
Transmission..................................................5-17
Fluid, Automatic...........................................5-17
Fluid, Manual..............................................5-20
Up-Shift Light..............................................3-27
Transportation Options...................................... 7-8
Traveling to Remote Areas...............................4-17
Trip Odometer................................................3-24
Turn and Lane-Change Signals.......................... 3-5
Turn Signal/Multifunction Lever........................... 3-5
Turn Signals When Towing a Trailer..................4-62
U
Underbody Flushing Service.............................6-30
Understanding Radio Reception........................3-69Uniform Tire Quality Grading............................5-59
United States ± Customer Assistance.................. 7-5
Up-Shift Light.................................................2-28
Used Replacement Wheels..............................5-61
Using HomeLink
ž...........................................2-47
Using RDS....................................3-43, 3-51, 3-60
Using Song List Mode.....................................3-66
Using the Recovery Hooks...............................4-43
V
Vehicle Identi®cation........................................5-83
Number (VIN).............................................5-83
Service Parts Identi®cation Label...................5-84
Vehicle Personalization....................................2-61
Memory Seat..............................................2-61
Vehicle Storage..............................................5-40
Vehicle............................................................ 4-7
Control........................................................ 4-7
Damage Warnings........................................... iv
Design......................................................... 4-3
Loading......................................................4-52
Parking Your...............................................2-38
Symbols......................................................... iv
Ventilation Adjustment......................................3-20
Visors...........................................................2-16
Voltmeter Gage..............................................3-27
15