Page 248 of 420
2. Firmly set the parking brake.
3. Put the automatic or manual transmission in
NEUTRAL (N).
4. Release the parking brake only after the vehicle
being towed is ®rmly attached to the towing
vehicle.
Notice:Do not exceed the posted speed limit when
towing your vehicle. If you do, your vehicle could
be badly damaged.
5. Turn the ignition to OFF. To prevent your battery
from draining while towing, remove the RDO BATT
and CLSTR fuses from the instrument panel
fuse block. Be sure to replace the fuse when you
reach your destination See
Fuses and Circuit
Breakers on page 5-85.
Dolly Towing (Two-Wheel Drive
Vehicles)
Front Towing (Front Wheels off the
Ground)
You can dolly tow your vehicle from the front. Use the
following steps to dolly tow your vehicle:
1. Follow the dolly manufacturer's instructions to
attach and secure the vehicle being towed to
the dolly and then the loaded dolly to the tow
vehicle.
2. Firmly set the parking brake.
4-50
Page 249 of 420

3. Put the automatic or manual transmission in
NEUTRAL (N).
4. Release the parking brake only after the vehicle
being towed is ®rmly attached to the towing
vehicle.
5. Turn the ignition to OFF. To prevent your battery
from draining while towing, remove the RDO BATT
and CLSTR fuses from the instrument panel
fuse block. Be sure to replace the fuse when you
reach your destination See
Fuses and Circuit
Breakers on page 5-85.
Notice:Do not exceed the posted speed limit when
towing your vehicle. If you do, your vehicle could
be badly damaged.
Notice:If you tow your vehicle from the front for
more than 50 miles (80 km) on a dolly, you could
damage it. Never dolly tow your vehicle from
the front more than 50 miles (80 km).
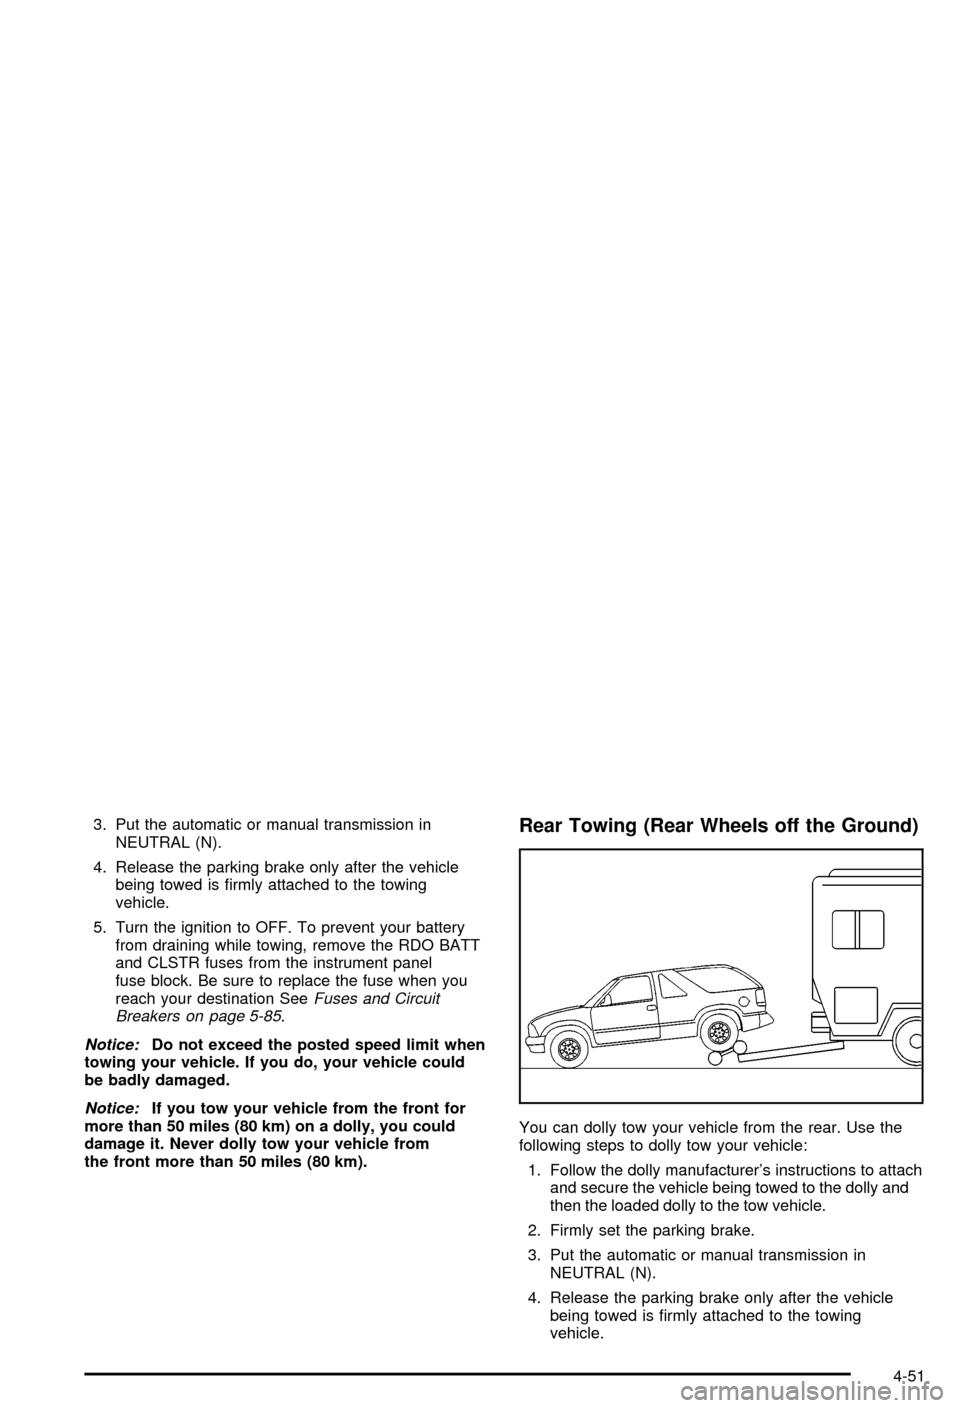
Rear Towing (Rear Wheels off the Ground)
You can dolly tow your vehicle from the rear. Use the
following steps to dolly tow your vehicle:
1. Follow the dolly manufacturer's instructions to attach
and secure the vehicle being towed to the dolly and
then the loaded dolly to the tow vehicle.
2. Firmly set the parking brake.
3. Put the automatic or manual transmission in
NEUTRAL (N).
4. Release the parking brake only after the vehicle
being towed is ®rmly attached to the towing
vehicle.
4-51
Page 250 of 420

Notice:Do not exceed the posted speed limit when
towing your vehicle. If you do, your vehicle could
be badly damaged.
5. Turn the ignition to OFF. To prevent your battery
from draining while towing, remove the RDO BATT
and CLSTR fuses from the instrument panel
fuse block. Be sure to replace the fuse when you
reach your destination See
Fuses and Circuit
Breakers on page 5-85.
Loading Your Vehicle
The Certi®cation/Tire label is found on the driver's door
edge, above the door latch.The label shows the size of your original tires and the
in¯ation pressures needed to obtain the gross weight
capacity of your vehicle. This is called the Gross Vehicle
Weight Rating (GVWR). The GVWR includes the
weight of the vehicle, all occupants, fuel, cargo and
trailer tongue weight, if pulling a trailer.
The Certi®cation/Tire label also tells you the maximum
weights for the front and rear axles, called Gross
Axle Weight Rating (GAWR). To ®nd out the actual loads
on your front and rear axles, you need to go to a
weigh station and weigh your vehicle. Your dealer can
help you with this. Be sure to spread out your load
equally on both sides of the centerline.
Never exceed the GVWR for your vehicle, or the GAWR
for either the front or rear axle.
If you do have a heavy load, you should spread it out.
Similar appearing vehicles may have different GVWRs
and payloads. Please note your vehicle's
Certi®cation/Tire label or consult your dealer for
additional details.
4-52
Page 263 of 420

Trailer Wiring Harness
The light-duty trailer wiring is a six-wire harness
assembly. The optional heavy-duty trailer wiring is an
eight-wire harness assembly. The harnesses are stored
under the vehicle, along the passenger-side frame
crossmember on two-door vehicles or on the driver's
side corner frame rear crossmember on four-door
vehicles. The heavy-duty trailer wiring is fused in the
engine compartment fuse block. See
Fuses and Circuit
Breakers on page 5-85. Both harnesses have no
connector and should be wired by a quali®ed electrical
technician. The technician can use the following
color code chart when connecting the wiring harness to
your trailer.
·Dark Blue: Use for electric trailer brakes or auxiliary
wiring (eight-wire harness only).
·Red: Use for battery charging; it connects to the
starter solenoid (eight-wire harness only).
·Light Green: Back-up lamps.
·Brown: Taillamps and parking lamps.
·Yellow: Driver's side stoplamp and turn signal.
·Dark Green: Passenger's side stoplamp and turn
signal.
·White: Ground wire.
·Light Blue: Auxiliary stoplamp.
Securely attach the harness to the trailer, then tape or
strap it to your vehicle's frame rail. Be sure you
leave it loose enough so the wiring doesn't bend or
break, but not so loose that it drags on the ground. Store
the harness in its original place. Wrap the harness
together and tie it neatly so it won't be damaged.
4-65
Page 266 of 420

If a Tire Goes Flat........................................5-62
Changing a Flat Tire.....................................5-63
Compact Spare Tire......................................5-75
Spare Tire...................................................5-76
Appearance Care............................................5-76
Cleaning the Inside of Your Vehicle.................5-77
Care of Safety Belts......................................5-78
Weatherstrips...............................................5-79
Cleaning the Outside of Your Vehicle..............5-79
Sheet Metal Damage.....................................5-81
Finish Damage.............................................5-81
Underbody Maintenance................................5-81
Chemical Paint Spotting.................................5-82
Vehicle Care/Appearance Materials..................5-82Vehicle Identi®cation......................................5-83
Vehicle Identi®cation Number (VIN).................5-83
Service Parts Identi®cation Label.....................5-84
Electrical System............................................5-84
Add-On Electrical Equipment..........................5-84
Headlamps..................................................5-84
Windshield Wiper Fuses................................5-85
Power Windows and Other Power Options.......5-85
Fuses and Circuit Breakers............................5-85
Capacities and Speci®cations..........................5-91
Normal Maintenance Replacement Parts..........5-92
Section 5 Service and Appearance Care
5-2
Page 268 of 420

CAUTION: (Continued)
·
Be sure to use the proper nuts, bolts and
other fasteners. ªEnglishº and ªmetricº
fasteners can be easily confused. If you
use the wrong fasteners, parts can later
break or fall off. You could be hurt.
Adding Equipment to the Outside of
Your Vehicle
Things you might add to the outside of your vehicle can
affect the air¯ow around it. This may cause wind
noise and affect windshield washer performance. Check
with your dealer before adding equipment to the
outside of your vehicle.
Fuel
Use of the recommended fuel is an important part of the
proper maintenance of your vehicle.
Gasoline Octane
Use regular unleaded gasoline with a posted octane
of 87 or higher. If the octane is less than 87, you may
get a heavy knocking noise when you drive. If this
occurs, use a gasoline rated at 87 octane or higher as
soon as possible. Otherwise, you might damage
your engine. A little pinging noise when you accelerate
or drive uphill is considered normal. This does not
indicate a problem exists or that a higher-octane fuel is
necessary. If you are using 87 octane or higher-octane
fuel and hear heavy knocking, your engine needs
service.
5-4
Page 275 of 420

A. Battery
B. Coolant Recovery Tank
C. Engine Oil Dipstick
D. Engine Oil Fill
E. Automatic Transmission Dipstick (If Equipped)
F. Power Steering Reservoir
G. Brake Master Cylinder Reservoir
H. Engine Air Cleaner/Filter
I. Clutch Master Cylinder Reservoir
J. Engine Compartment Fuse Block
K. Windshield Washer Fluid ReservoirEngine Oil
Checking Engine Oil
It's a good idea to check your engine oil every time you
get fuel. In order to get an accurate reading, the oil
must be warm and the vehicle must be on level ground.
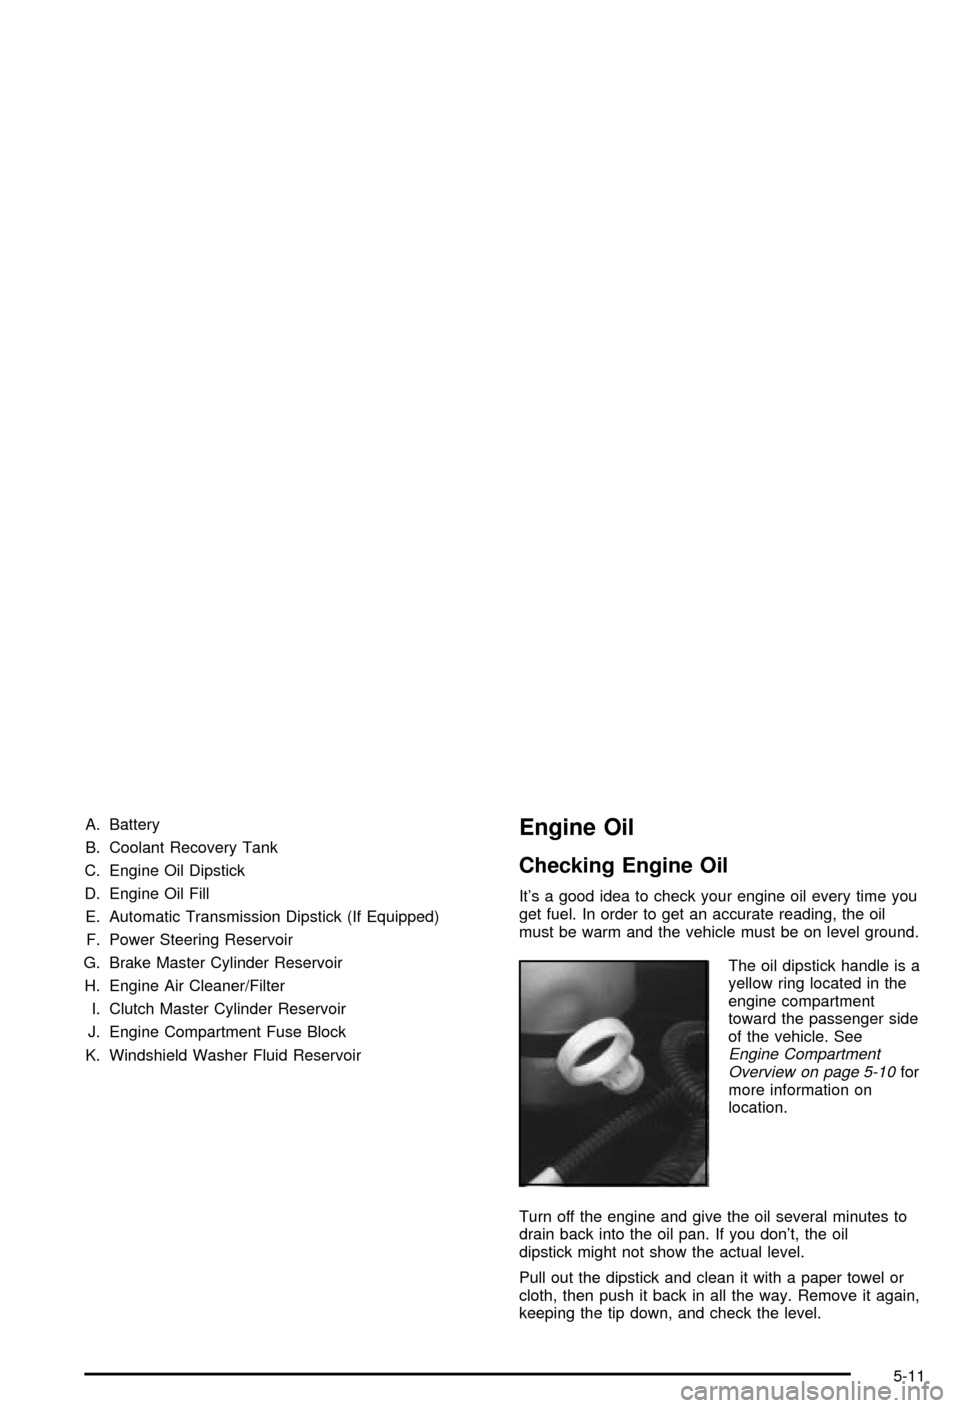
The oil dipstick handle is a
yellow ring located in the
engine compartment
toward the passenger side
of the vehicle. See
Engine Compartment
Overview on page 5-10for
more information on
location.
Turn off the engine and give the oil several minutes to
drain back into the oil pan. If you don't, the oil
dipstick might not show the actual level.
Pull out the dipstick and clean it with a paper towel or
cloth, then push it back in all the way. Remove it again,
keeping the tip down, and check the level.
5-11
Page 349 of 420

Windshield Wiper Fuses
The windshield wiper motor is protected by a circuit
breaker and a fuse. If the motor overheats due to heavy
snow or ice, the wiper will stop until the motor cools.
If the overload is caused by some electrical problem, be
sure to get it ®xed.
Power Windows and Other Power
Options
Circuit breakers protect the power windows and other
power accessories. When the current load is too heavy,
the circuit breaker opens and closes, protecting the
circuit until the problem is ®xed or goes away.
Fuses and Circuit Breakers
The wiring circuits in your vehicle are protected from
short circuits by a combination of fuses and circuit
breakers. This greatly reduces the chance of ®res
caused by electrical problems.
Look at the silver-colored band inside the fuse. If the
band is broken or melted, replace the fuse. Be sure you
replace a bad fuse with a new one of the identical
size and rating.
If you ever have a problem on the road and don't have
a spare fuse, you can borrow one that has the same
amperage. Just pick some feature of your vehicle
that you can get along withoutÐ like the radio or
cigarette lighterÐand use its fuse, if it is the correct
amperage. Replace it as soon as you can.
5-85