2003 CHEVROLET AVALANCHE parking brake
[x] Cancel search: parking brakePage 312 of 492

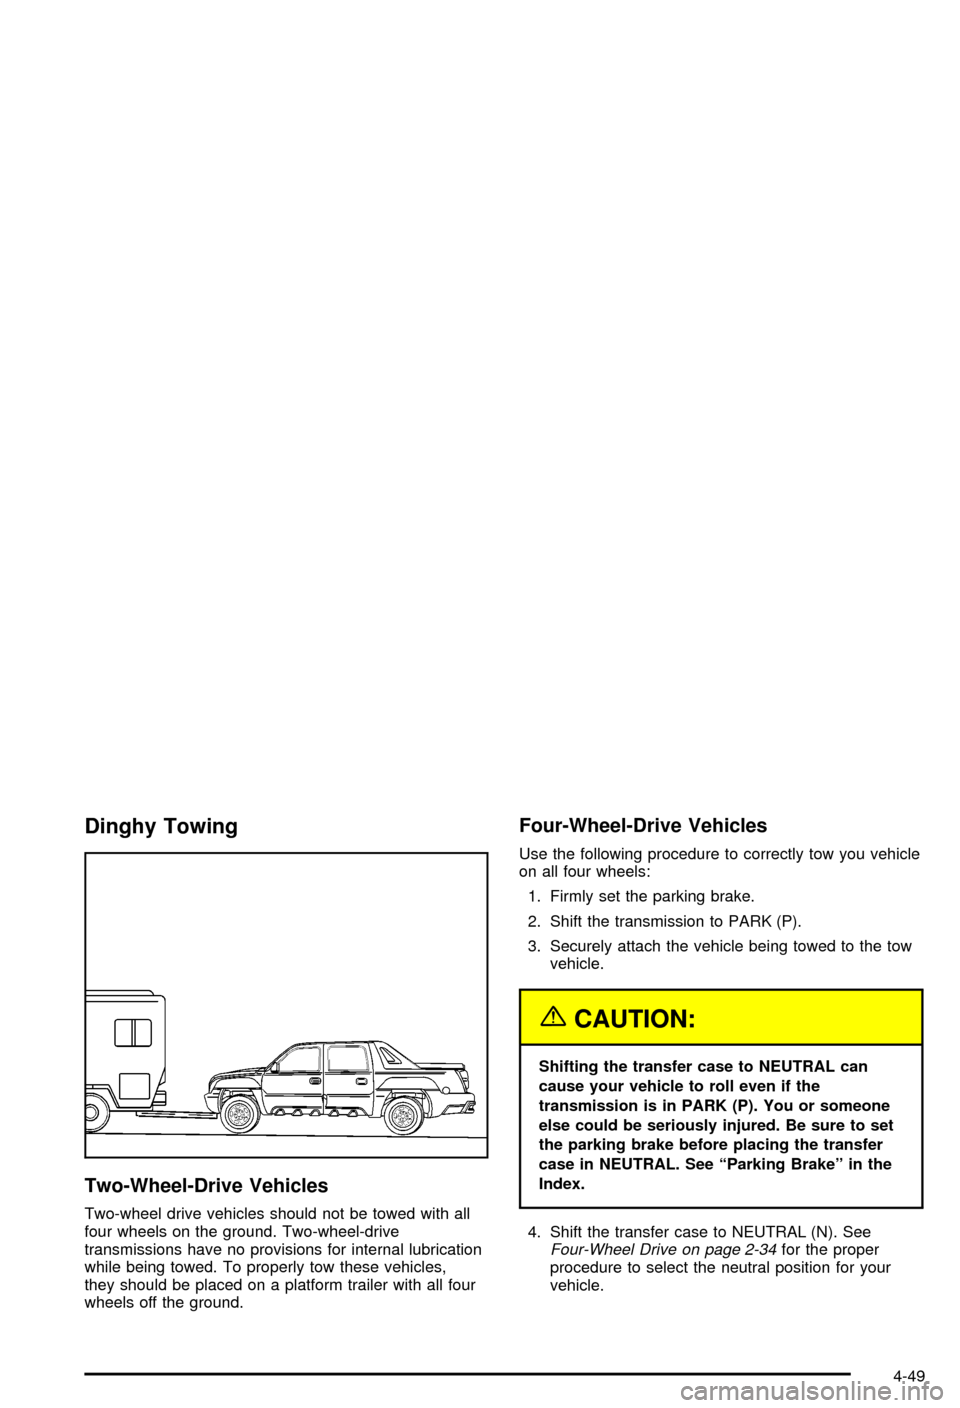
Dinghy Towing
Two-Wheel-Drive Vehicles
Two-wheel drive vehicles should not be towed with all
four wheels on the ground. Two-wheel-drive
transmissions have no provisions for internal lubrication
while being towed. To properly tow these vehicles,
they should be placed on a platform trailer with all four
wheels off the ground.
Four-Wheel-Drive Vehicles
Use the following procedure to correctly tow you vehicle
on all four wheels:
1. Firmly set the parking brake.
2. Shift the transmission to PARK (P).
3. Securely attach the vehicle being towed to the tow
vehicle.
{CAUTION:
Shifting the transfer case to NEUTRAL can
cause your vehicle to roll even if the
transmission is in PARK (P). You or someone
else could be seriously injured. Be sure to set
the parking brake before placing the transfer
case in NEUTRAL. See ªParking Brakeº in the
Index.
4. Shift the transfer case to NEUTRAL (N). See
Four-Wheel Drive on page 2-34for the proper
procedure to select the neutral position for your
vehicle.
4-49
Page 313 of 492

5. Release the parking brake only after the vehicle
being towed is ®rmly attached to the towing
vehicle.
6. When the vehicle is properly attached to the tow
vehicle and is ready to be towed, turn the ignition
to LOCK.
Dolly Towing
Two-Wheel-Drive Vehicles
Two-wheel-drive vehicles should not be towed with the
rear wheels on the ground. Two-wheel-drive
transmission have no provisions for internal lubrication
while being towed. To properly tow these vehicles,
they should be placed on a platform trailer with all four
wheels off the ground.
Four-Wheel-Drive Vehicles
Use the following procedure to correctly tow you vehicle
on two wheels:
1. Firmly set the parking brake.
2. Shift the transmission to PARK (P).
3. Securely attach the vehicle being towed to the tow
vehicle.
4-50
Page 314 of 492

{CAUTION:
Shifting the transfer case to NEUTRAL can
cause your vehicle to roll even if the
transmission is in PARK (P). You or someone
else could be seriously injured. Be sure to set
the parking brake before placing the transfer
case in NEUTRAL. See ªParking Brakeº in the
Index.
4. Shift the transfer case to NEUTRAL (N). See
Four-Wheel Drive on page 2-34for the proper
procedure to select the neutral position for your
vehicle.
5. Release the parking brake only after the vehicle
being towed is ®rmly attached to the towing
vehicle.
6. When the vehicle is properly attached to the tow
vehicle and is ready to be towed, turn the ignition
to LOCK.
Loading Your Vehicle
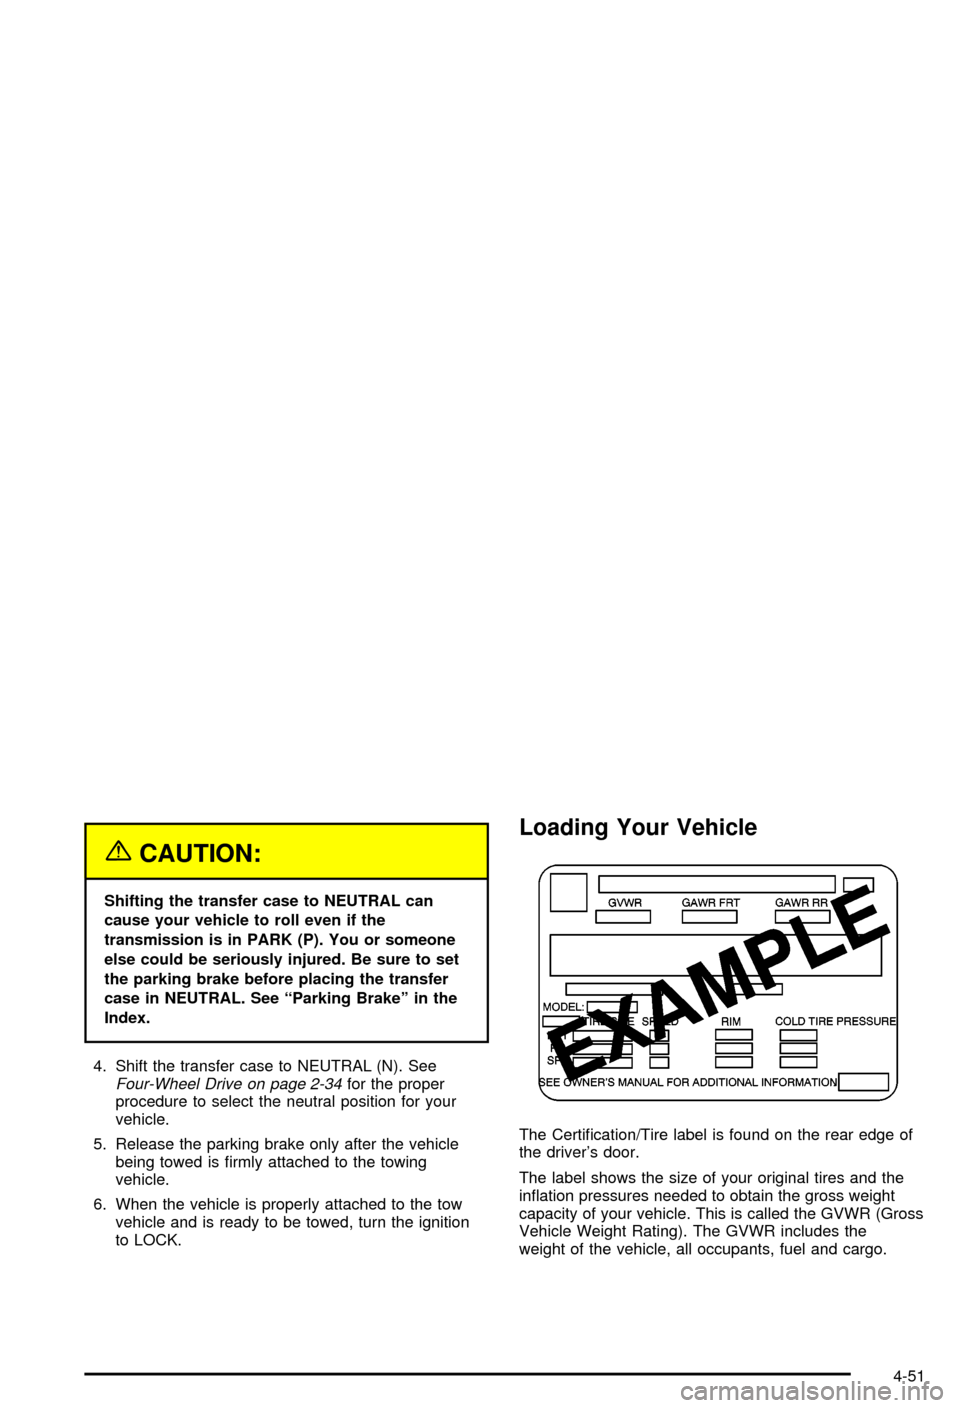
The Certi®cation/Tire label is found on the rear edge of
the driver's door.
The label shows the size of your original tires and the
in¯ation pressures needed to obtain the gross weight
capacity of your vehicle. This is called the GVWR (Gross
Vehicle Weight Rating). The GVWR includes the
weight of the vehicle, all occupants, fuel and cargo.
4-51
Page 329 of 492

Driving On Grades
Reduce speed and shift to a lower gearbeforeyou start
down a long or steep downgrade. If you don't shift
down, you might have to use your brakes so much that
they would get hot and no longer work well.
You can tow in DRIVE (D). You may want to shift the
transmission to THIRD (3) or, if necessary, a lower gear
selection if the transmission shifts too often (e.g.,
under heavy loads and/or hilly conditions).
You may also want to activate the tow/haul mode if the
transmission shifts too often. See ªTow/Haul Modeº
earlier in this section.
When towing at high altitude on steep uphill grades,
consider the following: Engine coolant will boil at a lower
temperature than at normal altitudes. If you turn your
engine off immediately after towing at high altitude
on steep uphill grades, your vehicle may show signs
similar to engine overheating. To avoid this, let the
engine run while parked (preferably on level ground)
with the automatic transmission in PARK (P) for a
few minutes before turning the engine off. If you do get
the overheat warning, see
Engine Overheating on
page 5-27.
Parking on Hills
{CAUTION:
You really should not park your vehicle, with a
trailer attached, on a hill. If something goes
wrong, your rig could start to move. People
can be injured, and both your vehicle and the
trailer can be damaged.
But if you ever have to park your rig on a hill, here's
how to do it:
1. Apply your regular brakes, but don't shift into
PARK (P) yet.
2. Have someone place chocks under the trailer
wheels.
3. When the wheel chocks are in place, release the
regular brakes until the chocks absorb the load.
4. Reapply the regular brakes. Then apply your
parking brake and shift into PARK (P).
4-66
Page 330 of 492

5. If you have a four-wheel-drive vehicle, be sure the
transfer case is in a drive gear and not in
NEUTRAL (N).
6. Release the regular brakes.
{CAUTION:
It can be dangerous to get out of your vehicle
if the shift lever is not fully in PARK (P) with
the parking brake ®rmly set. Your vehicle can
roll.
If you have left the engine running, the vehicle
can move suddenly. You or others could be
injured. To be sure your vehicle won't move,
even when you're on fairly level ground, use
the steps that follow.
Always put the shift lever fully in PARK (P)
with the parking brake ®rmly set.
If the transfer case on four-wheel-drive
vehicles is in NEUTRAL, your vehicle will be
free to roll, even if your shift lever is in PARK
(P). So, be sure the transfer case is in a drive
gear Ð not in NEUTRAL.
When You Are Ready to Leave After
Parking on a Hill
1. Apply your regular brakes and hold the pedal down
while you:
·start your engine,
·shift into a gear, and
·release the parking brake.
2. Let up on the brake pedal.
3. Drive slowly until the trailer is clear of the chocks.
4. Stop and have someone pick up and store the
chocks.
Maintenance When Trailer Towing
Your vehicle will need service more often when you're
pulling a trailer. See the Maintenance Schedule for more
on this. Things that are especially important in trailer
operation are automatic transmission ¯uid (don't over®ll),
engine oil, axle lubricant, belts, cooling system and
brake system. Each of these is covered in this manual,
and the Index will help you ®nd them quickly. If
you're trailering, it's a good idea to review these sections
before you start your trip.
Check periodically to see that all hitch nuts and bolts
are tight.
4-67
Page 334 of 492

Service............................................................5-3
Doing Your Own Service Work.........................5-4
Adding Equipment to the Outside of Your
Vehicle......................................................5-4
Fuel................................................................5-5
Gasoline Octane............................................5-5
Gasoline Speci®cations....................................5-5
California Fuel...............................................5-6
Additives.......................................................5-6
Fuels in Foreign Countries...............................5-7
Filling Your Tank............................................5-7
Filling a Portable Fuel Container.......................5-9
Checking Things Under the Hood....................5-10
Hood Release..............................................5-10
Engine Compartment Overview.......................5-12
Engine Oil...................................................5-15
Engine Air Cleaner/Filter................................5-20
Automatic Transmission Fluid.........................5-22
Engine Coolant.............................................5-24
Coolant Surge Tank Pressure Cap..................5-27
Engine Overheating.......................................5-27
Cooling System............................................5-30
Engine Fan Noise.........................................5-36Power Steering Fluid.....................................5-36
Windshield Washer Fluid................................5-38
Brakes........................................................5-39
Battery........................................................5-42
Jump Starting...............................................5-43
Rear Axle.......................................................5-49
Four-Wheel Drive............................................5-50
Front Axle......................................................5-51
Bulb Replacement..........................................5-52
Halogen Bulbs..............................................5-52
Headlamps..................................................5-52
Front Turn Signal, Sidemarker and Parking
Lamps.....................................................5-55
Front Turn Signal, Sidemarker and Daytime
Running Lamps.........................................5-56
Daytime Running Lamps................................5-58
Center High-Mounted Stoplamp (CHMSL).........5-58
Taillamps.....................................................5-58
Replacement Bulbs.......................................5-59
Windshield Wiper Blade Replacement..............5-60
Section 5 Service and Appearance Care
5-1
Page 356 of 492

Get the vehicle warmed up by driving about 15 miles
(24 km) when outside temperatures are above 50ÉF
(10ÉC). If it's colder than 50ÉF (10ÉC), drive the vehicle
in THIRD (3) until the engine temperature gage
moves and then remains steady for 10 minutes.
A cold ¯uid check can be made after the vehicle has
been sitting for eight hours or more with the engine off,
but this is used only as a reference. Let the engine
run at idle for ®ve minutes if outside temperatures are
50ÉF (10ÉC) or more. If it's colder than 50ÉF (10ÉC), you
may have to idle the engine longer. Should the ¯uid
level be low during this cold check, you
mustcheck the
¯uid hot before adding ¯uid. Checking the ¯uid hot
will give you a more accurate reading of the ¯uid level.
Checking the Fluid Level
Prepare your vehicle as follows:
·Park your vehicle on a level place. Keep the engine
running.
·With the parking brake applied, place the shift lever
in PARK (P).
·With your foot on the brake pedal, move the shift
lever through each gear range, pausing for about
three seconds in each range. Then, position the shift
lever in PARK (P).
·Let the engine run at idle for three minutes or more.Then, without shutting off the engine, follow these steps:
The transmission dipstick
handle with the graphic is
located at the rear of
the engine compartment,
on the passenger's side.
See
Engine Compartment Overview on page 5-12for
more information on location.
1. Flip the handle up and then pull out the dipstick
and wipe it with a clean rag or paper towel.
2. Push it back in all the way, wait three seconds and
then pull it back out again.
5-23
Page 377 of 492

2. Get the vehicles close enough so the jumper cables
can reach, but be sure the vehicles aren't touching
each other. If they are, it could cause a ground
connection you don't want. You wouldn't be able to
start your vehicle, and the bad grounding could
damage the electrical systems.
To avoid the possibility of the vehicles rolling, set
the parking brake ®rmly on both vehicles involved in
the jump start procedure. Put an automatic
transmission in PARK (P) or a manual transmission
in NEUTRAL before setting the parking brake.
Notice:If you leave your radio on, it could be badly
damaged. The repairs wouldn't be covered by
your warranty.
3. Turn off the ignition on both vehicles. Unplug
unnecessary accessories plugged into the cigarette
lighter or accessory power outlets. Turn off the
radio and all lamps that aren't needed. This
will avoid sparks and help save both batteries. And
it could save your radio!4. Open the hoods and locate the positive (+) and
negative (-) terminal locations of the other vehicle.
Your vehicle has a remote positive (+) jump
starting terminal and a remote negative (-) jump
starting terminal. You should always use these
remote terminals instead of the terminals on the
battery.
The remote positive (+)
terminal is located under a
red plastic cover near
the engine accessory drive
bracket. To access the
remote positive (+)
terminal, open the red
plastic cover.
5-44