Page 341 of 492
While refueling, hang the fuel cap by the tether using
the hook located on the inside of the ®ller door.
To remove the fuel cap, turn it slowly to the left
(counterclockwise).
{CAUTION:
If you get fuel on yourself and then something
ignites it, you could be badly burned. Fuel can
spray out on you if you open the fuel cap too
quickly. This spray can happen if your tank is
nearly full, and is more likely in hot weather.
Open the fuel cap slowly and wait for any
ªhissº noise to stop. Then unscrew the cap all
the way.
Be careful not to spill fuel. Clean fuel from painted
surfaces as soon as possible. See
Cleaning the Outside
of Your Vehicle on page 5-91.
5-8
Page 342 of 492

When you put the fuel cap back on, turn it to the right
(clockwise) until you hear a clicking sound. Make
sure you fully install the cap. The diagnostic system can
determine if the fuel cap has been left off or improperly
installed. this would allow fuel to evaporate into the
atmosphere. See
Malfunction Indicator Lamp on
page 3-41.
Notice:If you need a new fuel cap, be sure to get
the right type. Your dealer can get one for you.
If you get the wrong type, it may not ®t properly.
This may cause your malfunction indicator lamp to
light and may damage your fuel tank and emissions
system. See ªMalfunction Indicator Lampº in the
Index.
Filling a Portable Fuel Container
{CAUTION:
Never ®ll a portable fuel container while it is in
your vehicle. Static electricity discharge from
the container can ignite the gasoline vapor.
You can be badly burned and your vehicle
damaged if this occurs. To help avoid injury to
you and others:
·Dispense gasoline only into approved
containers.
·Do not ®ll a container while it is inside a
vehicle, in a vehicle's trunk, pickup bed or
on any surface other than the ground.
·Bring the ®ll nozzle in contact with the
inside of the ®ll opening before operating
the nozzle. Contact should be maintained
until the ®lling is complete.
·Don't smoke while pumping gasoline.
5-9
Page 348 of 492

A. Engine Air Cleaner/Filter. SeeEngine Air
Cleaner/Filter on page 5-20.
B. Coolant Surge Tank. See
Cooling System on
page 5-30andCoolant Surge Tank Pressure Cap
on page 5-27.
C. Air Filter Restriction Indicator (If Equipped). See
Engine Air Cleaner/Filter on page 5-20.
D. Engine Oil Dipstick. See
Engine Oil on page 5-15.
E. Automatic Transmission Dipstick. See
Automatic
Transmission Fluid on page 5-22.
F. Engine Oil Fill. See
Engine Oil on page 5-15.
G. Fan. See
Cooling System on page 5-30andEngine
Fan Noise on page 5-36.
H. Remote Negative (-) Terminal (GND). See
Jump
Starting on page 5-43.
I. Remote Positive (+) Terminal. See
Jump Starting on
page 5-43.
J. Power Steering Fluid Reservoir. See
Power Steering
Fluid on page 5-36.
K. Brake Fluid Reservoir. See
Brakes on page 5-39.
L. Underhood Fuse Block. See ªUnderhood Fuse Blockº
under
Fuses and Circuit Breakers on page 5-97.
M. Battery. See
Battery on page 5-42.
N. Windshield Washer Fluid Reservoir. See
Windshield
Washer Fluid on page 5-38.
Engine Oil
If the CHECK OIL LEVEL light appears on the
instrument cluster, it means you need to check your
engine oil level right away.
For more information, see ªCHECK OIL LEVELº under
DIC Warnings and Messages on page 3-57.
You should check your engine oil level regularly; this is
an added reminder.
Checking Engine Oil
It's a good idea to check your engine oil every time you
get fuel. In order to get an accurate reading, the oil
must be warm and the vehicle must be on level ground.
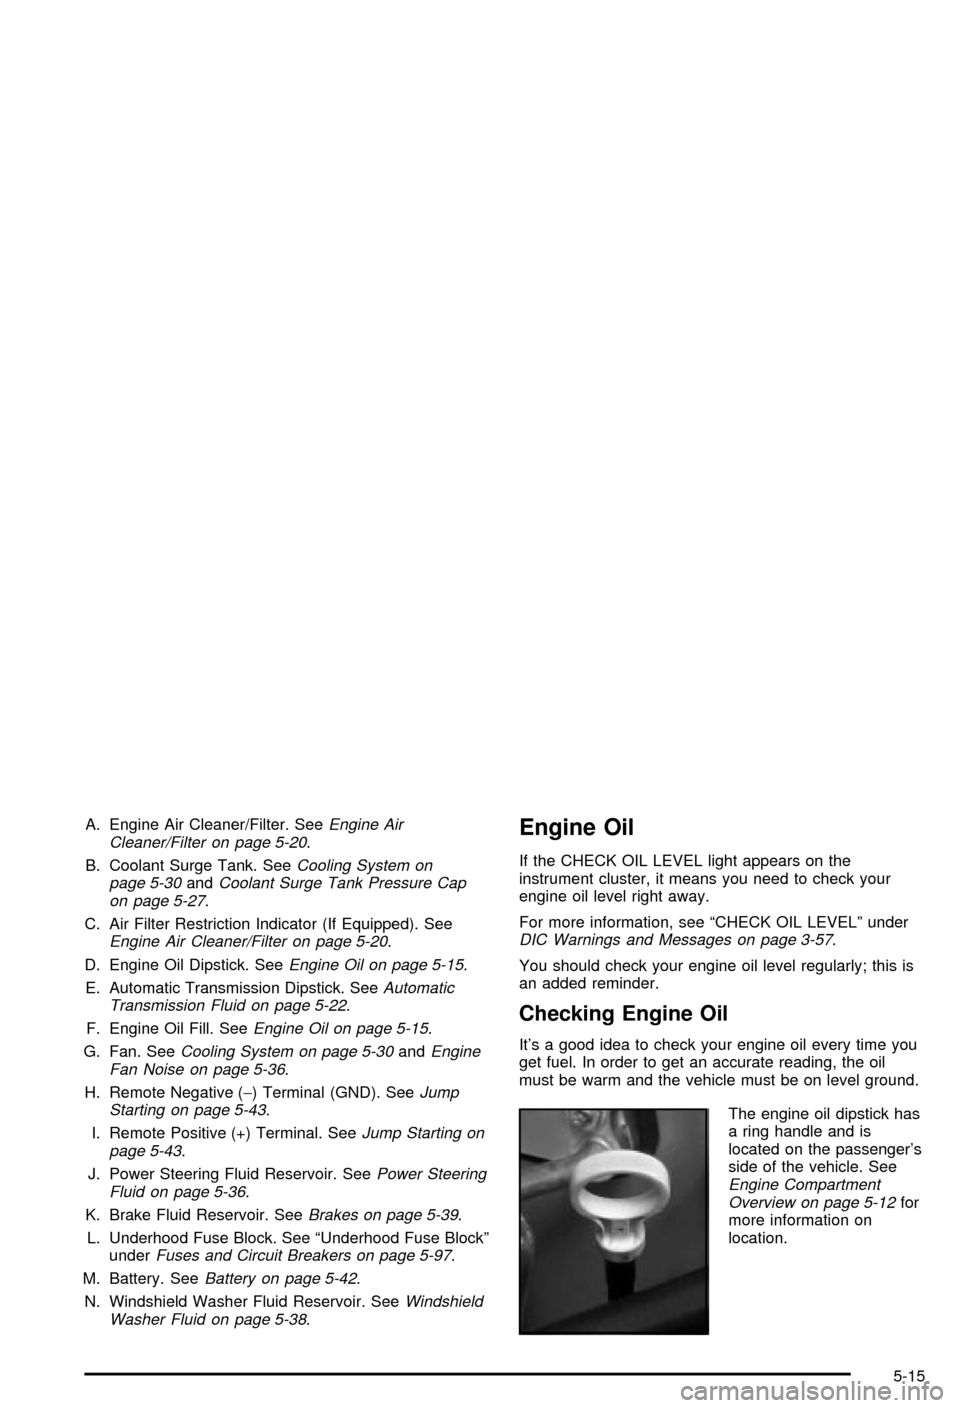
The engine oil dipstick has
a ring handle and is
located on the passenger's
side of the vehicle. See
Engine Compartment
Overview on page 5-12for
more information on
location.
5-15
Page 369 of 492
5. Then replace the pressure cap. Be sure the
pressure cap is hand-tight and fully seated.
Engine Fan Noise
Your vehicle has a clutched engine cooling fan. When
the clutch is engaged, the fan spins faster to provide
more air to cool the engine. In most everyday driving
conditions, the fan is spinning slower and the clutch is
not fully engaged. This improves fuel economy and
reduces fan noise. Under heavy vehicle loading, trailer
towing and/or high outside temperatures, the fan
speed increases as the clutch more fully engages.So you may hear an increase in fan noise. This is
normal and should not be mistaken as the transmission
slipping or making extra shifts. It is merely the cooling
system functioning properly. The fan will slow down
when additional cooling is not required and the clutch
disengages.
You may also hear this fan noise when you start the
engine. It will go away as the fan clutch partially
disengages.
Power Steering Fluid
8100 V8 Engine
5-36
Page 395 of 492

In¯ation -- Tire Pressure
The Certi®cation/Tire label, which is on the rear edge of
the driver's door, shows the correct in¯ation pressures
for your tires when they're cold. ªColdº means your
vehicle has been sitting for at least three hours or driven
no more than 1 mile (1.6 km).
Notice:Don't let anyone tell you that underin¯ation
or overin¯ation is all right. It's not. If your tires
don't have enough air (underin¯ation), you can get
the following:
·Too much ¯exing
·Too much heat
·Tire overloading
·Bad wear
·Bad handling
·Bad fuel economy
If your tires have too much air (overin¯ation), you
can get the following:
·Unusual wear
·Bad handling
·Rough ride
·Needless damage from road hazards
When to Check
Check your tires once a month or more.
Also, check the tire pressure of the spare tire.
How to Check
Use a good quality pocket-type gage to check tire
pressure. You can't tell if your tires are properly in¯ated
simply by looking at them. Radial tires may look
properly in¯ated even when they're underin¯ated.
Be sure to put the valve caps back on the valve stems.
They help prevent leaks by keeping out dirt and
moisture.
Tire Inspection and Rotation
Tires should be rotated every 7,500 miles (12 500 km).
Any time you notice unusual wear, rotate your tires
as soon as possible and check wheel alignment. Also
check for damaged tires or wheels. See
When It Is Time
for New Tires on page 5-64andWheel Replacement
on page 5-67for more information.
Make sure the spare tire is stored securely. Push, pull,
and then try to rotate or turn the tire. If it moves,
use the wheel wrench/hoist shaft to tighten the cable.
See
Changing a Flat Tire on page 5-70.
5-62
Page 440 of 492
Capacities and Speci®cations (cont'd)
ApplicationCapacities
English Metric
Engine Oil with Filter
VORTECŸ 5300 V8 (VIN Code T)
VORTECŸ 8100 V8 (VIN Code G)6.0 quarts
6.5 quarts5.7 L
6.1 L
Fuel Tank Capacity
1500
250031.0 gallons
37.5 gallons117.0 L
142.0 L
Air Conditioning Refrigerat R-134a 1.6 lbs. 0.7 kg
Wheels and Tires
Model Description Torque
C/K 1500 6 bolts (14 mm) 140 lb ft (190Y)
C/K 2500 8 bolts (14 mm) 140 lb ft (190Y)
Tire Pressure See the Certi®cation/Tire label on the rear edge of the driver's door.
5-107
Page 441 of 492
Normal Maintenance Replacement Parts
Replacement part numbers listed in this section are based on the latest information available at the time of printing,
and are subject to change. If a part listed in this manual is not the same as the part used in your vehicle when it was
built, or if you have any questions, please contact your GM dealer.
These speci®cations are for information only. If you have any questions, see the service manual.
VIN Code T G
Oil Filter PF44* PF454*
Engine Air Cleaner /Filter ²²A1519C* A1518C*
PCV Valve CV2001±C* None
Spark Plugs 41±974* / PZTR5A15² 41±983* / PZTR5A15²
Fuel Filter GF626* GF626*
Wiper Blades 15153642** 15153642**
Wiper Blade Length 22 inches (56.0 cm) 22 inches (56.0 cm)
*ACDelco
žpart number
**GM part number
²NGK part number
²²A1518C High-capacity engine air cleaner/®lter may be substituted.
5-108
Page 451 of 492

qChange transfer case ¯uid.
qExcept 8.1L V8 Engine: Inspect Positive Crankcase
Ventilation (PCV) valve.
An Emission Control
Service.
150,000 Miles (240 000 km)
·Drain, ¯ush and re®ll cooling system (or every
60 months since last service, whichever occurs
®rst). See
Engine Coolant on page 5-24for what to
use. Inspect hoses. Clean radiator, condenser,
pressure cap and neck. Pressure test the cooling
system and pressure cap.
An Emission Control
Service.
·Inspect engine accessory drive belt.An Emission
Control Service.
Part B: Owner Checks and Services
Listed in this part are owner checks and services
which should be performed at the intervals speci®ed to
help ensure the safety, dependability and emission
control performance of your vehicle.
Be sure any necessary repairs are completed at once.
Whenever any ¯uids or lubricants are added to your
vehicle, make sure they are the proper ones, as shown
in Part D.
At Each Fuel Fill
It is important for you or a service station attendant to
perform these underhood checks at each fuel ®ll.
Engine Oil Level Check
Check the engine oil level and add the proper oil if
necessary. SeeEngine Oil on page 5-15for further
details.
Engine Coolant Level Check
Check the engine coolant level and add DEX-COOLž
coolant mixture if necessary. SeeEngine Coolant
on page 5-24for further details.
6-10