2003 CHEVROLET AVALANCHE brake light
[x] Cancel search: brake lightPage 110 of 492

{CAUTION:
Shifting the transfer case to NEUTRAL can
cause your vehicle to roll even if the
transmission is in PARK (P). You or someone
else could be seriously injured. Be sure to set
the parking brake before placing the transfer
case in NEUTRAL. See²Parking Brake²in the
Index.
NEUTRAL:Shift the vehicle's transfer case to
NEUTRAL only when towing your vehicle. See
Recreational Vehicle Towing on page 4-48orTowing
Your Vehicle on page 4-48for more information.
Indicator lights in the switches show which setting you
are in. The indicator lights will come on brie¯y when you
turn on the ignition and one will stay on. If the lights
do not come on, you should take your vehicle to your
dealer for service. An indicator light will ¯ash while
shifting the transfer case. It will remain illuminated when
the shift is complete. If for some reason the transfer
case cannot make a requested shift, it will return to the
last chosen setting.If the SERVICE 4WD message stays on, you should
take your vehicle to your dealer for service. See²Service
4WD message²under
Driver Information Center (DIC)
on page 3-46.
Shifting into 4HI or AUTO 4WD
Press and release the 4 hi or AUTO 4WD switch. This
can be done at any speed (except when shifting
from 4LO), and the indicator light will ¯ash while shifting.
It will remain illuminated when the shift is completed.
Shifting into 2HI
Press and release the 2 hi switch. This can be done at
any speed (except when shifting from 4LO).
Shifting into 4LO
To shift to the 4 lo position, the ignition must be in RUN
and the vehicle must be stopped or moving less than
3 mph (4.8 km/h) with the transmission in NEUTRAL (N).
The preferred method for shifting into 4LO is to have
your vehicle moving 1 to 2 mph (1.6 to 3.2 km/h). Press
and release the 4 lo switch. You must wait for the
4LO indicator light to stop ¯ashing and remain
illuminated before shifting your transmission in gear.
2-36
Page 112 of 492

Shifting into NEUTRAL
To shift the transfer case to NEUTRAL do the following:
1. Make sure the vehicle is parked so that it will not
roll.
2. Set the parking brake.
3. Start the vehicle or turn the ignition to RUN.
4. Connect the vehicle to the towing vehicle.
5. Put the transmission in NEUTRAL (N).
6. Shift the transfer case to 2HI.
7. Simultaneously press and hold the 2HI and 4LO
buttons for 10 seconds. The red NEUTRAL light
will come on when the transfer case shift to
NEUTRAL is complete.
8. Shift the transmission to REVERSE (R) for one
second, then shift the transmission to DRIVE (D)
for one second.
9. Turn the ignition to LOCK.
10. Place the transmission shift lever in PARK (P).
11. Release the parking brake prior to towing.
Shifting Out of NEUTRAL
To shift out of NEUTRAL:
1. Set the parking brake and apply the regular brake
pedal.
2. Shift the transmission to NEUTRAL (N) and turn the
ignition to RUN with the engine off.
3. Press the button for the desired transfer case shift
position (2HI, 4HI, AUTO 4WD OR 4 LO).
4. After the transfer case has shifted out of NEUTRAL
the red light will go out.
5. Release the parking brake.
6. You may start the engine and shift the transmission
to the desired position.
2-38
Page 113 of 492

Excessively shifting the transfer case into or out of the
different modes may cause the transfer case to
enter the shift protection mode. This will protect the
transfer case from possible damage and will only allow
the transfer case to respond to one shift per 10
seconds. The transfer case may stay in this mode for
up to three minutes.
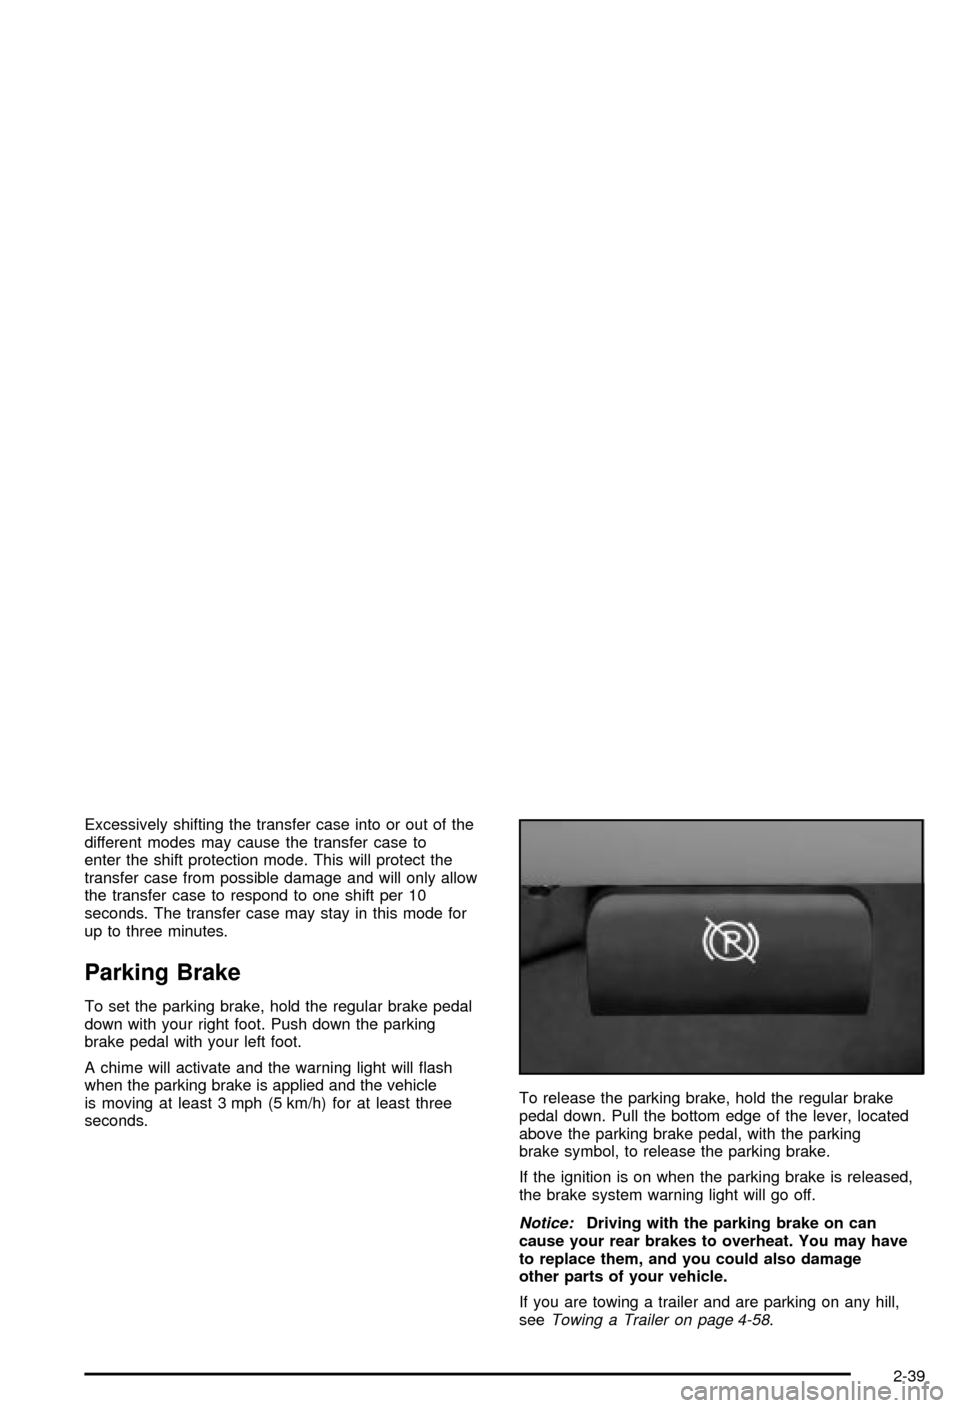
Parking Brake
To set the parking brake, hold the regular brake pedal
down with your right foot. Push down the parking
brake pedal with your left foot.
A chime will activate and the warning light will ¯ash
when the parking brake is applied and the vehicle
is moving at least 3 mph (5 km/h) for at least three
seconds.To release the parking brake, hold the regular brake
pedal down. Pull the bottom edge of the lever, located
above the parking brake pedal, with the parking
brake symbol, to release the parking brake.
If the ignition is on when the parking brake is released,
the brake system warning light will go off.
Notice:Driving with the parking brake on can
cause your rear brakes to overheat. You may have
to replace them, and you could also damage
other parts of your vehicle.
If you are towing a trailer and are parking on any hill,
see
Towing a Trailer on page 4-58.
2-39
Page 161 of 492

Instrument Panel Overview...............................3-4
Hazard Warning Flashers................................3-6
Other Warning Devices...................................3-6
Horn.............................................................3-7
Tilt Wheel.....................................................3-7
Turn Signal/Multifunction Lever.........................3-7
Exterior Lamps.............................................3-13
Interior Lamps..............................................3-17
Accessory Power Outlets...............................3-19
Ashtrays and Cigarette Lighter........................3-19
Climate Controls............................................3-20
Automatic Climate Control System...................3-20
Dual Climate Control System..........................3-26
Outlet Adjustment.........................................3-28
Climate Controls Personalization.....................3-29
Warning Lights, Gages and Indicators.............3-30
Instrument Panel Cluster................................3-31
Speedometer and Odometer...........................3-32
Tachometer.................................................3-33
Safety Belt Reminder Light.............................3-33Air Bag Readiness Light................................3-33
Passenger Air Bag Status Indicator.................3-34
Charging System Light..................................3-36
Voltmeter Gage............................................3-36
Brake System Warning Light..........................3-37
Anti-Lock Brake System Warning Light.............3-38
Traction Off Light..........................................3-38
Engine Coolant Temperature Gage..................3-39
Transmission Temperature Gage.....................3-40
Malfunction Indicator Lamp.............................3-41
Oil Pressure Gage........................................3-43
Security Light...............................................3-44
Cruise Control Light......................................3-44
Tow/Haul Mode Light....................................3-45
Fuel Gage...................................................3-45
Low Fuel Warning Light.................................3-45
Driver Information Center (DIC).......................3-46
DIC Operation and Displays...........................3-46
DIC Warnings and Messages.........................3-57
Section 3 Instrument Panel
3-1
Page 165 of 492

The main components of your instrument panel are the
following:
A. Air Outlets. See
Outlet Adjustment on page 3-28.
B. Exterior Lamps Control. See
Exterior Lamps
on page 3-13.
C. Cargo/Top-Box Lamps Button. See
Exterior Lamps
on page 3-13.
D. Automatic Transfer Case Buttons (If Equipped). See
Four-Wheel Drive on page 2-34. Traction Assist
System (If Equipped). SeeTraction Assist System
(TAS) on page 4-10. StabiliTrakžButton (If Equipped).
SeeStabilitrakžSystem on page 4-12.
E. OnStaržand Radio Steering Wheel Buttons (If
Equipped). SeeOnStaržSystem on page 2-53andAudio Steering Wheel Controls on page 3-101.
F. Instrument Panel Cluster. See
Instrument Panel
Cluster on page 3-31.
G. Shift Lever/Tow/Haul Selector Button. See
Automatic
Transmission Operation on page 2-31.
H. Audio System. See
Audio System(s) on page 3-64.
I. Dome Override Button. See
Interior Lamps on
page 3-17.J. Fog Lamps Button. See
Exterior Lamps on
page 3-13.
K. Turn Signal/Multifunction Lever. See
Turn
Signal/Multifunction Lever on page 3-7.
L. Hood Release. See
Hood Release on page 5-10.
M. Tilt Lever. See
Tilt Wheel on page 3-7.
N. Driver Information Center (DIC) Buttons. See
Driver
Information Center (DIC) on page 3-46.
O. Parking Brake Release. See
Parking Brake on
page 2-39.
P. Comfort Control Systems. See
Automatic Climate
Control System on page 3-20andDual Climate
Control System on page 3-26.
Q. Lighter (If Equipped) or Accessory Power Outlet (If
Equipped). See
Ashtrays and Cigarette Lighter
on page 3-19andAccessory Power Outlets
on page 3-19.
R. Accessory Power Outlet (If Equipped). See
Accessory Power Outlets on page 3-19.
S. Glove Box. See
Glove Box on page 2-59.
3-5
Page 171 of 492

Setting Cruise Control
{CAUTION:
If you leave your cruise control on when you're
not using cruise, you might hit a button and go
into cruise when you don't want to. You could
be startled and even lose control. Keep the
cruise control switch off until you want to use
cruise control.
1. Move the cruise control switch to on.
2. Get up to the speed you want.
3. Press in the set button at the end of the lever and
release it.
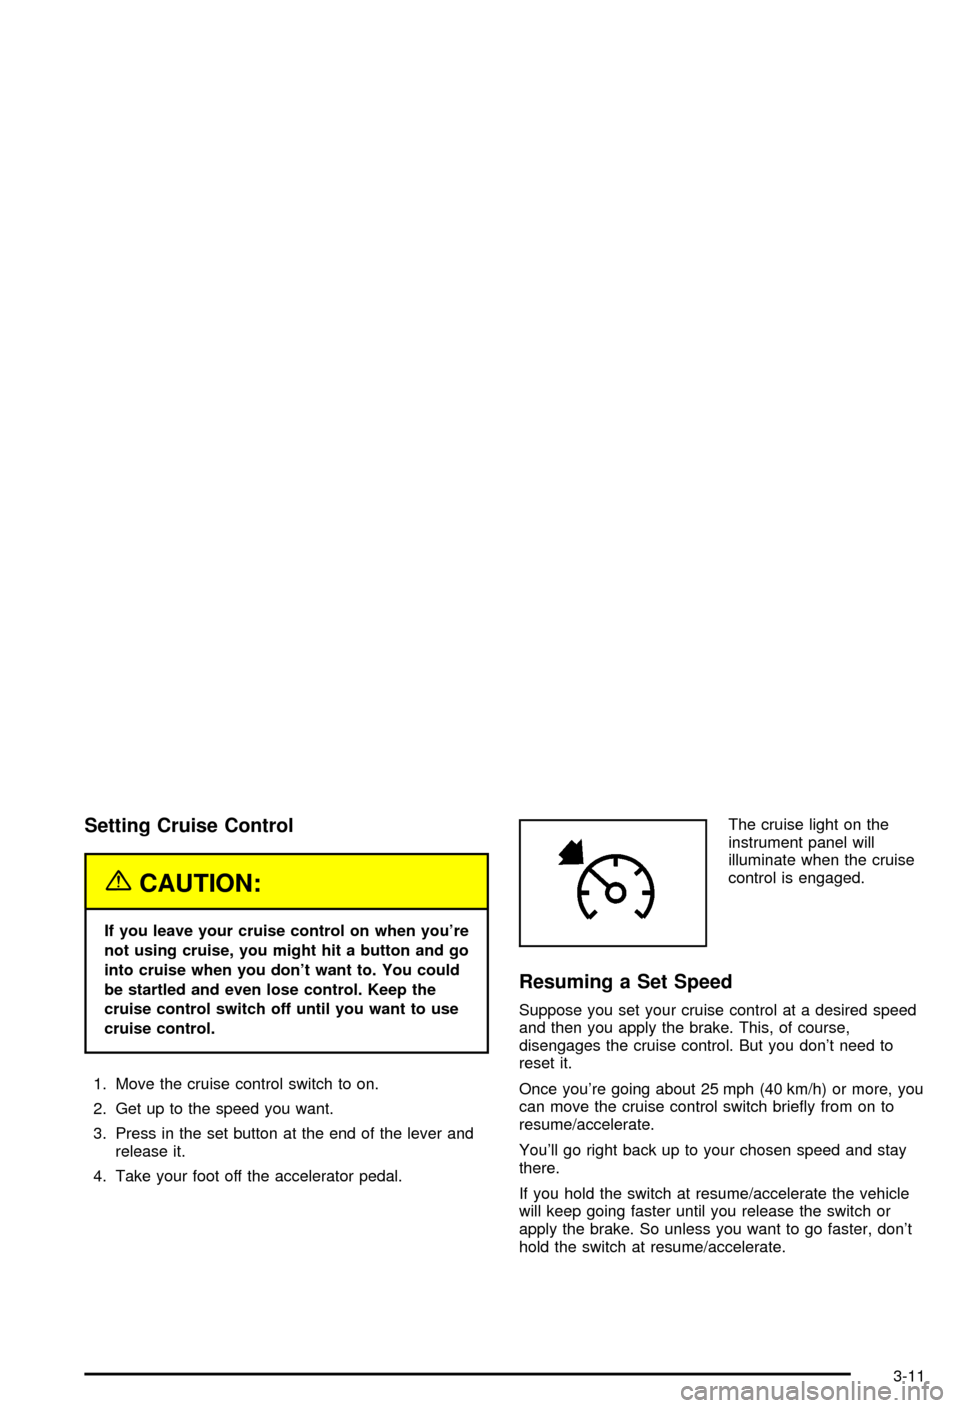
4. Take your foot off the accelerator pedal.The cruise light on the
instrument panel will
illuminate when the cruise
control is engaged.
Resuming a Set Speed
Suppose you set your cruise control at a desired speed
and then you apply the brake. This, of course,
disengages the cruise control. But you don't need to
reset it.
Once you're going about 25 mph (40 km/h) or more, you
can move the cruise control switch brie¯y from on to
resume/accelerate.
You'll go right back up to your chosen speed and stay
there.
If you hold the switch at resume/accelerate the vehicle
will keep going faster until you release the switch or
apply the brake. So unless you want to go faster, don't
hold the switch at resume/accelerate.
3-11
Page 172 of 492

Increasing Speed While Using Cruise
Control
There are two ways to go to a higher speed:
·Use the accelerator pedal to get to the higher
speed. Press the set button at the end of the lever,
then release the button and the accelerator
pedal. You'll now cruise at the higher speed.
·Move the cruise switch from on to
resume/accelerate. Hold it there until you get up to
the speed you want, and then release the switch.
To increase your speed in very small amounts,
move the switch brie¯y to resume/accelerate. Each
time you do this, your vehicle will go about
1 mph (1.6 km/h) faster.
Reducing Speed While Using Cruise
Control
·
Press in the button at the end of the lever until you
reach the lower speed you want, then release it.
·To slow down in very small amounts, brie¯y press
the set button. Each time you do this, you'll go
about 1 mph (1.6 km/h) slower.
Passing Another Vehicle While Using
Cruise Control
Use the accelerator pedal to increase your speed.
When you take your foot off the pedal, your vehicle will
slow down to the cruise control speed you set earlier.
Using Cruise Control on Hills
How well your cruise control will work on hills depends
upon your speed, load and the steepness of the
hills. When going up steep hills, you may want to step
on the accelerator pedal to maintain your speed.
When going downhill, you may have to brake or shift to
a lower gear to keep your speed down. Of course,
applying the brake takes you out of cruise control. Many
drivers ®nd this to be too much trouble and don't use
cruise control on steep hills.
Ending Cruise Control
There are four ways to turn off the cruise control:
·Step lightly on the brake pedal,
·move the cruise control switch to off, or
·shift the transmission to NEUTRAL (N).
·If your vehicle has the Stabilitrakžfeature, cruise
control will deactivate if road conditions cause
Stabilitrak
žto activate.
The cruise control will turn off automatically if the
traction control system or Stabilitrak
žsystem activate, if
your vehicle is equipped with either feature.
Erasing Speed Memory
When you turn off the cruise control or the ignition, your
cruise control set speed memory is erased.
3-12
Page 197 of 492

Readings in either warning zone indicate a possible
problem in the electrical system. Have the vehicle
serviced as soon as possible.
Brake System Warning Light
With the ignition on, the brake system warning light will
¯ash when you set the parking brake. The light will ¯ash if
the parking brake doesn't release fully. If you try to drive
with the parking brake engaged, a chime will sound when
the vehicle speed is greater than 3 mph (5 km/h).
Your vehicle's hydraulic brake system is divided into two
parts. If one part isn't working, the other part can still
work and stop you. For good braking, though, you need
both parts working well.
If the warning light comes on and a chime sounds there
could be a brake problem. Have your brake system
inspected right away.This light should come on brie¯y when you turn the
ignition key to RUN. If it doesn't come on then, have it
®xed so it will be ready to warn you if there's a problem.
If the light comes on while you are driving, pull off the
road and stop carefully. You may notice that the pedal is
harder to push. Or, the pedal may go closer to the
¯oor. It may take longer to stop. If the light is still on,
have the vehicle towed for service. See
Towing
Your Vehicle on page 4-48.
{CAUTION:
Your brake system may not be working
properly if the brake system warning light is
on. Driving with the brake system warning light
on can lead to an accident. If the light is still
on after you've pulled off the road and stopped
carefully, have the vehicle towed for service.
United States
Canada
3-37