Page 213 of 382
Driving On Grades
Reduce speed and shift to a lower gearbeforeyou start
down a long or steep downgrade. If you don't shift
down, you might have to use your brakes so much that
they would get hot and no longer work well.
You can tow in DRIVE (D). You may want to shift
the transmission to THIRD (3) or, if necessary, a
lower gear selection if the transmission shifts too often
(e.g., under heavy loads and/or hilly conditions).
When towing at high altitude on steep uphill grades,
consider the following: Engine coolant will boil at a lower
temperature than at normal altitudes. If you turn your
engine off immediately after towing at high altitude
on steep uphill grades, your vehicle may show signs
similar to engine overheating. To avoid this, let the
engine run while parked (preferably on level ground)
with the automatic transmission in PARK (P) for a
few minutes before turning the engine off. If you do get
the overheat warning, see
Engine Overheating on
page 5-31.
Parking on Hills
{CAUTION:
You really should not park your vehicle, with a
trailer attached, on a hill. If something goes
wrong, your rig could start to move. People
can be injured, and both your vehicle and the
trailer can be damaged.
But if you ever have to park your rig on a hill, here's
how to do it:
1. Apply your regular brakes, but don't shift into
PARK (P) yet.
2. Have someone place chocks under the trailer
wheels.
3. When the wheel chocks are in place, release the
regular brakes until the chocks absorb the load.
4. Reapply the regular brakes. Then apply your
parking brake, and shift to PARK (P).
5. Release the regular brakes.
4-39
Page 214 of 382
When You Are Ready to Leave After
Parking on a Hill
1. Apply your regular brakes and hold the pedal down
while you:
·start your engine,
·shift into a gear, and
·release the parking brake.
2. Let up on the brake pedal.
3. Drive slowly until the trailer is clear of the chocks.
4. Stop and have someone pick up and store the
chocks.
Maintenance When Trailer Towing
Your vehicle will need service more often when you're
pulling a trailer. See the Maintenance Schedule for more
on this. Things that are especially important in trailer
operation are automatic transmission ¯uid (don't over®ll),
engine oil, axle lubricant, belt, cooling system and
brake system. Each of these is covered in this manual,
and the Index will help you ®nd them quickly. If
you're trailering, it's a good idea to review these sections
before you start your trip.
Check periodically to see that all hitch nuts and bolts
are tight.
4-40
Page 217 of 382

Service............................................................5-3
Doing Your Own Service Work.........................5-3
Adding Equipment to the Outside
of Your Vehicle...........................................5-4
Fuel................................................................5-5
Gasoline Octane............................................5-5
Gasoline Speci®cations....................................5-5
California Fuel...............................................5-6
Additives.......................................................5-6
Fuels in Foreign Countries...............................5-7
Filling Your Tank............................................5-8
Filling a Portable Fuel Container.....................5-10
Checking Things Under the Hood....................5-11
Hood Release..............................................5-11
Engine Compartment Overview.......................5-14
Engine Oil...................................................5-15
Engine Cover...............................................5-20
Engine Air Cleaner/Filter................................5-24
Automatic Transmission Fluid.........................5-25
Engine Coolant.............................................5-28
Radiator Pressure Cap..................................5-30
Engine Overheating.......................................5-31Cooling System............................................5-33
Engine Fan Noise.........................................5-39
Power Steering Fluid.....................................5-40
Windshield Washer Fluid................................5-41
Brakes........................................................5-42
Battery........................................................5-46
Jump Starting...............................................5-47
All-Wheel Drive..............................................5-52
Rear Axle.......................................................5-53
Front Axle......................................................5-54
Bulb Replacement..........................................5-55
Halogen Bulbs..............................................5-55
Headlamps..................................................5-55
Front Turn Signal Lamps...............................5-59
Taillamps.....................................................5-60
Replacement Bulbs.......................................5-61
Windshield Wiper Blade Replacement..............5-62
Tires..............................................................5-63
In¯ation Ð Tire Pressure...............................5-64
Tire Inspection and Rotation...........................5-64
When It Is Time for New Tires.......................5-66
Section 5 Service and Appearance Care
5-1
Page 227 of 382
Checking Things Under
the Hood
{CAUTION:
Things that burn can get on hot engine parts
and start a ®re. These include liquids like fuel,
oil, coolant, brake ¯uid, windshield washer and
other ¯uids, and plastic or rubber. You or
others could be burned. Be careful not to drop
or spill things that will burn onto a hot engine.
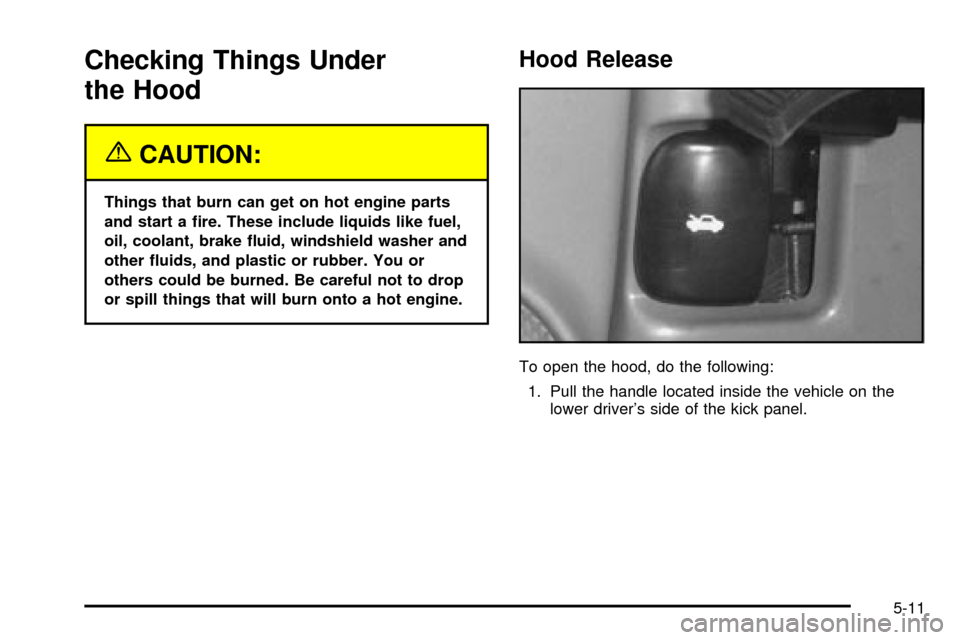
Hood Release
To open the hood, do the following:
1. Pull the handle located inside the vehicle on the
lower driver's side of the kick panel.
5-11
Page 231 of 382
A. Windshield Washer Fluid
B. Engine Coolant
C. Engine Oil Dipstick
D. Transmission Dipstick
E. Engine Air Cleaner/Filter
F. Engine Oil Fill
G. Brake Master Cylinder Reservoir
H. Power Steering Fluid Reservoir
I. Battery
Engine Oil
Checking Engine Oil
It's a good idea to check your engine oil every time you
get fuel. In order to get an accurate reading, the oil
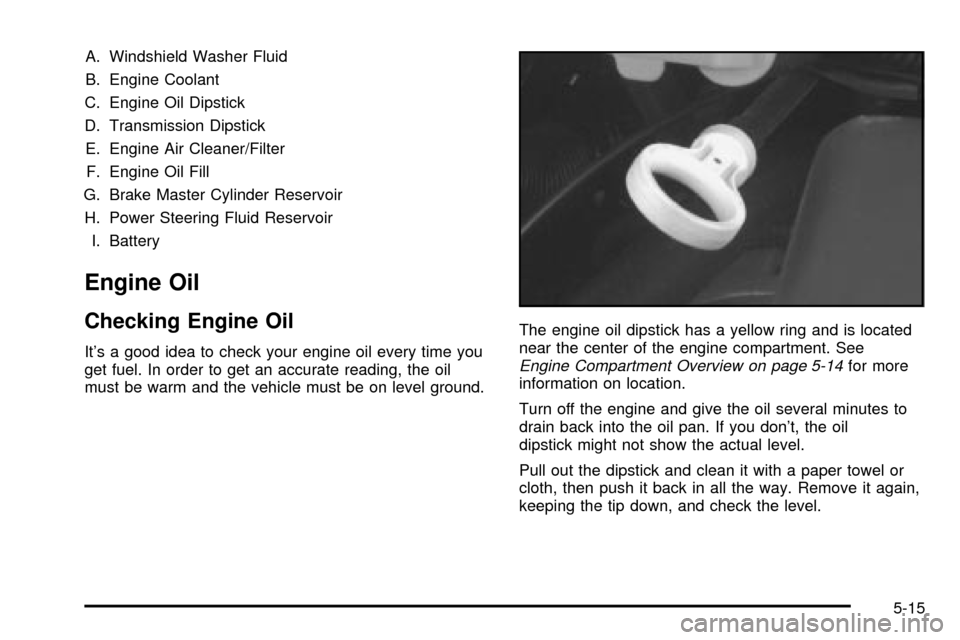
must be warm and the vehicle must be on level ground.The engine oil dipstick has a yellow ring and is located
near the center of the engine compartment. SeeEngine Compartment Overview on page 5-14for more
information on location.
Turn off the engine and give the oil several minutes to
drain back into the oil pan. If you don't, the oil
dipstick might not show the actual level.
Pull out the dipstick and clean it with a paper towel or
cloth, then push it back in all the way. Remove it again,
keeping the tip down, and check the level.
5-15
Page 242 of 382
Get the vehicle warmed up by driving about 15 miles
(24 km) when outside temperatures are above 50ÉF
(10ÉC). If it's colder than 50ÉF (10ÉC), drive the vehicle
in THIRD (3) until the engine temperature gage
moves and then remains steady for 10 minutes.
A cold ¯uid check can be made after the vehicle has
been sitting for eight hours or more with the engine off,
but this is used only as a reference. Let the engine
run at idle for ®ve minutes if outside temperatures are
50ÉF (10ÉC) or more.
If it's colder than 50ÉF (10ÉC), you may have to idle the
engine longer. Should the ¯uid level be low during
this cold check, you
mustcheck the ¯uid hot before
adding ¯uid. Checking the ¯uid hot will give you a more
accurate reading of the ¯uid level.
Checking the Fluid Level
Prepare your vehicle as follows:
·Park your vehicle on a level place. Keep the engine
running.
·With the parking brake applied, place the shift lever
in PARK (P).
·With your foot on the brake pedal, move the shift
lever through each gear range, pausing for about
three seconds in each range. Then, position the shift
lever in PARK (P).
·Let the engine run at idle for three minutes or more.Then, without shutting off the engine, follow these steps:
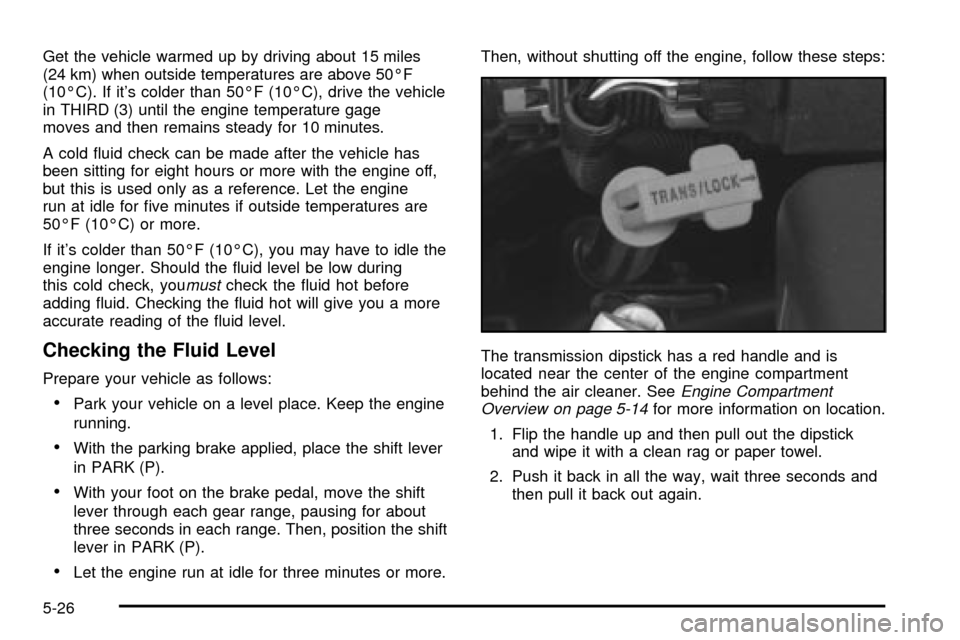
The transmission dipstick has a red handle and is
located near the center of the engine compartment
behind the air cleaner. See
Engine Compartment
Overview on page 5-14for more information on location.
1. Flip the handle up and then pull out the dipstick
and wipe it with a clean rag or paper towel.
2. Push it back in all the way, wait three seconds and
then pull it back out again.
5-26
Page 258 of 382
Brakes
Brake Fluid
Your brake master cylinder reservoir is ®lled with DOT-3
brake ¯uid. SeeEngine Compartment Overview on
page 5-14for the location of the reservoir.There are only two reasons why the brake ¯uid level in
the reservoir might go down. The ®rst is that the
brake ¯uid goes down to an acceptable level during
normal brake lining wear. When new linings are put in,
the ¯uid level goes back up. The other reason is
that ¯uid is leaking out of the brake system. If it is, you
should have your brake system ®xed, since a leak
means that sooner or later your brakes won't work well,
or won't work at all.
So, it isn't a good idea to ªtop offº your brake ¯uid.
Adding brake ¯uid won't correct a leak. If you add ¯uid
when your linings are worn, then you'll have too
much ¯uid when you get new brake linings. You should
add (or remove) brake ¯uid, as necessary, only when
work is done on the brake hydraulic system.
5-42
Page 259 of 382
{CAUTION:
If you have too much brake ¯uid, it can spill on
the engine. The ¯uid will burn if the engine is
hot enough. You or others could be burned,
and your vehicle could be damaged. Add brake
¯uid only when work is done on the brake
hydraulic system. See ªChecking Brake Fluidº
in this section.
Refer to the Maintenance Schedule to determine when
to check your brake ¯uid. See
Part C: Periodic
MaintenanceInspections on page 6-30.
Checking Brake Fluid
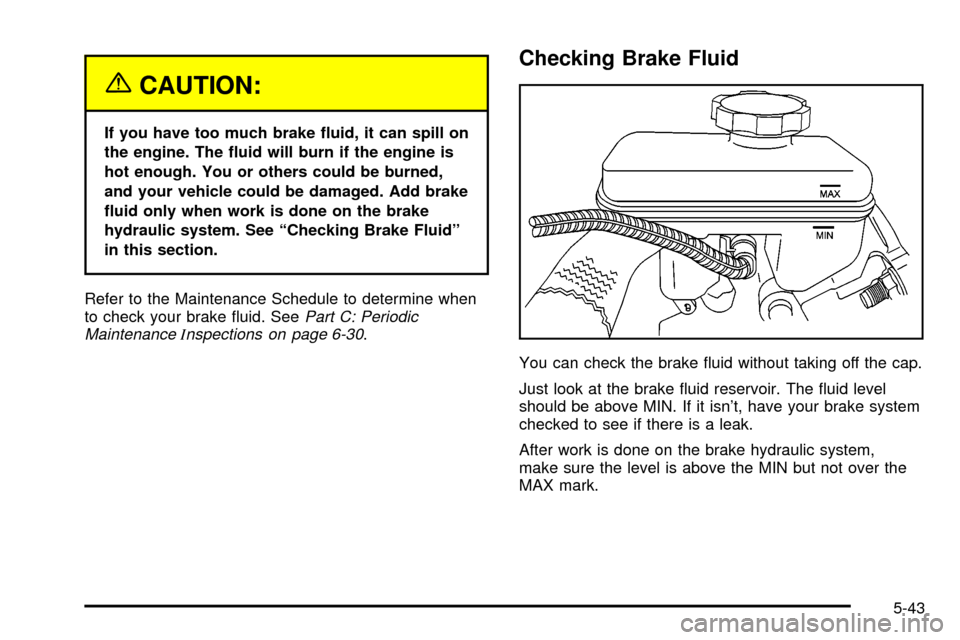
You can check the brake ¯uid without taking off the cap.
Just look at the brake ¯uid reservoir. The ¯uid level
should be above MIN. If it isn't, have your brake system
checked to see if there is a leak.
After work is done on the brake hydraulic system,
make sure the level is above the MIN but not over the
MAX mark.
5-43