2003 CADILLAC SEVILLE odometer
[x] Cancel search: odometerPage 113 of 408

Instrument Panel Overview...............................3-4
Hazard Warning Flashers................................3-6
Other Warning Devices...................................3-7
Horn.............................................................3-7
Tilt Wheel.....................................................3-7
Turn Signal/Multifunction Lever.........................3-9
Exterior Lamps.............................................3-16
Interior Lamps..............................................3-21
Ultrasonic Rear Parking
Assist (URPA)...........................................3-24
Accessory Power Outlets...............................3-26
Ashtrays and Cigarette Lighter........................3-27
Climate Controls............................................3-28
Dual Climate Control System..........................3-28
Outlet Adjustment.........................................3-33
Rear Climate Control System.........................3-34
Passenger Compartment Air Filter...................3-35
Steering Wheel Climate Controls.....................3-35
Climate Controls Personalization.....................3-36
Warning Lights, Gages and Indicators.............3-37
Instrument Panel Cluster................................3-38
Speedometer and Odometer...........................3-39
Tachometer.................................................3-41Safety Belt Reminder Light.............................3-41
Air Bag Readiness Light................................3-42
Charging System Light..................................3-43
Brake System Warning and Parking Brake
Indicator Light...........................................3-43
Anti-Lock Brake System Warning Light.............3-44
Traction Control System (TCS)
Warning Light...........................................3-45
Engine Coolant Temperature Warning Light......3-46
Engine Coolant Temperature Gage..................3-46
Malfunction Indicator Lamp.............................3-47
Oil Pressure Light.........................................3-50
Security Light...............................................3-51
Fog Lamp Light............................................3-51
Lights On Reminder......................................3-51
Cruise Control Light......................................3-51
Fuel Gage...................................................3-52
Driver Information Center (DIC).......................3-53
DIC Controls and Displays.............................3-53
DIC Warnings and Messages.........................3-56
Climate Controls and Radio System
Personalization..........................................3-63
DIC Vehicle Personalization............................3-64
Section 3 Instrument Panel
3-1
Page 151 of 408
Speedometer and Odometer
The speedometer lets you see your speed in both
miles per hour (mph) and kilometers per hour (km/h).
The odometer shows how far your vehicle has
been driven, in either miles (used in the United States)
or kilometers (used in Canada).
You may wonder what happens if a vehicle has to have
a new odometer installed. The new one may read
the correct mileage. This is because your vehicle's
computer has stored the mileage in memory.
Trip Odometers
The trip odometer can record the number of miles or
kilometers traveled for up to two trips.
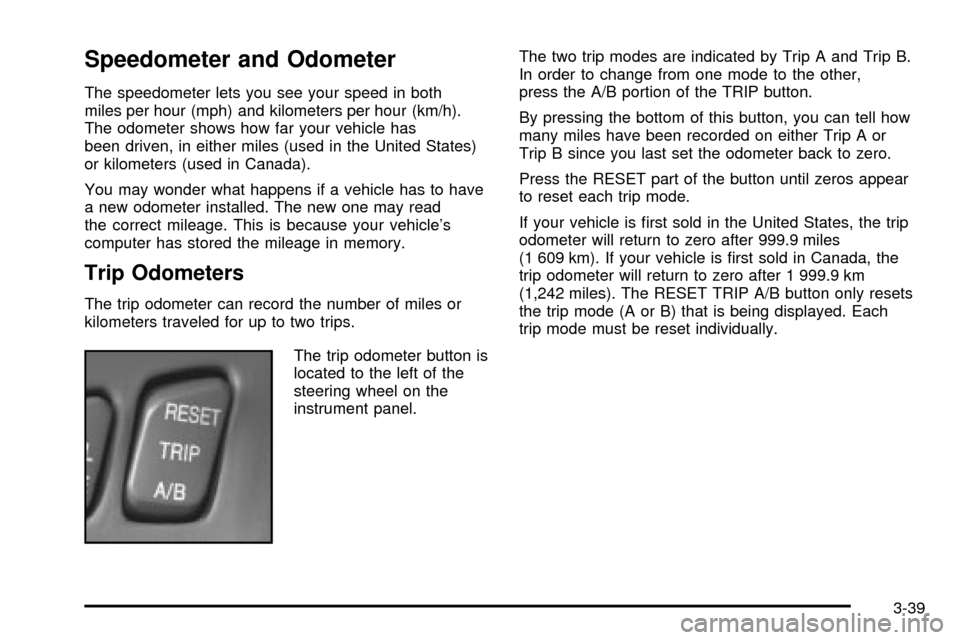
The trip odometer button is
located to the left of the
steering wheel on the
instrument panel.The two trip modes are indicated by Trip A and Trip B.
In order to change from one mode to the other,
press the A/B portion of the TRIP button.
By pressing the bottom of this button, you can tell how
many miles have been recorded on either Trip A or
Trip B since you last set the odometer back to zero.
Press the RESET part of the button until zeros appear
to reset each trip mode.
If your vehicle is ®rst sold in the United States, the trip
odometer will return to zero after 999.9 miles
(1 609 km). If your vehicle is ®rst sold in Canada, the
trip odometer will return to zero after 1 999.9 km
(1,242 miles). The RESET TRIP A/B button only resets
the trip mode (A or B) that is being displayed. Each
trip mode must be reset individually.
3-39
Page 152 of 408
Display Mode
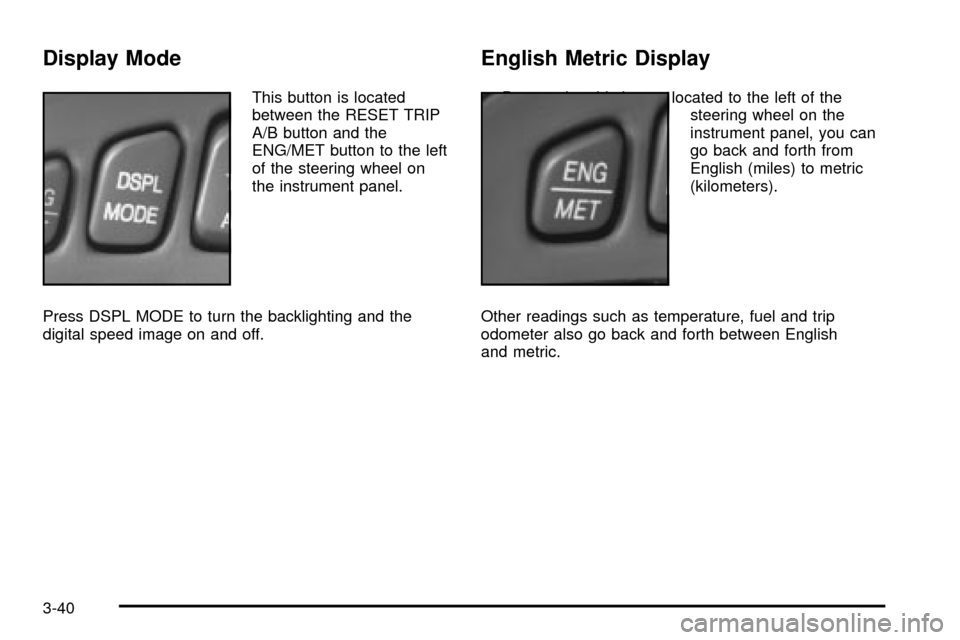
This button is located
between the RESET TRIP
A/B button and the
ENG/MET button to the left
of the steering wheel on
the instrument panel.
Press DSPL MODE to turn the backlighting and the
digital speed image on and off.
English Metric Display
By pressing this button located to the left of the
steering wheel on the
instrument panel, you can
go back and forth from
English (miles) to metric
(kilometers).
Other readings such as temperature, fuel and trip
odometer also go back and forth between English
and metric.
3-40
Page 165 of 408
Driver Information Center (DIC)
This display gives you the status of many of your
vehicle's systems. The DIC is also used to display driver
personalization features and warning/status messages.
All messages will appear in the DIC display, located
at the bottom of the instrument panel cluster.
DIC Controls and Displays
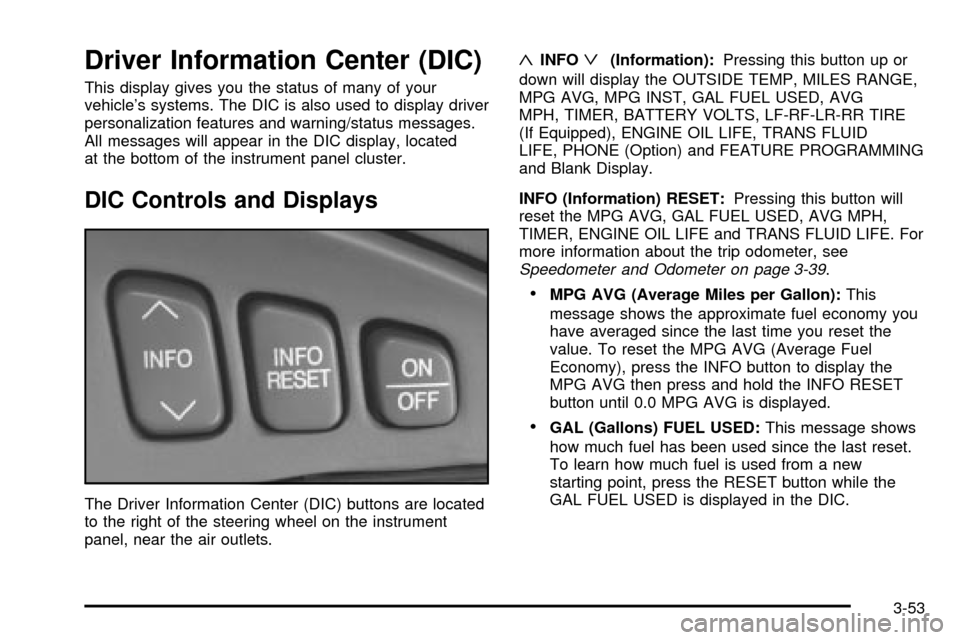
The Driver Information Center (DIC) buttons are located
to the right of the steering wheel on the instrument
panel, near the air outlets.
«INFOª(Information):Pressing this button up or
down will display the OUTSIDE TEMP, MILES RANGE,
MPG AVG, MPG INST, GAL FUEL USED, AVG
MPH, TIMER, BATTERY VOLTS, LF-RF-LR-RR TIRE
(If Equipped), ENGINE OIL LIFE, TRANS FLUID
LIFE, PHONE (Option) and FEATURE PROGRAMMING
and Blank Display.
INFO (Information) RESET:Pressing this button will
reset the MPG AVG, GAL FUEL USED, AVG MPH,
TIMER, ENGINE OIL LIFE and TRANS FLUID LIFE. For
more information about the trip odometer, see
Speedometer and Odometer on page 3-39.
·MPG AVG (Average Miles per Gallon):This
message shows the approximate fuel economy you
have averaged since the last time you reset the
value. To reset the MPG AVG (Average Fuel
Economy), press the INFO button to display the
MPG AVG then press and hold the INFO RESET
button until 0.0 MPG AVG is displayed.
·GAL (Gallons) FUEL USED:This message shows
how much fuel has been used since the last reset.
To learn how much fuel is used from a new
starting point, press the RESET button while the
GAL FUEL USED is displayed in the DIC.
3-53
Page 331 of 408
Wheel Alignment and Tire Balance
The wheels on your vehicle were aligned and balanced
carefully at the factory to give you the longest tire life
and best overall performance.
Scheduled wheel alignment and wheel balancing are
not needed. However, if you notice unusual tire wear or
your vehicle pulling one way or the other, the alignment
may need to be reset. If you notice your vehicle
vibrating when driving on a smooth road, your wheels
may need to be rebalanced.
Wheel Replacement
Replace any wheel that is bent, cracked or badly rusted
or corroded. If wheel nuts keep coming loose, the
wheel, wheel bolts and wheel nuts should be replaced.
If the wheel leaks air, replace it (except some
aluminum wheels, which can sometimes be repaired).
See your dealer if any of these conditions exist.
Your dealer will know the kind of wheel you need.
Each new wheel should have the same load-carrying
capacity, diameter, width, offset and be mounted
the same way as the one it replaces.If you need to replace any of your wheels, wheel bolts
or wheel nuts, replace them only with new GM
original equipment parts. This way, you will be sure to
have the right wheel, wheel bolts and wheel nuts
for your vehicle.
{CAUTION:
Using the wrong replacement wheels, wheel
bolts or wheel nuts on your vehicle can be
dangerous. It could affect the braking and
handling of your vehicle, make your tires lose
air and make you lose control. You could have
a collision in which you or others could be
injured. Always use the correct wheel, wheel
bolts and wheel nuts for replacement.
Notice:The wrong wheel can also cause problems
with bearing life, brake cooling, speedometer or
odometer calibration, headlamp aim, bumper height,
vehicle ground clearance and tire or tire chain
clearance to the body and chassis.
See
Changing a Flat Tire on page 5-74for more
information.
5-71
Page 367 of 408

Footnotes
²The U.S. Environmental Protection Agency or the
California Air Resources Board has determined that the
failure to perform this maintenance item will not nullify
the emission warranty or limit recall liability prior to
the completion of the vehicle's useful life. We, however,
urge that all recommended maintenance services be
performed at the indicated intervals and the
maintenance be recorded.
+A good time to check your brakes is during tire
rotation. See Brake System Inspection on page 6-14.
Engine Oil Scheduled Maintenance
Change engine oil and ®lter as indicated by the GM
Oil Life System (or every 12 months, whichever
occurs ®rst). Reset the system.
Your vehicle has a computer system that lets you know
when to change the engine oil and ®lter. This is
based on engine revolutions and engine temperature,
and not on mileage. Based on driving conditions,
the mileage at which an oil change will be indicated can
vary considerably. For the oil life system to work
properly, you must reset the system every time the oil is
changed.When the system has calculated that oil life has been
diminished, it will indicate that an oil change is
necessary. A CHANGE ENGINE OIL message in the
Driver Information Center (DIC) will come on. Change
your oil as soon as possible within the next two
times you stop for fuel. It is possible that, if you are
driving under the best conditions, the oil life system may
not indicate that an oil changed is necessary for over
a year. However, your engine oil and ®lter must be
changed at least once a year and at this time the system
must be reset. Your dealer has GM-trained service
people who will perform this work using genuine GM
parts and reset the system.
It is also important to check your oil regularly and keep
it at the proper level.
If the system is ever reset accidentally, you must
change your oil at 3,000 miles, (5 000 km) since your
last oil change. Remember to reset the oil life system
whenever the oil is changed. See
Engine Oil on
page 5-13for information on resetting the system.
An Emission Control Service.
See the mileage intervals following for additional
services that may be performed with an engine oil
change. After the services are performed, record the
date, odometer reading and who performed the service
on the maintenance record pages in Part E of this
schedule.
6-5
Page 378 of 408
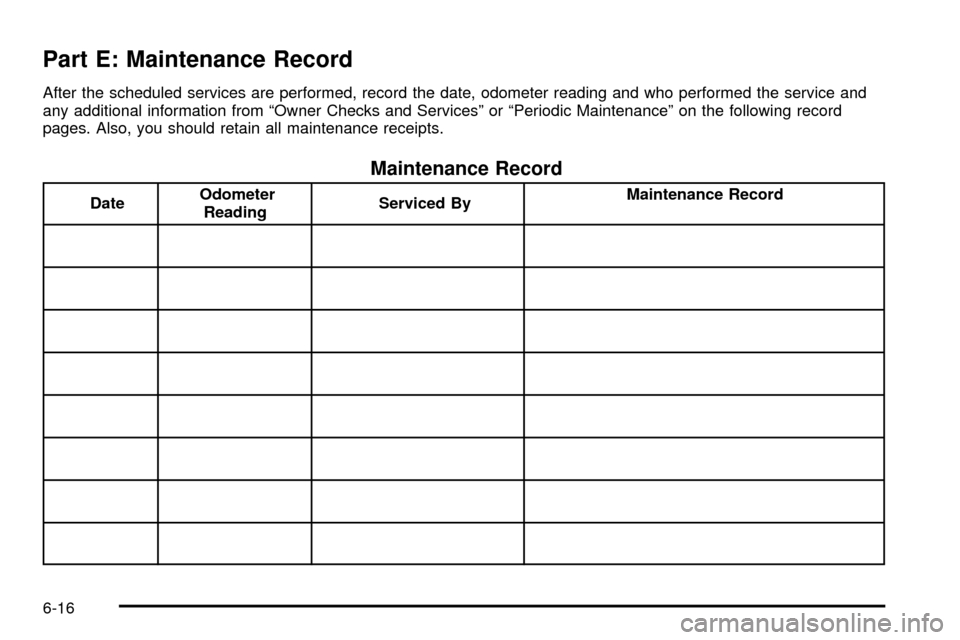
Part E: Maintenance Record
After the scheduled services are performed, record the date, odometer reading and who performed the service and
any additional information from ªOwner Checks and Servicesº or ªPeriodic Maintenanceº on the following record
pages. Also, you should retain all maintenance receipts.
Maintenance Record
DateOdometer
ReadingServiced ByMaintenance Record
6-16
Page 379 of 408
Maintenance Record (cont'd)
DateOdometer
ReadingServiced ByMaintenance Record
6-17