2003 BUICK PARK AVENUE brake light
[x] Cancel search: brake lightPage 86 of 372

Notice:If your key seems stuck in LOCK and you
can't turn it, be sure you are using the correct key; if
so, is it all the way in? If it is, then turn the steering
wheel left and right while you turn the key hard.
Turn the key only with your hand. Using a tool
to force it could break the key or the ignition switch.
If none of these works, then your vehicle needs
service.
C (OFF):This position lets you turn off the engine but
still turn the steering wheel. It doesn't lock the
steering wheel like LOCK and it doesn't send any power
to the accessories. The instrument panel cluster will
remain powered in OFF to illuminate the gear shift
indicator. The cluster will also activate the parking brake
light when the parking brake is set. Use OFF if you
must have your vehicle in motion while the engine is not
running.
D (RUN):This is the position that the switch returns to
after you start your engine and release the ignition
key. This is the position for driving. Even when
the engine is not running, you can use RUN to operate
your electrical accessories and to display some
instrument panel warning lights.
E (START):This position starts your engine. When the
engine starts, release the ignition key. The switch
will return to RUN for normal driving.Key Reminder Warning
If you leave your key in the ignition, with the engine off,
you will hear a warning chime when you open the
driver's door.
Retained Accessory Power (RAP)
After you turn the ignition off and remove the key, you
will still have power to such accessories as the
radio, sunroof (option) and power windows for up to
10 minutes. Power is stopped if you open a door.
Starting Your Engine
Move your shift lever to PARK (P) or NEUTRAL (N).
Your engine won't start in any other position ± that's a
safety feature. To restart when you're already moving,
use NEUTRAL (N) only.
Notice:Don't try to shift to PARK (P) if your
vehicle is moving. If you do, you could damage the
transaxle. Shift to PARK (P) only when your
vehicle is stopped.
1. With your foot off the accelerator pedal, turn your
ignition key to START. When the engine starts, let
go of the key. The idle speed will go down as
your engine gets warm.
2-22
Page 91 of 372

Notice:Don't drive in SECOND (2) for more than
5 miles (8 km), or at speeds over 55 mph (90 km/h),
or you can damage your transaxle. Use AUTOMATIC
OVERDRIVE (
X) or THIRD (3) as much as
possible.
Don't shift into SECOND (2) unless you are going
slower than 65 mph (105 km/h), or you can damage
your engine.
FIRST (1):This position gives you even more power
but lower fuel economy than SECOND (2). You can use
it on very steep hills, or in deep snow or mud. If the
shift lever is put in FIRST (1), the transaxle won't shift
into ®rst gear until the vehicle is going slowly enough.
Notice:If your front wheels won't turn, don't
try to drive. This might happen if you were stuck in
very deep sand or mud or were up against a solid
object. You could damage your transaxle. Also,
if you stop when going uphill, don't hold your
vehicle there with only the accelerator pedal. This
could overheat and damage the transaxle. Use your
brakes to hold your vehicle in position on a hill.
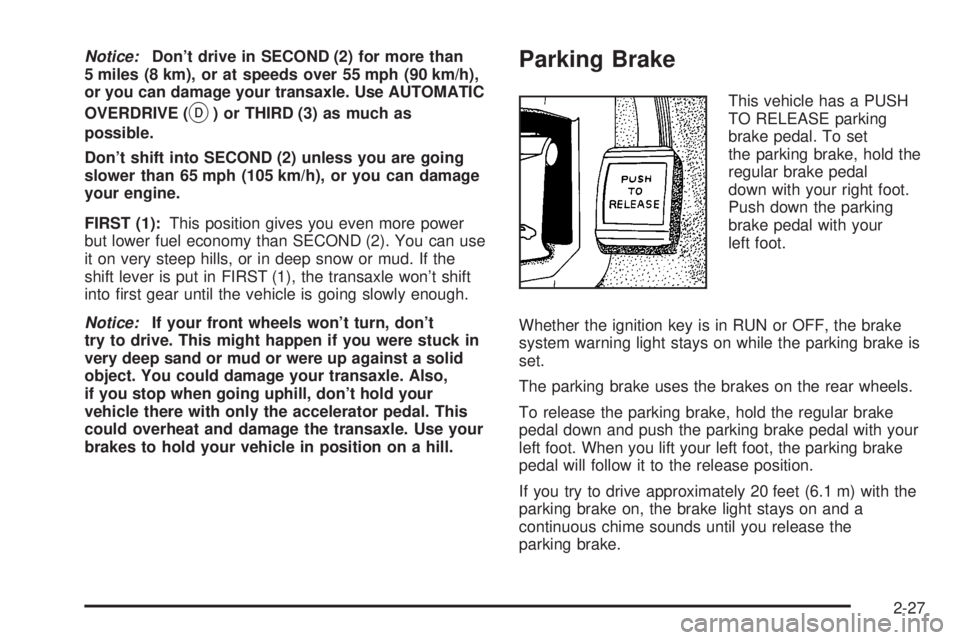
Parking Brake
This vehicle has a PUSH
TO RELEASE parking
brake pedal. To set
the parking brake, hold the
regular brake pedal
down with your right foot.
Push down the parking
brake pedal with your
left foot.
Whether the ignition key is in RUN or OFF, the brake
system warning light stays on while the parking brake is
set.
The parking brake uses the brakes on the rear wheels.
To release the parking brake, hold the regular brake
pedal down and push the parking brake pedal with your
left foot. When you lift your left foot, the parking brake
pedal will follow it to the release position.
If you try to drive approximately 20 feet (6.1 m) with the
parking brake on, the brake light stays on and a
continuous chime sounds until you release the
parking brake.
2-27
Page 113 of 372

Instrument Panel Overview...............................3-2
Hazard Warning Flashers................................3-4
Other Warning Devices...................................3-4
Horn.............................................................3-5
Tilt Wheel.....................................................3-5
Turn Signal/Multifunction Lever.........................3-5
Exterior Lamps.............................................3-12
Interior Lamps..............................................3-14
Head-Up Display (HUD).................................3-17
Ultrasonic Rear Parking Assist (URPA)............3-19
Accessory Power Outlets...............................3-21
Ashtrays and Cigarette Lighter........................3-22
Climate Controls............................................3-22
Dual Automatic Climate Control System...........3-22
Outlet Adjustment.........................................3-26
Passenger Compartment Air Filter...................3-27
Steering Wheel Climate Controls.....................3-28
Climate Controls Personalization.....................3-28
Warning Lights, Gages and Indicators.............3-29
Instrument Panel Cluster................................3-30
Speedometer and Odometer...........................3-32
Tachometer.................................................3-32
Safety Belt Reminder Light.............................3-33
Air Bag Readiness Light................................3-33
Battery Warning Light....................................3-34
Brake System Warning Light..........................3-34Anti-Lock Brake System Warning Light.............3-36
Traction Control System (TCS) Warning Light . . .3-36
Engine Coolant Temperature Gage..................3-37
Malfunction Indicator Lamp.............................3-37
Oil Pressure Light.........................................3-40
Security Light...............................................3-41
Cruise Control Light......................................3-41
Service Vehicle Soon Light............................3-41
Fuel Gage...................................................3-42
Driver Information Center (DIC).......................3-43
DIC Controls and Displays.............................3-43
DIC Warnings and Messages.........................3-45
DIC Vehicle Personalization............................3-46
Audio System(s).............................................3-51
Setting the Time...........................................3-52
Radio with Cassette......................................3-52
Radio with Cassette and CD..........................3-56
Trunk-Mounted CD Changer...........................3-62
Personal Choice Radio Controls......................3-65
Theft-Deterrent Feature..................................3-66
Audio Steering Wheel Controls.......................3-68
Understanding Radio Reception......................3-68
Care of Your Cassette Tape Player.................3-69
Care of Your CDs.........................................3-70
Care of Your CD Player................................3-70
Heated Backlite Antenna................................3-70
Section 3 Instrument Panel
3-1
Page 122 of 372

Setting Cruise Control
{CAUTION:
If you leave your cruise control on when you
are not using cruise, you might hit a button
and go into cruise when you do not want to.
You could be startled and even lose control.
Keep the cruise control switch off until you
want to use cruise control.
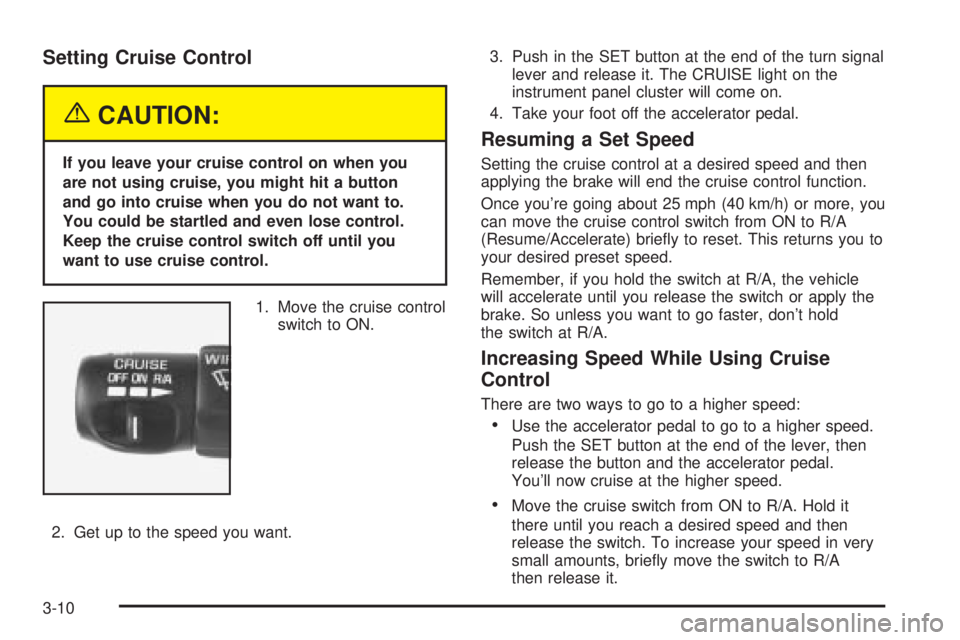
1. Move the cruise control
switch to ON.
2. Get up to the speed you want.3. Push in the SET button at the end of the turn signal
lever and release it. The CRUISE light on the
instrument panel cluster will come on.
4. Take your foot off the accelerator pedal.
Resuming a Set Speed
Setting the cruise control at a desired speed and then
applying the brake will end the cruise control function.
Once you're going about 25 mph (40 km/h) or more, you
can move the cruise control switch from ON to R/A
(Resume/Accelerate) brie¯y to reset. This returns you to
your desired preset speed.
Remember, if you hold the switch at R/A, the vehicle
will accelerate until you release the switch or apply the
brake. So unless you want to go faster, don't hold
the switch at R/A.
Increasing Speed While Using Cruise
Control
There are two ways to go to a higher speed:
·Use the accelerator pedal to go to a higher speed.
Push the SET button at the end of the lever, then
release the button and the accelerator pedal.
You'll now cruise at the higher speed.
·Move the cruise switch from ON to R/A. Hold it
there until you reach a desired speed and then
release the switch. To increase your speed in very
small amounts, brie¯y move the switch to R/A
then release it.
3-10
Page 123 of 372

Each time you do this, your vehicle will go about 1 mph
(1.6 km/h) faster.
The accelerate feature will only work after you have set
the cruise control speed by pushing the SET button.
Reducing Speed While Using Cruise
Control
There are two ways to reduce your speed while using
cruise control:
·Push in the SET button at the end of the lever until
you reach a desired lower speed, then release it.
·To slow down in very small amounts, push
the button brie¯y. Each time you do this, you'll go
about 1 mph (1 6 km/h) slower.
Passing Another Vehicle While Using
Cruise Control
Use the accelerator pedal to increase your speed.
When you take your foot off the pedal, your vehicle will
slow down to the cruise control speed you set earlier.
Using Cruise Control on Hills
How well your cruise control will work on hills depends
upon your speed, load and the steepness of the
hills. When going up steep hills, you may have to step
on the accelerator pedal to maintain your speed.
When going downhill, you may have to brake or shift to
a lower gear to keep your speed down. Of course,
applying the brake takes you out of cruise control. Many
drivers ®nd this to be too much trouble and don't use
cruise control on steep hills.
Ending Cruise Control
There are two ways to turn off the cruise control:
·Step lightly on the brake pedal, or
·move the cruise switch to OFF. The CRUISE light
will also go out.
Erasing Speed Memory
When you turn off the cruise control or the ignition, your
cruise control set speed memory is erased.
3-11
Page 133 of 372

If the URPA system is not functioning properly, the
display will ¯ash red, indicating that there is a problem.
The light will also ¯ash red when you are driving if a
trailer is attached to your vehicle, or if you have a bicycle
or an object hanging out of your trunk. The light will
continue to ¯ash until the trailer or the object is removed
and your vehicle is driven forward at at least 15 mph
(25 km/h). It may also ¯ash red if the ultrasonic sensors
are not kept clean. For cleaning instructions, see
Cleaning the Outside of Your Vehicle on page 5-82.
So be sure to keep your rear bumper free of mud, dirt,
snow, ice and slush or the system may not work
properly. If after cleaning the rear bumper and then
driving at at least 15 mph (25 km/h), the display
continues to ¯ash red, see your dealer. It may also ¯ash
red if your vehicle is moving in REVERSE (R) at a
speed greater than 3 mph (5 km/h). Other conditions
that may affect system performance include things like,
the vibrations from a jackhammer or the compression
of airbrakes on a very large truck.
As always, drivers should use care when backing up a
vehicle. Always look behind you, being sure to check
for other vehicles, obstructions and blind spots.
Accessory Power Outlets
The accessory power outlets can be used to plug in
electrical equipment such as a cellular telephone or
CB radio.Your vehicle has two power outlets located in the rear
storage area of the front center console. See
Center
Console Storage Area on page 2-44for more
information on location.
Your vehicle may have a small cap that must be pulled
down to access the accessory power outlet. If it
does, when not using the outlet be sure to cover it with
the protective cap.
The accessory power outlets will only operate while the
ignition key is in RUN and for 10 minutes after turning
the ignition off. If you would like to operate an accessory
for an extended period of time, contact your dealer for
more information.
Notice:When using an accessory power outlet,
maximum electrical load must not exceed 15 amps.
Always turn off any electrical equipment when
not in use. Leaving electrical equipment on for
extended periods will drain your battery.
Certain electrical accessories may not be compatible to
the accessory power outlet and could result in blown
vehicle or adapter fuses. If you experience a problem
see your dealer for additional information on accessory
power outlets.
Notice:Adding some electrical equipment to your
vehicle can damage it or keep other things from
working as they should. This wouldn't be covered by
your warranty. Check with your dealer before
adding electrical equipment, and never use anything
that exceeds the amperage rating.
3-21
Page 146 of 372

If the air bag readiness light stays on after you start the
vehicle or comes on when you are driving, your air
bag system may not work properly. Have your vehicle
serviced right away.
{CAUTION:
If the air bag readiness light stays on after you
start your vehicle, it means the air bag system
may not be working properly. The air bags in
your vehicle may not in¯ate in a crash, or they
could even in¯ate without a crash. To help
avoid injury to yourself or others, have your
vehicle serviced right away if the air bag
readiness light stays on after you start your
vehicle.
The air bag readiness light should ¯ash for a few
seconds when you turn the ignition key to RUN. If the
light doesn't come on then, have it ®xed so it will
be ready to warn you if there is a problem.
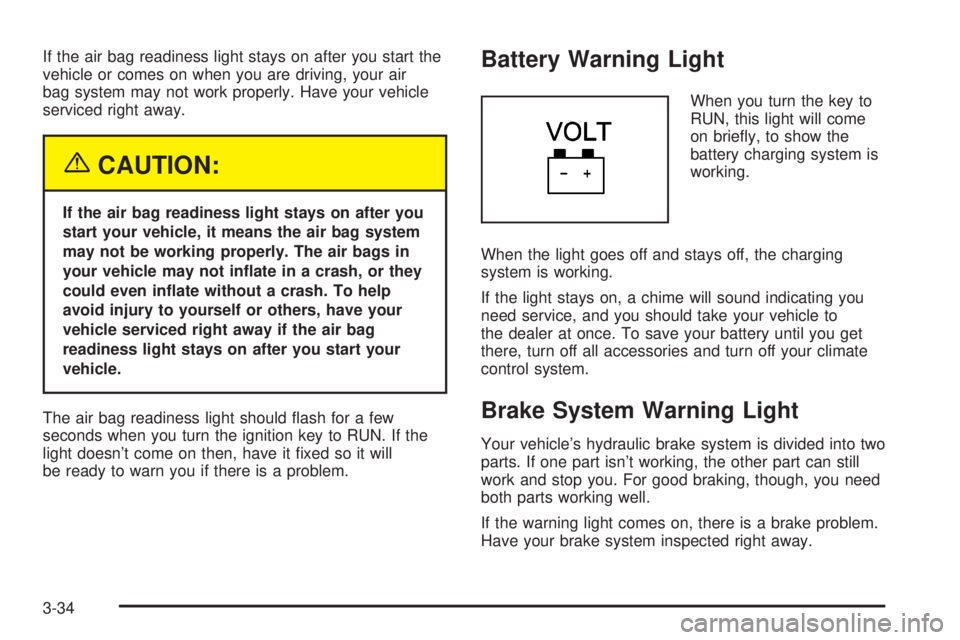
Battery Warning Light
When you turn the key to
RUN, this light will come
on brie¯y, to show the
battery charging system is
working.
When the light goes off and stays off, the charging
system is working.
If the light stays on, a chime will sound indicating you
need service, and you should take your vehicle to
the dealer at once. To save your battery until you get
there, turn off all accessories and turn off your climate
control system.
Brake System Warning Light
Your vehicle's hydraulic brake system is divided into two
parts. If one part isn't working, the other part can still
work and stop you. For good braking, though, you need
both parts working well.
If the warning light comes on, there is a brake problem.
Have your brake system inspected right away.
3-34
Page 147 of 372

This light should come on
when you turn the key to
RUN. If it doesn't come on
then, have it ®xed so it
will be ready to warn you if
there's a problem.
When the ignition is on, the brake system warning light
will also come on when you set your parking brake.
The light will stay on if your parking brake doesn't
release fully. If you try to drive off with the parking brake
set, a chime will also come on until you release the
parking brake. If the light stays on after your parking
brake is fully released, it means you have a brake
problem.If the light comes on while you are driving, pull off the
road and stop carefully. You may notice that the pedal is
harder to push. Or, the pedal may go closer to the
¯oor. It may take longer to stop. If the light is still on,
have the vehicle towed for service. See
Towing
Your Vehicle on page 4-29.
{CAUTION:
Your brake system may not be working
properly if the brake system warning light is
on. Driving with the brake system warning light
on can lead to an accident. If the light is still
on after you've pulled off the road and stopped
carefully, have the vehicle towed for service.
3-35