2003 BUICK CENTURY windshield wipers
[x] Cancel search: windshield wipersPage 89 of 344

Starting and Operating Your
Vehicle
New Vehicle Break-In
Notice:Your vehicle doesn't need an elaborate
ªbreak-in.º But it will perform better in the long run
if you follow these guidelines:
·Don't drive at any one speed Ð fast or
slow Ð for the ®rst 500 miles (805 km). Don't
make full-throttle starts.
·Avoid making hard stops for the ®rst 200 miles
(322 km) or so. During this time your new
brake linings aren't yet broken in. Hard stops
with new linings can mean premature wear and
earlier replacement. Follow this breaking-in
guideline every time you get new brake linings.
·Don't tow a trailer during break-in. See ªTowing
a Trailerº in the Index for more information.
Ignition Positions
With the ignition key in the ignition, you can turn the key
to ®ve different positions:
A (ACCESSORY):This position lets you use the radio
and windshield wipers when the engine is off. To
use ACCESSORY, push in the key and turn it toward
you. Your steering wheel will stay locked.
B (LOCK):This is the only position in which you can
insert or remove the key. This position locks the ignition,
steering wheel and transaxle. It's a theft-deterrent
feature.
2-19
Page 111 of 344

To tilt the wheel, hold the
wheel and pull the lever.
Then move the steering
wheel to a comfortable
position and release
the lever to lock the wheel
into place.Turn Signal/Multifunction Lever
The lever located on the left side of the steering column
includes the following:
·Turn and Lane-Change Signals
·Headlamp High/Low-Beam Changer
·Flash-to-Pass
·Windshield Wipers
·Windshield Washer
·Cruise Control
3-5
Page 113 of 344

Flash-to-Pass
This feature lets you use your high-beam headlamps to
signal the driver in front of you that you want to pass.
It works even if your headlamps are off.
To use it, pull the turn signal lever toward you a little,
but not so far that you hear a click.
If your headlamps are off or on low beam, your
high-beam headlamps will turn on. They'll stay on as
long as you hold the lever toward you and the
high-beam indicator on the dash will come on. Release
the lever to return to normal operation.
Windshield Wipers
To operate the windshield wipers turn the band located
on the multifunction lever upward or downward.
WIPER:Turn this band to control the windshield wipers.
OFF:Turn the band to OFF to turn off the windshield
wipers.
LO (Low Speed):Turn the band away from you to LO
and past the delay settings for steady wiping at low
speed.HI (High Speed):Turn the band away from you, to HI,
and past the delay settings for wiping steady at high
speed.
(Delayed Wiping):Turn the band away from you, just
past OFF, to one of the ®ve sensitivity settings, to
choose the delayed wiping cycle. The further the band
is turned upward, toward LO, the shorter the delay
will be. Use this setting for light rain or snow.
MIST:Turn the band to MIST for a single wiping cycle.
Hold it until the windshield wipers start. Then let it
go. The windshield wipers will stop after one wipe. If
you want more wipes, hold the band on MIST longer.
Be sure to clear ice and snow from the windshield wiper
blades before using them. If they are frozen to the
windshield, carefully loosen or thaw them. If your blades
do become worn or damaged, get new blades or
blade inserts.
Heavy snow or ice can overload your wipers. A circuit
breaker will stop them until the motor cools. Clear away
snow or ice to prevent an overload.
3-7
Page 114 of 344

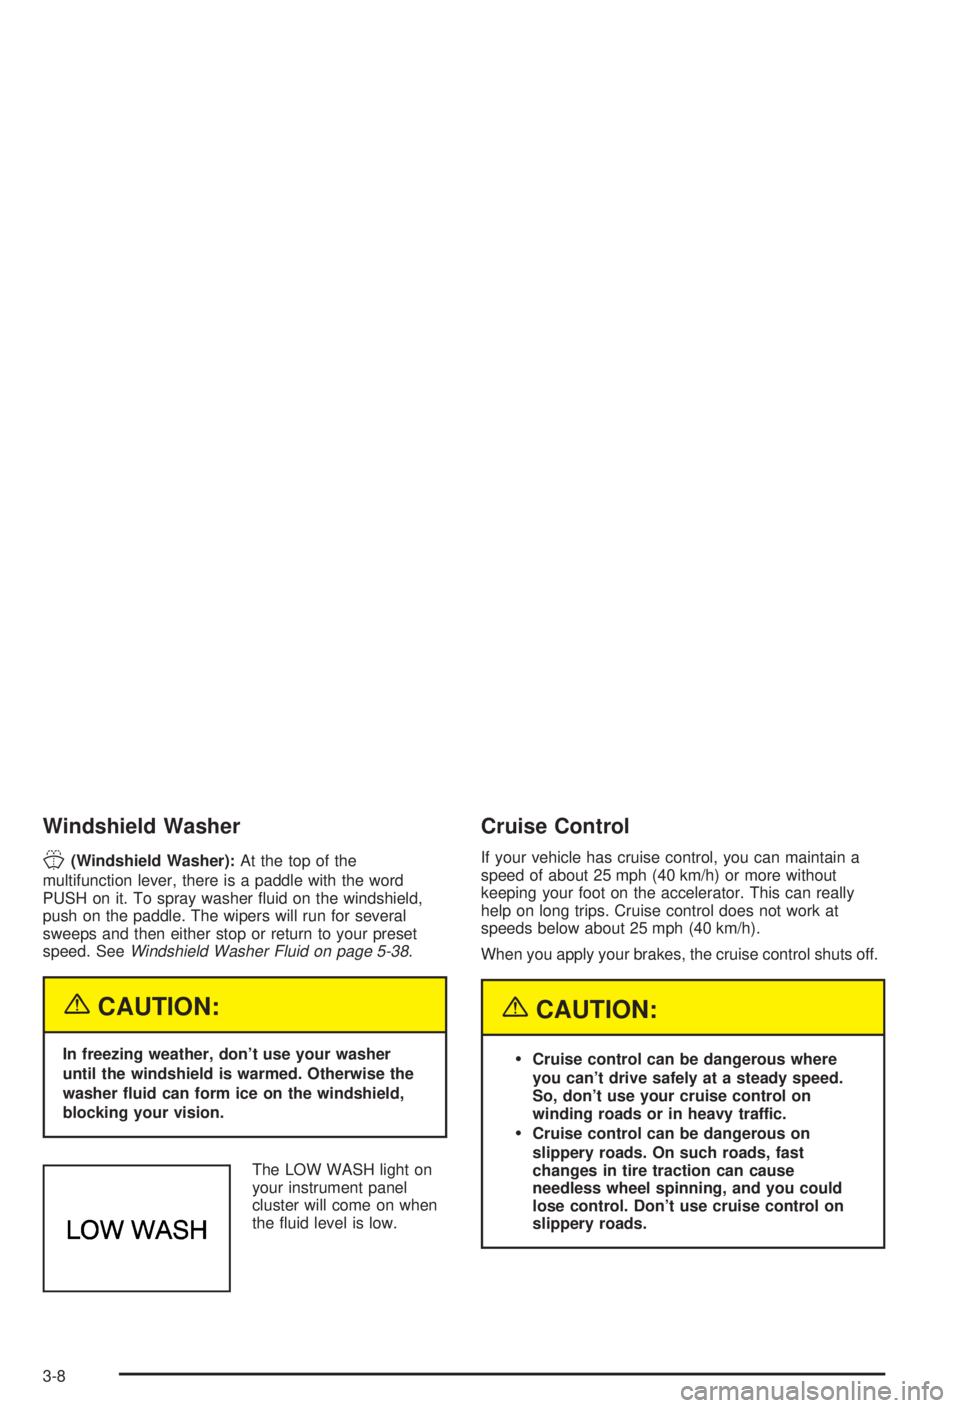
Windshield Washer
J
(Windshield Washer):At the top of the
multifunction lever, there is a paddle with the word
PUSH on it. To spray washer ¯uid on the windshield,
push on the paddle. The wipers will run for several
sweeps and then either stop or return to your preset
speed. See
Windshield Washer Fluid on page 5-38.
{CAUTION:
In freezing weather, don't use your washer
until the windshield is warmed. Otherwise the
washer ¯uid can form ice on the windshield,
blocking your vision.
The LOW WASH light on
your instrument panel
cluster will come on when
the ¯uid level is low.
Cruise Control
If your vehicle has cruise control, you can maintain a
speed of about 25 mph (40 km/h) or more without
keeping your foot on the accelerator. This can really
help on long trips. Cruise control does not work at
speeds below about 25 mph (40 km/h).
When you apply your brakes, the cruise control shuts off.
{CAUTION:
·Cruise control can be dangerous where
you can't drive safely at a steady speed.
So, don't use your cruise control on
winding roads or in heavy traffic.
·Cruise control can be dangerous on
slippery roads. On such roads, fast
changes in tire traction can cause
needless wheel spinning, and you could
lose control. Don't use cruise control on
slippery roads.
3-8
Page 126 of 344

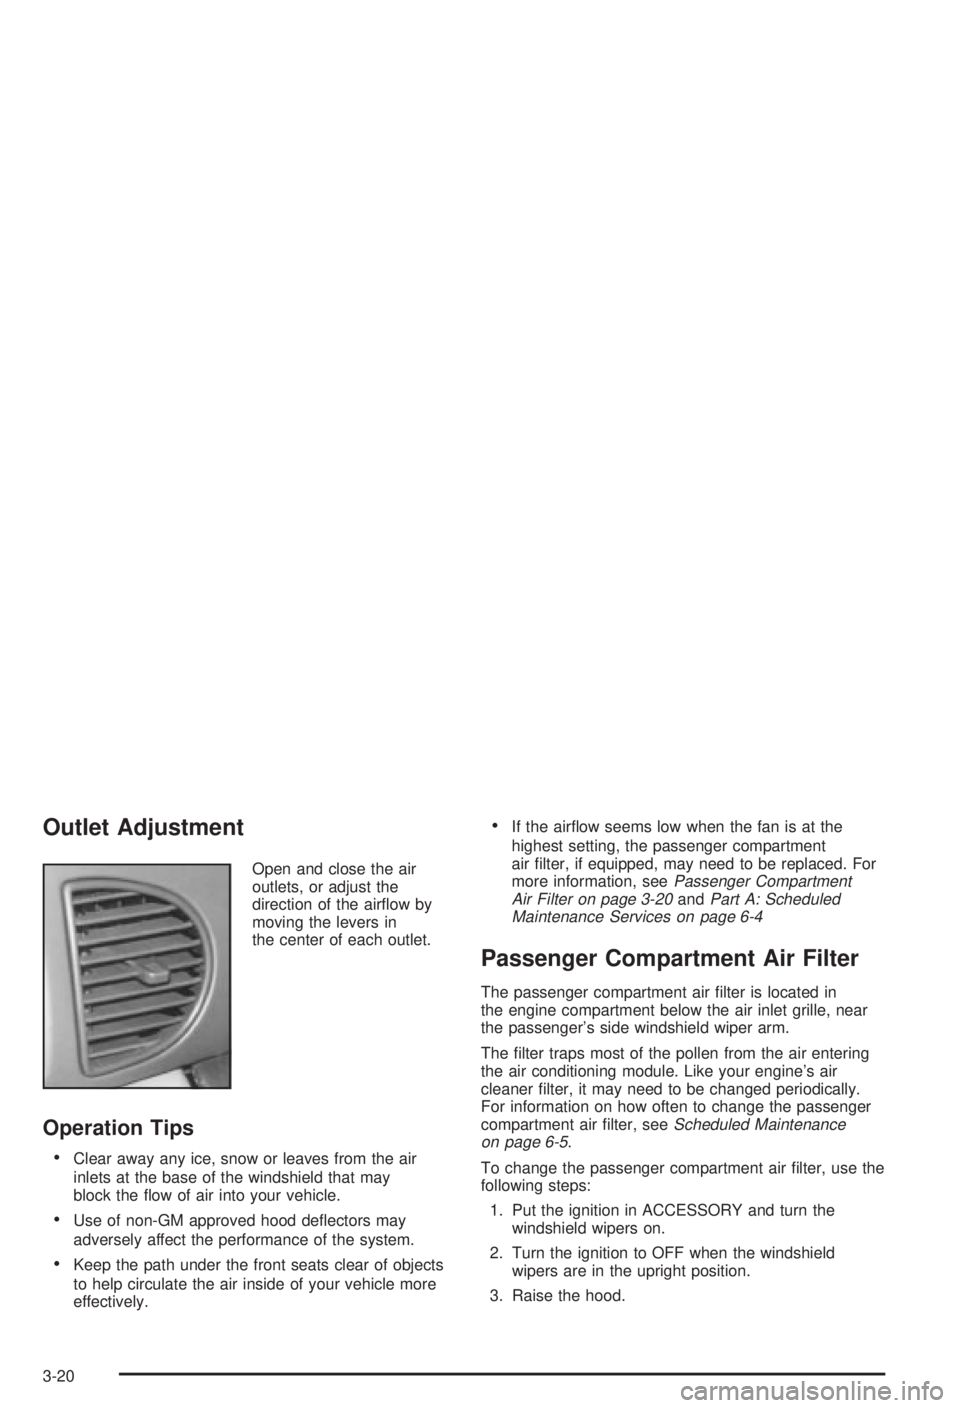
Outlet Adjustment
Open and close the air
outlets, or adjust the
direction of the air¯ow by
moving the levers in
the center of each outlet.
Operation Tips
·Clear away any ice, snow or leaves from the air
inlets at the base of the windshield that may
block the ¯ow of air into your vehicle.
·Use of non-GM approved hood de¯ectors may
adversely affect the performance of the system.
·Keep the path under the front seats clear of objects
to help circulate the air inside of your vehicle more
effectively.
·If the air¯ow seems low when the fan is at the
highest setting, the passenger compartment
air ®lter, if equipped, may need to be replaced. For
more information, see
Passenger Compartment
Air Filter on page 3-20andPart A: Scheduled
Maintenance Services on page 6-4
Passenger Compartment Air Filter
The passenger compartment air ®lter is located in
the engine compartment below the air inlet grille, near
the passenger's side windshield wiper arm.
The ®lter traps most of the pollen from the air entering
the air conditioning module. Like your engine's air
cleaner ®lter, it may need to be changed periodically.
For information on how often to change the passenger
compartment air ®lter, see
Scheduled Maintenance
on page 6-5.
To change the passenger compartment air ®lter, use the
following steps:
1. Put the ignition in ACCESSORY and turn the
windshield wipers on.
2. Turn the ignition to OFF when the windshield
wipers are in the upright position.
3. Raise the hood.
3-20
Page 256 of 344

Windshield Wiper Blade
Replacement
Windshield wiper blades should be inspected at least
twice a year for wear or cracking. See ªWiper Blade
Checkº under
Part B: Owner Checks and Services on
page 6-10for more information.
1. Turn on the wipers to LO.
2. Turn off the ignition while the wipers are at the
outer positions of the wiper pattern. The blades
are more accessible for removal/replacement while
in this position.
3. Pull the windshield wiper arm 3 to 4 inches (7.5 to
10 cm) away from the windshield.
4. While holding the wiper arm away from the glass,
push the release clip from under the windshield
wiper arm connecting point and slide the blade
assembly down toward the glass to remove it from
the wiper arm.
5. Slide the new wiper blade securely on the wiper
arm until you hear the release clip ªclickº into
place.
For wiper blade length and type, see
Normal
Maintenance Replacement Parts on page 5-95.
5-56
Page 291 of 344

Fuses Usage
BTSI PARK
LOCKShifter Lock Solenoid
AIR BAG Air Bag
BCM PWR Body Control Module
HAZARD Hazard Flashers
LH HEATED
SEATDriver's Heated Seat
Blank Not Used
BCM ACCIgnition Signal: Hot in ACC and Run,
Body Control Module
Blank Not Used
LOW BLOWER Low Blower
ABS Anti-Lock Brakes
TURN
SIGNALS,
CORN LPSTurn Signals, Cornering Lamps
RADIO, HVAC,
RFA,
CLUSTERRadio, Heating Ventilation Air
Conditioning Head, Remote Keyless
Entry, Cluster
HIGH BLOWER High Blower
RH HEATED
SEATPassenger's Heated Seat
STRG WHL
CONTAudio Steering Wheel Controls
WIPER Windshield WipersUnderhood Fuse Block
Some fuses and relays are located in the underhood
fuse block on the passenger's side of the vehicle in the
engine compartment. See
Engine Compartment
Overview on page 5-12or more information on location.
Fuses Usage
1 Anti-Lock Brake System
2 Starter Solenoid
3Power Seats, Rear Window
Defogger Heated Seats
5-91
Page 344 of 344

What to Use..................................5-24, 5-37, 5-38
Wheels..........................................................5-64
Alignment and Tire Balance..........................5-64
Replacement...............................................5-64
When to Add Engine Oil..................................5-14
When to Change Engine Oil
(GM Oil Life System)...................................5-16
When to Check and Change............................5-19
When to Check Power Steering Fluid................5-37
When to Check..............................................5-58
When You Are Ready to Leave After Parking
on a Hill.....................................................4-41
Where to Put the Restraint...............................1-39
Why Safety Belts Work..................................... 1-8
Window Lock-Out............................................2-16
Windows.......................................................2-15Power........................................................2-16
Windshield Washer Fluid Level Check................6-10
Windshield Washer........................................... 3-8
Fluid..........................................................5-38
Windshield Wiper............................................5-56
Blade Replacement......................................5-56
Fuses........................................................5-88
Windshield Wipers............................................ 3-7
Winter Driving................................................4-26
Wiper Blade Check.........................................6-11
Y
Your Vehicle and the Environment....................... 6-2
16