2003 BMW X5 3.0I wheel
[x] Cancel search: wheelPage 50 of 183

50n
Seat, mirror and steering wheel memory
*
You can store and call up three different
seat, exterior mirror and steering wheel
positions. The illustration shows the
buttons on the seat for making these
position adjustments.
The adjustment of the lumbar
support is not stored in the
memory.<530us032
To store 1. Turn the ignition key to position 1 or 2
2. Adjust the desired positions for the
seat, exterior mirror and steering
wheel
3. Press the
MEMORY button: the indi-
cator lamp in the button comes on
4. Press memory button 1, 2 or 3, as
desired: the indicator lamp goes out.
To call up a stored setting
Do not call up a position from the
memory while the vehicle is
moving. There is a risk of accident from
unexpected movement of the seat or
steering wheel.<
Convenience function:
1. Open the driver's door after
unlocking the vehicle or place the
ignition key in position 1
2. Briefly press memory button 1, 2
or 3, as desired.
Movement stops immediately when
one of the seat-adjustment or
memory buttons is activated during
the adjustment process.
Security function:
1. With the driver's door closed and the
ignition key either removed or in
position 0 or 2
2. Maintain pressure on the desired
memory button 1, 2 or 3 until the
adjustment process is completed.
If you press the
MEMORY button
accidentally: press the button a
second time Ñ the indicator lamp goes
out.<
Page 51 of 183

51n
OverviewControlsMaintenanceRepairsDataIndex
Seat, mirror and steering wheel memory
*
Seat heating
*
Your BMW Sports Activity Vehicle
center can adjust your vehicle's
systems in such a manner that your
personalized settings are automatically
called up for the seat, mirror and
steering wheel positions when you
unlock the vehicle with your personal
remote control key.<
If you make use of this adjustment
,
be sure that the footwell behind
the driver's seat is unobstructed before
unlocking the vehicle. If you fail to do
so, persons or objects could be injured
or damaged if the seat should move
backward.<
Passenger side exterior mirror tilt
functionAutomatic curb monitor
1. Select the driver's mirror via the
switch
2. When the gearshift lever or the
selector lever is placed in Reverse,
the passenger-side mirror tilts down-
ward to help the driver monitor the
area directly adjacent to the vehicle
during parking Ð curbs, etc.
You can deactivate this automatic fea-
ture by setting the mirror selector
switch to the passenger side position.530us214
Front The seat cushion and backrest can be
heated when the ignition key is in posi-
tion 2.
You can call up different heating modes
by repeatedly pressing the button.
You can also switch the higher heating
modes off directly:
Press the button and hold it slightly
longer.530de233
Page 52 of 183
52n
Seat heating
*
Steering wheel
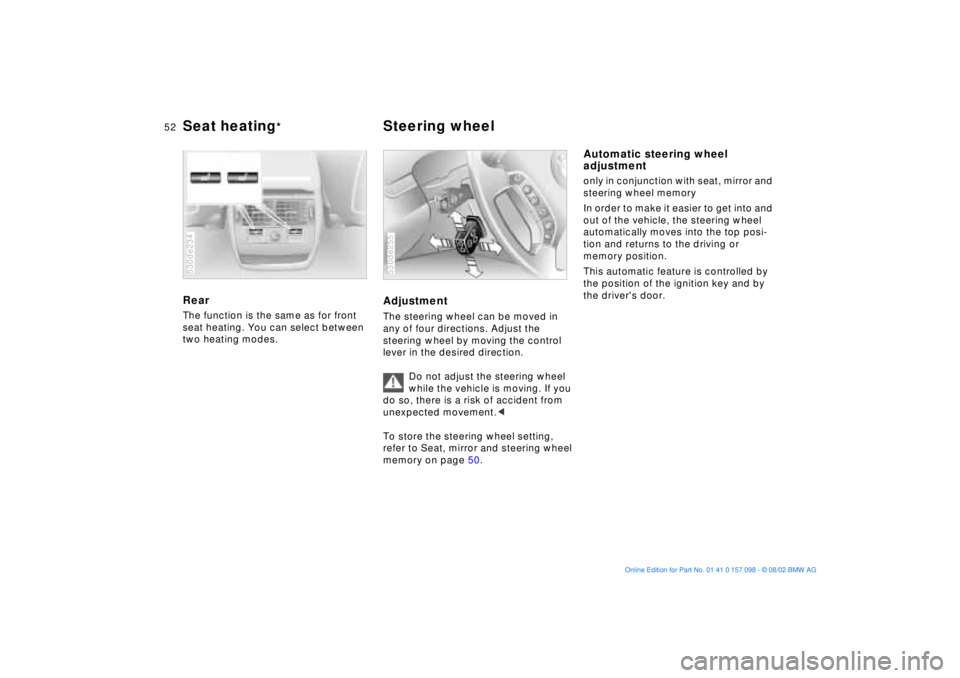
Rear The function is the same as for front
seat heating. You can select between
two heating modes.530de234
AdjustmentThe steering wheel can be moved in
any of four directions. Adjust the
steering wheel by moving the control
lever in the desired direction.
Do not adjust the steering wheel
while the vehicle is moving. If you
do so, there is a risk of accident from
unexpected movement.<
To store the steering wheel setting,
refer to Seat, mirror and steering wheel
memory on page 50. 530de255
Automatic steering wheel
adjustmentonly in conjunction with seat, mirror and
steering wheel memory
In order to make it easier to get into and
out of the vehicle, the steering wheel
automatically moves into the top posi-
tion and returns to the driving or
memory position.
This automatic feature is controlled by
the position of the ignition key and by
the driver's door.
Page 53 of 183

53n
OverviewControlsMaintenanceRepairsDataIndex
Steering wheel heating
*
Mirrors
Steering wheel heating functions in
ignition key position 2.
Press the button to activate or deacti-
vate this system.
The indicator lamp within the button
lights up when the steering wheel
heating is in operation.
If you have a steering wheel with multi-
function buttons without steering wheel
heating, the button for the recirculated-
air mode is in this location, refer to
page 23.530de235
Adjusting exterior mirrors 1 Mirror switch for 4-way adjustment
2 Left/right selector switch
3 Button for folding mirror in and out
By pressing button 3 repeatedly, you
can fold the mirror in and out. This is,
for example, advantageous in car
washes, narrow streets or for bringing a
mirror folded forward into the proper
position again.
Folding in is possible up to a
speed of approx. 6 mph/
10 km/h.<530us213
Before going through a car wash,
manually, or with button 3 fold the
exterior mirrors inward, otherwise they
could be damaged, depending on the
width of the car wash system.<
Adjusting manuallyYou can also adjust the mirrors manu-
ally:
Press on the outer edges of their
lenses.
To store the mirror settings, refer to
Seat, mirror and steering wheel
memory on page 50. Convex mirror
The passenger-side mirror
features a convex lens. When esti-
mating the distance between yourself
and other traffic, bear in mind that the
objects reflected in the mirror are closer
than they appear. This means that esti-
mations of the distance to following
traffic should not be regarded as
precise.<
Self-defrosting mirrorsBoth mirrors are defrosted automati-
cally when the ignition key is in
position 2.
Page 55 of 183
55n
OverviewControlsMaintenanceRepairsDataIndex
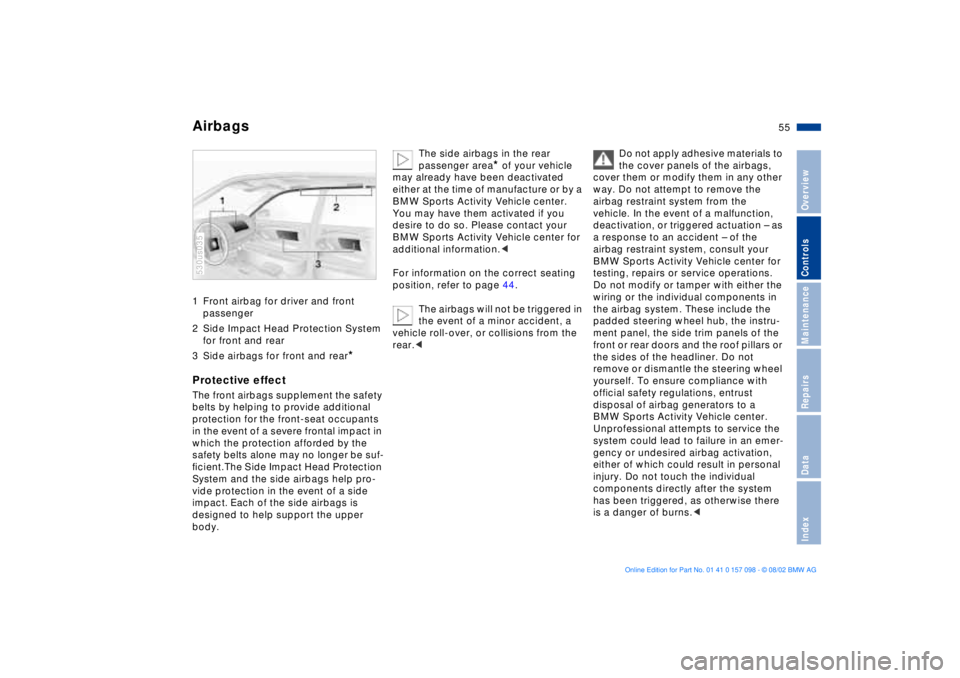
Airbags1 Front airbag for driver and front
passenger
2 Side Impact Head Protection System
for front and rear
3 Side airbags for front and rear
*
Protective effectThe front airbags supplement the safety
belts by helping to provide additional
protection for the front-seat occupants
in the event of a severe frontal impact in
which the protection afforded by the
safety belts alone may no longer be suf-
Þcient. The Side Impact Head Protection
System and the side airbags help pro-
vide protection in the event of a side
impact. Each of the side airbags is
designed to help support the upper
body. 530us035
The side airbags in the rear
passenger area
* of your vehicle
may already have been deactivated
either at the time of manufacture or by a
BMW Sports Activity Vehicle center.
You may have them activated if you
desire to do so. Please contact your
BMW Sports Activity Vehicle center for
additional information.<
For information on the correct seating
position, refer to page 44.
The airbags will not be triggered in
the event of a minor accident, a
vehicle roll-over, or collisions from the
rear.<
Do not apply adhesive materials to
the cover panels of the airbags,
cover them or modify them in any other
way. Do not attempt to remove the
airbag restraint system from the
vehicle. In the event of a malfunction,
deactivation, or triggered actuation Ð as
a response to an accident Ð of the
airbag restraint system, consult your
BMW Sports Activity Vehicle center for
testing, repairs or service operations.
Do not modify or tamper with either the
wiring or the individual components in
the airbag system. These include the
padded steering wheel hub, the instru-
ment panel, the side trim panels of the
front or rear doors and the roof pillars or
the sides of the headliner. Do not
remove or dismantle the steering wheel
yourself. To ensure compliance with
official safety regulations, entrust
disposal of airbag generators to a
BMW Sports Activity Vehicle center.
Unprofessional attempts to service the
system could lead to failure in an emer-
gency or undesired airbag activation,
either of which could result in personal
injury. Do not touch the individual
components directly after the system
has been triggered, as otherwise there
is a danger of burns.<
Page 61 of 183
61n
OverviewControlsMaintenanceRepairsDataIndex
Vehicle Memory, Key Memory How the system functions You have probably frequently wished
that you could configure individual
functions of your vehicle to reflect your
own personal requirements. In engi-
neering your vehicle, BMW has
included several user-defined func-
tions in the vehicle's design. Your
BMW Sports Activity Vehicle center can
make these settings for you.
There are settings related to the vehicle
Ð Vehicle Memory Ð and settings related
to individuals Ð Key Memory. You can
configure up to four different basic
positions for four different persons. The
only requirement is that each person
uses his or her own remote control key. 463de029
When your vehicle is unlocked with the
remote control, the vehicle recognizes
the individual user by means of a data
exchange with the key, and makes
adjustments accordingly.
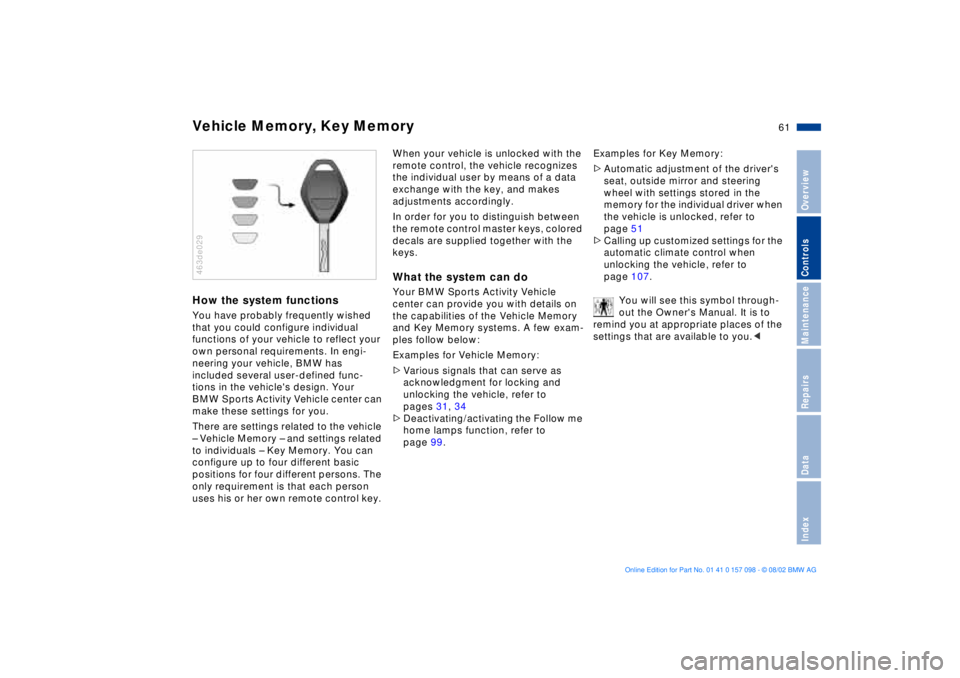
In order for you to distinguish between
the remote control master keys, colored
decals are supplied together with the
keys.What the system can doYour BMW Sports Activity Vehicle
center can provide you with details on
the capabilities of the Vehicle Memory
and Key Memory systems. A few exam-
ples follow below:
Examples for Vehicle Memory:
>Various signals that can serve as
acknowledgment for locking and
unlocking the vehicle, refer to
pages 31, 34
>Deactivating/activating the Follow me
home lamps function, refer to
page 99.Examples for Key Memory:
>Automatic adjustment of the driver's
seat, outside mirror and steering
wheel with settings stored in the
memory for the individual driver when
the vehicle is unlocked, refer to
page 51
>Calling up customized settings for the
automatic climate control when
unlocking the vehicle, refer to
page 107.
You will see this symbol through-
out the Owner's Manual. It is to
remind you at appropriate places of the
settings that are available to you.<
Page 62 of 183
62n
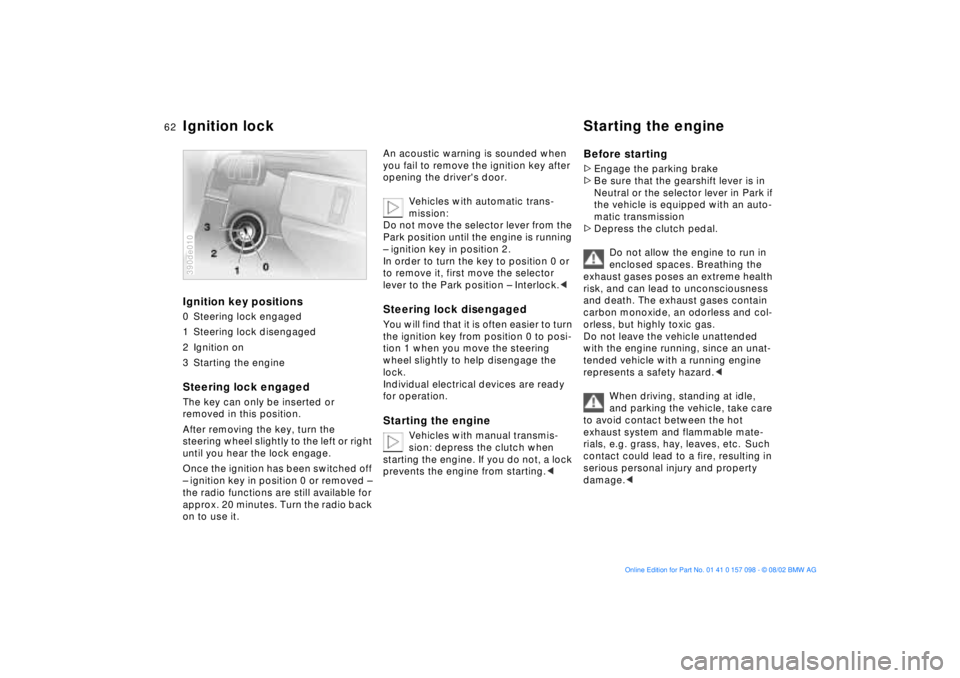
Ignition key positions0 Steering lock engaged
1 Steering lock disengaged
2 Ignition on
3 Starting the engineSteering lock engaged The key can only be inserted or
removed in this position.
After removing the key, turn the
steering wheel slightly to the left or right
until you hear the lock engage.
Once the ignition has been switched off
Ð ignition key in position 0 or removed Ð
the radio functions are still available for
approx. 20 minutes. Turn the radio back
on to use it.390de010
An acoustic warning is sounded when
you fail to remove the ignition key after
opening the driver's door.
Vehicles with automatic trans-
mission:
Do not move the selector lever from the
Park position until the engine is running
Ð ignition key in position 2.
In order to turn the key to position 0 or
to remove it, first move the selector
lever to the Park position Ð Interlock.< Steering lock disengaged You will find that it is often easier to turn
the ignition key from position 0 to posi-
tion 1 when you move the steering
wheel slightly to help disengage the
lock.
Individual electrical devices are ready
for operation. Starting the engine
Vehicles with manual transmis-
sion: depress the clutch when
starting the engine. If you do not, a lock
prevents the engine from starting.<
Before starting >Engage the parking brake
>Be sure that the gearshift lever is in
Neutral or the selector lever in Park if
the vehicle is equipped with an auto-
matic transmission
>Depress the clutch pedal.
Do not allow the engine to run in
enclosed spaces. Breathing the
exhaust gases poses an extreme health
risk, and can lead to unconsciousness
and death. The exhaust gases contain
carbon monoxide, an odorless and col-
orless, but highly toxic gas.
Do not leave the vehicle unattended
with the engine running, since an unat-
tended vehicle with a running engine
represents a safety hazard.<
When driving, standing at idle,
and parking the vehicle, take care
to avoid contact between the hot
exhaust system and flammable mate-
rials, e.g. grass, hay, leaves, etc. Such
contact could lead to a fire, resulting in
serious personal injury and property
damage.<
Ignition lock Starting the engine
Page 64 of 183
64n
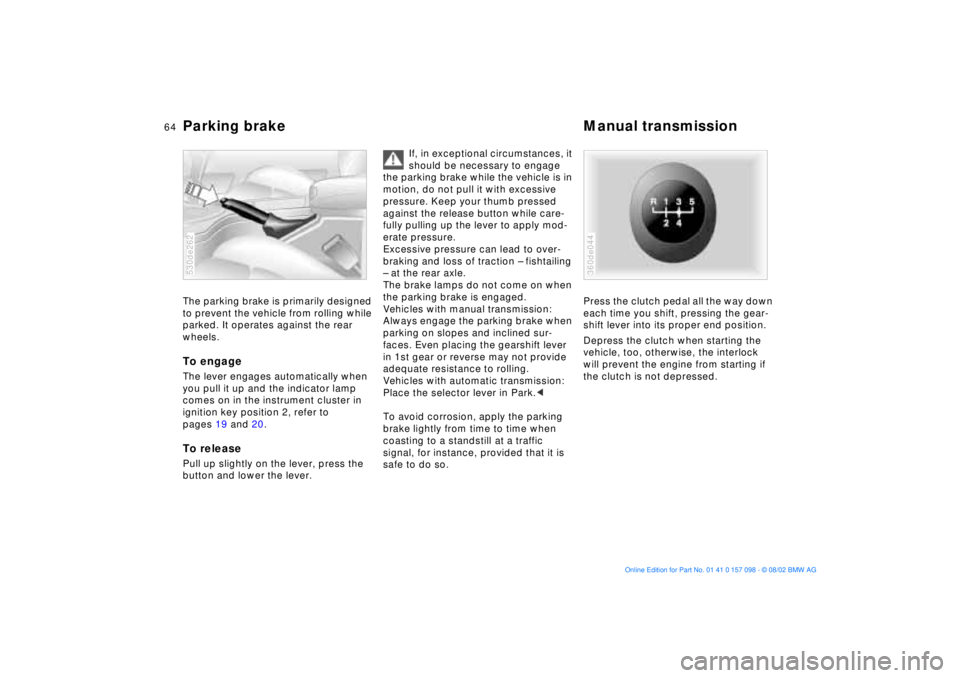
Parking brake Manual transmissionThe parking brake is primarily designed
to prevent the vehicle from rolling while
parked. It operates against the rear
wheels.To engage The lever engages automatically when
you pull it up and the indicator lamp
comes on in the instrument cluster in
ignition key position 2, refer to
pages 19 and 20.To releasePull up slightly on the lever, press the
button and lower the lever. 530de262
If, in exceptional circumstances, it
should be necessary to engage
the parking brake while the vehicle is in
motion, do not pull it with excessive
pressure. Keep your thumb pressed
against the release button while care-
fully pulling up the lever to apply mod-
erate pressure.
Excessive pressure can lead to over-
braking and loss of traction Ð fishtailing
Ð at the rear axle.
The brake lamps do not come on when
the parking brake is engaged.
Vehicles with manual transmission:
Always engage the parking brake when
parking on slopes and inclined sur-
faces. Even placing the gearshift lever
in 1st gear or reverse may not provide
adequate resistance to rolling.
Vehicles with automatic transmission:
Place the selector lever in Park.<
To avoid corrosion, apply the parking
brake lightly from time to time when
coasting to a standstill at a traffic
signal, for instance, provided that it is
safe to do so.
Press the clutch pedal all the way down
each time you shift, pressing the gear-
shift lever into its proper end position.
Depress the clutch when starting the
vehicle, too, otherwise, the interlock
will prevent the engine from starting if
the clutch is not depressed. 360de044