Page 37 of 92
35
Safety check
2
Brake system - with BMW Integral ABS2(
Checking front brake fluid
level
d Warning:
Never permit the brake fluid
level to drop below the mini-
mum level (MIN mark)
Place the motorcycle on the
centre stand
–Make sure the ground is
level and firm
2(Optional extra
Turn the handlebars all the
way to the left.
Check the brake fluid level in
the sight glass
MIN minimum level
(top edge of
marking ring)
\f Note:
The brake fluid level in the
brake fluid reservoir remains
constant despite wear of the
brake pads.
MIN
10Classic1g.book Seite 35 Freitag, 27. Januar 2006 2:01 14
Page 38 of 92
36
Safety check
2
Checking rear brake fluid
level
d Warning:
Never permit the brake fluid
level to drop below the MIN
mark on the brake-fluid
reservoir
2(Optional extra
Place the motorcycle on the
centre stand
–Make sure the ground is
level and firm
Check the brake fluid level
MIN minimum level
\f Note:
The brake fluid level in the
brake fluid reservoir remains
constant despite wear of the
brake pads.
Brake system - with BMW Integral ABS2(
MIN
10Classic1g.book Seite 36 Freitag, 27. Januar 2006 2:01 14
Page 39 of 92
37
Safety check
2
MIN
Checking fluid level in the
clutch lever fitting
e Attention:
If the fluid level drops, assume
there is a defect in the clutch
system.
Have the clutch system checked
immediately by a specialist work-
shop, preferably an authorised
BMW motorcycle dealer.
d Warning:
Never permit the fluid level to
drop below the minimum level
(MIN mark)
\f Note:
The fluid level in the reservoir
rises as the clutch wears.
Place motorcycle on side
stand
–Make sure the ground is
level and firm
Turn the handlebars fully to
the right
Check fluid level in sight glass
MIN Minimum level
(halfway up sight glass)
Clutch
10Classic1g.book Seite 37 Freitag, 27. Januar 2006 2:01 14
Page 40 of 92

38
Safety check
2
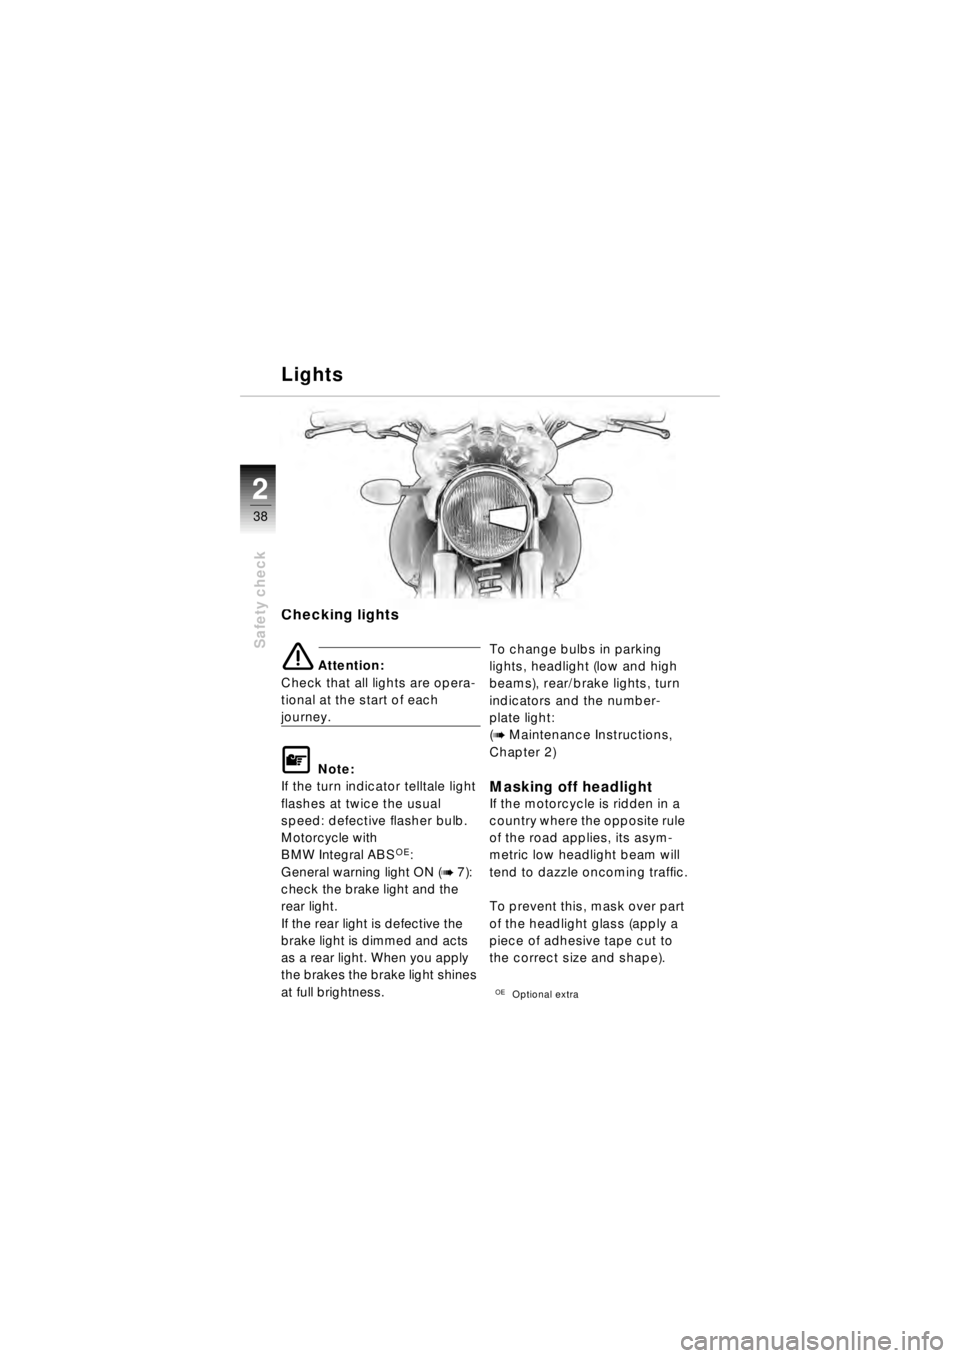
Checking lights
e Attention:
Check that all lights are opera-
tional at the start of each
journey.
\f Note:
If the turn indicator telltale light
flashes at twice the usual
speed: defective flasher bulb.
Motorcycle with
BMW Integral ABS
OE:
General warning light ON (
b 7):
check the brake light and the
rear light.
If the rear light is defective the
brake light is dimmed and acts
as a rear light. When you apply
the brakes the brake light shines
at full brightness. To change bulbs in parking
lights, headlight (low and high
beams), rear/brake lights, turn
indicators and the number-
plate light:
(
b Maintenance Instructions,
Chapter 2)
Masking off headlightIf the motorcycle is ridden in a
country where the opposite rule
of the road applies, its asym-
metric low headlight beam will
tend to dazzle oncoming traffic.
To prevent this, mask over part
of the headlight glass (apply a
piece of adhesive tape cut to
the correct size and shape).
OEOptional extra
Lights
10Classic1g.book Seite 38 Freitag, 27. Januar 2006 2:01 14
Page 43 of 92
41
Safety check
2
1
2
d Warning:
Before riding off, adjust the
front shock absorbers to suit
the surface and your style of
riding. Adjust the rear shock
absorber to suit the gross
weight of the motorcycle plus
load.
Place the motorcycle on the
centre stand
Use a screwdriver to adjust
the front/rear shock absorbers Basic setting (one-up):
Turn adjusting screw 1 or 2 all
the way clockwise in the direc-
tion indicated by arrow H
Back off adjusting screw 1 or,
as applicable, 2 two turns
counter-clockwise in the
direction indicated by arrow S
Hard setting "H":
Fully tighten adjusting screw 1
or, as applicable, 2
Soft setting "S":
Fully back off adjusting screw
1 or, as applicable, 2
Shock-absorber adjustment
10Classic1g.book Seite 41 Freitag, 27. Januar 2006 2:01 14
Page 44 of 92
42
Safety check
2
1
d Warning:
Before the journey starts, ad-
just spring preload to suit
gross weight.
For safety reasons, never at-
tempt to alter spring preload
while the motorcycle is being
ridden.
Always bring the motorcycle
to a stop before adjusting.
If spring preload is changed
the shock absorber setting al-
ways has to be adjusted ac-
cordingly.
Adjusting spring preload Place the motorcycle on the
centre stand
Adjust spring preload at
knob 1
Basic setting, one-up:
Turn knob 1 as far as it will go
counter-clockwise in the
direction indicated by the
" LOW " arrow
Turn knob 1 one mark clock-
wise in the direction indicated
by the " HIGH" arrow
Setting for two-up and luggage:
Turn knob 1 as far as it will go
clockwise in the direction indi-
cated by the "HIGH" arrow
Spring preload
10Classic1g.book Seite 42 Freitag, 27. Januar 2006 2:01 14
Page 45 of 92

43
Safety check
2
Wheels
d Warning:
Use only wheels and tyres
that BMW Motorrad has ap-
proved for your motorcycle.
For each size of tyre BMW
tests certain makes, and ap-
proves those that it certifies
as roadworthy.
If BMW Motorrad has not ap-
proved the wheels and tyres
it cannot assess their suita-
bility or provide any guaran-
tee of road safety. You can
obtain detailed information
from your authorised BMW
motorcycle dealer or by
visiting
www.bmw-motorrad.com on
the Internet.
Checking wheel rims
d Warning:
Have damaged wheel rims
checked and, if necessary,
replaced by a specialist work-
shop, preferably an author-
ised BMW motorcycle dealer.
Checking tyre tread
d Warning:
Comply with statutory legal
requirements concerning
minimum tread depth. Worn
tyres can impair handling.
Measure tread depth at the
centre of the tyre tread
BMW's minimum tread depth
recommendation:
Front ............................... 2 mm
Rear ................................ 3 mm
10Classic1g.book Seite 43 Freitag, 27. Januar 2006 2:01 14
Page 46 of 92
44
Safety check
2
Wheels
Checking tyre pressures
d Warning:
Incorrect tyre pressures have
a considerable influence on
handling and on tyre life.
Adjust tyre pressures to suit
total weight. Never exceed ei-
ther the motorcycle ’s gross
weight or the individual wheel
load limits (b 47). –
When tyres are cold:
Remove valve caps
Check/correct tyre pressure
Tyre pressures: Front Rear
One-up 2.2 bar 2.5 bar
Two-up 2.5 bar 2.7 bar
Two-up
with luggage 2.5 bar 2.9 bar
Fully tighten valve caps
Fully tightening valve caps
d Warning:
At high road speeds, tyre
valves have a tendency to
open as a result of centrifugal
force.
Use only metal valve caps
with rubber seals.
Valve caps that are screwed
on well prevent air from es-
caping suddenly.
10Classic1g.book Seite 44 Freitag, 27. Januar 2006 2:01 14