2003 BMW M3 COUPE lights
[x] Cancel search: lightsPage 75 of 158

75
Fuel gaugeOnce the indicator lamp stays on con-
tinuously, there are still approx.
2 gallons/8 liters of fuel in the fuel tank.
Fuel tank capacity approx. 16.6 gal./
63 liters.
If the tilt of the vehicle varies – when
you are driving in mountainous areas,
for example – the needle may fluctuate
slightly.
Fill the fuel tank before it is com-
pletely empty. Driving to the last
drop of fuel can prevent the engine
from operating properly and result in
damage.<
When you switch on the ignition, the
indicator lamp lights up briefly as an
operation check.
Engine coolant temperature gaugeBlueThe engine is still cold. Drive at moder-
ate engine and vehicle speeds.RedWhen you switch on the ignition, the
warning lamp comes on briefly as an
operation check.
If the lamp comes on while operating
the vehicle: the engine has overheated.
Switch off the engine immediately and
allow it to cool down.
To check the coolant level, refer to
page 120.
Between the blue and red zonesNormal operating range. The needle
may rise as far as the edge of the red
sector during normal operation.
OverviewControlsMaintenanceRepairsDataIndex
handbook.book Page 75 Saturday, July 27, 2002 1:12 PM
Page 83 of 158

83
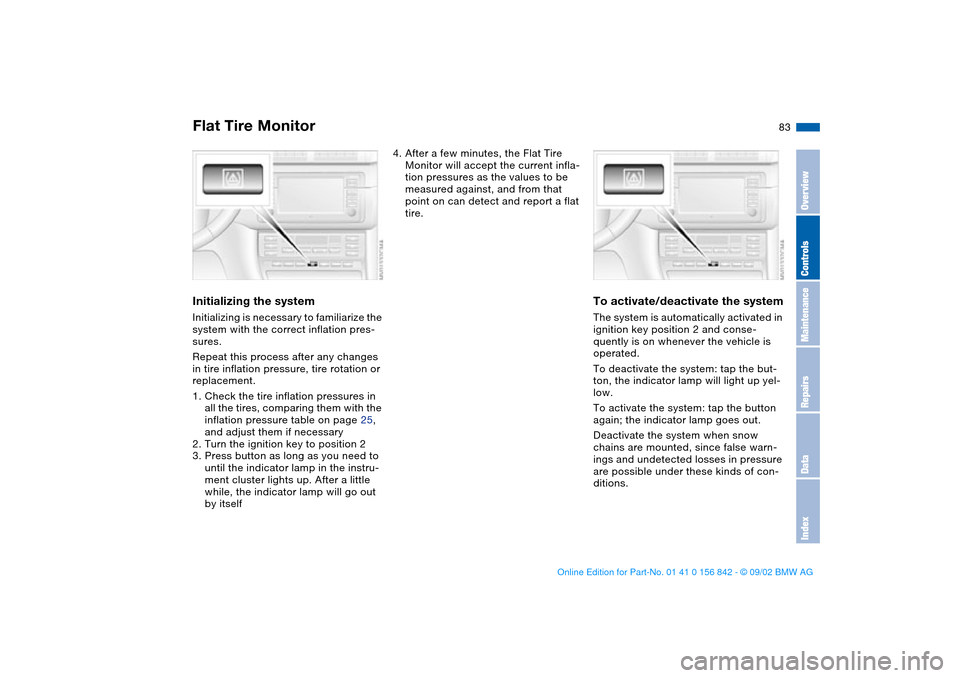
Initializing the systemInitializing is necessary to familiarize the
system with the correct inflation pres-
sures.
Repeat this process after any changes
in tire inflation pressure, tire rotation or
replacement.
1. Check the tire inflation pressures in
all the tires, comparing them with the
inflation pressure table on page 25,
and adjust them if necessary
2. Turn the ignition key to position 2
3. Press button as long as you need to
until the indicator lamp in the instru-
ment cluster lights up. After a little
while, the indicator lamp will go out
by itself
4. After a few minutes, the Flat Tire
Monitor will accept the current infla-
tion pressures as the values to be
measured against, and from that
point on can detect and report a flat
tire.
To activate/deactivate the systemThe system is automatically activated in
ignition key position 2 and conse-
quently is on whenever the vehicle is
operated.
To deactivate the system: tap the but-
ton, the indicator lamp will light up yel-
low.
To activate the system: tap the button
again; the indicator lamp goes out.
Deactivate the system when snow
chains are mounted, since false warn-
ings and undetected losses in pressure
are possible under these kinds of con-
ditions.
Flat Tire Monitor
OverviewControlsMaintenanceRepairsDataIndex
handbook.book Page 83 Saturday, July 27, 2002 1:12 PM
Page 84 of 158

84
Flat tire
The red warning lamp in the
instrument cluster lights up to
warn of pressure loss and tire
failure. In addition, an acoustic signal is
sounded. To come to an immediate
stop, reduce speed, while avoiding any
sudden, jerky braking or steering
maneuvers.
Fix the flat tire using the M Mobility sys-
tem, refer to page 133.
To reset the warning lamp: the red indi-
cator lamp has to be switched off man-
ually after putting on a new wheel. At
this point, hold the Flat Tire Monitor
button down until the indicator lamp
goes out. Reinitialize the system after-
ward.
The Flat Tire Monitor cannot pro-
vide you with advance warning of
sudden and severe tire damage caused
by external factors.
Another factor which the Flat Tire Moni-
tor does not recognize is the balanced
and very gradual pressure loss that
takes place in all tires over an extended
period of time.<
Check tire inflation pressures on a
regular basis, correcting them as
necessary, refer to page 25.
Under certain circumstances, there
may be false warnings or a delayed
detection of losses in pressure when
driving on snow-covered or slippery
road surfaces.
Performance-oriented driving, slip at
the drive wheels and high levels of lat-
eral acceleration can also delay the
appearance of status reports in the Flat
Tire Monitor's display panel.<
System malfunctionsAs long as there is still a malfunction,
the indicator lamp in the instrument
cluster will stay lit up yellow.
Please contact your BMW center for
additional information.
Flat Tire Monitor
handbook.book Page 84 Saturday, July 27, 2002 1:12 PM
Page 86 of 158

86Lamps
Parking lamps/Low beamsParking lamps
The front, rear and side vehicle
lighting is switched on. You can
use this to signal the position of
the vehicle when it is parked. For light-
ing on one side for parking as an addi-
tional feature, refer to page 87.
Low beams
When you switch the ignition off
with the low-beam headlamps
on, only the parking lamps will
remain on.
Follow me home lampsWhen you activate the headlamp
flasher after parking the vehicle and
switching off the lights, the low beams
will come on for a brief period.
You can also have this function
deactivated.<
LIGHTS ON warningWhenever you open the driver's door
after having turned the ignition key to
position 0, you will hear an acoustic
signal for a few seconds to remind you
that the lamps have not been switched
off.Daytime driving lamps*If you desire, the light switch can be left
in the low-beam position: when the
ignition is switched off, the external
lighting is also switched off.
When required, switch on the parking
lamps as usual as described under
Parking lamps.
You can have the activation set-
tings for the daytime driving lamps
programmed on your vehicle.
tion the system automatically
responds to changes in ambient
light – in tunnels, at dusk, etc. – and in
the event of rain and snow – by switch-
ing the low beams on or off.
The vehicle's external lamps
remain on constantly when you
switch on the front fog lamps after the
headlamps have come on automati-
cally.<
Automatic headlamp control can-
not serve as a substitute for your
personal judgement in determining
when the lamps should be switched on.
For example, the sensors are not able
to detect fog. In such situations switch
on the lamp manually, as otherwise a
safety hazard will result.<
You can have the sensitivity of
your vehicle's automatic head-
lamp control adjusted.<
handbook.book Page 86 Saturday, July 27, 2002 1:12 PM
Page 88 of 158

88
Fog lampsFront fog lamps
The green indicator lamp in the
instrument cluster lights up to
indicate that the front fog lamps
are on.
If the automatic headlamp control
is on, the low beams will come on
automatically whenever you activate
the front fog lamps.<
Interior lampsThe interior lamps operate automati-
cally.To switch the interior lamps on
and off manuallyPress button 1 briefly.
If you want the interior lamps to remain
off all the time, press and hold the but-
ton for approx. 3 seconds.
Press the button briefly to revert to nor-
mal operation.Front reading lampsSwitch on and off with the button 2
adjacent to each lamp.
Rear reading lampsSwitch on and off with the button adja-
cent to each lamp.
In order to prevent battery dis-
charge, all of the lamps in the
vehicle are automatically switched off
approx. 15 minutes after you turn the
ignition key to position 0.<
handbook.book Page 88 Saturday, July 27, 2002 1:12 PM
Page 98 of 158

98
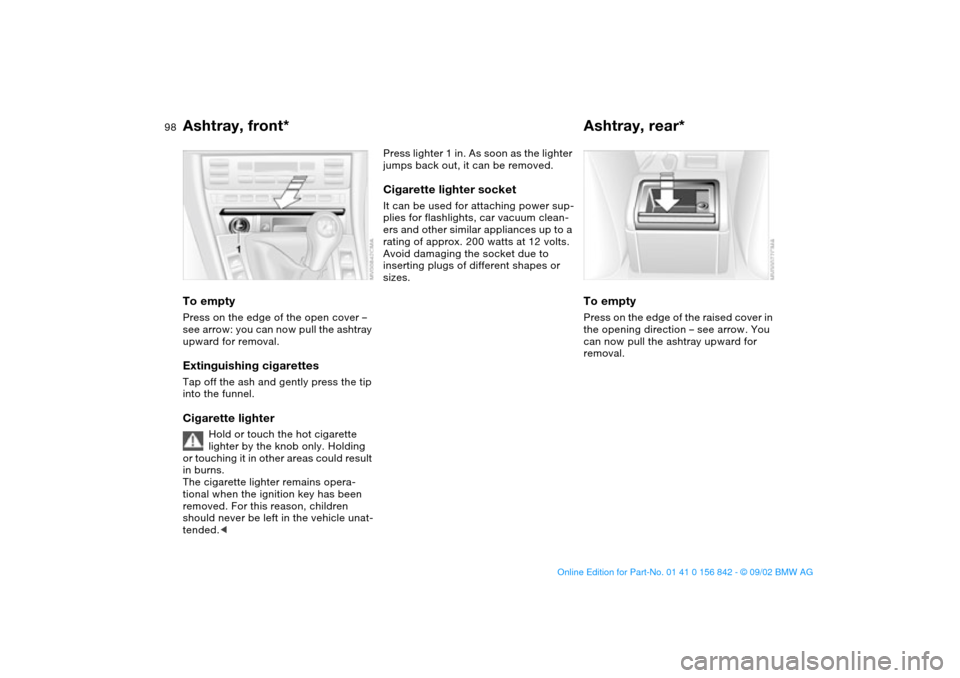
Ashtray, front*To emptyPress on the edge of the open cover –
see arrow: you can now pull the ashtray
upward for removal.Extinguishing cigarettesTap off the ash and gently press the tip
into the funnel.Cigarette lighter
Hold or touch the hot cigarette
lighter by the knob only. Holding
or touching it in other areas could result
in burns.
The cigarette lighter remains opera-
tional when the ignition key has been
removed. For this reason, children
should never be left in the vehicle unat-
tended.<
Press lighter 1 in. As soon as the lighter
jumps back out, it can be removed.Cigarette lighter socketIt can be used for attaching power sup-
plies for flashlights, car vacuum clean-
ers and other similar appliances up to a
rating of approx. 200 watts at 12 volts.
Avoid damaging the socket due to
inserting plugs of different shapes or
sizes.
Ashtray, rear*To emptyPress on the edge of the raised cover in
the opening direction – see arrow. You
can now pull the ashtray upward for
removal.
handbook.book Page 98 Saturday, July 27, 2002 1:12 PM
Page 153 of 158

Everything from A to Z
153
Leather care, refer to the
Caring for your vehicle
brochure
Length 145
License plate lamp
replacing bulb 133
Light switch 86
Lighter 98
Lighting, see Lamps
LIGHTS ON warning 86
Load-securing devices 102
Lock, steering wheel 60
Low beams 86
bulb replacement 129
Luggage compartment 35
capacity 146
floor mat 38
floor panel 37
manual operation 35
Luggage compartment lid 35
emergency release 37
manual operation 35
opening from the inside 36
remote control 32
securing separately 35
Luggage compartment light-
ing 35
Luggage rack 103
Lumbar support 45M
M Engine dynamics
control 85
M Mobility system 133
M+S tires 112
Maintenance 76, 122
Malfunction displays 76
Manual transmission 64
Master keys 30
with remote control 30
Memory 49, 59
Microfilter 94
Microphone 97
Mirror defrosting 51
Mirror memory 49
Mirrors 51
automatic curb monitor 50
inside rearview 52
outside 51
Mobility system 133
Modifications, technical 5
Multifunction switch 70
N
Navigation system, refer to
the separate Owner's
Manual
Neckrest 46
O
OBD interface socket 124Obstruction protection
power windows 40
sliding/tilt sunroof 41
Odometer 74
Oil
capacity 147
dipstick 118
quality 119
viscosity 119
Oil additives 119
Oil change interval, refer to
Service and Warranty
Information Booklet for US
models / Warranty and
Service Guide Booklet for
Canadian models
Oil filter change 147
Oil level
checking 118
indicator lamp 19
warning lamp 18
Oil pressure
warning lamp 18
OIL SERVICE 76
Oil types 119
Onboard computer, refer to
Owner's Manual for
Onboard Computer
Onboard tool kit 128Opening and closing
from inside 34
via remote control 31
via the door lock 33
Operating elements 14
Outlets, ventilation 90
Outside temperature dis-
play 78
P
Paintwork care, refer to the
Caring for your vehicle
brochure
Panic mode, trigger
alarm 32
Park Distance Control
(PDC) 80
Parking aid 80
Parking brake 63
Parking lamps 86
PDC Park Distance
Control 80
Pollen 94
Power output 144
Power seat 45
Pressure, tires 25, 109
R
Radiator 147
Radio navigation, refer to
the Owner's Manual for
Radio 79
OverviewControlsMaintenanceRepairsDataIndex
handbook.book Page 153 Saturday, July 27, 2002 1:12 PM
Page 154 of 158

Everything from A to ZRadio, refer to the Owner's
Manual for Radio
Rain sensor 71
Range 79
Reading lamps
front 88
rear 88
Rear backrest, folding 100
Rear lamps 131
Rear window defroster 93
Rear-entry assist 47
Rearview mirror 51
Recirculated-air mode 93
Refueling 24
Remote control 31
Remote key 30
Replacement key 30, 31
Reporting safety defects 6
Reserve indicator lamp 75
Restraint system 55
Reverse 64
Rims 112
Roof load capacity 146
Roof-mounted luggage
rack 103
S
Safe seating position 43
Safety belts 47
3-point safety belt 100
height adjustment 48Safety feature
power windows 40
sliding/tilt sunroof 41
Seat adjustment 43, 44
adjusting the lumbar sup-
port 45
backrest width adjust-
ment 46
lumbar support 45
manual 44
power 45
Seat heating 50
Seat height adjustment 44
Seat memory 49
Securing cargo 102
Securing child-restraint sys-
tem 57
Securing devices 103
Sequential M gearbox
SMG II 65
indicator lamp 19, 69
Service and Warranty Infor-
mation Booklet 122
SERVICE ENGINE SOON
warning lamp 19
Service interval display
76, 122
Set clock 77
Shift lights 69
Side airbags 53
Side turn signals
bulb replacement 130Size 145
Ski bag 101
Sliding/tilt sunroof 40
closing following an elec-
trical malfunction 42
convenience operation
31, 33
manual operation 42
remote control 31
SMG gearbox 65
Snow chains 113
Socket 98
Spare key 30
Speedometer 16
Sport mode 85
Standing lamps 87
bulb replacement 129
Starting 61
Starting problems 61
Steering wheel lock 60
Steering wheel with multi-
function buttons 22
Steering wheel, adjusting 51
Storage compartments 96
Stroke 144
Summer tires 112
Sun blind 94
Surface ice warning 78
Switching off the engine 63
Symbols used 4T
Tachometer 16, 74
Tail lamps 131
replacing bulb 131
Tank capacity 147
Technical data 144
Technical modifications 5
Telephone hookup 97
Telephone, refer to the sep-
arate Owner's Manual
Temperature adjustment 92
Temperature display
engine coolant 75
ice warning 78
interior temperature 92
outside temperature 78
Temperature gauge 74
Temperature layering 93
Thigh support area, adjust-
ing 45
Third brake lamp 132
Through-loading system 100
Tilt alarm sensor
remote control 32
switching off 32, 39
Time 77
Tire code 112
Tire damage 109
Tire inflation pressure
25, 109
checking 25
Tire replacement 110
handbook.book Page 154 Saturday, July 27, 2002 1:12 PM