Page 44 of 166

44
Closing manually in the event of
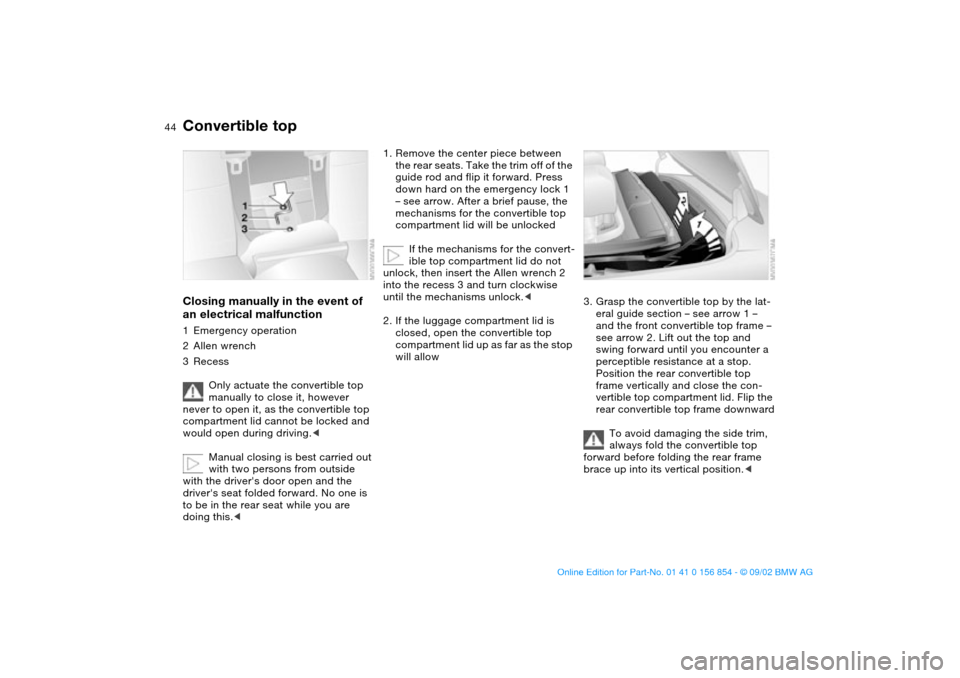
an electrical malfunction1Emergency operation
2Allen wrench
3Recess
Only actuate the convertible top
manually to close it, however
never to open it, as the convertible top
compartment lid cannot be locked and
would open during driving.<
Manual closing is best carried out
with two persons from outside
with the driver's door open and the
driver's seat folded forward. No one is
to be in the rear seat while you are
doing this.<
1. Remove the center piece between
the rear seats. Take the trim off of the
guide rod and flip it forward. Press
down hard on the emergency lock 1
– see arrow. After a brief pause, the
mechanisms for the convertible top
compartment lid will be unlocked
If the mechanisms for the convert-
ible top compartment lid do not
unlock, then insert the Allen wrench 2
into the recess 3 and turn clockwise
until the mechanisms unlock.<
2. If the luggage compartment lid is
closed, open the convertible top
compartment lid up as far as the stop
will allow
3. Grasp the convertible top by the lat-
eral guide section – see arrow 1 –
and the front convertible top frame –
see arrow 2. Lift out the top and
swing forward until you encounter a
perceptible resistance at a stop.
Position the rear convertible top
frame vertically and close the con-
vertible top compartment lid. Flip the
rear convertible top frame downward
To avoid damaging the side trim,
always fold the convertible top
forward before folding the rear frame
brace up into its vertical position.<
Convertible top
handbook.book Page 44 Tuesday, July 30, 2002 9:28 AM
Page 51 of 166

51
Rear head restraints
The rear head restraints may only
be lowered if there are no passen-
gers in the rear seats. If you do so, you
are in violation of the law. Raise the rear
head restraints before taking on any
passengers in the back.<
To completely lower the rear head
restraints:
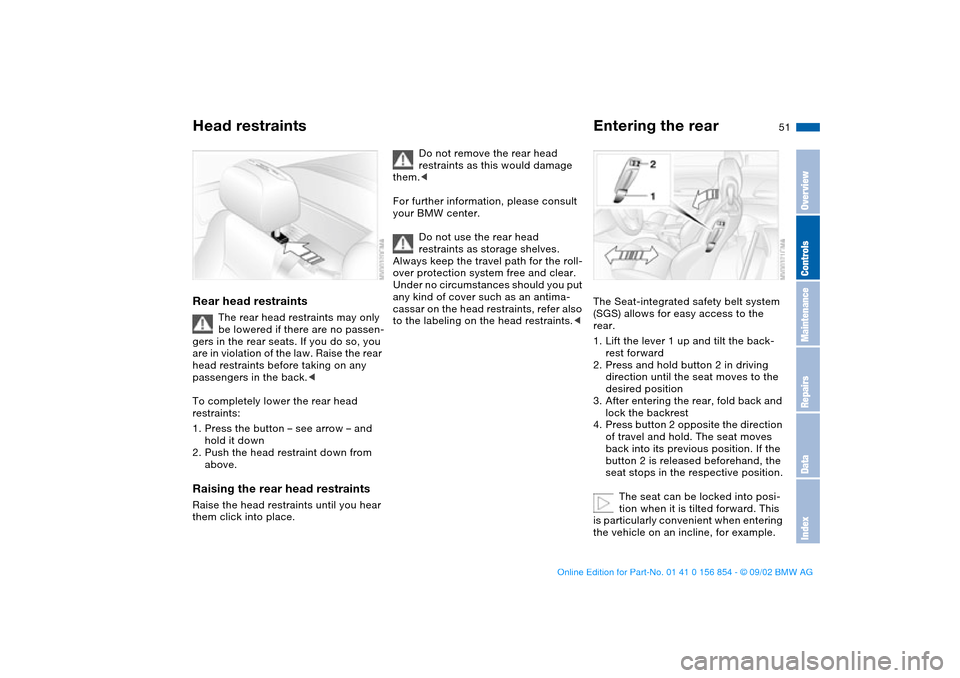
1. Press the button – see arrow – and
hold it down
2. Push the head restraint down from
above.
Raising the rear head restraintsRaise the head restraints until you hear
them click into place.
Do not remove the rear head
restraints as this would damage
them.<
For further information, please consult
your BMW center.
Do not use the rear head
restraints as storage shelves.
Always keep the travel path for the roll-
over protection system free and clear.
Under no circumstances should you put
any kind of cover such as an antima-
cassar on the head restraints, refer also
to the labeling on the head restraints.<
Entering the rearThe Seat-integrated safety belt system
(SGS) allows for easy access to the
rear.
1. Lift the lever 1 up and tilt the back-
rest forward
2. Press and hold button 2 in driving
direction until the seat moves to the
desired position
3. After entering the rear, fold back and
lock the backrest
4. Press button 2 opposite the direction
of travel and hold. The seat moves
back into its previous position. If the
button 2 is released beforehand, the
seat stops in the respective position.
The seat can be locked into posi-
tion when it is tilted forward. This
is particularly convenient when entering
the vehicle on an incline, for example.
Head restraints
OverviewControlsMaintenanceRepairsDataIndex
handbook.book Page 51 Tuesday, July 30, 2002 9:28 AM
Page 101 of 166
101 Interior conveniences
Glove compartmentTo openPull the handle. The glove compartment
will light up.To closeFold up cover.
To prevent injury in the event of an
accident, close the glove com-
partment immediately after use.
master key can also be used for unlock-
ing.
If – for example for valet parking –
you turn over only your door and
ignition key, refer to page 30, then
access to the glove compartment and
the luggage compartment is not possi-
ble.<
Storage compartmentsFront center armrestTo open: press the button and lift
upward – see arrow.Other compartments and netsYou will find additional storage areas in
the doors and in the center console
above the ashtray. Storage nets are
located on the backrests of the front
seats.
OverviewControlsMaintenanceRepairsDataIndex
handbook.book Page 101 Tuesday, July 30, 2002 9:28 AM
Page 158 of 166

Everything from A to ZEngine oil pressure
warning lamp 18
Engine speed 150
Entering the rear 51
Exterior mirrors 55
Eyelet, towing 146
F
False alarm, avoiding 39
Fault displays 82
First-aid kit 23
Flat tire 115
repairing 139
Flat Tire Monitor 88
indicator lamp 18, 19
Fog lamps 94
Fold down convertible top
compartment panel 37
Follow me home lamps 92
Footbrake 112
Footbrake, refer to Driving
notes 111
Footwell lamps 94
Front airbags 57
Front fog lamps 94
indicator lamp 20
Front seat adjustment 49
Frost protection,
radiator 126
Fuel 25
Fuel consumption 85
display 81Fuel filler door 24
release following an elec-
trical malfunction 24
Fuel gauge 81
Fuel specifications 25
Fuel tank capacity 153
Fuel tank display 81
Fuel tank gauge 81
Fuel-injection system 150
Fully automatic convertible
top 41
operation 41
Fuses 144
replacing 144
G
Gasoline 25
Gasoline gauge 81
Gearbox, sequential 71
Gearshift lever 70
Glove compartment 101
Grills 96
Gross vehicle weight 152
H
Hands-free system 102
Hardtop 113
Hazard warning flashers 14
Hazard warning triangle 23
Head restraints 50
Headlamp 92Headlamp cleaning system
122, 124, 153
Headlamp control 92
Headlamp flasher 76, 93
Heated mirror 55
Heated seats 54
Heavy loads 106
High beams 76, 93
indicator lamps 21
Holder for beverages 102
Hood release 120
Horn 14
Hydroplaning 111, 115
I
Ice warning 84
Ignition key 30
positions 66
Ignition lock 66
Imprint 4
Indicator lamps 18
Individual settings, Vehicle
Memory, Key Memory 65
Inflation pressure 25, 115
INSPECTION 82
Instrument cluster 16
Instrument lighting 93
Instrument panel 14, 16
Interface socket for onboard
diagnostics (OBD) 130
Interior lamps 32, 94
remote control 32Interior motion sensor 38
remote control 32
switching off 32, 39
Interior rearview mirror
automatic dimming
feature 56
Interior temperature
adjusting 98
Intermittent mode 77
J
Jump-starting 145
K
Key Memory 65
Keys 30
L
Lamp replacement 135
Lamps
daytime driving lamps 92
fog lamps 94
footwell lamps 94
headlamp flasher 76, 93
high beams 93
instrument lighting 93
interior lamps 94
low beams 92
parking lamps 92
reading lamps 94
standing lamps 93
Lashing fittings 107
handbook.book Page 158 Tuesday, July 30, 2002 9:28 AM