2003 BMW 325XI steering
[x] Cancel search: steeringPage 120 of 166
120
Wheel and tire combinationsThe right choice
BMW recommends using only
wheels and tires that have been
approved by BMW for your particular
vehicle model, as otherwise body con-
tact and serious accidents can result
despite the use of the same nominal
size, e.g. due to manufacturing toler-
ances. BMW cannot evaluate all tires
and wheels on the market, and is thus
unable to guarantee that the vehicle will
continue to perform safely if unap-
proved tires and/or wheels are
mounted.<
For each tire size, BMW has assessed
the safe performance of specific tire
brands and approved them for use.
Consult any BMW center for details.
Comply with any local/national regula-
tions, for example by recording the tire
type in the vehicle documents.
The correct wheel-tire combina-
tion affects different systems such
as ABS, ASC+T/DSC and ADB/
ADB-X/DBC. The function of these sys-
tems is impaired if improper wheel-tire
combinations are used. For this reason,
use only tires of the same manufacture
and tread configuration. In the event of
a flat tire, for example, remount the
approved wheel and tire combination
as soon as possible.
possible. Protect the tires against con-
tact with oil, grease and fuel.
Winter tiresChoosing the right tireBMW recommends winter tires – M+S
tires – for operation under inclement
winter driving conditions. While all-sea-
son tires – M+S designation – provide
better winter traction than the corre-
sponding summer tires, they generally
do not achieve the performance of win-
ter tires.
In the interest of safe tracking and
steering response, install winter tires
made by the same manufacturer and
having the same tread configuration on
all four wheels.
Never exceed the maximum
speed for which the winter tires
are rated.
Unprofessional attempts by laymen to
service tires can lead to damage and
accidents.
Have this work performed by trained
professionals only. Any BMW center
has the required technical knowledge
and the proper equipment and will be
happy to assist you.<
handbook.book Page 120 Saturday, July 27, 2002 1:36 PM
Page 127 of 166
127
The oil volume between the two marks
on the dipstick corresponds to approx.
1.1 US quarts/1 liter. Do not fill beyond
the upper mark on the dipstick. Excess
oil will damage the engine.
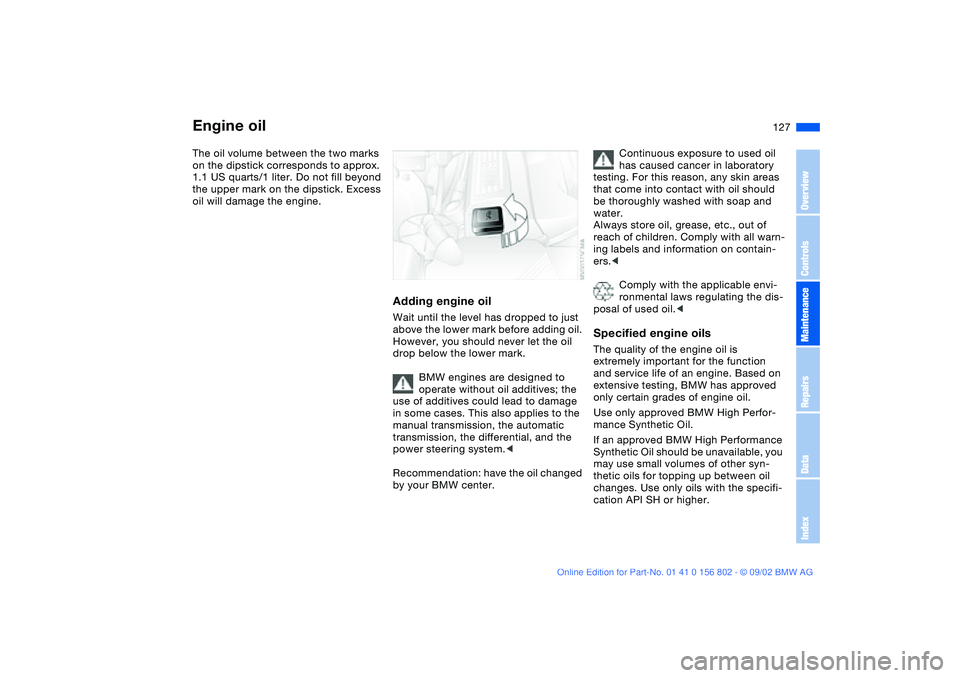
Adding engine oilWait until the level has dropped to just
above the lower mark before adding oil.
However, you should never let the oil
drop below the lower mark.
BMW engines are designed to
operate without oil additives; the
use of additives could lead to damage
in some cases. This also applies to the
manual transmission, the automatic
transmission, the differential, and the
power steering system.<
Recommendation: have the oil changed
by your BMW center.
Continuous exposure to used oil
has caused cancer in laboratory
testing. For this reason, any skin areas
that come into contact with oil should
be thoroughly washed with soap and
water.
Always store oil, grease, etc., out of
reach of children. Comply with all warn-
ing labels and information on contain-
ers.<
Comply with the applicable envi-
ronmental laws regulating the dis-
posal of used oil.<
Specified engine oilsThe quality of the engine oil is
extremely important for the function
and service life of an engine. Based on
extensive testing, BMW has approved
only certain grades of engine oil.
Use only approved BMW High Perfor-
mance Synthetic Oil.
If an approved BMW High Performance
Synthetic Oil should be unavailable, you
may use small volumes of other syn-
thetic oils for topping up between oil
changes. Use only oils with the specifi-
cation API SH or higher.
Engine oil
OverviewControlsMaintenanceRepairsDataIndex
handbook.book Page 127 Saturday, July 27, 2002 1:36 PM
Page 141 of 166
141
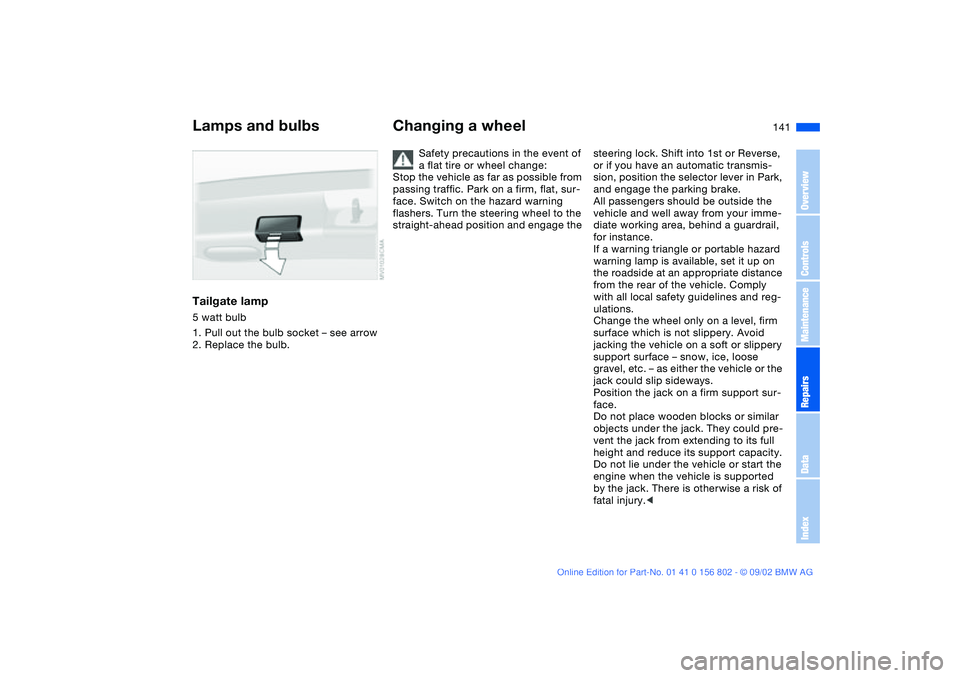
Tailgate lamp5 watt bulb
1. Pull out the bulb socket – see arrow
2. Replace the bulb.
Changing a wheel
Safety precautions in the event of
a flat tire or wheel change:
Stop the vehicle as far as possible from
passing traffic. Park on a firm, flat, sur-
face. Switch on the hazard warning
flashers. Turn the steering wheel to the
straight-ahead position and engage the
steering lock. Shift into 1st or Reverse,
or if you have an automatic transmis-
sion, position the selector lever in Park,
and engage the parking brake.
All passengers should be outside the
vehicle and well away from your imme-
diate working area, behind a guardrail,
for instance.
If a warning triangle or portable hazard
warning lamp is available, set it up on
the roadside at an appropriate distance
from the rear of the vehicle. Comply
with all local safety guidelines and reg-
ulations.
Change the wheel only on a level, firm
surface which is not slippery. Avoid
jacking the vehicle on a soft or slippery
support surface – snow, ice, loose
gravel, etc. – as either the vehicle or the
jack could slip sideways.
Position the jack on a firm support sur-
face.
Do not place wooden blocks or similar
objects under the jack. They could pre-
vent the jack from extending to its full
height and reduce its support capacity.
Do not lie under the vehicle or start the
engine when the vehicle is supported
by the jack. There is otherwise a risk of
fatal injury.<
Lamps and bulbs
OverviewControlsMaintenanceRepairsDataIndex
handbook.book Page 141 Saturday, July 27, 2002 1:36 PM
Page 144 of 166
144
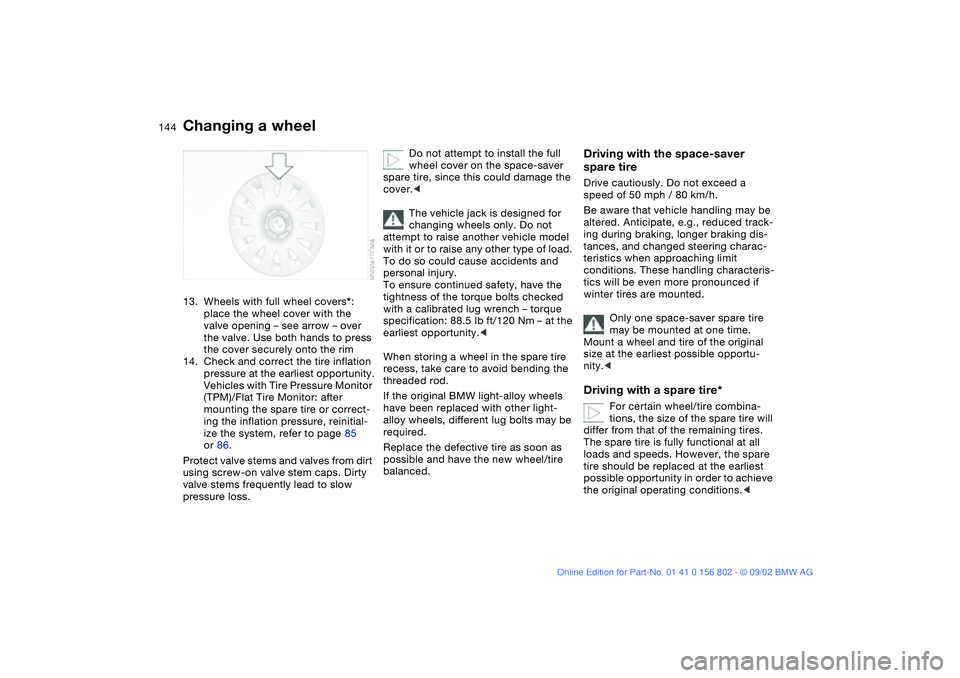
13. Wheels with full wheel covers*:
place the wheel cover with the
valve opening – see arrow – over
the valve. Use both hands to press
the cover securely onto the rim
14. Check and correct the tire inflation
pressure at the earliest opportunity.
Vehicles with Tire Pressure Monitor
(TPM)/Flat Tire Monitor: after
mounting the spare tire or correct-
ing the inflation pressure, reinitial-
ize the system, refer to page 85
or 86.
Protect valve stems and valves from dirt
using screw-on valve stem caps. Dirty
valve stems frequently lead to slow
pressure loss.
Do not attempt to install the full
wheel cover on the space-saver
spare tire, since this could damage the
cover.<
The vehicle jack is designed for
changing wheels only. Do not
attempt to raise another vehicle model
with it or to raise any other type of load.
To do so could cause accidents and
personal injury.
To ensure continued safety, have the
tightness of the torque bolts checked
with a calibrated lug wrench – torque
specification: 88.5 lb ft/120 Nm – at the
earliest opportunity.<
When storing a wheel in the spare tire
recess, take care to avoid bending the
threaded rod.
If the original BMW light-alloy wheels
have been replaced with other light-
alloy wheels, different lug bolts may be
required.
Replace the defective tire as soon as
possible and have the new wheel/tire
balanced.
Driving with the space-saver
spare tireDrive cautiously. Do not exceed a
speed of 50 mph / 80 km/h.
Be aware that vehicle handling may be
altered. Anticipate, e.g., reduced track-
ing during braking, longer braking dis-
tances, and changed steering charac-
teristics when approaching limit
conditions. These handling characteris-
tics will be even more pronounced if
winter tires are mounted.
Only one space-saver spare tire
may be mounted at one time.
Mount a wheel and tire of the original
size at the earliest possible opportu-
nity.
tions, the size of the spare tire will
differ from that of the remaining tires.
The spare tire is fully functional at all
loads and speeds. However, the spare
tire should be replaced at the earliest
possible opportunity in order to achieve
the original operating conditions.<
Changing a wheel
handbook.book Page 144 Saturday, July 27, 2002 1:36 PM
Page 145 of 166
145
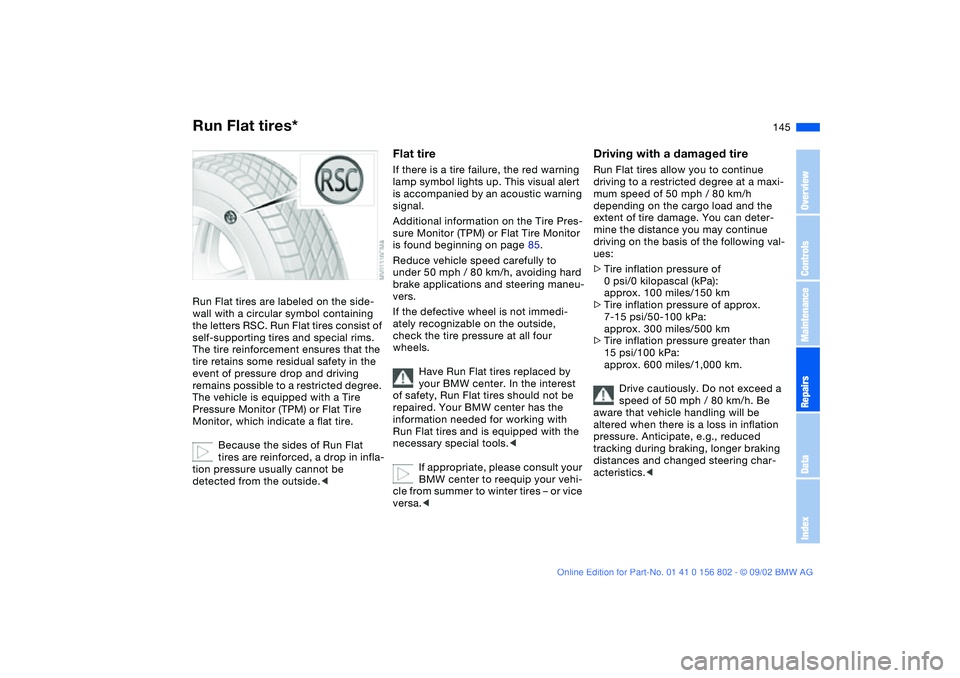
Run Flat tires*Run Flat tires are labeled on the side-
wall with a circular symbol containing
the letters RSC. Run Flat tires consist of
self-supporting tires and special rims.
The tire reinforcement ensures that the
tire retains some residual safety in the
event of pressure drop and driving
remains possible to a restricted degree.
The vehicle is equipped with a Tire
Pressure Monitor (TPM) or Flat Tire
Monitor, which indicate a flat tire.
Because the sides of Run Flat
tires are reinforced, a drop in infla-
tion pressure usually cannot be
detected from the outside.<
Flat tireIf there is a tire failure, the red warning
lamp symbol lights up. This visual alert
is accompanied by an acoustic warning
signal.
Additional information on the Tire Pres-
sure Monitor (TPM) or Flat Tire Monitor
is found beginning on page 85.
Reduce vehicle speed carefully to
under 50 mph / 80 km/h, avoiding hard
brake applications and steering maneu-
vers.
If the defective wheel is not immedi-
ately recognizable on the outside,
check the tire pressure at all four
wheels.
Have Run Flat tires replaced by
your BMW center. In the interest
of safety, Run Flat tires should not be
repaired. Your BMW center has the
information needed for working with
Run Flat tires and is equipped with the
necessary special tools.<
If appropriate, please consult your
BMW center to reequip your vehi-
cle from summer to winter tires – or vice
versa.<
Driving with a damaged tireRun Flat tires allow you to continue
driving to a restricted degree at a maxi-
mum speed of 50 mph / 80 km/h
depending on the cargo load and the
extent of tire damage. You can deter-
mine the distance you may continue
driving on the basis of the following val-
ues:
>Tire inflation pressure of
0 psi/0 kilopascal (kPa):
approx. 100 miles/150 km
>Tire inflation pressure of approx.
7-15 psi/50-100 kPa:
approx. 300 miles/500 km
>Tire inflation pressure greater than
15 psi/100 kPa:
approx. 600 miles/1,000 km.
Drive cautiously. Do not exceed a
speed of 50 mph / 80 km/h. Be
aware that vehicle handling will be
altered when there is a loss in inflation
pressure. Anticipate, e.g., reduced
tracking during braking, longer braking
distances and changed steering char-
acteristics.<
OverviewControlsMaintenanceRepairsDataIndex
handbook.book Page 145 Saturday, July 27, 2002 1:36 PM
Page 160 of 166

Everything from A to ZFrost protection
radiator 128
Fuel consumption 76
Fuel economy, refer to
Energy control 71
Fuel filler door 24
release following an elec-
trical malfunction 24
Fuel gauge 71, 72
Fuel specifications 25
Fuel tank capacity 155
Fuel tank display 72
Fuel tank gauge 72
Fuel-injection system 152
Fuses, replacing 146
G
Gasoline 25
Gasoline gauge 72
Glove compartment 101
Grills 92, 96
Gross vehicle weight 154
H
Hands-free system 103
Harman Kardon premium
sound system 101
Hazard warning flashers 14
Hazard warning triangle 23
HDC Hill Descent Control 84
Head airbags 52
Head restraints 47Headlamp flasher 90
Headlamp washer system
126, 155
Headlamps
automatic control 89
Heated seats 49
Heating and ventilation 96
High beams 21, 66, 90
replacing bulb 137
Hill Descent Control
(HDC) 84
Holder for
beverages 103
litter bag 103
Hood release 122
Horn 14
Hydroplaning 117
I
Ice warning 75
Icy roads 75
Ignition key 30
Ignition lock 59
Imprint 4
Indicator lamps 18
Inflation pressure 25, 117
monitoring 85
INSPECTION 73
Instrument cluster 16
Instrument lighting 90
Instrument panel 14, 16Interface socket for onboard
diagnostics 132
Interior lamps 32, 91
remote control 32
Interior motion sensor 37
switching off 38
Interior rearview mirror 51
automatic dimming
feature 51
Interlock 59
Intermittent mode 67
J
Jack 141
Jump-starting 147
K
Key Memory 58
Keys 30
with remote control 30
L
Lamp, replacing 137
Lashing fittings 110
LATCH child-restraint
mounting system 56
Length 153
License plate lamp
replacing bulb 140
Light switch 89
Lighter 104
LIGHTS ON warning 89Litter bag holder 103
Lock, steering wheel 59
Low beams 89
automatic 89
replacing bulb 137
Lug wrench 141
Luggage area cover, see
Cargo area cover 107
Luggage compartment
capacity 154
Lumbar support 46
M
M+S tires 120
Maintenance 73, 130
Malfunction displays 73
Manual transmission 62
MC operation, refer to the
Owner's Manual for Radio
MD operation, refer to the
Owner's Manual for Radio
Memory 48
Memory settings 58
Microfilter 95, 100
Microphone 103
Mirror
automatic curb monitor 49
Mirror defrosting 50
Mirror memory 48
Mirrors 50
Modifications, technical 4, 5
Multifunction switch 66
handbook.book Page 160 Saturday, July 27, 2002 1:36 PM
Page 161 of 166

Everything from A to Z
161
N
Navigation System, refer to
the separate Owner's
Manual
Neckrest 47
O
OBD interface socket 132
Obstruction protection 39
Odometer 71
Oil
capacity 155
quality 127
viscosity 127
Oil additives 127
Oil change intervals, refer to
the Service and Warranty
Information Booklet for US
models/Warranty and Ser-
vice Guide Booklet for
Canadian models
Oil consumption 126
Oil dipstick 126
Oil filter change 155
Oil level
checking 126
indicator lamp 18
Oil pressure
indicator lamp 18
OIL SERVICE 73
Oil types 127Onboard computer, refer to
the Owner's Manual for
Onboard Computer
Onboard tool kit 136
Operating elements 14
Outlets, ventilation 92, 96
Outside temperature dis-
play 75
P
Panic mode 32
Park Distance Control
(PDC) 77
Parking aid 77
Parking brake 61
Parking lamps 89
replacing bulb 138
Partition net 107
PDC Park Distance
Control 77
Pocket flashlight 102
Pollen 95, 100
Power output 152
Power seat 46
Power windows
safety switch 40
Pressure, tires 25, 85, 117
monitoring 85
R
Radiator 155Radio, refer to the Owner's
Manual for Radio
Rain sensor 67
Range 76
Reading lamps
front 91
rear 91
Rear lamps 139
Rear window defroster
94, 99
Rearview mirror 50
Recirculated-air mode
94, 99
Reclining seat 44
Refueling 24
Remote control 31
Remote control keys 30
Replacement key 30
Reporting safety defects 6
Reserve indicator lamp 72
Reverse 62
Roof load capacity 154
Roof-mounted luggage
rack 111
Run Flat tires 119, 145
S
Safety belt height adjust-
ment 48
Safety feature 39
Safety instructions 5Seat adjustment 44
mechanical 44
power 46
Seat heating 49
Seat memory 48
Securing cargo 110
Securing devices 110
Selector lever, automatic
transmission 63
Service and Warranty Infor-
mation Booklet 130
Service interval display
73, 130
Shiftlock 63
Side airbags 52
Size 153
Ski bag 106
Sliding/tilt sunroof 40
closing following an elec-
trical malfunction 42
convenience operation 31
remote control 32
Snow chains 121
Socket 104
Spare key 30
Spare tire 141
Speedometer 16
Sports seat 45
Standing lamps 90
Starting problems 59
Starting the engine 59
Steering wheel lock 59
OverviewControlsMaintenanceRepairsDataIndex
handbook.book Page 161 Saturday, July 27, 2002 1:36 PM
Page 162 of 166

Everything from A to ZSteering wheel with multi-
function buttons 22
Steering wheel, adjusting 50
Steptronic 63
Storage
refer to the Caring for your
vehicle brochure 137
Storage compartments 102
Stroke 152
Switching off the engine 61
Synthetic oils 127
T
Tachometer 16, 71
Tail lamp assembly
replacing bulb 139
Tail lamps
replacing bulb 139
Tailgate 34
emergency operation 35
Tailgate lamp
replacing bulb 141
Tank capacity 155
Technical data 152
Technical modifications 4, 5
Telephone hookup 103
Telephone, refer to the sep-
arate Owner's Manual
Temperature adjustment
94, 98Temperature display
engine coolant 72
outside temperature 75
Temperature layering 95, 99
Thigh support area, adjust-
ing 45
Third brake lamp 140
Tilt alarm sensor 32, 38
remote control 32
switching off 38
Time 74
Tire change 141
Tire inflation pressure
25, 117
Tire Pressure Monitor
(TPM) 85
Tire replacement 118
Tools 136
Torque 152
Towing eyelet 148
Towing the vehicle 148
TPM Tire Pressure
Monitor 85
Track 153
Transmission 62
Transporting children
safely 54
Tread depth, tires 117
Tread wear indicator 117
Trip odometer 71
Turn signal indicator 20, 66
replacing bulb 138Turning circle 153
U
Uniform Tire Quality
Grading 119
V
Vacuum cleaner, connect-
ing 104
Vehicle
break-in procedures 114
starting 59
switching off 61
Vehicle Memory 58
Vehicle storage
refer to the Caring for your
vehicle brochure
Vehicle weight 154
Ventilation 92, 96
draft-free 95, 99
Voice Control System, refer
to the separate Owner's
Manual
Voice recognition 22
W
Warning lamp Please fasten
safety belts 18
Warning lamps 18
Warning messages 73
Warranty and Service
Guide 130Warranty, refer to separate
booklet 6
Washer fluid
refilling 126, 155
Washer reservoir
filling 126, 155
Washer/wiper system 67
Water on roadways
deep water 115
Wear indicator for tires 117
Weights 154
Wheel, changing 141
Wheelbase 153
Wheels and tires 120
Width 153
Window condensation
removing 95, 98
Windows
convenience operation 31
defrosting 95
power 39
remote control 32
Windows, defrosting 98
Windshield washer reser-
voir, filling 126, 155
Windshield wipers 67
Winter tires 120
Wiper blades
replacing 136
Work in the engine compart-
ment 122
handbook.book Page 162 Saturday, July 27, 2002 1:36 PM