2003 BMW 325Ci CONVERTIBLE light
[x] Cancel search: lightPage 72 of 178

72
Switching off the engineTurn the ignition key to position 1 or 0.
You should never remove the igni-
tion key when the vehicle is in
motion, as the steering lock could
engage.
When you leave the vehicle, always
remove the ignition key and engage the
steering lock.<
Vehicles with manual transmis-
sion:
Always engage the parking brake when
parking on slopes and inclined sur-
faces. Placing the lever in gear may not
provide adequate resistance to rolling.
Vehicles with automatic transmission:
place the selector lever in P.<
Parking brakeThe parking brake is primarily designed
to prevent the vehicle from rolling while
parked. It operates on the rear wheels.To engageThe detent engages automatically and
the indicator lamp in the instrument
cluster comes on when the ignition key
is in position 2, refer to page 18.To releasePull up slightly on the lever, press the
button – see arrow – and lower the
lever.
handbook.book Page 72 Wednesday, July 31, 2002 9:29 AM
Page 73 of 178

73
If exceptional circumstances
make it necessary to engage the
parking brake while the vehicle is in
motion, do not pull it with excessive
pressure. Keep your thumb pressed
against the release button while care-
fully pulling the lever up.
Excessive pressure can lead to over-
braking and loss of traction – fishtailing
– at the rear axle.
The brake lamps do not come on when
the parking brake is engaged.
Vehicles with manual transmission:
Always engage the parking brake when
parking on slopes and inclined sur-
faces. Placing the lever in gear may not
provide adequate resistance to rolling.
Vehicles with automatic transmission:
place the selector lever in P.<
To avoid corrosion and one-sided
braking, apply the parking brake
lightly from time to time when coasting
to a standstill – at a traffic signal, for
instance – provided that it is safe to do
so.<
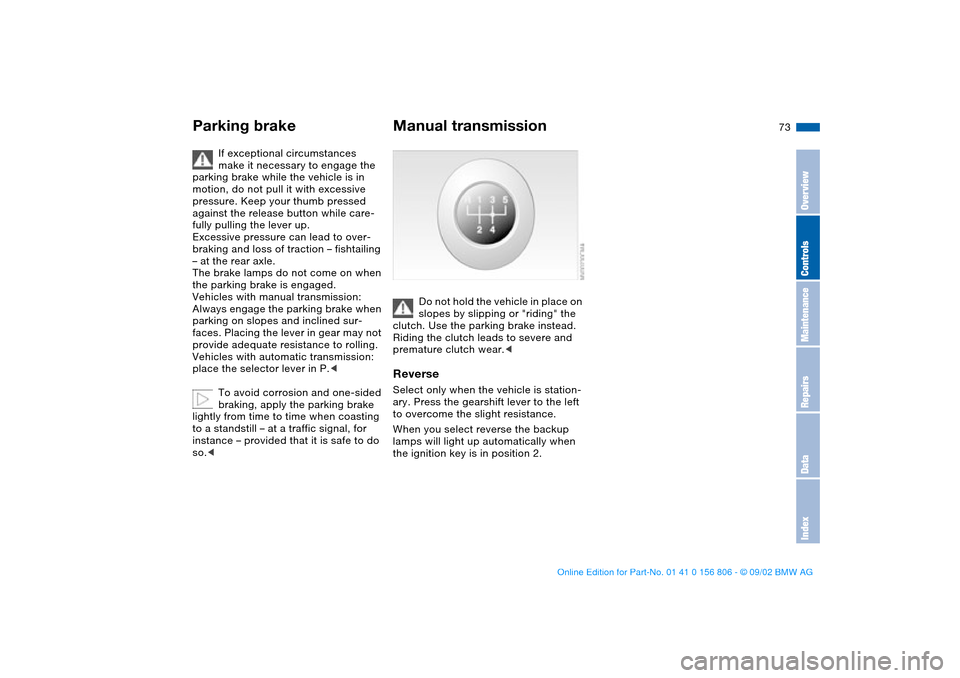
Manual transmission
Do not hold the vehicle in place on
slopes by slipping or "riding" the
clutch. Use the parking brake instead.
Riding the clutch leads to severe and
premature clutch wear.<
ReverseSelect only when the vehicle is station-
ary. Press the gearshift lever to the left
to overcome the slight resistance.
When you select reverse the backup
lamps will light up automatically when
the ignition key is in position 2.
Parking brake
OverviewControlsMaintenanceRepairsDataIndex
handbook.book Page 73 Wednesday, July 31, 2002 9:29 AM
Page 79 of 178

79
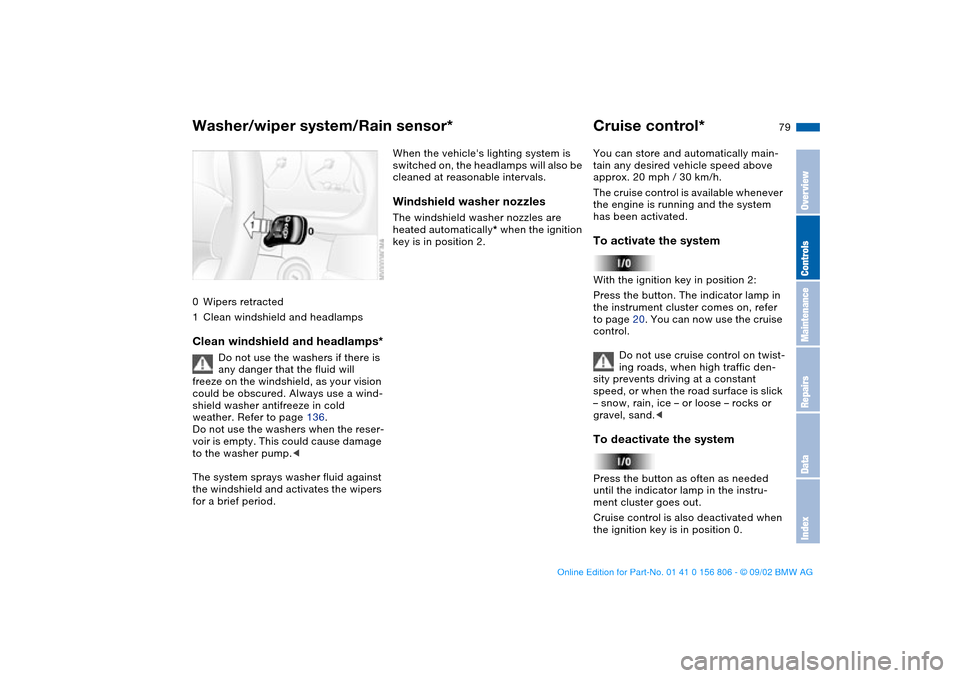
0Wipers retracted
1Clean windshield and headlampsClean windshield and headlamps*
Do not use the washers if there is
any danger that the fluid will
freeze on the windshield, as your vision
could be obscured. Always use a wind-
shield washer antifreeze in cold
weather. Refer to page 136.
Do not use the washers when the reser-
voir is empty. This could cause damage
to the washer pump.<
The system sprays washer fluid against
the windshield and activates the wipers
for a brief period.
When the vehicle's lighting system is
switched on, the headlamps will also be
cleaned at reasonable intervals.Windshield washer nozzlesThe windshield washer nozzles are
heated automatically* when the ignition
key is in position 2.
Cruise control*You can store and automatically main-
tain any desired vehicle speed above
approx. 20 mph / 30 km/h.
The cruise control is available whenever
the engine is running and the system
has been activated.To activate the systemWith the ignition key in position 2:
Press the button. The indicator lamp in
the instrument cluster comes on, refer
to page 20. You can now use the cruise
control.
Do not use cruise control on twist-
ing roads, when high traffic den-
sity prevents driving at a constant
speed, or when the road surface is slick
– snow, rain, ice – or loose – rocks or
gravel, sand.
ment cluster goes out.
Cruise control is also deactivated when
the ignition key is in position 0.
Washer/wiper system/Rain sensor*
OverviewControlsMaintenanceRepairsDataIndex
handbook.book Page 79 Wednesday, July 31, 2002 9:29 AM
Page 82 of 178

82
Fuel gaugeOnce the indicator lamp stays on con-
tinuously, there are still approx.
2 gallons/8 liters of fuel in the fuel tank.
Fuel tank capacity approx.
16.6 gallons/63 liters.
Certain operating conditions, such as
those encountered in mountainous
areas, may cause the needle to fluctu-
ate slightly.
Fill the fuel tank before it is com-
pletely empty. Driving to the last
drop of fuel can prevent the engine
from operating properly and result in
damage.<
When you switch on the ignition, the
indicator lamp lights up briefly as an
operation check.
Engine coolant temperature gaugeBlueThe engine is still cold. Drive at moder-
ate engine and vehicle speeds.RedWhen you switch on the ignition, the
warning lamp comes on briefly as an
operation check.
If the lamp comes on during normal
vehicle operation: the engine has over-
heated. Shut off the engine immediately
and allow it to cool down.
To check coolant level, refer to
page 138.
Between the blue and red zonesNormal operating range. The needle
may rise as far as the edge of the red
sector during normal operation.
handbook.book Page 82 Wednesday, July 31, 2002 9:29 AM
Page 91 of 178

91
Under these special circumstances
traction is increased by deactivating the
control systems that enhance traction
under normal conditions.To switch DSC and ADB offHold the DSC button down for at least
3 seconds. The indicator lamp and the
yellow brake warning lamps light up
and remain on continuously.
The systems for enhancing stability and
traction are deactivated, and there is no
active braking intervention or torque
control.
To maintain vehicle stability,
always drive with the DSC acti-
vated whenever possible.
DTC is deactivated.
The laws of physics cannot be
repealed even with DSC. An
appropriate driving style always
remains the responsibility of the driver.
We therefore urge you to avoid using
the additional safety margin of the sys-
tem as an excuse for taking risks.
Whenever the DTC is activated, the
DSC is switched off and performs minor
stabilizing intervention.
Do not make any modifications to the
DSC system. Allow only authorized
technicians to perform service proce-
dures on the DSC.<
Dynamic Stability Control (DSC)*
OverviewControlsMaintenanceRepairsDataIndex
handbook.book Page 91 Wednesday, July 31, 2002 9:29 AM
Page 92 of 178

92
Tire Pressure Monitor (TPM)*The conceptTPM monitors the tire pressures at all
four tires even while the vehicle is mov-
ing. The system provides an alert when-
ever the inflation pressure drops signifi-
cantly below the specified pressure in
one or more tires.
This indicator lamp in the instru-
ment cluster informs you when
the tire pressure deviates from
the target values.
Initializing the systemInitializing is necessary to familiarize the
system with the correct inflation pres-
sures.
Repeat this process after tire replace-
ment, tire rotation or any changes in tire
inflation pressure.
1. Check the tire inflation pressures in
all the tires, comparing them with the
inflation pressure chart on page 25,
and adjust them if necessary
2. Turn the ignition key to position 2, do
not start the engine
3. Press the button long enough for the
yellow indicator lamp in the instru-
ment cluster to light up for a few sec-
onds
4. After a few minutes' driving time,
TPM adopts the current inflation
pressures in the tires as the refer-
ence values to be monitored.In the event of loss in inflation
pressureIf the inflation pressure has dropped
significantly over a long period of time,
which is normal for any tire, the yellow
indicator lamp will come on.
This alerts you to have the tires inflated
to the specified pressures as soon as
possible.
If you are prompted to check the
tire pressure shortly after a cor-
rection has been made, this indicates
that the corrected values were not
valid. Please check the inflation pres-
sure again and make corrections
according to the inflation pressure
table. Then reinitialize the system.
on. This visual alert is accompanied by
an acoustic warning signal.
handbook.book Page 92 Wednesday, July 31, 2002 9:29 AM
Page 94 of 178

94
Initializing the systemInitializing is necessary to familiarize the
system with the correct inflation pres-
sures.
Repeat this process after any changes
in tire inflation pressure, tire rotation or
replacement. Do not carry out further
system initialization after adjusting the
inflation pressure and letting the system
"learn" the correct pressures.
1. Check the tire inflation pressures in
all the tires, comparing them with the
inflation pressure chart on page 25
and adjusting their pressure if neces-
sary
2. Turn the ignition key to position 2
3. Press the button until the yellow indi-
cator lamp in the instrument cluster
lights up. After a little while, the indi-
cator lamp will go out by itself
4. After a few minutes' driving time, the
Flat Tire Monitor adopts the current
pressure levels as the reference and
from that point on, can detect and
report a flat tire.
To activate/deactivate the systemThe Flat Tire Monitor automatically
assumes operation whenever you turn
the ignition key to position 2. Unless
manually deactivated, it is always on
during normal vehicle operation.
To deactivate the system: press the
button, the yellow indicator lamp comes
on.
To activate the system: press the but-
ton again, the indicator lamp goes out.
You should deactivate the system
before driving with snow chains, as the
chains can generate spurious warnings
and/or prevent the system from detect-
ing actual pressure loss.
Flat Tire Monitor*
handbook.book Page 94 Wednesday, July 31, 2002 9:29 AM
Page 95 of 178

95
Flat tire
The red warning lamp in the
instrument cluster lights up to
warn of pressure loss and tire
failure. This visual alert is accompanied
by an acoustic warning signal. Reduce
your speed immediately, and steer and
brake gently as you bring the vehicle to
a stop.
To reset the warning lamp: after replac-
ing the damaged tire you will need to
reset the red warning lamp manually:
maintain pressure on the Flat Tire Moni-
tor button until the warning lamp goes
out. Then reinitialize the system.
The Flat Tire Monitor cannot pro-
vide you with advance warning of
sudden and severe tire damage caused
by external factors.
The system also does not detect the
gradual and minor loss of pressure that
all tires display over extended periods
of time.<
Check tire inflation pressures on a
regular basis, correcting them as
necessary, refer to page 25.
The system may respond to operation
on slippery or snow-covered road sur-
faces with false warnings or delays in
detecting actual pressure loss.
Performance-oriented driving, slip at
the drive wheels and high rates of lat-
eral acceleration can also increase the
time that the Flat Tire Monitor requires
to detect a flat.<
System malfunctionsThe yellow indicator lamp in the instru-
ment cluster lights up and remains on
until the problem is corrected.
Please refer the problem to your BMW
center.
Flat Tire Monitor*
OverviewControlsMaintenanceRepairsDataIndex
handbook.book Page 95 Wednesday, July 31, 2002 9:29 AM