2003 BMW 320i ECU
[x] Cancel search: ECUPage 56 of 166
56
Before installing any child-
restraint device or child seat,
please read the following:
Never install a rear-facing child-
restraint system in the front passenger
seat of this vehicle.
Your vehicle is equipped with an airbag
supplemental restraint system for the
front passenger. Because the backrest
on any rear-facing child-restraint sys-
tem – of the kind designed for infants
under 1 year and 20 lbs/9 kg – would
be within the airbag's deployment
range, you should never mount such a
device in the front passenger seat,
since the impact of the airbag against
the child-restraint's backrest could lead
to serious or fatal injuries.
If it is necessary for a child – not an
infant – to ride in the front seat, certain
precautions should be taken. First,
move the passenger seat as far away
from the dashboard as possible. This
important precaution is intended to
maximize the distance between the air-
bag and the child. Older children
should be tightly secured with a safety
belt after they have outgrown a booster
seat that is appropriate for their age,
height, and weight. Younger children
should be secured in an appropriate
forward-facing child-restraint system
that has first been properly installed
with a safety belt.
Never install a rear-facing child-
restraint system in the front passenger
seat.
We strongly urge you to carefully read
and comply with the instructions for
installation and use provided by the
child-restraint's manufacturer whenever
you use such a device.
Do not attempt to modify child-restraint
systems. If you do this, the protection
provided by these systems could be
impaired.
Always ensure that all occupants – of all
ages – remain properly and securely
restrained at all times.<
All rear seating positions in your vehicle
meet the recommendations of
SAE J1819, an industry-recommended
practice for securing child-restraint sys-
tems in motor vehicles.
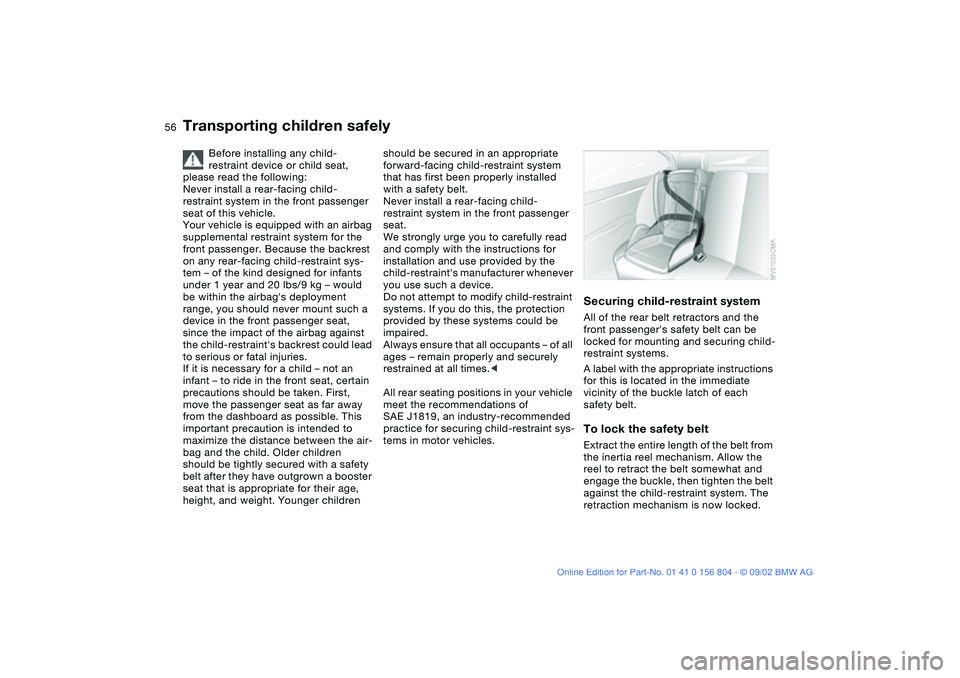
Securing child-restraint systemAll of the rear belt retractors and the
front passenger's safety belt can be
locked for mounting and securing child-
restraint systems.
A label with the appropriate instructions
for this is located in the immediate
vicinity of the buckle latch of each
safety belt.To lock the safety beltExtract the entire length of the belt from
the inertia reel mechanism. Allow the
reel to retract the belt somewhat and
engage the buckle, then tighten the belt
against the child-restraint system. The
retraction mechanism is now locked.
Transporting children safely
Page 59 of 166
59
Vehicle Memory, Key MemoryHow the system functionsNo doubt you have reflected at one
time or another on how great it would
be if you could permanently configure
your vehicle's various features and
adjustments to mirror your own individ-
ual preferences. In engineering your
vehicle, BMW has provided for a num-
ber of options for personal adjustment
that can be programmed into your vehi-
cle at your BMW center.
The available configuration data fall into
two categories, according to whether
their primary orientation is the vehicle –
Vehicle Memory – or the individual –
Key Memory. Provided that each per-
son has a separate remote-control key,
you can have your BMW center enter
basic adjustment data for up to four
individuals in the system.
The system then relies on a bilateral
data exchange to identify the individual
user and executes the selected settings
whenever the remote control unit is
used to disengage the door locks.
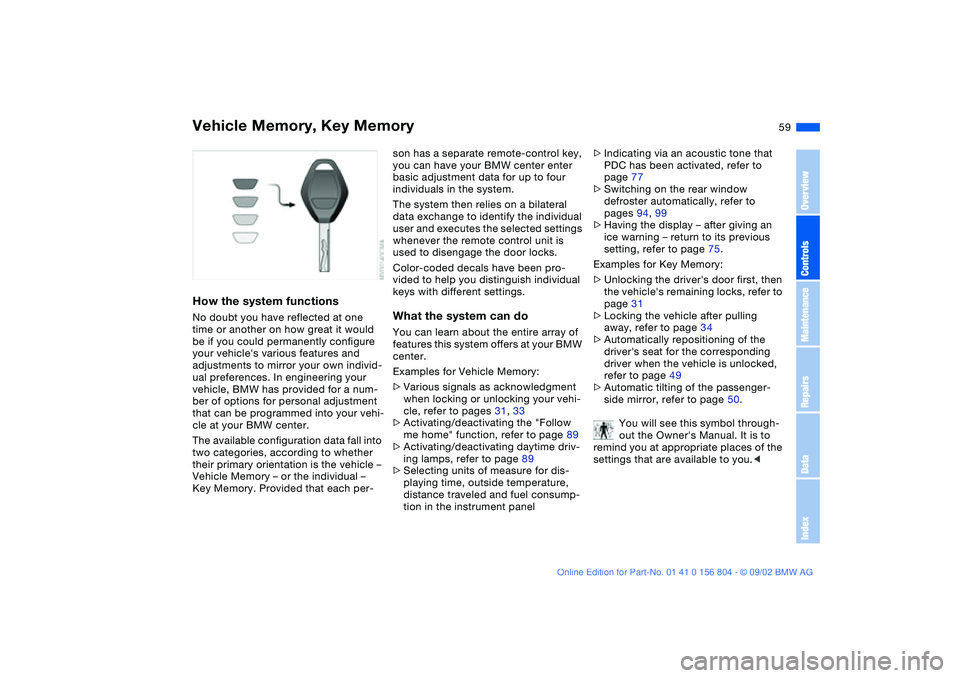
Color-coded decals have been pro-
vided to help you distinguish individual
keys with different settings.What the system can doYou can learn about the entire array of
features this system offers at your BMW
center.
Examples for Vehicle Memory:
>Various signals as acknowledgment
when locking or unlocking your vehi-
cle, refer to pages 31, 33
>Activating/deactivating the "Follow
me home" function, refer to page 89
>Activating/deactivating daytime driv-
ing lamps, refer to page 89
>Selecting units of measure for dis-
playing time, outside temperature,
distance traveled and fuel consump-
tion in the instrument panel>Indicating via an acoustic tone that
PDC has been activated, refer to
page 77
>Switching on the rear window
defroster automatically, refer to
pages 94, 99
>Having the display – after giving an
ice warning – return to its previous
setting, refer to page 75.
Examples for Key Memory:
>Unlocking the driver's door first, then
the vehicle's remaining locks, refer to
page 31
>Locking the vehicle after pulling
away, refer to page 34
>Automatically repositioning of the
driver's seat for the corresponding
driver when the vehicle is unlocked,
refer to page 49
>Automatic tilting of the passenger-
side mirror, refer to page 50.
You will see this symbol through-
out the Owner's Manual. It is to
remind you at appropriate places of the
settings that are available to you.<
OverviewControlsMaintenanceRepairsDataIndex
Page 64 of 166
64
Automatic transmission with Steptronic*You can drive as with a normal auto-
matic transmission. In addition, you can
also shift manually.
When you move the selector lever from
the D position to the left into the M/S
range, the performance-oriented shift
programs of the automatic transmission
are engaged. Steptronic enters the
manual selection mode and executes
the desired shift whenever you tap the
selector lever in the direction indicated
by + or –. Whenever you want to use
the automatic transmission mode again,
move the selector lever to the right into
the D position.
Under normal operating conditions, fuel
consumption is lowest when driving in
position D.Selector lever positions P R N D M/S + –Starting the engineThe engine can only be started in selec-
tor lever positions P – for Park – or N –
for Neutral.
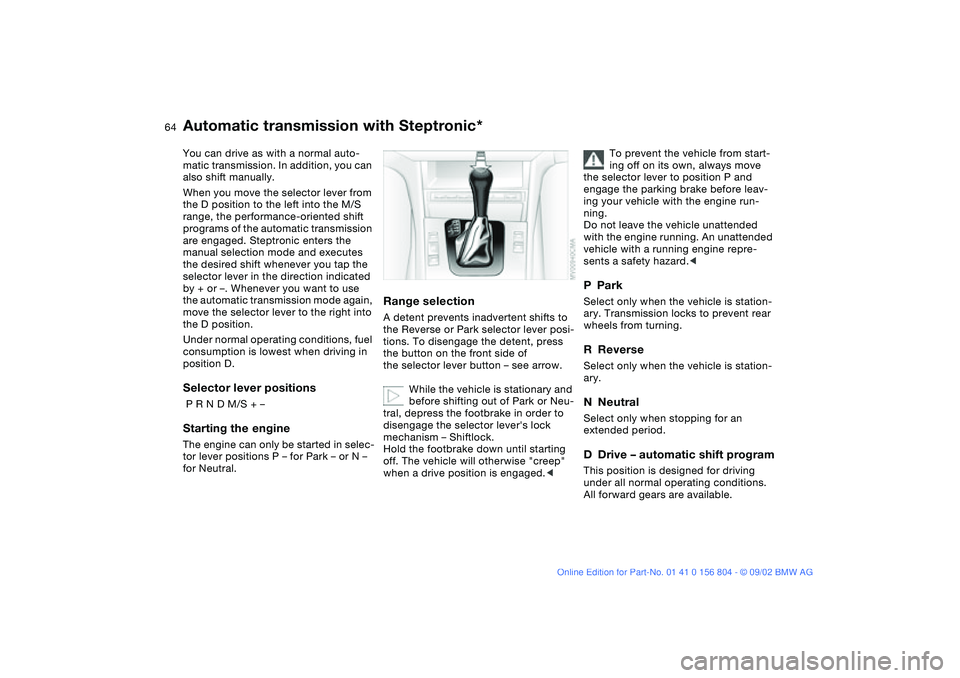
Range selectionA detent prevents inadvertent shifts to
the Reverse or Park selector lever posi-
tions. To disengage the detent, press
the button on the front side of
the selector lever button – see arrow.
While the vehicle is stationary and
before shifting out of Park or Neu-
tral, depress the footbrake in order to
disengage the selector lever's lock
mechanism – Shiftlock.
Hold the footbrake down until starting
off. The vehicle will otherwise "creep"
when a drive position is engaged.<
To prevent the vehicle from start-
ing off on its own, always move
the selector lever to position P and
engage the parking brake before leav-
ing your vehicle with the engine run-
ning.
Do not leave the vehicle unattended
with the engine running. An unattended
vehicle with a running engine repre-
sents a safety hazard.<
PParkSelect only when the vehicle is station-
ary. Transmission locks to prevent rear
wheels from turning.RReverseSelect only when the vehicle is station-
ary.NNeutralSelect only when stopping for an
extended period.DDrive – automatic shift programThis position is designed for driving
under all normal operating conditions.
All forward gears are available.
Page 65 of 166
65
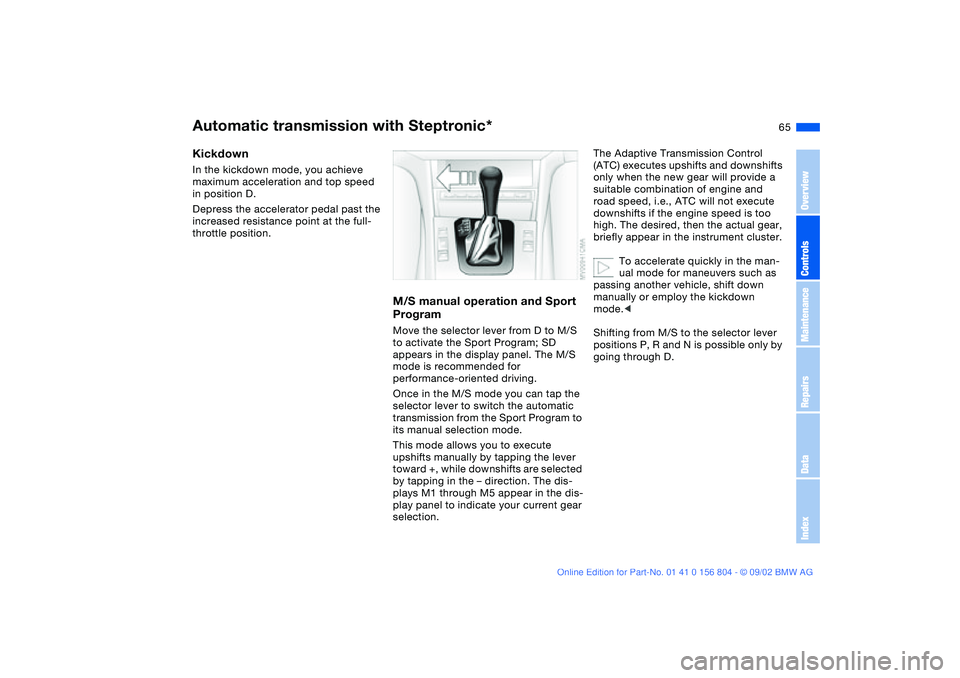
KickdownIn the kickdown mode, you achieve
maximum acceleration and top speed
in position D.
Depress the accelerator pedal past the
increased resistance point at the full-
throttle position.
M/S manual operation and Sport
ProgramMove the selector lever from D to M/S
to activate the Sport Program; SD
appears in the display panel. The M/S
mode is recommended for
performance-oriented driving.
Once in the M/S mode you can tap the
selector lever to switch the automatic
transmission from the Sport Program to
its manual selection mode.
This mode allows you to execute
upshifts manually by tapping the lever
toward +, while downshifts are selected
by tapping in the – direction. The dis-
plays M1 through M5 appear in the dis-
play panel to indicate your current gear
selection.
The Adaptive Transmission Control
(ATC) executes upshifts and downshifts
only when the new gear will provide a
suitable combination of engine and
road speed, i.e., ATC will not execute
downshifts if the engine speed is too
high. The desired, then the actual gear,
briefly appear in the instrument cluster.
To accelerate quickly in the man-
ual mode for maneuvers such as
passing another vehicle, shift down
manually or employ the kickdown
mode.<
Shifting from M/S to the selector lever
positions P, R and N is possible only by
going through D.
Automatic transmission with Steptronic*
OverviewControlsMaintenanceRepairsDataIndex
Page 106 of 166
106Loading and transporting
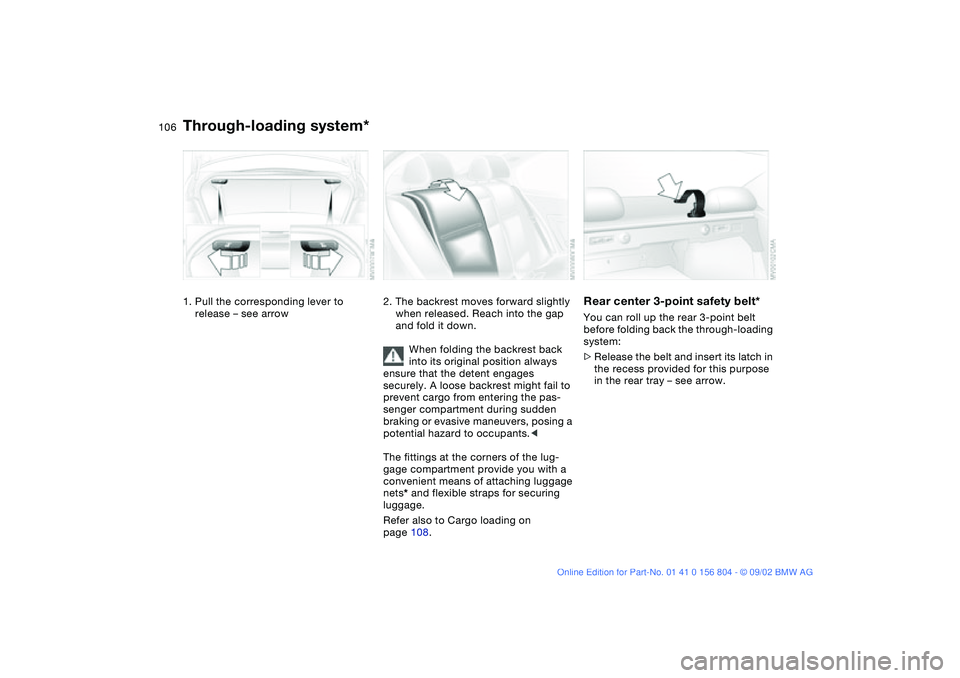
Through-loading system*1. Pull the corresponding lever to
release – see arrow
2. The backrest moves forward slightly
when released. Reach into the gap
and fold it down.
When folding the backrest back
into its original position always
ensure that the detent engages
securely. A loose backrest might fail to
prevent cargo from entering the pas-
senger compartment during sudden
braking or evasive maneuvers, posing a
potential hazard to occupants.<
The fittings at the corners of the lug-
gage compartment provide you with a
convenient means of attaching luggage
nets* and flexible straps for securing
luggage.
Refer also to Cargo loading on
page 108.
Rear center 3-point safety belt*You can roll up the rear 3-point belt
before folding back the through-loading
system:
>Release the belt and insert its latch in
the recess provided for this purpose
in the rear tray – see arrow.
Page 108 of 166
108
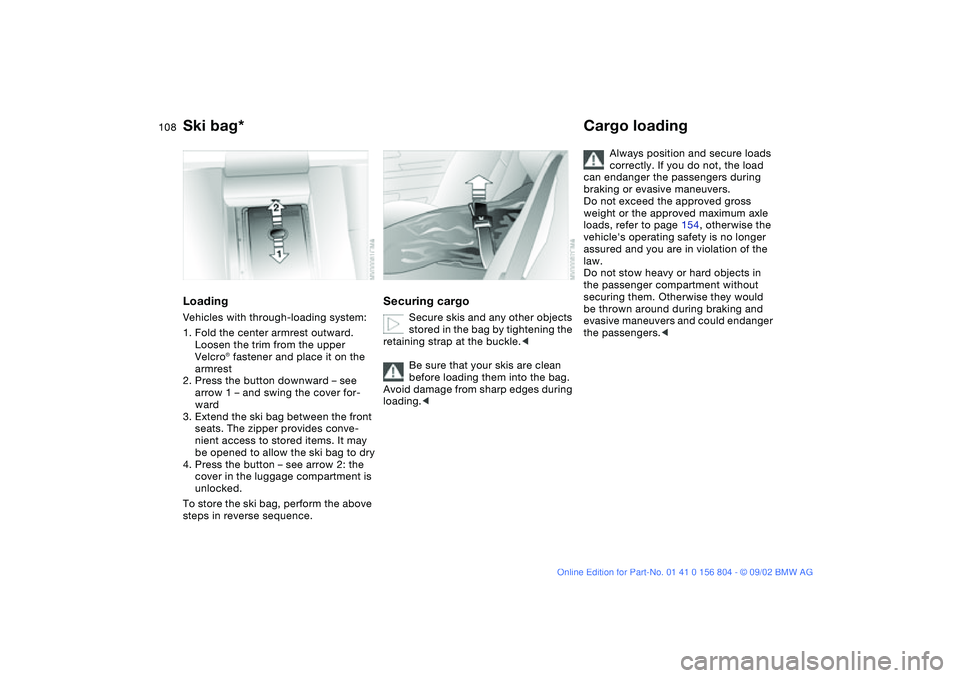
LoadingVehicles with through-loading system:
1. Fold the center armrest outward.
Loosen the trim from the upper
Velcro® fastener and place it on the
armrest
2. Press the button downward – see
arrow 1 – and swing the cover for-
ward
3. Extend the ski bag between the front
seats. The zipper provides conve-
nient access to stored items. It may
be opened to allow the ski bag to dry
4. Press the button – see arrow 2: the
cover in the luggage compartment is
unlocked.
To store the ski bag, perform the above
steps in reverse sequence.
Securing cargo
Secure skis and any other objects
stored in the bag by tightening the
retaining strap at the buckle.<
Be sure that your skis are clean
before loading them into the bag.
Avoid damage from sharp edges during
loading.<
Cargo loading
Always position and secure loads
correctly. If you do not, the load
can endanger the passengers during
braking or evasive maneuvers.
Do not exceed the approved gross
weight or the approved maximum axle
loads, refer to page 154, otherwise the
vehicle's operating safety is no longer
assured and you are in violation of the
law.
Do not stow heavy or hard objects in
the passenger compartment without
securing them. Otherwise they would
be thrown around during braking and
evasive maneuvers and could endanger
the passengers.<
Ski bag*
Page 109 of 166
109
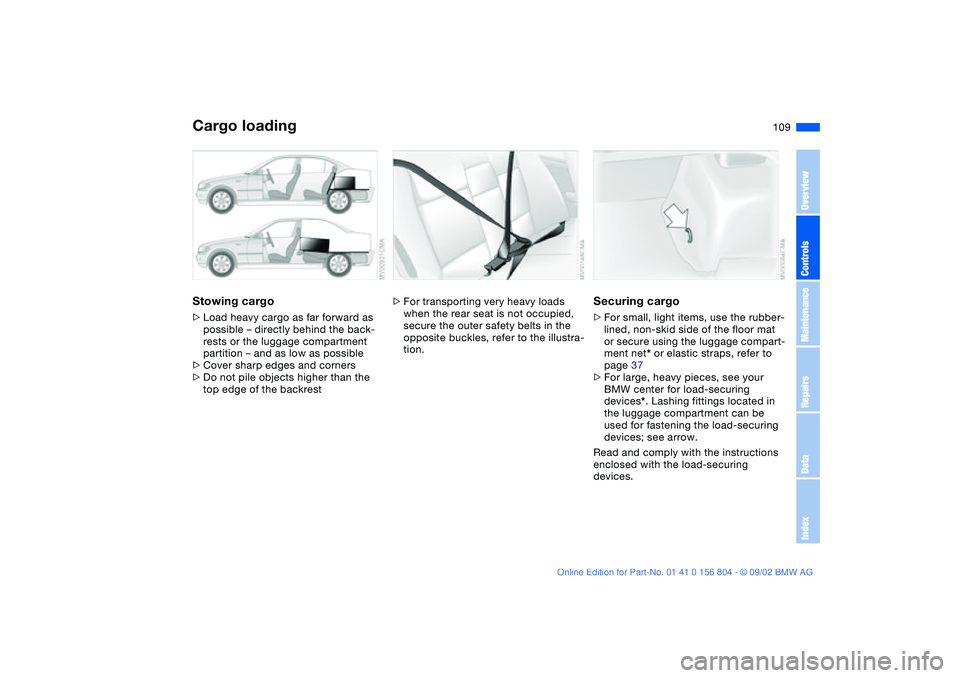
Stowing cargo>Load heavy cargo as far forward as
possible – directly behind the back-
rests or the luggage compartment
partition – and as low as possible
>Cover sharp edges and corners
>Do not pile objects higher than the
top edge of the backrest
>For transporting very heavy loads
when the rear seat is not occupied,
secure the outer safety belts in the
opposite buckles, refer to the illustra-
tion.
Securing cargo>For small, light items, use the rubber-
lined, non-skid side of the floor mat
or secure using the luggage compart-
ment net* or elastic straps, refer to
page 37
>For large, heavy pieces, see your
BMW center for load-securing
devices*. Lashing fittings located in
the luggage compartment can be
used for fastening the load-securing
devices; see arrow.
Read and comply with the instructions
enclosed with the load-securing
devices.
Cargo loading
OverviewControlsMaintenanceRepairsDataIndex
Page 110 of 166
110
Roof-mounted luggage rack*A special roof-rack system is available
as an optional extra for your BMW.
Please observe the precautions
included with the installation instruc-
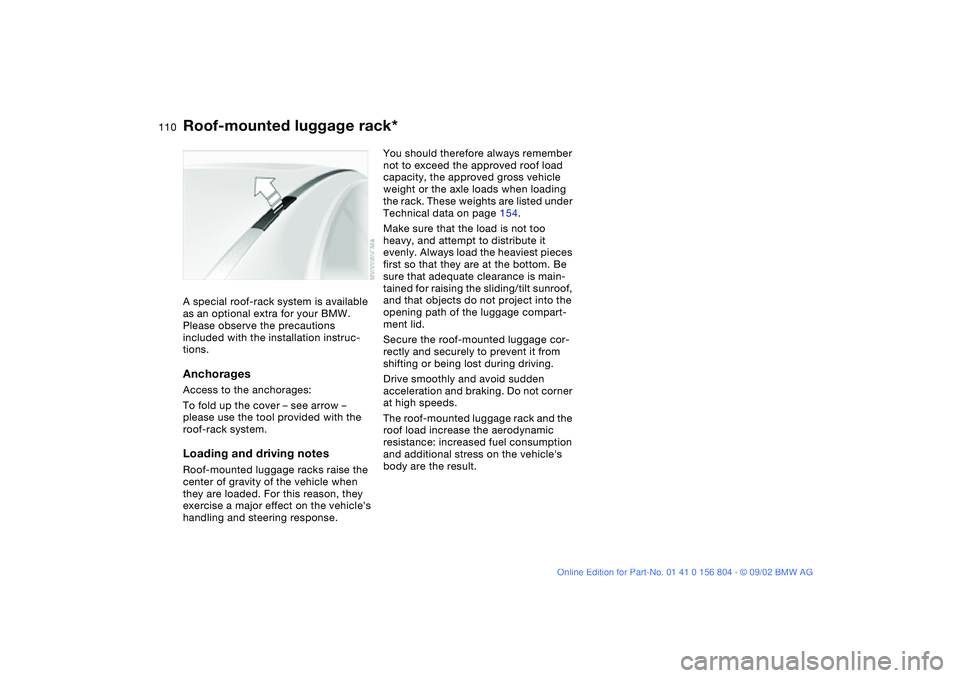
tions.AnchoragesAccess to the anchorages:
To fold up the cover – see arrow –
please use the tool provided with the
roof-rack system.Loading and driving notesRoof-mounted luggage racks raise the
center of gravity of the vehicle when
they are loaded. For this reason, they
exercise a major effect on the vehicle's
handling and steering response.
You should therefore always remember
not to exceed the approved roof load
capacity, the approved gross vehicle
weight or the axle loads when loading
the rack. These weights are listed under
Technical data on page 154.
Make sure that the load is not too
heavy, and attempt to distribute it
evenly. Always load the heaviest pieces
first so that they are at the bottom. Be
sure that adequate clearance is main-
tained for raising the sliding/tilt sunroof,
and that objects do not project into the
opening path of the luggage compart-
ment lid.
Secure the roof-mounted luggage cor-
rectly and securely to prevent it from
shifting or being lost during driving.
Drive smoothly and avoid sudden
acceleration and braking. Do not corner
at high speeds.
The roof-mounted luggage rack and the
roof load increase the aerodynamic
resistance: increased fuel consumption
and additional stress on the vehicle's
body are the result.