2003 BMW 3.0i ROADSTER instrument cluster
[x] Cancel search: instrument clusterPage 4 of 106

Contents
Contents
Notes
6About this Owner's Manual
6Symbols used
6Symbol on vehicle parts
6Your individual vehicle
6Status at time of printing
7For your own safety
7Service and warranty
8Reporting safety defects
Overview
12Cockpit
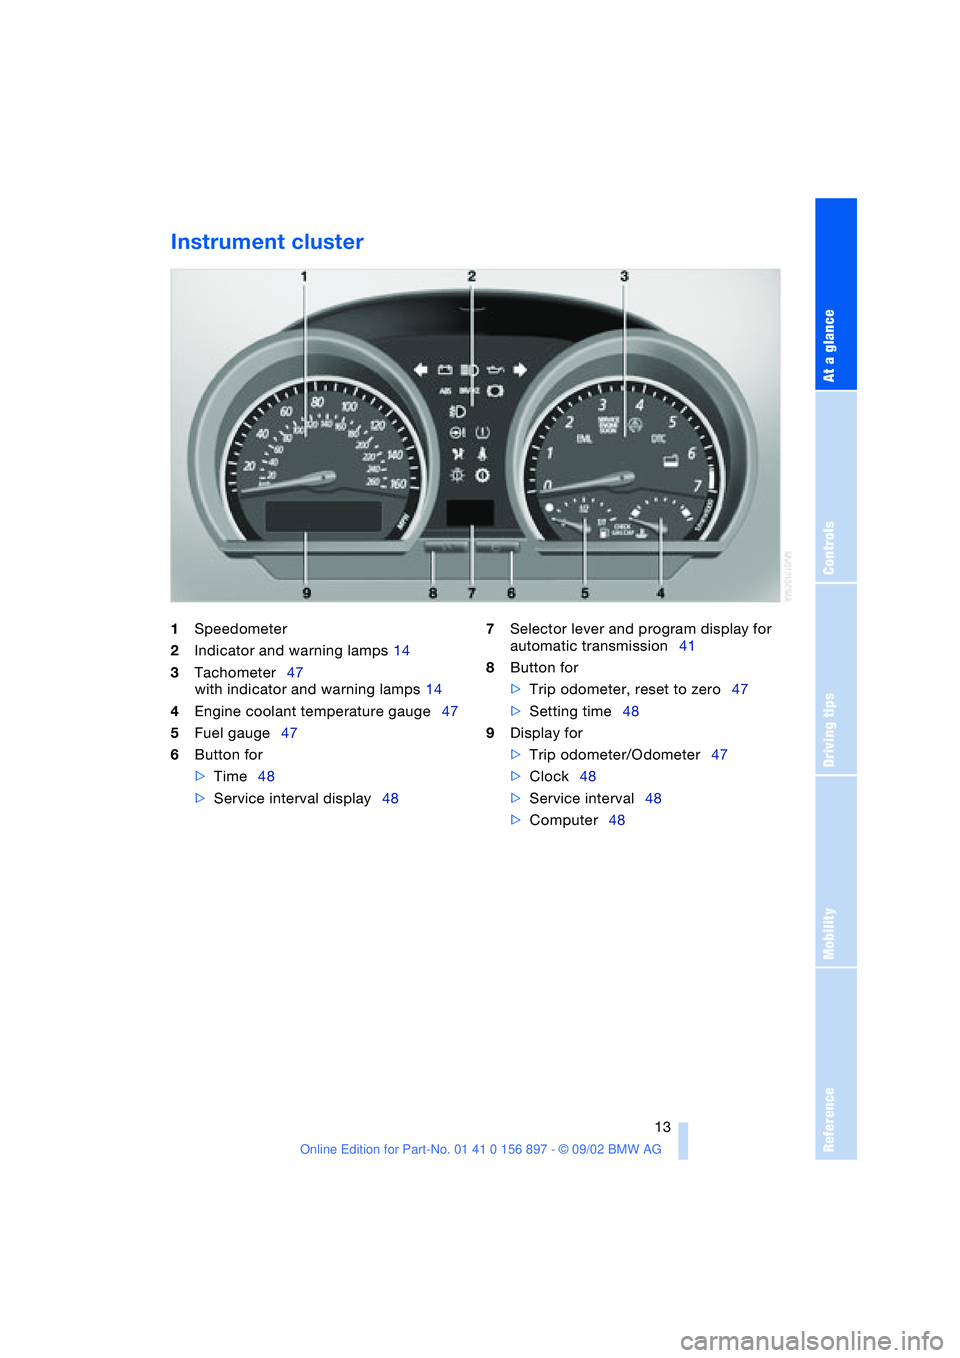
13Instrument cluster
14Indicator and warning lamps
Opening and closing
18Keys
18Central locking system
18Remote control
20Door lock
20Interior
21Luggage compartment lid
22Luggage compartment
22Electric power windows
23Manual convertible top
24Fully automatic convertible top*
26Wind deflector*
27Alarm system*
Adjustments
29Safe seating position
29Seats
30Seat memory*
31Seat heating*
31Safety belts
32Steering wheel
32Mirrors
33Airbags
34Transporting children safely
37Vehicle Memory, Key Memory
Driving
38Ignition lock
38Engine
39Parking brake
40Manual transmission
40Automatic transmission with
Steptronic*
42Electric Power Steering EPS
42Drivelogic*
42Turn signal indicators/Headlamp
flasher
43Washer/wiper system and
rain sensor*
44Cruise control*
Lamps
45Parking lamps/Low beams
46High beams/Standing lamps
46Instrument lighting
46Fog lamps
46Interior lamps
© 2002 Bayerische Motoren Werke
Aktiengesellschaft
Munich, Germany
Reprinting, including excerpts, only with the
written consent of BMW AG, Munich.
Order No. 01 41 0 156 897
US English VIII/02
Printed in Germany
Printed on environmentally friendly paper –
bleached without chlorine, suitable for recycling.
Page 13 of 106
At a glance
Controls
Driving tips
Mobility
Reference
13
Instrument cluster
1Speedometer
2Indicator and warning lamps 14
3Tachometer47
with indicator and warning lamps 14
4Engine coolant temperature gauge47
5Fuel gauge47
6Button for
>Time48
>Service interval display48 7Selector lever and program display for
automatic transmission41
8Button for
>Trip odometer, reset to zero47
>Setting time48
9Display for
>Trip odometer/Odometer47
>Clock48
>Service interval48
>Computer48
Page 33 of 106
At a glance
Controls
Driving tips
Mobility
Reference
33
For vehicles without an alarm system:
Tilt the small lever forward.
Interior and exterior mirrors with
automatic dimming feature*
This mirror automatically dims through an
infinitely variable range and switches auto-
matically to its clear, undimmed mode
whenever you engage reverse gear or
place the selector lever in position R.
To ensure that the mirror continues to
operate properly, keep the two photocells
clean and unobstructed. One photocell is
positioned in the mirror's lens, see arrow,
while the other is slightly offset on the
opposite side of the mirror. Do not obstruct
the area between the interior rearview mir-
ror and the windshield; do not apply stick-
ers to the area of the windshield in front of
the mirror.
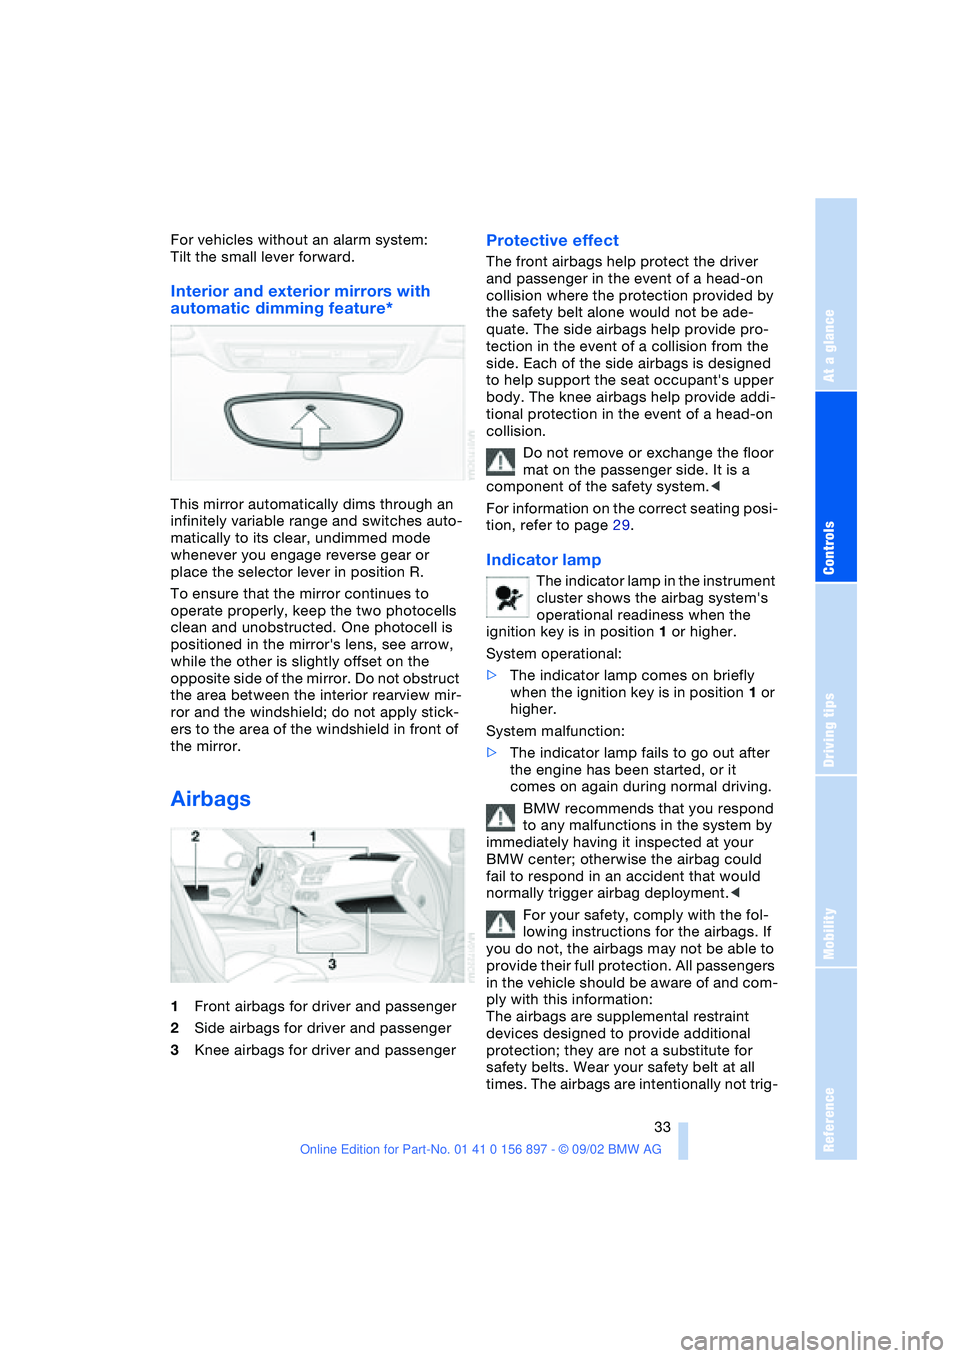
Airbags
1Front airbags for driver and passenger
2Side airbags for driver and passenger
3Knee airbags for driver and passenger
Protective effect
The front airbags help protect the driver
and passenger in the event of a head-on
collision where the protection provided by
the safety belt alone would not be ade-
quate. The side airbags help provide pro-
tection in the event of a collision from the
side. Each of the side airbags is designed
to help support the seat occupant's upper
body. The knee airbags help provide addi-
tional protection in the event of a head-on
collision.
Do not remove or exchange the floor
mat on the passenger side. It is a
component of the safety system.<
For information on the correct seating posi-
tion, refer to page 29.
Indicator lamp
The indicator lamp in the instrument
cluster shows the airbag system's
operational readiness when the
ignition key is in position 1 or higher.
System operational:
>The indicator lamp comes on briefly
when the ignition key is in position 1 or
higher.
System malfunction:
>The indicator lamp fails to go out after
the engine has been started, or it
comes on again during normal driving.
BMW recommends that you respond
to any malfunctions in the system by
immediately having it inspected at your
BMW center; otherwise the airbag could
fail to respond in an accident that would
normally trigger airbag deployment.<
For your safety, comply with the fol-
lowing instructions for the airbags. If
you do not, the airbags may not be able to
provide their full protection. All passengers
in the vehicle should be aware of and com-
ply with this information:
The airbags are supplemental restraint
devices designed to provide additional
protection; they are not a substitute for
safety belts. Wear your safety belt at all
times. The airbags are intentionally not trig-
Page 37 of 106
At a glance
Controls
Driving tips
Mobility
Reference
37
Vehicle Memory,
Key Memory
How the system functions
You have probably frequently wished that
you could configure individual functions of
your vehicle to reflect your own personal
requirements. In engineering your vehicle,
BMW has incorporated a number of
options for personal adjustment that can be
programmed into your vehicle at your BMW
center.
The available configuration data fall into
two categories, according to whether their
primary orientation is the vehicle – Vehicle
Memory, or the individual – Key Memory.
You can have up to four different basic set-
tings adjusted for four different persons.
The only requirement is that each person
uses his or her own remote control key.
When your vehicle is unlocked with the
remote control, the vehicle recognizes the
individual user by means of a data
exchange with the key, and makes adjust-
ments accordingly.
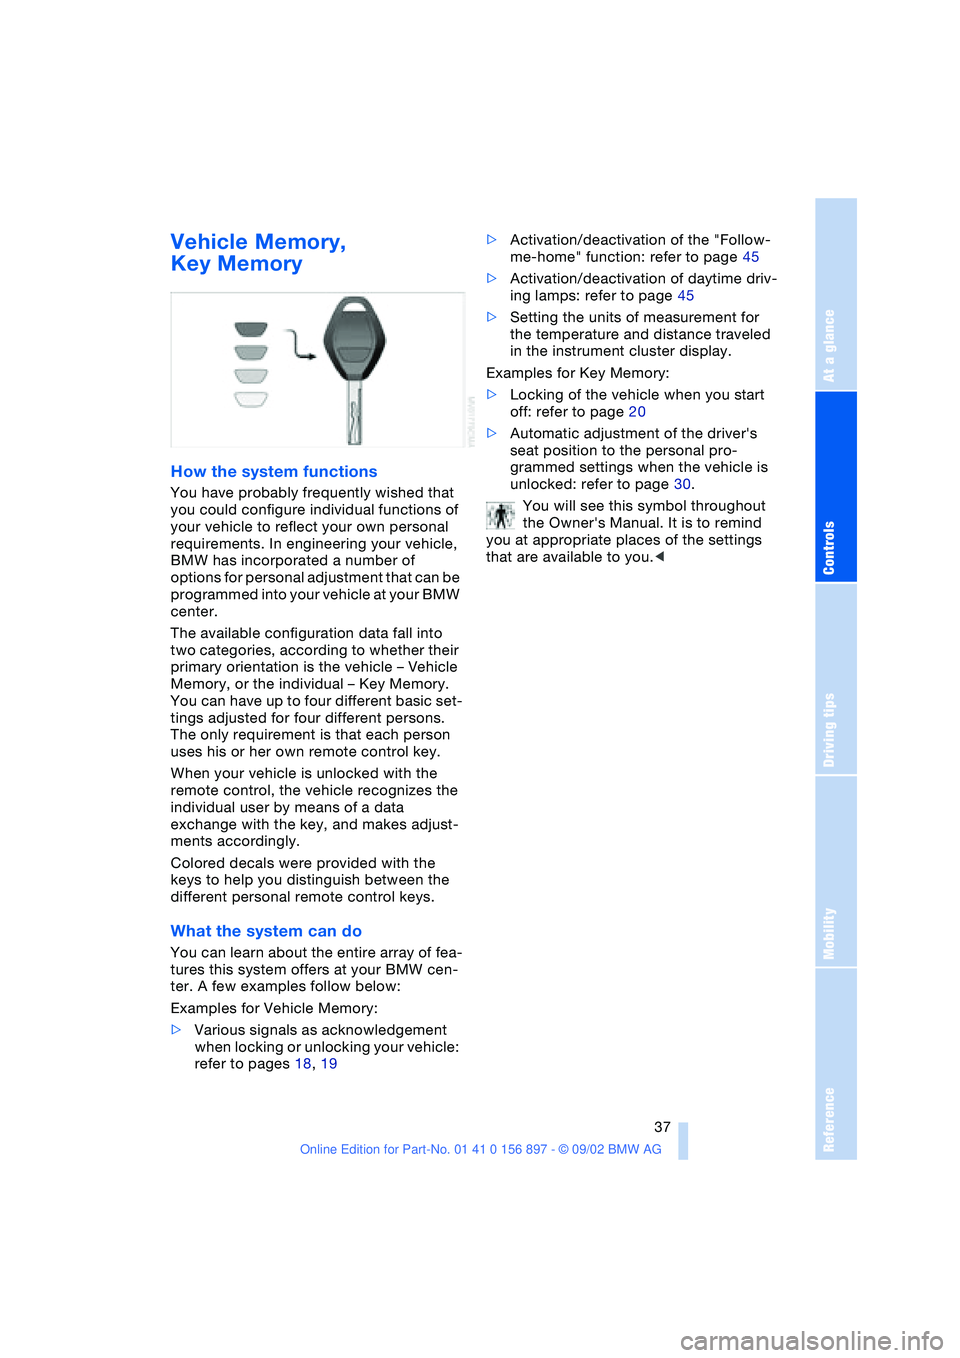
Colored decals were provided with the
keys to help you distinguish between the
different personal remote control keys.
What the system can do
You can learn about the entire array of fea-
tures this system offers at your BMW cen-
ter. A few examples follow below:
Examples for Vehicle Memory:
>Various signals as acknowledgement
when locking or unlocking your vehicle:
refer to pages 18, 19>Activation/deactivation of the "Follow-
me-home" function: refer to page 45
>Activation/deactivation of daytime driv-
ing lamps: refer to page 45
>Setting the units of measurement for
the temperature and distance traveled
in the instrument cluster display.
Examples for Key Memory:
>Locking of the vehicle when you start
off: refer to page 20
>Automatic adjustment of the driver's
seat position to the personal pro-
grammed settings when the vehicle is
unlocked: refer to page 30.
You will see this symbol throughout
the Owner's Manual. It is to remind
you at appropriate places of the settings
that are available to you.<
Page 39 of 106
At a glance
Controls
Driving tips
Mobility
Reference
39
the ignition key immediately when the
engine starts.<
Extended starting attempts, charac-
terized by excessively frequent or
long periods with the starter engaged, can
damage the catalytic converter.<
If the engine fails to start on the first
attempt – if it is very hot or cold, for
instance:
>Press the accelerator pedal halfway
down.
Cold starts at very low temperatures –
starting at approx. +57 / –156
>Press the accelerator pedal halfway
down while engaging the starter
>On the first start attempt, engage the
starter for a longer period –
approx. 10 seconds.
Manual transmission
1.Engage the parking brake
2.Gearshift lever in idling position
3.Depress clutch pedal
4.Start the engine.
Automatic transmission
1.Depress footbrake
2.Place selector lever in position P or N
3.Start the engine.
Before leaving the vehicle with the
engine running, place the selector
lever in position P and pull the parking
brake.
Do not leave the vehicle unattended with
the engine running. An unattended vehicle
with a running engine poses a safety haz-
ard.<
Switching off the engine
Do not remove the ignition key while
the vehicle is still moving. If you did so,
the steering lock would engage when the
steering wheel is turned.
When you leave the vehicle, always remove
the ignition key and engage the steering lock.
Always engage the parking brake when park-
ing on downhill roads.<
Manual transmission
Turn the ignition key to position 1 or 0.
Automatic transmission
Place the selector lever in position P and
turn the ignition key to position 1 or 0.
Parking brake
The parking brake is designed primarily to
prevent the vehicle from rolling when
parked. It operates against the rear wheels.
The brake warning lamp lights up
when the parking brake is engaged;
if you start driving, an acoustic sig-
nal is heard as well.
Brake warning lamp for Canadian
models
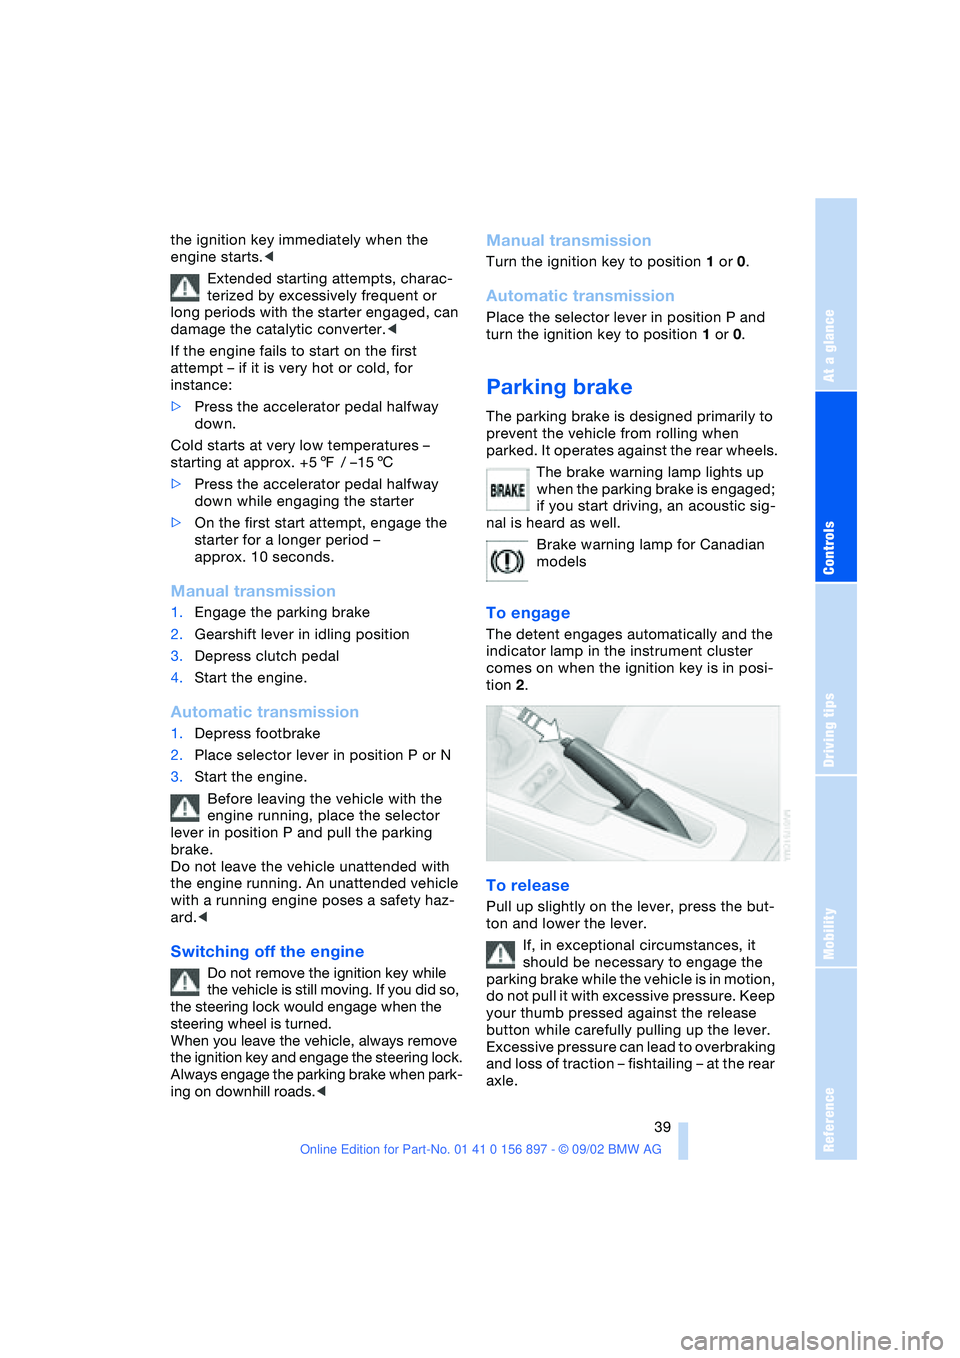
To engage
The detent engages automatically and the
indicator lamp in the instrument cluster
comes on when the ignition key is in posi-
tion 2.
To release
Pull up slightly on the lever, press the but-
ton and lower the lever.
If, in exceptional circumstances, it
should be necessary to engage the
parking brake while the vehicle is in motion,
do not pull it with excessive pressure. Keep
your thumb pressed against the release
button while carefully pulling up the lever.
Excessive pressure can lead to overbraking
and loss of traction – fishtailing – at the rear
axle.
Page 41 of 106
At a glance
Controls
Driving tips
Mobility
Reference
41
If you leave the vehicle with the
engine running, move the selector
lever to the P position and apply the park-
ing brake. If you fail to do this, the vehicle
could move.
Do not leave the vehicle unattended with
the engine running. An unattended vehicle
with a running engine poses a safety haz-
ard.<
PPark
Select reverse only when the vehicle is sta-
tionary. The transmission locks to prevent
the rear wheels from turning.
RReverse
Select reverse only when the vehicle is sta-
tionary.
NNeutral – idling
Select only when stopping for an extended
period.
DDrive – automatic shift program
This position is designed for driving under
all normal operating conditions. All forward
gears are available.
Kickdown
In the kickdown mode, you achieve maxi-
mum acceleration in position D.
Depress the accelerator pedal past the
increased resistance point at the full-throt-
tle position.
M/S Manual mode and
Sport program
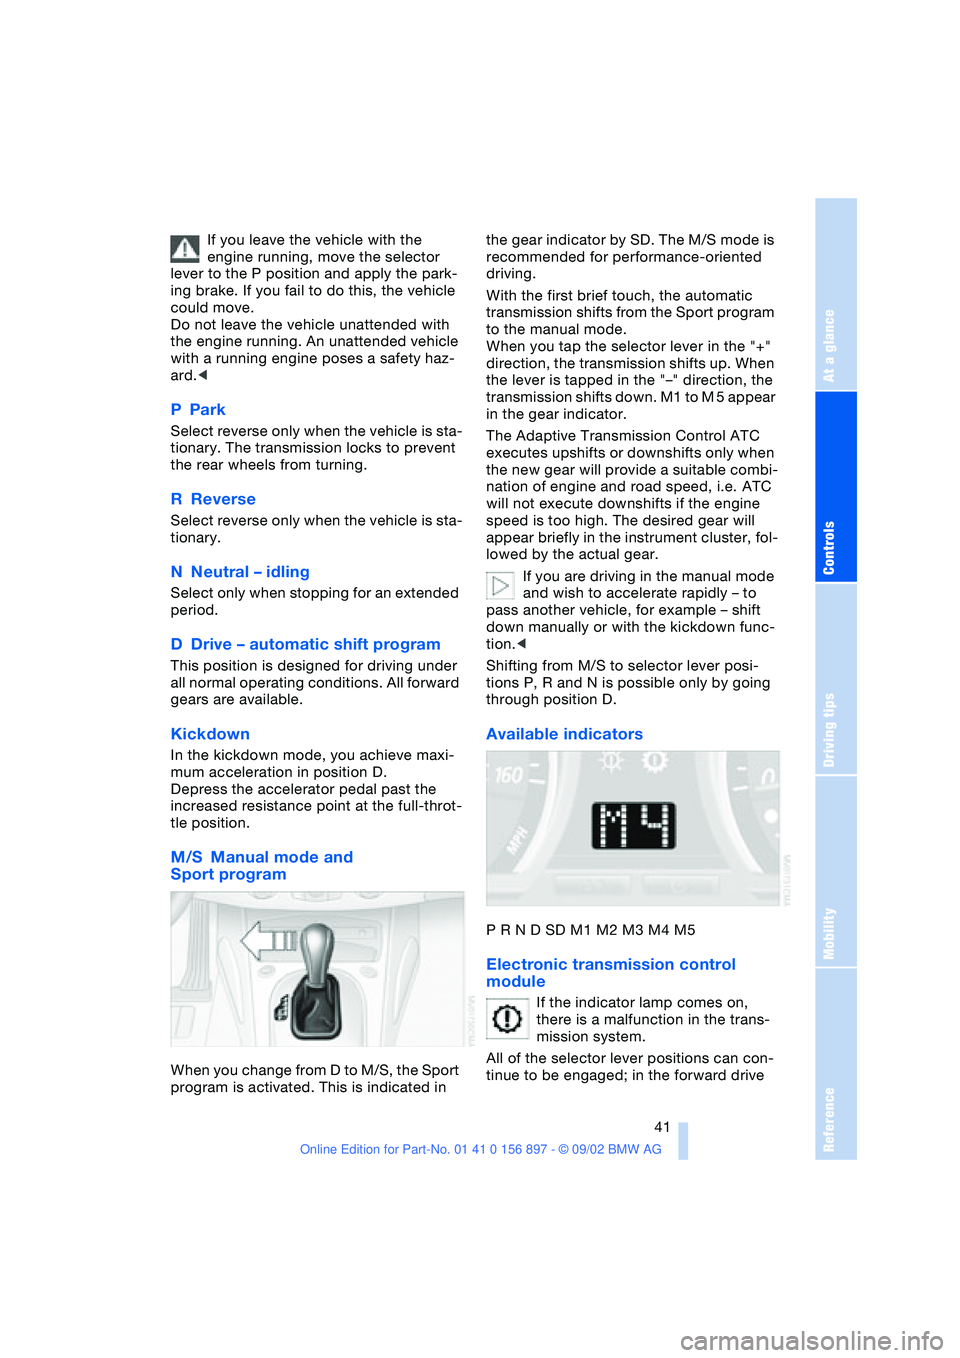
When you change from D to M/S, the Sport
program is activated. This is indicated in the gear indicator by SD. The M/S mode is
recommended for performance-oriented
driving.
With the first brief touch, the automatic
transmission shifts from the Sport program
to the manual mode.
When you tap the selector lever in the "+"
direction, the transmission shifts up. When
the lever is tapped in the "–" direction, the
transmission shifts down. M1 to M 5 appear
in the gear indicator.
The Adaptive Transmission Control ATC
executes upshifts or downshifts only when
the new gear will provide a suitable combi-
nation of engine and road speed, i.e. ATC
will not execute downshifts if the engine
speed is too high. The desired gear will
appear briefly in the instrument cluster, fol-
lowed by the actual gear.
If you are driving in the manual mode
and wish to accelerate rapidly – to
pass another vehicle, for example – shift
down manually or with the kickdown func-
tion.<
Shifting from M/S to selector lever posi-
tions P, R and N is possible only by going
through position D.
Available indicators
P R N D SD M1 M2 M3 M4 M5
Electronic transmission control
module
If the indicator lamp comes on,
there is a malfunction in the trans-
mission system.
All of the selector lever positions can con-
tinue to be engaged; in the forward drive
Page 46 of 106
Lamps
46
High beams/Standing
lamps
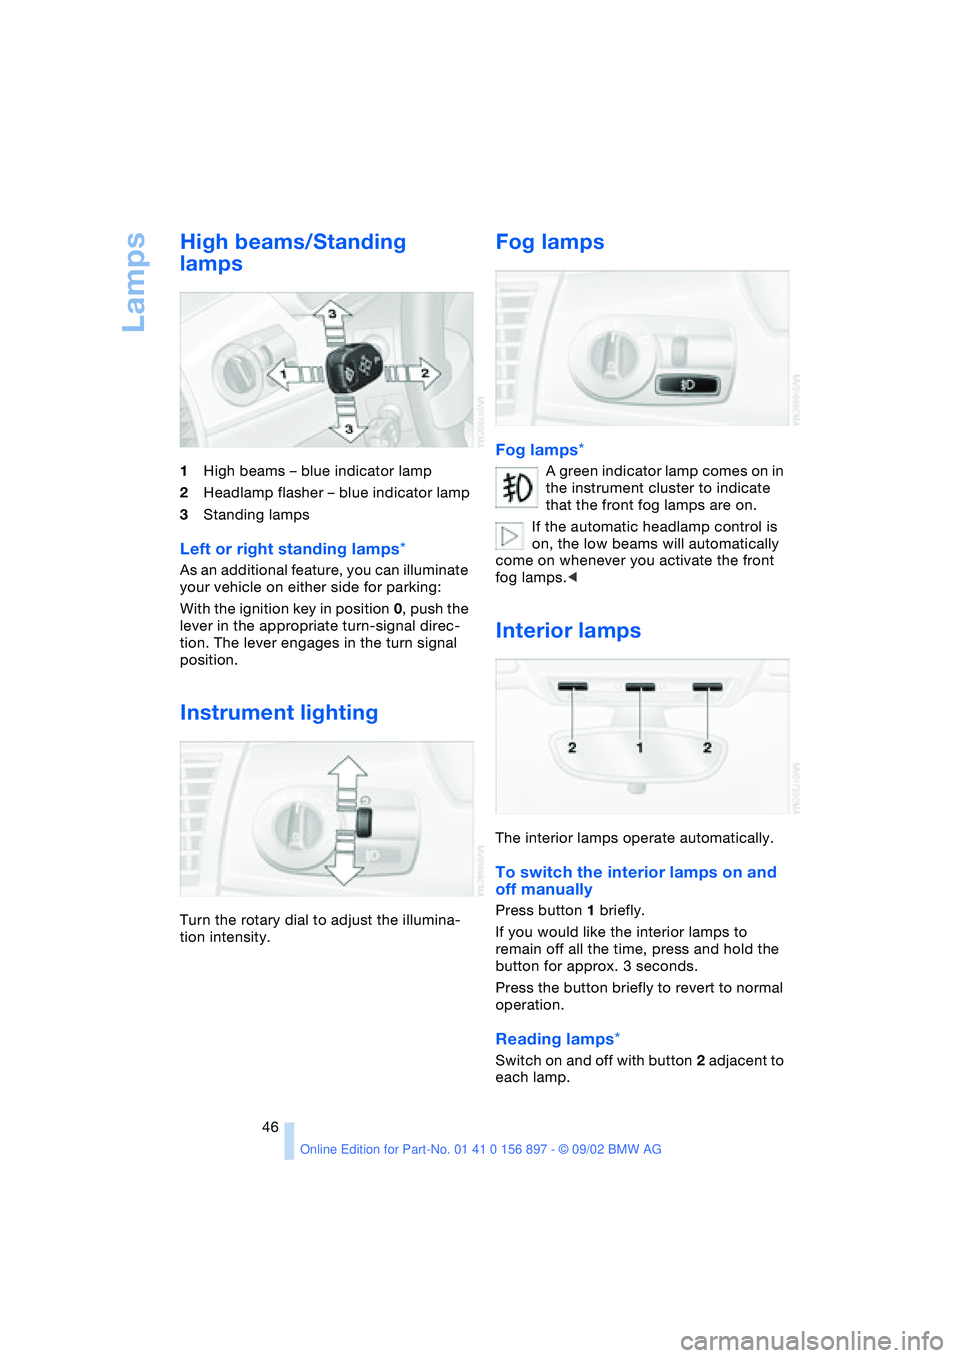
1High beams – blue indicator lamp
2Headlamp flasher – blue indicator lamp
3Standing lamps
Left or right standing lamps*
As an additional feature, you can illuminate
your vehicle on either side for parking:
With the ignition key in position 0, push the
lever in the appropriate turn-signal direc-
tion. The lever engages in the turn signal
position.
Instrument lighting
Turn the rotary dial to adjust the illumina-
tion intensity.
Fog lamps
Fog lamps*
A green indicator lamp comes on in
the instrument cluster to indicate
that the front fog lamps are on.
If the automatic headlamp control is
on, the low beams will automatically
come on whenever you activate the front
fog lamps.<
Interior lamps
The interior lamps operate automatically.
To switch the interior lamps on and
off manually
Press button 1 briefly.
If you would like the interior lamps to
remain off all the time, press and hold the
button for approx. 3 seconds.
Press the button briefly to revert to normal
operation.
Reading lamps*
Switch on and off with button 2 adjacent to
each lamp.
Page 47 of 106

At a glance
Controls
Driving tips
Mobility
Reference
47
Everything under control
Odometer
1Odometer
2Trip odometer
Odometer
With the ignition key in position 0, you can
activate the displays shown in the illustra-
tion by pressing the button – see arrow – in
the instrument cluster.
Trip odometer
To set to zero
Ignition key position 1
Keep the button pressed until the trip
odometer counter is set to zero.
Tachometer
Never allow the engine to operate with the
needle in the red overspeed sector of the
gauge.
To protect the engine, the fuel supply is
interrupted when you approach this sector.
Fuel gauge
Once indicator lamp 1 stays on continu-
ously, there are still approx. 2 gallons /
8 liters of fuel in the fuel tank.
Tank capacity: approx. 14.5 gallons /
55 liters.
If the tilt of the vehicle varies – when you
are driving in mountainous areas, for exam-
ple – the needle may fluctuate slightly.
Fill the fuel tank well before it is
empty. Driving to the last drop of fuel
can prevent the engine from operating
properly and result in damage.<
When you switch on the ignition, the indi-
cator lamp comes on briefly to indicate an
operational check.
Coolant temperature gauge
Blue
The engine is still cold. Drive at moderate
engine and vehicle speeds.